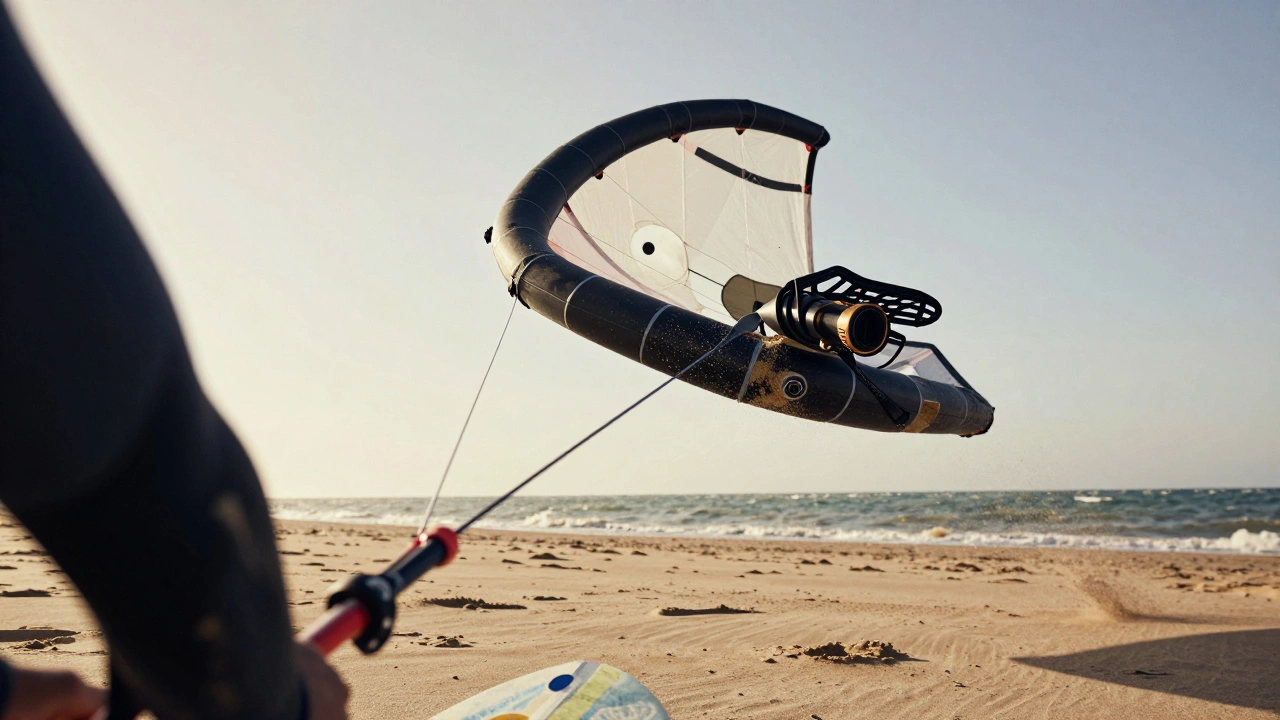
Nothing kills a perfect kite day faster than a deflating kite. You’re out on the beach, wind is strong, lines are taut-and then you notice the kite slowly losing shape. You check the valve. It’s not the bladder. It’s not a tear. It’s the valve. And if you’ve ever dealt with a leaky kite valve, you know how frustrating it can be. The good news? Most valve problems are easy to fix. You don’t need special tools. You don’t need to send it off to a repair shop. With a little patience and the right technique, you can get your kite flying again in under 30 minutes.
Why Kite Valves Leak
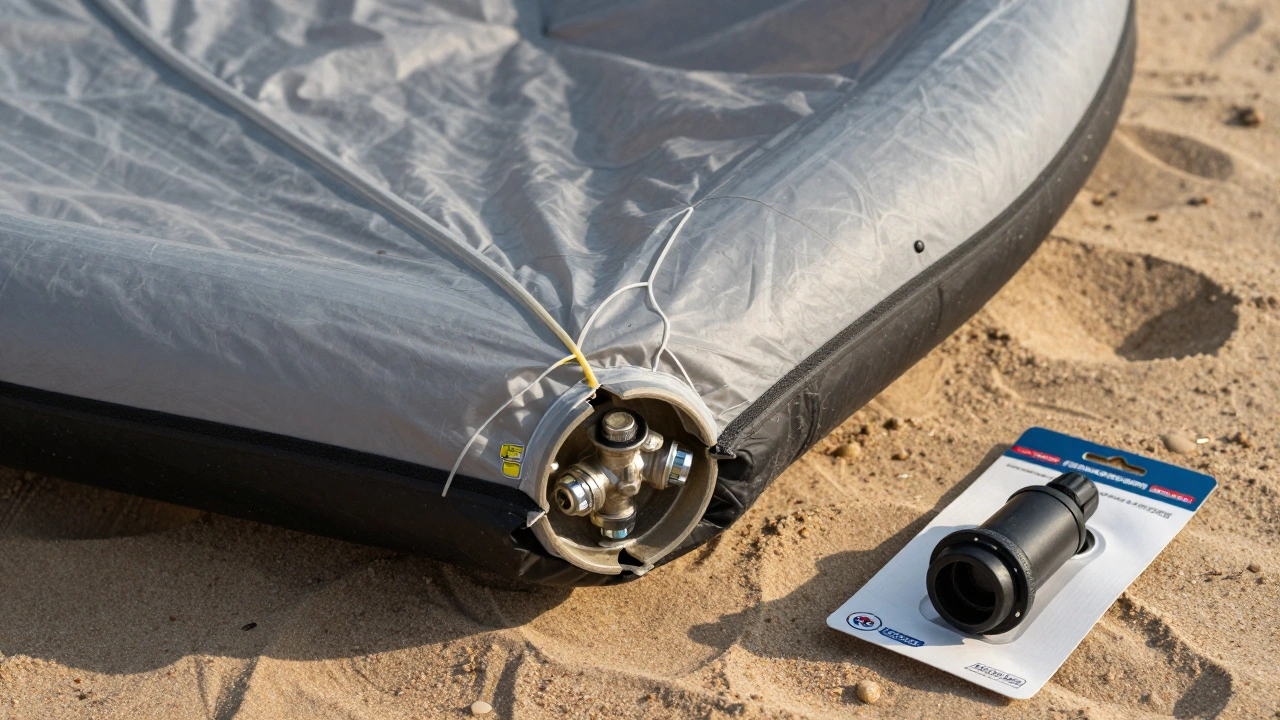
Inflatable kites rely on air pressure to hold their shape. The valve is the only point where air enters and exits. It’s not a complicated part, but it’s under constant stress. Every time you inflate or deflate the kite, the valve gets twisted, pressed, and pulled. Over time, that wear adds up. Most leaks happen because of three things: dirt in the valve, a loose valve core, or a damaged valve housing.Valve cores are designed to seal tightly when you twist them closed. But if sand, salt, or debris gets inside, it prevents the seal from forming. You might think the valve is closed, but air still escapes slowly. That’s why your kite goes flat after an hour instead of holding pressure all day.
Another common issue is the valve core not being seated properly. Sometimes, after inflating, you don’t twist the valve all the way. Or you over-tighten it and strip the threads. Either way, the seal breaks. And if the valve housing is cracked or warped from being stepped on or left in the sun too long, no amount of reseating will fix it. You’ll need a replacement.
How to Reseat a Kite Valve
Reseating a valve is the first thing you should try when your kite loses air. It fixes about 70% of leaks. Here’s how to do it right.- Deflate the kite completely. Remove all air by pressing on the bladder and twisting the valve open.
- Remove the valve core. Most kites have a push-and-twist valve. Press the center of the valve and twist counter-clockwise until it comes out. Some models use a small tool-check your manual.
- Clean the valve. Use a dry cloth to wipe out the valve housing. If there’s salt or sand stuck inside, use a soft toothbrush or a cotton swab. Don’t use water. Moisture can cause corrosion or mold.
- Inspect the valve core. Look for cracks, worn rubber, or bent metal. If it’s damaged, skip to replacement. If it looks fine, proceed.
- Reinsert the valve core. Align it with the housing and push it in. Once it’s seated, twist it clockwise until it clicks. Don’t force it. If it feels stiff, you might have debris still inside.
- Reinflate the kite slowly. Once it’s fully inflated, twist the valve shut again. Wait five minutes. If the kite stays firm, you’re done. If it starts to sag, repeat the process or replace the valve.
Pro tip: Always clean the valve after every session. A quick wipe with a dry towel prevents buildup. Keep a small brush or toothpick in your kite bag-it’s a lifesaver.

Repairing a Damaged Valve Housing
Sometimes, the problem isn’t the valve core-it’s the housing. If the valve feels loose, wobbles when you twist it, or has visible cracks, the plastic around it is compromised. You can’t glue your way out of this. Most kite manufacturers use a type of reinforced thermoplastic that doesn’t bond well with standard adhesives.There’s one temporary fix: use a silicone sealant designed for inflatable gear. Apply a thin ring around the base of the valve where it meets the bladder. Let it cure for 24 hours. This might hold for a few flights, but it’s not a permanent solution. The seal will break again under pressure. If your kite is more than two seasons old and the valve housing is cracked, replacement is your best bet.
When to Replace the Valve
Replace the valve if:- Reseating doesn’t fix the leak
- The valve core is cracked, broken, or missing rubber seals
- The housing is warped or split
- You’ve tried multiple times to reseat and it keeps failing
Valve replacements are cheap and easy. Most kite brands sell replacement valves as spare parts. For example, a standard Ocean Rodeo or Slingshot valve costs under $10. You can order them online or pick them up at a local kite shop.
To replace it:
- Deflate the kite and lay it flat.
- Locate the valve. It’s usually on the leading edge or struts.
- Use a small flathead screwdriver or pliers to gently pry the old valve out. Be careful not to cut the bladder.
- Insert the new valve. Most replacements have a rubber gasket and a locking ring. Push it in until it’s flush with the bladder.
- Twist the core into place. Inflate slowly and check for leaks.
Always match the valve type. Valves aren’t universal. A North kites valve won’t fit a Ozone kite. Check your model number on the kite’s label or manual. If you’re unsure, take a photo of the valve and ask a kite shop for help.
Preventing Future Valve Problems
Prevention is easier than repair. Here’s how to keep your valves working for years:- Always inflate on a clean surface. Sand and grit are the #1 cause of valve failure.
- Store your kite in a dry, cool place. Heat and UV light degrade the plastic over time.
- Don’t step on the kite. Even if it’s deflated, the valve housing can crack under pressure.
- Use a valve cap. Many kites come with protective caps. Use them.
- Check the valve before every session. A quick twist and listen for hissing saves time later.
Some kite schools teach students to test valve seals by inflating the kite and leaving it overnight. If it’s still firm in the morning, the valve is good. If it’s soft, fix it before heading out.
Common Mistakes to Avoid
Even experienced riders make these mistakes:- Using too much force when inserting the valve core. You’ll strip the threads.
- Trying to fix a cracked housing with super glue. It won’t hold under pressure.
- Leaving the valve open during storage. Moisture gets in, and mold forms inside.
- Assuming all valves are the same. They’re not. Always match the model.
- Ignoring small leaks. A slow leak today becomes a dead kite tomorrow.
Valve issues are rarely catastrophic. But they’re sneaky. If you ignore them, you’ll end up stranded on the water with a kite that won’t stay inflated. A few minutes of maintenance every few weeks saves hours of frustration later.
Why does my kite lose air overnight even after I reseat the valve?
If your kite loses air overnight despite reseating the valve, the valve housing is likely cracked or the bladder has a tiny puncture. Valves themselves rarely leak when properly seated. Check the entire bladder for pinholes, especially near seams. You can do a simple test: inflate the kite, spray soapy water on the surface, and look for bubbles. If none appear near the valve, the issue is elsewhere.
Can I use a valve from a different kite brand?
No. Kite valves are not universal. Each brand uses different thread sizes, internal diameters, and locking mechanisms. Even kites from the same brand but different model years may use incompatible valves. Always order the exact replacement part for your kite model. Using the wrong valve can damage the bladder or cause sudden deflation while flying.
How often should I replace the valve?
There’s no set timeline, but most valves last 2-4 seasons with regular use. If you kite weekly in sandy or salty conditions, replace them every 2 years. If you kite only a few times a year and keep your gear clean, they can last 5 years or more. Look for signs of wear: stiff twisting, visible cracks, or persistent leaks after cleaning.
What if I can’t remove the valve core?
If the valve core won’t twist out, don’t force it. You might break the housing. Try applying a few drops of silicone lubricant (not oil) around the base. Let it sit for 10 minutes. Then try again. If it still won’t budge, take it to a kite shop. They have specialized tools to remove stuck valves without damaging the bladder.
Is it safe to inflate a kite with a damaged valve?
No. A damaged valve can fail suddenly while flying, causing the kite to crash. This is dangerous, especially in strong winds. Never fly a kite with a valve you suspect is faulty. Even a slow leak can lead to loss of control. Fix it or replace it before your next session.