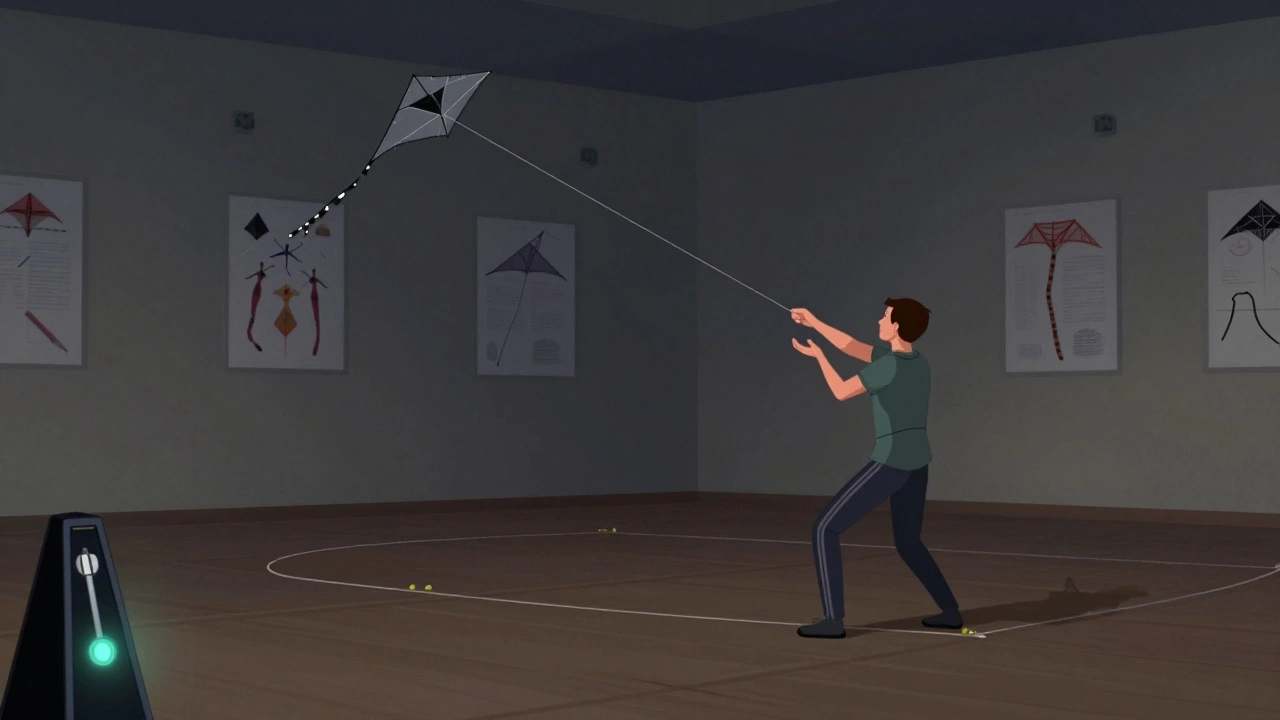
Indoor kite flying isn’t just for rainy days-it’s the secret weapon for becoming a better flyer. Without wind to hide behind, you’re forced to feel every tug, every shift, every micro-movement of your kite. That’s where real skill is built. If you’ve ever watched a pro glide a kite through a tight sequence indoors and wondered how they do it, the answer isn’t magic. It’s repetition. It’s drills. And it’s not as hard as you think.
Why Indoor Practice Changes Everything
Outside, wind does half the work. You can get away with sloppy inputs, lazy turns, or delayed reactions. But indoors? The air is still. The kite doesn’t move unless you make it move. That’s why indoor sessions are brutal, honest, and effective. You’ll feel every mistake. You’ll also fix them faster.
Think of it like practicing guitar without an amp. You hear every wrong note. You can’t blame the room. You can’t blame the weather. You only have yourself-and your hands. Indoor kite flying does the same thing for your control.
Most flyers skip this. They wait for wind. That’s why their skills plateau. The best flyers? They train indoors year-round. Even in summer. Even when the forecast says perfect conditions. Because they know: skill isn’t built in the wind. It’s built in the quiet.
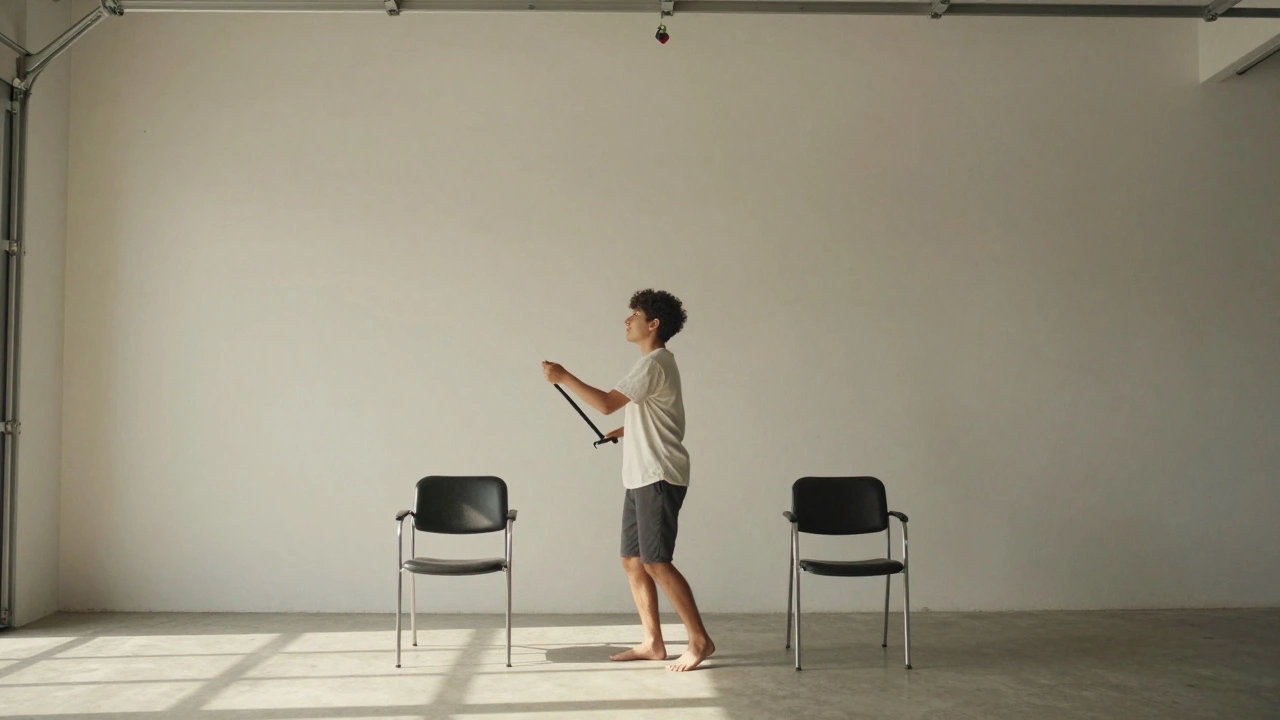
Drill 1: Footwork-Move Like the Kite
Footwork isn’t about stepping around. It’s about staying centered. Your body is the anchor. Your feet are the pivot. If you’re shifting too much, your kite wobbles. Too little, and you lose control.
Try this: Set up two chairs 6 feet apart. Stand between them. Hold your kite at waist height. Now, without moving your arms, take three small steps forward. Then three steps back. Keep the kite steady. No tilting. No diving. Just pure vertical motion.
Do this for five minutes. Then add a twist: Step left, then right, while keeping the kite hovering. Your goal? No more than 6 inches of deviation from center. If the kite drifts, you’re leaning. If it drops, you’re lifting too much. Adjust your stance. Bend your knees. Stay low.
Why this works: Indoor flying strips away wind lift. You’re forced to balance the kite with your body, not the air. Over time, your feet learn where to go before your hands even react. That’s muscle memory. That’s control.
Drill 2: Rhythm-Find the Pulse
Wind makes you rush. You pull too hard. You panic. Indoor flying forces you to slow down. And when you slow down, you start to feel the rhythm.
Grab a metronome app. Set it to 60 BPM. Now, fly your kite in a slow square. One movement per beat. Left turn on beat 1. Up on 2. Right on 3. Down on 4. Hold each position for one beat. Don’t rush. Don’t jerk.
At first, it’ll feel robotic. That’s okay. You’re not trying to look cool. You’re trying to feel the timing. After three minutes, drop to 50 BPM. Then 40. The slower you go, the more you learn. You’ll notice how a 0.5-second delay in your pull causes the kite to stall. You’ll feel how a tiny flick on the line makes it yaw.
Try this next: Fly a figure-eight. One loop per 8 beats. Count out loud. Feel the pause between loops. That pause? That’s where most people mess up. They rush the turn. Indoors, you can’t. The kite stops. And you have to restart.
After a few sessions, you’ll start to hear the rhythm in your head-even when you’re outside. Your hands will move before your brain tells them to. That’s what rhythm looks like.
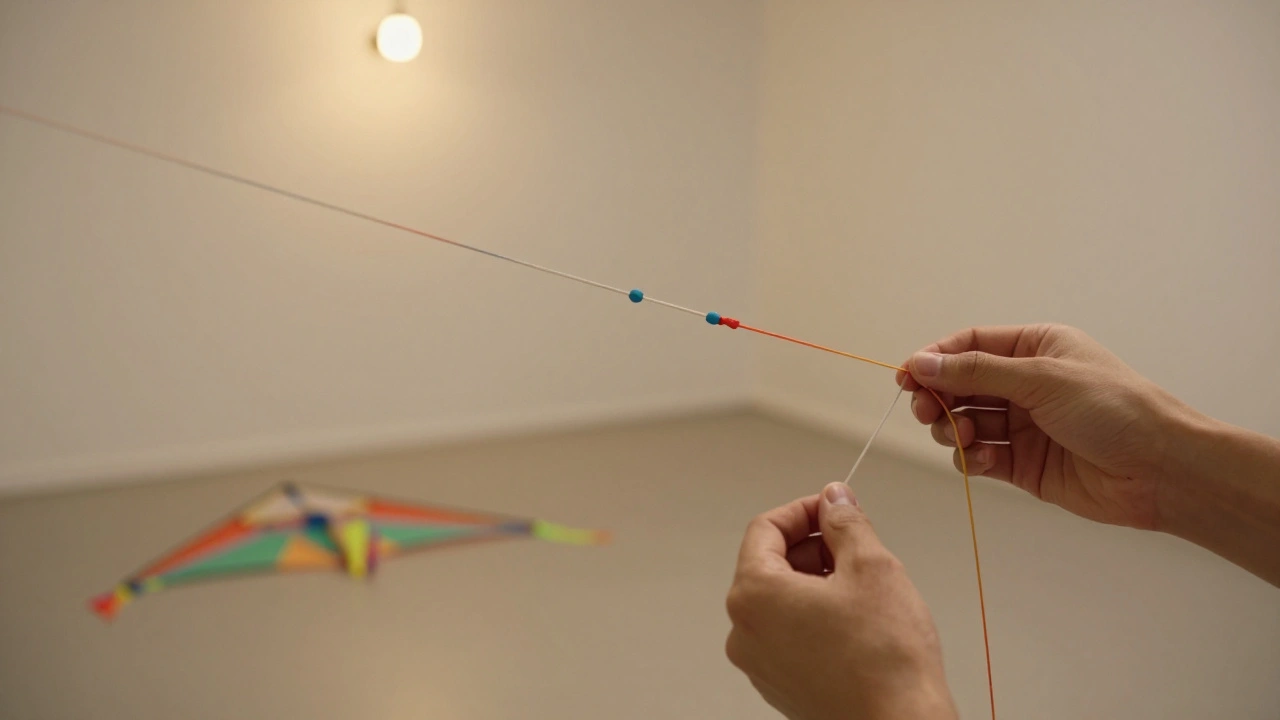
Drill 3: Line Management-Tangle-Free Control
Line twist is the silent killer of indoor flying. It sneaks up on you. One small turn. One misstep. Suddenly, your kite spins out of control. And you’re stuck.
Here’s how to fix it: Tie two light markers (like colored tape) on your lines, 18 inches from the handles. Now, fly a slow circle. Left hand moves clockwise. Right hand moves counterclockwise. Keep the kite level. Watch the tape.
If the tape twists, stop. Untwist. Then try again. Do this for 10 minutes. No wind. No distractions. Just you, your lines, and your patience.
Now try this variation: Fly a tight spiral. Start wide. Slowly shrink the circle. Every 3 rotations, pause. Check the lines. Are they clean? If not, unwind them. Then continue.
Why this matters: Indoors, you can’t rely on wind to untwist your lines. You have to do it yourself. Over time, you’ll learn how small inputs create big twists. You’ll learn how to fly without crossing your arms. You’ll learn how to hold your handles so your lines stay straight.
Pro tip: Always start and end your session with a line check. Even if you think they’re fine. One twist can ruin an hour of practice.
Putting It All Together: The 15-Minute Indoor Routine
You don’t need hours. You need consistency. Here’s a simple routine that takes 15 minutes and builds all three skills at once.
- Warm-up (2 min): Hover the kite 3 feet in front of you. No movement. Just hold. Feel the tension in the lines.
- Footwork (3 min): Step forward-back, left-right. Keep kite centered. No more than 8 inches off.
- Rhythm (5 min): Fly a square at 50 BPM. Then a figure-eight at 40 BPM. Count out loud.
- Line Management (3 min): Fly a slow spiral, checking lines every 3 rotations. Untwist if needed.
- Cool-down (2 min): Fly a slow, wide circle. Then let the kite settle. Don’t yank the lines.
Do this three times a week. In six weeks, you’ll notice something: your outdoor flying feels easier. Your turns are smoother. Your kite responds before you even think. That’s the power of indoor work.
Common Mistakes (And How to Fix Them)
- “My kite keeps diving.” You’re pulling too hard. Indoors, you don’t need force. You need finesse. Try using just your fingertips. Let the kite float.
- “I can’t keep it level.” Your stance is too wide. Bring your feet shoulder-width apart. Bend your knees. Stay low. Your center of gravity matters more than your arms.
- “My lines keep tangling.” You’re crossing your arms. Practice flying with your elbows tucked in. Think of your arms as extensions of the handles, not separate tools.
- “It feels too slow.” Good. That’s the point. Speed comes later. Precision comes first.
What You Need to Get Started
You don’t need fancy gear. Just:
- A lightweight indoor kite (like a Indoor Delta is a popular kite design optimized for low-wind, high-control flying with a stable, narrow profile)
- Two 100-foot lines of 20-lb test Dyneema
- A 10x10 foot clear space (a garage, large living room, or empty gym)
- A metronome app (free on any phone)
- Colored tape (for line markers)
That’s it. No wind. No crowd. Just you and your kite.
Why This Works-The Science Behind the Drills
Studies in motor learning show that slow, repetitive practice in controlled environments builds neural pathways faster than random, high-speed sessions. That’s why pianists practice scales slowly. Why golfers chip balls from 3 feet. Why pilots train in simulators before flying real planes.
Indoor kite flying is the same. You’re not practicing flying. You’re practicing control. You’re teaching your hands, feet, and eyes to work as one system. And when you finally step outside, the wind doesn’t surprise you. It just becomes another tool.
Can I use any kite for indoor practice?
Not all kites work indoors. You need one designed for low wind and high control. Standard outdoor kites are too heavy or too unstable. Look for kites labeled "indoor" or "calm wind." The Indoor Delta, the Micro Racer, and the Soft Diamond are proven choices. They’re light, responsive, and forgiving.
Do I need a lot of space?
No. A 10x10 foot area is enough. A garage, large bathroom, or even a hallway with doors open works. The key is no obstacles. No fans. No pets. Just clean air and enough room to move your arms.
How long until I see improvement?
You’ll notice better control after 3-4 sessions. In three weeks, your outdoor flying will feel smoother. In six weeks, people will ask how you got so much better. The answer? You didn’t wait for wind. You trained when no one else did.
Can I practice with two kites indoors?
Yes, but only after mastering single-kite control. Two-kite flying indoors is advanced. It requires perfect timing and line separation. Start with one. Get smooth. Then add the second. Most people rush this step-and end up tangled.
What if my lines keep twisting even after untwisting?
Check your handles. Are they twisted? Are you holding them the same way every time? Try marking the grip with tape so you always rotate them the same way. Also, avoid crossing your arms. Fly with your elbows close to your body. If the twist keeps happening, replace your lines. Old lines lose their twist resistance.