Winning a kite competition isn’t just about flying skill-it’s about precision. The difference between a silver medal and gold often comes down to how well your kite is tuned. Two things make or break that precision: bridle geometry and line lengths. Get these wrong, and even the best pilot can’t make the kite do what it should. Get them right, and the kite becomes an extension of your hands.
Why Bridle Geometry Matters More Than You Think
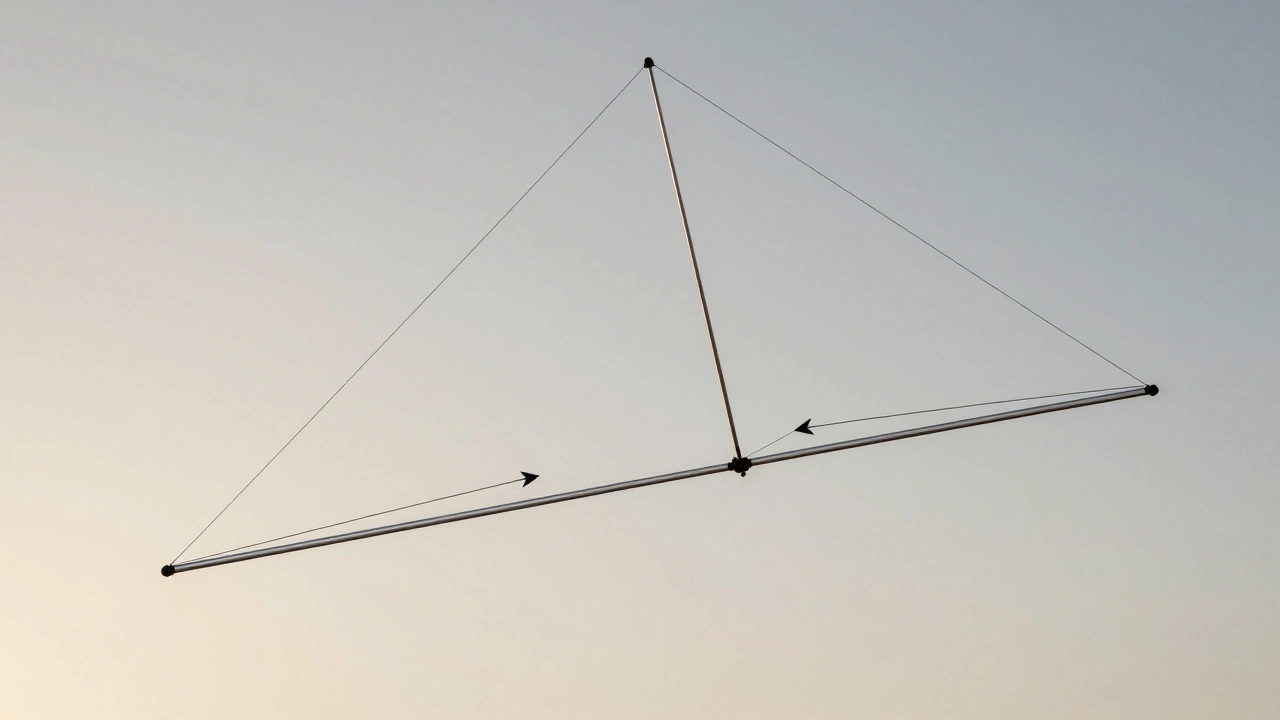
The bridle is the network of lines that connects your kite to the flying lines. It’s not just a set of strings-it’s the kite’s control system. Think of it like the suspension on a race car. If the angles and attachment points are off, the kite won’t respond the way you expect.
Most competition kites use a multi-point bridle, often with three or four attachment points on the leading edge. Each point changes how the kite pulls through the air. A bridle that’s too high makes the kite nose-heavy, causing it to dive or stall. Too low, and it becomes unstable, fluttering or spinning uncontrollably. The sweet spot? A bridle that balances lift, drag, and pitch.
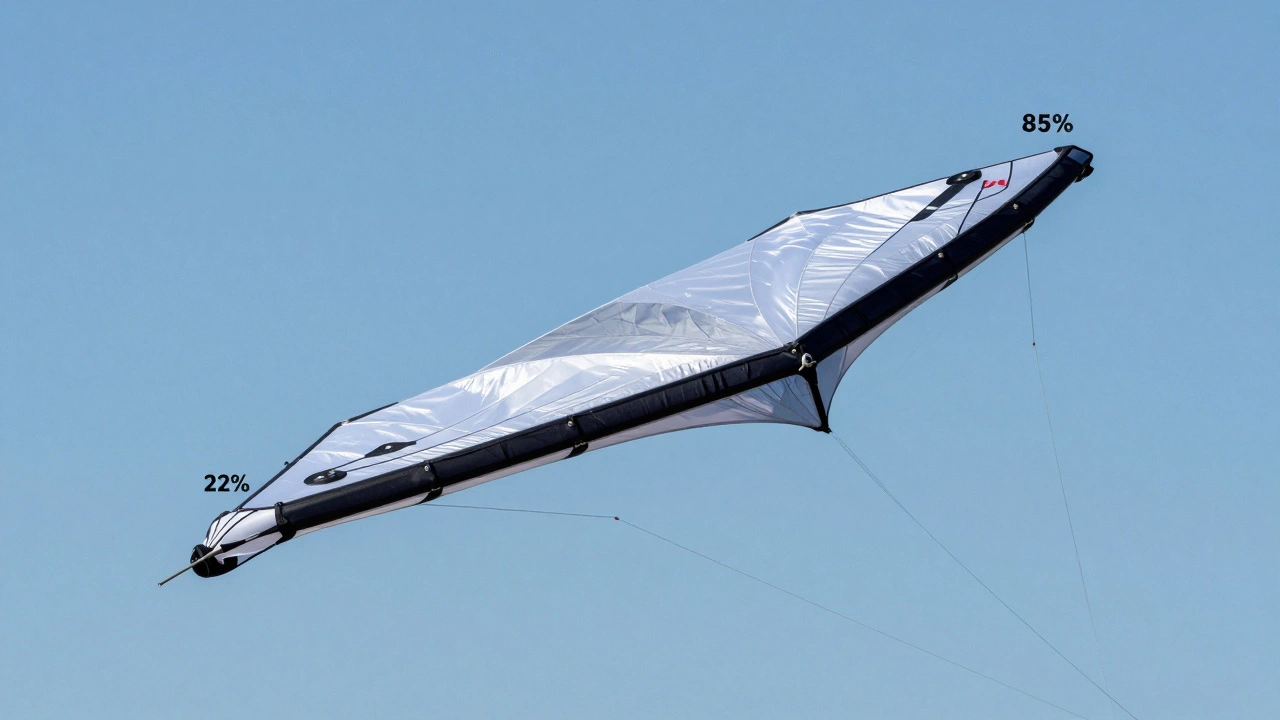
For example, the popular 2025 ProX-9 model requires its bridle to be set with the top point at 22% of the leading edge length from the top, the middle at 58%, and the bottom at 85%. These aren’t random numbers-they’re the result of wind tunnel tests and competition data from the last three World Kite Championships. Deviate by even 1%, and you’ll notice a lag in turning response or reduced stability in crosswinds.
How Line Lengths Affect Control and Power
Line length isn’t just about how far you can fly from the kite. It directly affects how much control you have and how fast the kite reacts. Shorter lines mean quicker response but less room to maneuver. Longer lines give you smoother arcs but make fine adjustments harder.
Competition rules usually limit line length to 30 meters for standard class kites. But within that limit, you can fine-tune performance by adjusting the difference between the front and rear lines. Most top pilots run their front lines 1-2 cm shorter than the rear lines. Why? It increases the kite’s angle of attack slightly, giving more lift without adding drag. This helps in light wind conditions where every gram of lift counts.
But here’s the catch: if your front lines are too short, the kite will oversteer. It’ll snap into turns too hard, making it hard to hold smooth lines during precision routines. If they’re too long, the kite feels sluggish. You’ll miss marks on your figures, and judges will notice.
Real-world tip: Mark your lines with colored tape every 50 cm. That way, you can quickly check if your setup changed after a crash or a windy session. One pro pilot in Germany lost a championship because he didn’t notice his rear lines had stretched by 4 cm after a hard landing. He didn’t win a single round after that.
The Relationship Between Bridle and Line Lengths
You can’t tune one without the other. The bridle sets how the kite wants to fly. The line lengths determine how well you can make it fly that way.
Imagine a bridle set for maximum lift. If you pair it with long lines, the kite will feel lazy and unresponsive. But if you shorten the lines, it becomes twitchy and hard to control. On the flip side, a bridle set for speed and agility needs shorter lines to match its quick reflexes. Too long, and you’ll be fighting the kite through every turn.
Top teams use a simple formula: bridle geometry sets the kite’s character, line lengths set the pilot’s control. Start by tuning the bridle for the wind conditions you expect. Then adjust line lengths to match your flying style. If you’re a smooth, precise pilot, go for slightly longer lines. If you like aggressive, sharp movements, shorten them.
How to Test and Tune Your Setup
Don’t guess. Test. Here’s how:
- Start with manufacturer settings. Most brands publish bridle and line specs for their competition models.
- Launch in light wind (5-8 mph). Watch how the kite sits in the air. It should hover without tilting forward or back.
- Perform a figure-eight pattern. If the kite lags on one side, your line lengths are uneven.
- Try a vertical stall. A well-tuned kite should hold the stall for 3-5 seconds without dropping or spinning.
- Make small adjustments-1 mm at a time-and retest. Change one variable at a time.
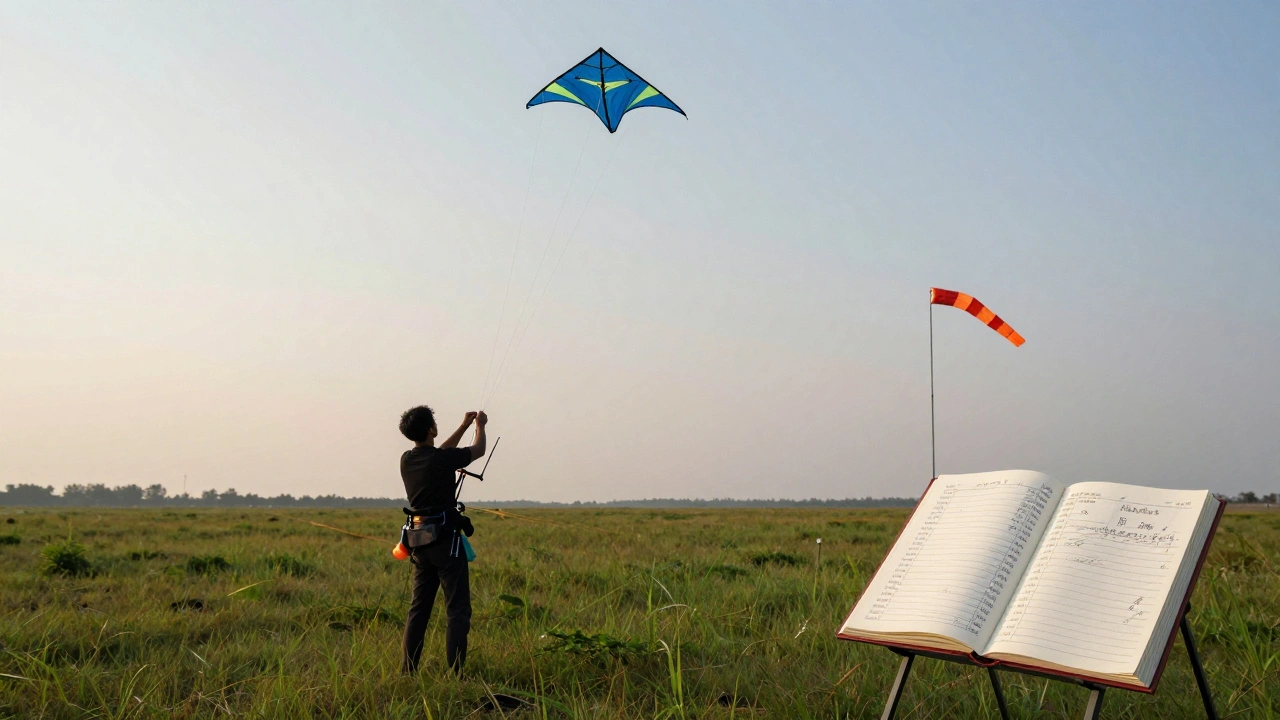
Keep a log. Note the wind speed, bridle point positions, line lengths, and how the kite felt. After a few sessions, you’ll start seeing patterns. One pilot in Florida kept a notebook for 18 months. By the time he won his first national title, he could tune his kite just by looking at the sky.
Common Mistakes and How to Avoid Them
- Using the same setup for all wind conditions. Light wind needs more lift (higher bridle points). Strong wind needs more stability (lower bridle points). Don’t use one setting for everything.
- Ignoring line stretch. Nylon and Dacron lines stretch over time. Check them every 10 flights. Replace if they’ve stretched more than 2%.
- Not checking symmetry. Even a 1 mm difference between left and right lines can cause the kite to pull to one side. Use a measuring tape, not your eyes.
- Over-tuning. Too many adjustments lead to confusion. Stick to one change per session. Let the kite tell you what it needs.
Tools You Need
You don’t need fancy gear, but you do need precision:
- Micro-tape measure (to the millimeter)
- Line tension gauge (optional but helpful)
- Colored tape for marking line lengths
- A notebook or app to log your settings
- A wind speed app (like KiteWind or WindMeter)
Some pilots use smartphone apps to measure line tension by plucking the line like a guitar string. It’s not perfect, but it’s better than guessing.
Final Tip: Fly With Purpose
Every adjustment you make should have a goal. Are you trying to improve low-wind performance? Fix a lag in turns? Hold a stall longer? Don’t tune randomly. Tune with intent.
Competition kites are machines. They don’t have feelings. But they respond to precision. The best pilots aren’t the ones with the most expensive gear-they’re the ones who know their kite inside out. They know that a 2 mm change in bridle height can turn a good flight into a flawless one.
So next time you’re at the field, don’t just fly. Tune. Measure. Test. Repeat. That’s how champions are made.
How do I know if my bridle geometry is wrong?
If your kite dives uncontrollably, stalls too easily, or spins during turns, your bridle is likely misaligned. A properly tuned bridle lets the kite hover steadily in light wind and respond smoothly to inputs. If you’re constantly fighting the kite to stay on course, check the attachment points against the manufacturer’s specs. Even a 1% deviation can cause major issues.
Can I use the same line lengths for all kite models?
No. Every kite model has a unique design, weight distribution, and aerodynamic profile. A bridle and line setup that works perfectly on a 2024 ProX-9 will likely perform poorly on a 2025 SkyRacer 7. Always start with the manufacturer’s recommended settings and adjust from there. Never assume compatibility between models.
How often should I replace my kite lines?
Replace lines every 60-80 hours of flight time, or sooner if you notice fraying, stretching beyond 2%, or loss of elasticity. Dacron lines stretch more than spectra, so if you’re using Dacron, check them after every 30 hours. Worn lines cause inconsistent tension, which throws off your entire tuning setup.
Is it better to have slightly longer or shorter front lines?
Slightly shorter front lines (1-2 cm) improve lift and responsiveness in light winds, which is why most competition pilots use them. But if you’re flying in strong winds, longer front lines reduce the kite’s angle of attack, preventing over-powering. The ideal length depends on wind conditions and your flying style. Always test both setups in the wind you expect to fly in.
Do I need a tension gauge to tune my kite?
Not strictly, but it helps. Many top pilots rely on feel and consistent measurement with a tape. However, a tension gauge eliminates guesswork when fine-tuning. If you’re serious about competition, investing $30-$50 in a line tension gauge will save you hours of trial and error. It’s not about having the best gear-it’s about having consistent, measurable gear.