When you fix a torn sail, replace a broken spar, or reattach a broken spine on your kite, you’ve done the hard part-but the kite still won’t fly right. That’s because repair changes the weight, balance, and aerodynamics. A repaired kite doesn’t just need to be mended; it needs to be tuned. Without proper rebalancing, it’ll spin, dive, or refuse to climb no matter how windy it is. This isn’t guesswork. It’s physics. And here’s how to fix it.
Why Your Kite Won’t Fly After Repair
You patched the rip, glued the spar back on, and tightened the stitching. But now the kite pulls to the left, wobbles mid-air, or stalls when you try to launch. Why? Because every repair alters the kite’s center of gravity and center of lift. A patch adds weight. A new spar might be stiffer or heavier than the original. Even a slight shift in bridle point changes how the wind hits the sail.
Think of it like fixing a car’s suspension. You replace a broken spring, but if you don’t align the wheels, the car still pulls to one side. Same with kites. The repair fixes the structure-but not the flight.
What You Need to Rebalance a Kite
You don’t need fancy gear. Just these basics:
- A flat, open space (a park or field works)
- A light breeze (5-12 mph is ideal)
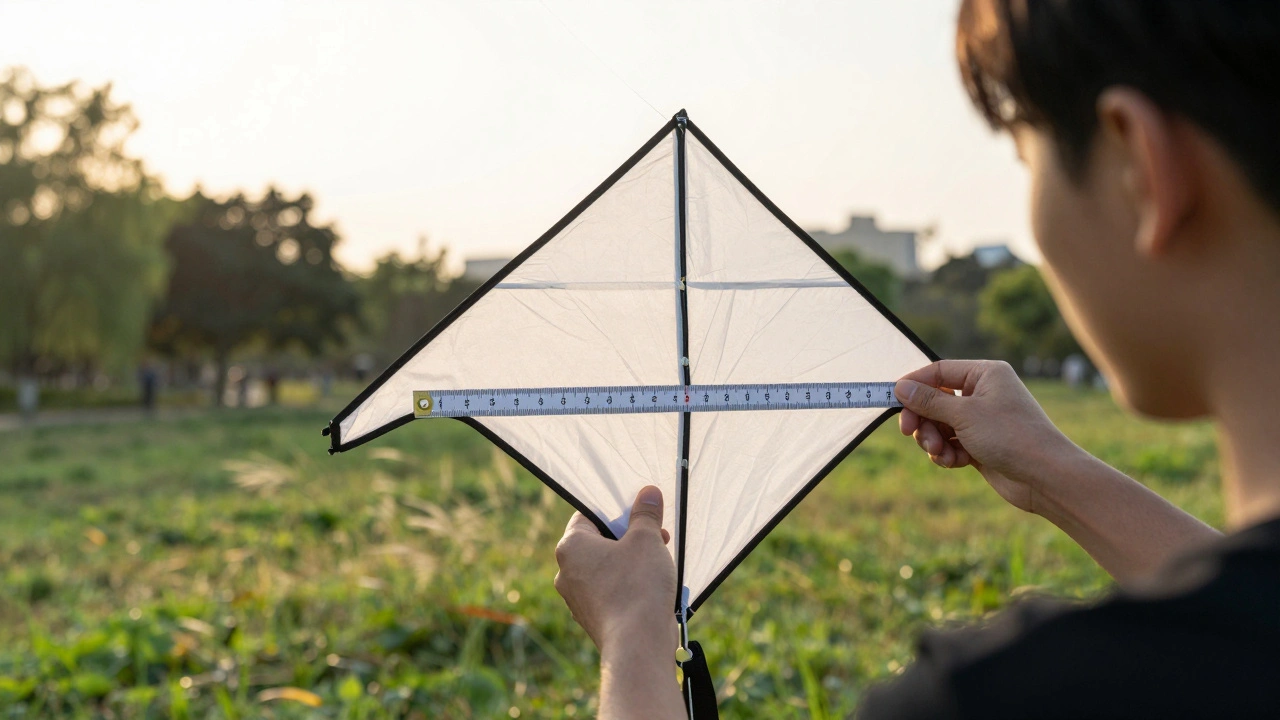
- A measuring tape or ruler
- Small pieces of tape (masking or packing tape)
- Light string or thread (for testing balance)
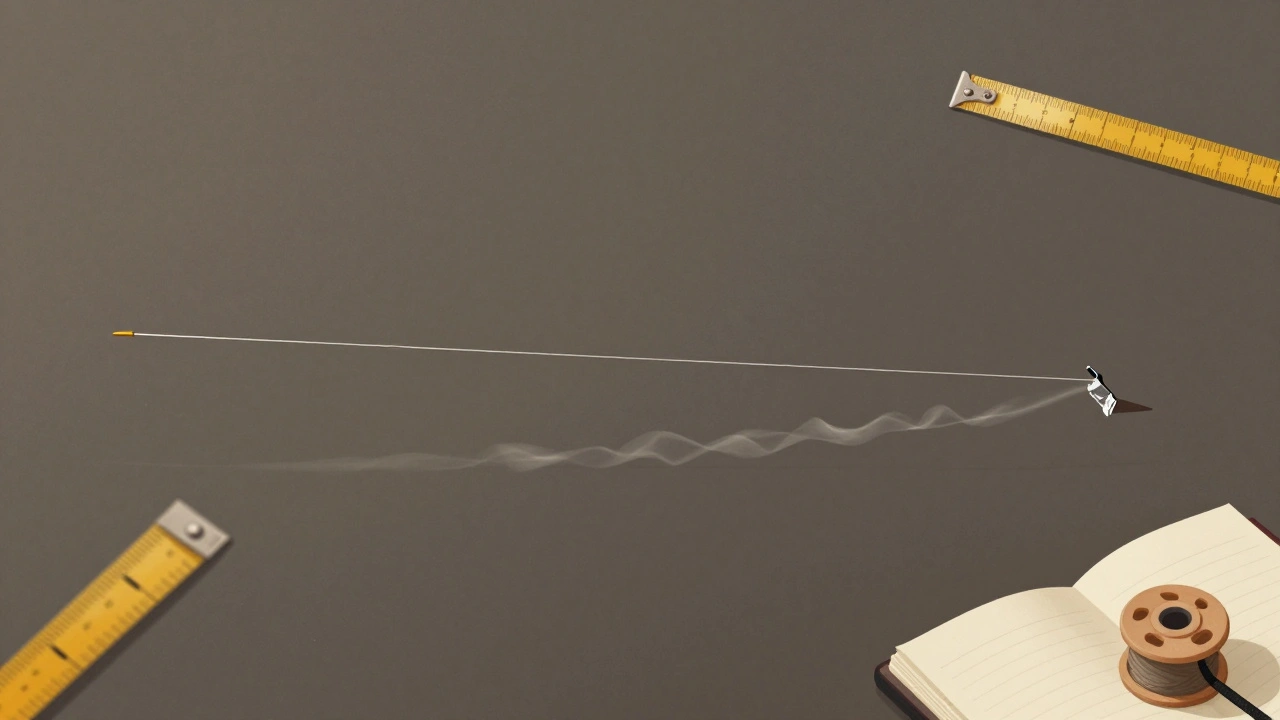
- A notebook (yes, write this down)
Don’t try this on a windy day. Too much wind hides small imbalances. You want just enough to feel the kite’s behavior, not fight it.
Step 1: Check the Bridle Points
The bridle is the network of strings that connect the kite to your flying line. It’s the most sensitive part after a repair. If the bridle was cut, reattached, or moved during the fix, the kite’s pull will be off.
Most dual-line kites have two bridle attachment points: left and right. On single-line kites, there’s usually one central point with two legs. Measure the distance from the spine to each bridle point. They should be identical. If they’re not, adjust them. Use a ruler. Even a 1/4-inch difference can make the kite turn hard.
Pro tip: If the kite spins clockwise, the left bridle leg is likely too long. Shorten it slightly. If it spins counterclockwise, the right leg is too long. Use small knots or tape to mark adjustments.
Step 2: Test the Balance
Hang the kite upside down by the bridle line. Let it swing freely. If it tilts to one side, that side is heavier. This is your first clue.
Now, lay it flat on a table. Slide a thin piece of string under the spine, about one-third of the way from the nose. Lift the kite gently. If it balances perfectly, the center of gravity is right. If it tips forward, the tail is too light. If it tips backward, the nose is too heavy.
For kites with tails, add small weights to the tail end-tiny pieces of tape or a paperclip. For delta or diamond kites without tails, add weight to the nose or spine. Use tape to attach small strips of foil or paper. Start with 1 gram. Test again. Add more if needed.
Step 3: Adjust the Tow Point
The tow point is where your flying line attaches to the bridle. Moving it changes how the kite angles into the wind. Too far forward? It’ll stall. Too far back? It’ll dive.
Most kites have a loop or knot on the bridle where you tie your line. Slide that loop up or down by 1/2 inch. Fly the kite. If it dives, move the tow point up. If it won’t climb, move it down. Do this in tiny increments. Write down each change and how the kite reacted.
On a repaired kite, the tow point often needs to be moved 1-2 inches from its original position. Don’t assume the old mark is still right.
Step 4: Check the Sail Tension
A repaired sail might be loose, puckered, or stretched unevenly. That changes airflow over the surface. A loose sail flutters. A too-tight sail wrinkles and loses lift.
Hold the kite up to the light. Look for wrinkles. If the sail bulges in the middle, it’s too loose. If it’s taut but pulling at the edges, it’s too tight. Gently adjust the spars. On a diamond kite, the vertical spar should be slightly bowed forward. On a delta, the leading edge should be straight, not curved.
Use heat from a hairdryer (on low) to gently shrink or reshape the sail fabric. Hold it 12 inches away. Don’t melt it-just warm it enough to relax the fibers.
Step 5: Fly It. Then Fly It Again
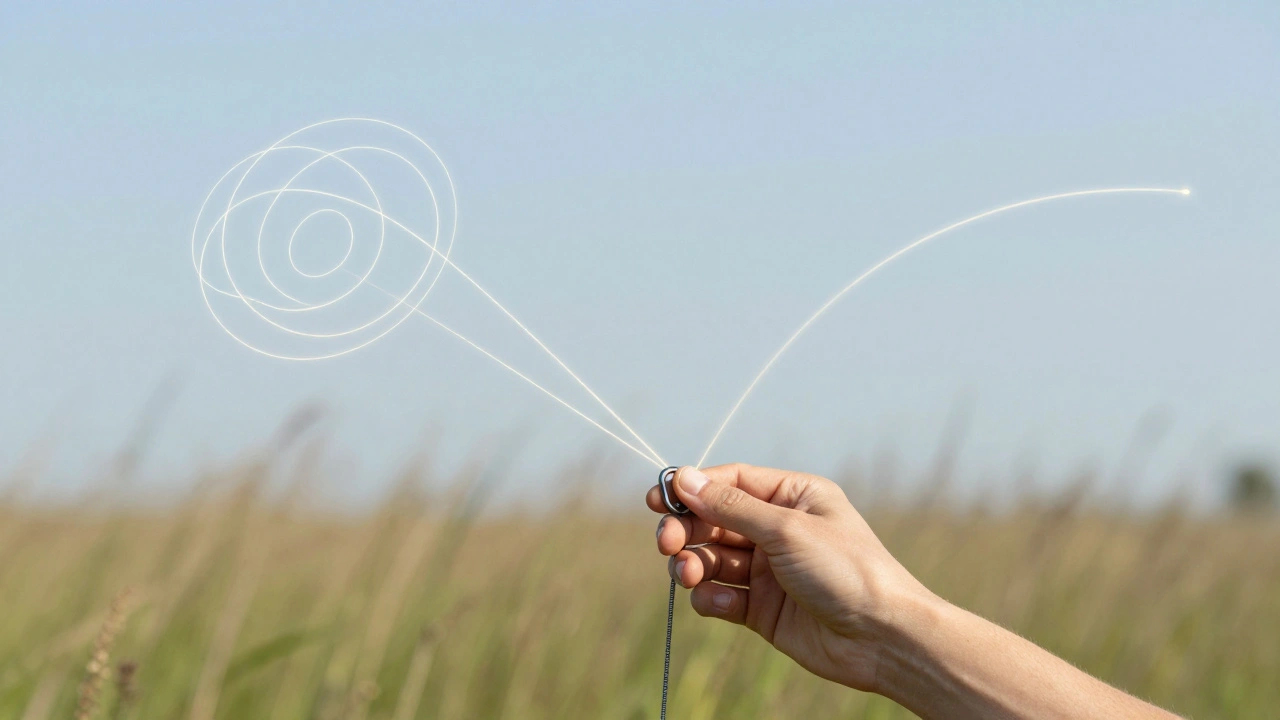
After each adjustment, fly the kite. Not for long. Just 30 seconds. Watch how it behaves:
- Does it drift left or right?
- Does it loop or spin?
- Does it climb slowly or shoot up too fast?
- Does it stall and drop when you let out line?
Write each observation. Then tweak one thing at a time. Don’t change the bridle, tow point, and weight all at once. You won’t know what worked.
After three or four adjustments, you’ll start to see patterns. The kite will feel smoother. It’ll hold its line. It’ll climb without fighting you. That’s when you know it’s rebalanced.
Common Repair Mistakes That Ruin Flight
Here are the top three mistakes people make after fixing a kite-and how to avoid them:
- Using the wrong glue. Super glue stiffens fabric. It adds weight and creates dead spots. Use flexible, waterproof fabric glue like Aleene’s Fabric Fusion.
- Replacing spars with thicker material. A stronger spar isn’t always better. A carbon fiber spar might be 30% heavier than the original. Match the diameter and flex. If you can’t find the same, go slightly lighter, not heavier.
- Ignoring the tail. Tails aren’t just decoration. They stabilize. If you removed or replaced the tail, add a new one. A 10-foot strip of lightweight ribbon or streamer often fixes wobbling.
When to Call It Done
You’re done when:
- The kite flies straight without constant correction
- It climbs steadily in light wind
- It doesn’t spin or loop when you pause
- You can let out 50 feet of line and it still holds its position
If it flies like it did before the repair-better, even-you’ve succeeded. Don’t over-tune. Sometimes, a kite just needs a little nudge. Too many adjustments can make it worse.
Quick Reference: Rebalance Checklist
- Measure bridle points-left and right must match
- Test balance by hanging upside down
- Add weight in 1-gram increments (tape or foil)
- Adjust tow point in 1/2-inch steps
- Check sail tension-no wrinkles, no sag
- Use the right glue and spar material
- Test in light wind, one change at a time
Rebalancing a repaired kite takes patience, but it’s not magic. It’s just careful observation. Once you’ve done it once, you’ll recognize the signs next time. Your kite will thank you with smooth, steady flight.
Why does my kite spin after I repair it?
Spinning usually means the bridle legs are uneven or the sail tension is unbalanced. Measure both bridle attachment points from the spine-they must be identical. Also, check if the repair added more weight to one side. Use the hanging test: if the kite tilts left or right when suspended, add a small weight to the opposite side.
Can I use duct tape to fix the sail and still fly the kite?
Duct tape works in a pinch, but it’s heavy and stiff. It adds drag and changes airflow. For long-term use, use lightweight fabric repair tape or heat-activated patching material. If you used duct tape, you’ll need to add more tail weight or move the tow point back to compensate for the extra weight and drag.
Should I replace the entire spine if it breaks?
Not always. If the break is clean, you can splice it with a splint of carbon fiber or fiberglass rod. Glue it with flexible fabric adhesive and wrap it with thin thread. Replacing the whole spine often makes the kite heavier than designed. Match the original diameter and flexibility. If you can’t find the same material, go slightly lighter.
How do I know if my kite’s tow point is too far forward?
If the kite stalls, drops suddenly, or won’t climb without constant tugging, the tow point is too far forward. Move it back in 1/2-inch increments. A forward tow point makes the kite too nose-heavy, reducing lift. The ideal position lets the kite hover slightly nose-up in light wind.
Is it normal for a repaired kite to fly worse at first?
Yes. Repairs change the kite’s weight distribution and aerodynamics. It’s not broken-it’s just out of tune. Most kites need 2-3 flight tests with small adjustments before they fly smoothly again. Don’t give up after one bad flight. Keep tweaking one thing at a time.