There’s something magical about watching a kite cut through the sky-just a stick, some paper, and a string, dancing on the wind. If you’ve ever stood in a park with a kite in hand and wondered why it won’t rise, you’re not alone. Most people give up after a few failed attempts, not because they’re doing it wrong, but because no one showed them the simple, practical steps. Flying a single-line kite isn’t about luck or expensive gear. It’s about understanding wind, timing, and a few basic moves. Here’s how to do it right, starting from the moment you unroll the spool.
Choose the Right Day and Place
You can’t fly a kite in a calm yard or on a foggy morning. Single-line kites need steady wind, and not too much of it. The sweet spot is 5 to 18 miles per hour. If you’re in Portland, late afternoon in spring or early fall is usually perfect. Look for open spaces-fields, beaches, or parks with no trees or power lines nearby. Avoid flying near roads, airports, or tall buildings. They create chaotic wind patterns that will make your kite dive, spin, or crash.
Check the wind before you go. Hold up a piece of grass or a strip of ribbon. If it floats steadily sideways, you’re good. If it drops straight down, wait for a windier day. If it whips around like a flag in a storm, you’ve got too much wind. A single-line kite isn’t meant for gales.
Assemble the Kite Correctly
Most beginner kites come pre-assembled, but double-check anyway. The frame should be rigid-no bent sticks. The tail, if it has one, must be attached securely at the bottom. A tail isn’t just decoration; it adds stability. Without it, the kite will wobble and roll. If your kite came with a pre-tied bridle (the string that connects the spool to the kite), don’t untie it. It’s already balanced for that kite’s shape and weight.
Some kites have a small loop where the flying line attaches. Others have two points. If there are two, tie your line to the center of the bridle, not to the top or bottom. This keeps the kite level. If you tie it too high, the kite will nose dive. Too low, and it won’t climb at all.
Wind Up the Line Properly
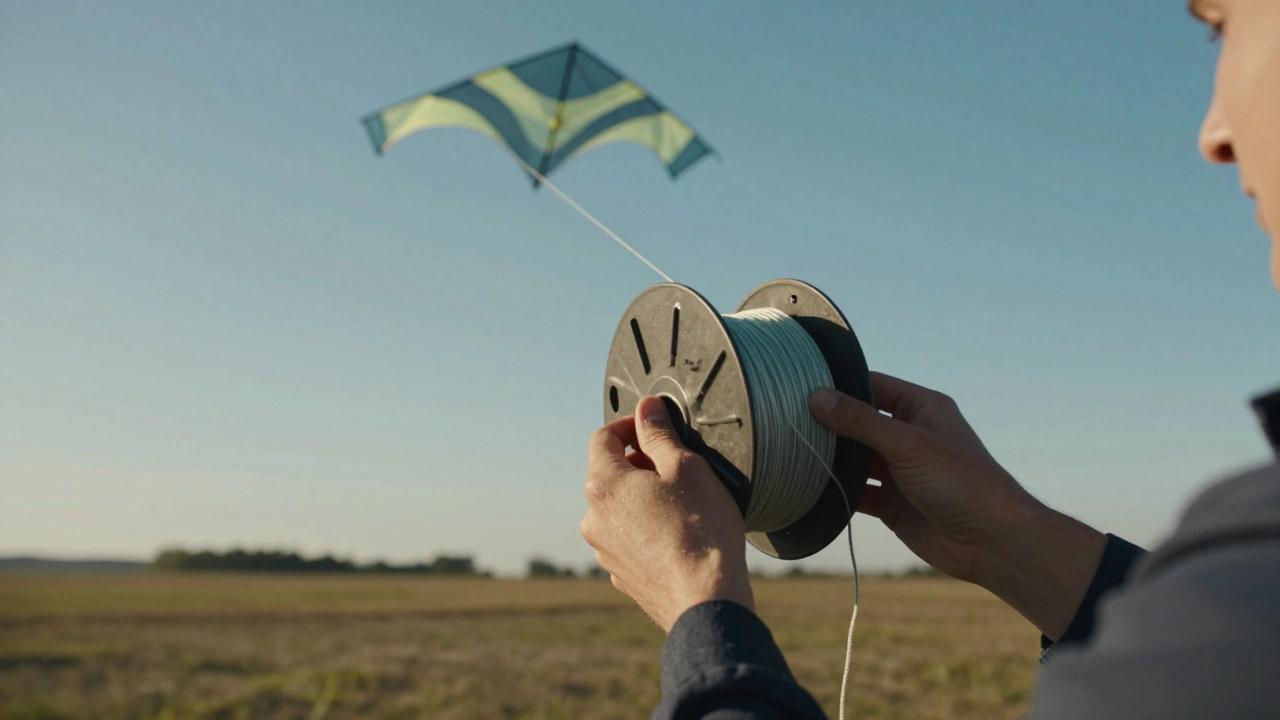
Unwind at least 100 feet of line before you start. That gives the kite room to climb. Keep the spool in your hand with the line feeding smoothly. Don’t let it tangle. If the line knots up, the kite won’t fly. Wrap the line loosely around your fingers if you need to pause, but never tie it to a tree or a post. You need to be able to let go and pull instantly.
Hold the spool like you’re holding a doorknob-fingers wrapped around, thumb on top. This lets you control tension without twisting the line. If you hold it like a steering wheel, the line will twist and tangle as you move.
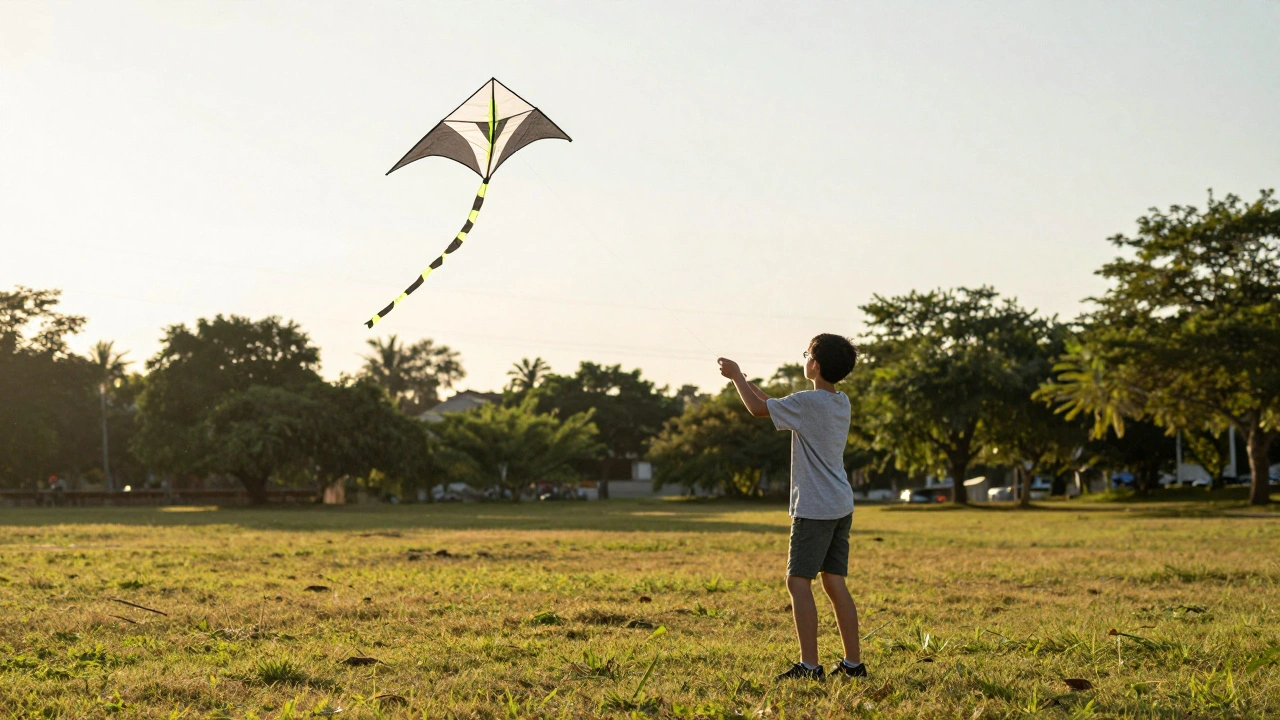
Launch with the Wind at Your Back
Stand with your back to the wind. Hold the kite up by the bridle, letting the line hang loose. Wait for a gust. When you feel the wind push against your face, let go. Don’t throw it. Just release it gently, like you’re setting a bird free. If you toss it, it’ll flip over and fall. If you hold on too long, it won’t catch the wind.
As soon as the kite lifts, start walking slowly forward-about one step per second. This gives the kite room to rise without pulling too hard. Don’t run. Running doesn’t help. In fact, it makes the kite unstable. Walk steadily, keeping your arm slightly bent, not locked out.
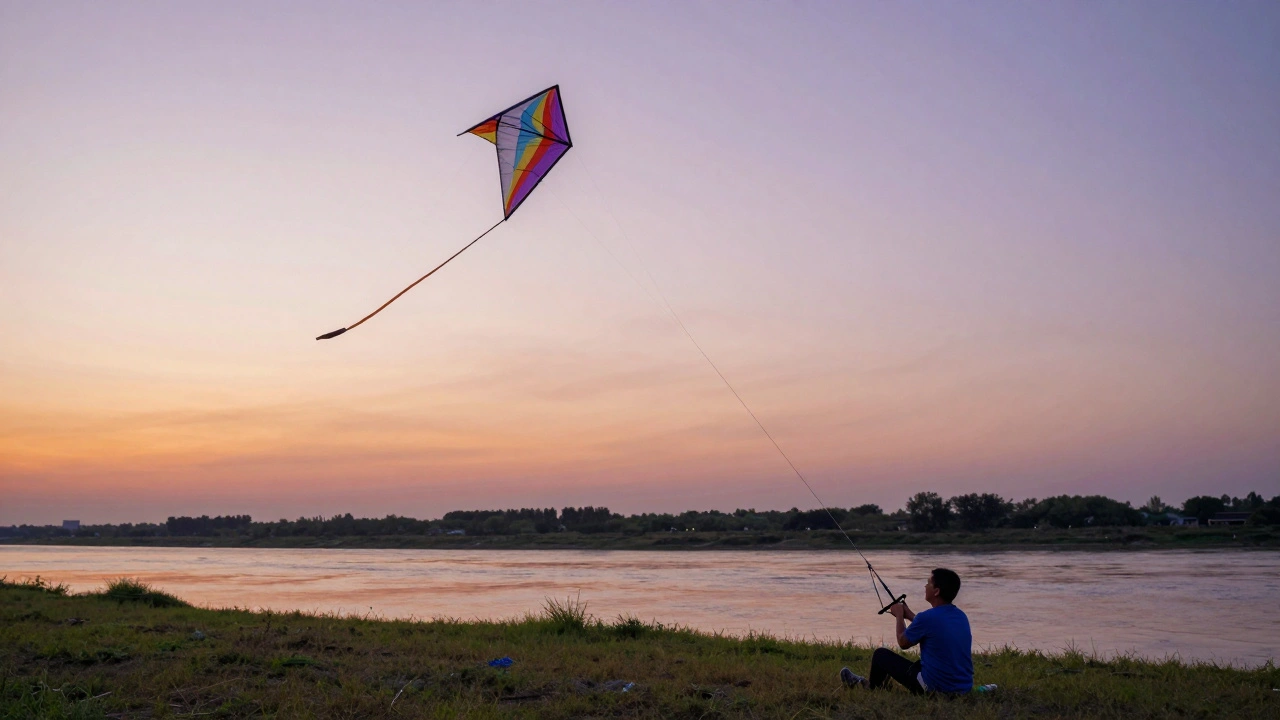
Let It Climb-Then Adjust
Once the kite is 50 feet up, stop walking. Let it hover. If it starts to dip, give a quick tug on the line-just a sharp pull, like snapping a towel. That adds lift. Then let the line out slowly. If it spins or dives, pull in a few feet. Too much line out in light wind = a kite that won’t hold altitude. Too little in strong wind = a kite that yanks your arm off.
Most beginners think they need to keep pulling. You don’t. A well-balanced kite will fly on its own once it’s up. Your job is to respond to changes: a gust, a lull, a sudden drop. Small corrections make all the difference. Watch the angle of the kite. If the nose tilts down, give a little line. If it tilts up too much, pull in. It’s like balancing a broom on your palm.
Land It Safely
When you’re ready to bring it down, don’t yank. Wind down the line slowly, hand over hand. Keep tension light. If you reel in too fast, the kite will stall and crash. If you let go of the spool, the line will tangle, and you’ll spend 20 minutes untangling it.
As the kite gets close to the ground, let it drift. Let the wind slow it naturally. If it starts to fall sideways, give a tiny tug to straighten it. You want it to land gently, like a leaf. If it slams into the grass, it might break. Kites are simple, but they’re not indestructible.
Common Mistakes and How to Fix Them
- It spins in circles. That’s a tail problem. Add a longer tail, or make sure it’s tied straight. A tail that’s too short won’t stabilize the kite.
- It dives straight down. You tied the line too high on the bridle. Reattach it to the center point.
- It won’t leave the ground. Either the wind is too light, or the kite is too heavy. Try a lighter breeze or a smaller kite.
- The line keeps tangling. You’re holding the spool wrong. Use the doorknob grip. Also, never let the line drag on the ground.
What to Do After You Master the Basics
Once you can fly your kite steadily for 10 minutes without crashing, you’ve got the hang of it. Try flying in different wind speeds. Try flying with a friend-see who can keep their kite higher. Try flying at dawn or dusk. The air is smoother then.
You might even start noticing how kites behave differently in open fields versus near hills. That’s the next level. But for now, celebrate the simple joy: a piece of paper, a string, and the wind doing the work. That’s all you need.
Can I fly a single-line kite in the city?
You can, but it’s harder. Cities have buildings, trees, and power lines that create uneven wind. Stick to large parks or open fields. If you’re in Portland, try Washington Park or the Eastbank Esplanade along the Willamette River. Avoid flying near roads or rooftops.
Do I need a special kite for beginners?
Not really. A simple diamond-shaped kite with a tail works best. Avoid kites with multiple lines, complex frames, or LED lights-they’re for advanced fliers. Look for kites labeled "beginner" or "easy fly." They usually cost under $20 and come with a pre-tied bridle and tail.
What if the wind dies while my kite is up?
If the wind drops, slowly reel in the line. Don’t panic. The kite will start to drift down. Gently pull and release a few times to keep it stable as it descends. If it starts to fall sideways, give a quick tug to straighten it. Most kites will land softly if you control the line.
Can I fly a kite at night?
Not safely with a standard single-line kite. You won’t be able to see obstacles, and the line is nearly invisible. Some people fly glow-in-the-dark kites, but those need special setups and aren’t recommended for beginners. Stick to daylight.
How long should the flying line be?
Start with 100 to 150 feet. That gives enough room to climb and adjust. Longer lines (200+ feet) work in stronger winds, but they’re harder to control. For beginners, shorter lines mean more control and fewer tangles.