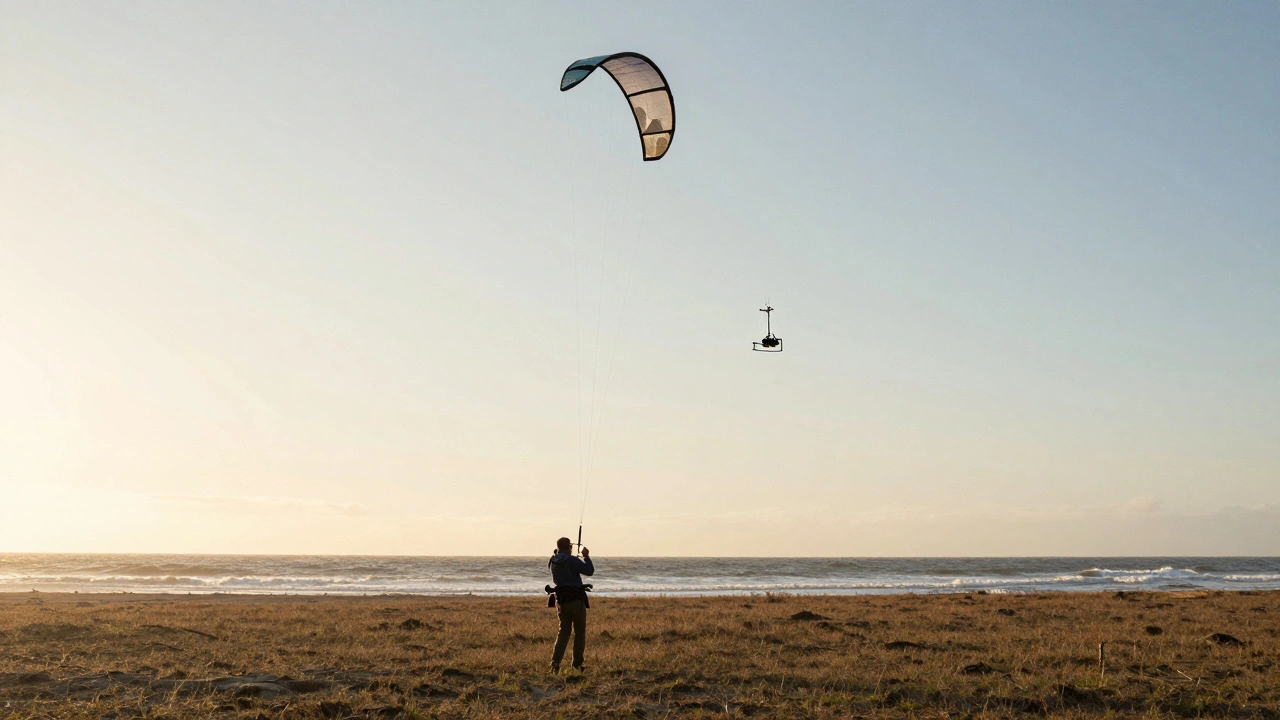
There is nothing more frustrating than setting up your gear, launching a Kite Aerial Photography (KAP) rig, and watching it get tossed around like a leaf in a storm. You didn't fail because of bad equipment; you failed because you ignored the sky. In this niche of aerial imaging, the wind isn't just a helper-it is the engine, the stabilizer, and often the enemy.
Getting sharp images from hundreds of feet up requires more than just a breezy day. It demands a specific window where lift meets stability. If you want to capture professional-grade shots without shredding your line or losing your camera, you need to master the art of reading the atmosphere. This guide breaks down exactly how to plan, time, and forecast for those perfect moments.
The Sweet Spot: Understanding Wind Speed Requirements
Not all wind is created equal. For Kite Aerial Photography, which involves suspending cameras from kites to capture unique aerial perspectives, you are looking for a very narrow range of speeds. Too little wind, and your kite won't generate enough lift to keep the camera steady. Too much wind, and the turbulence will blur your shots-or worse, snap your tether.
| Wind Speed (mph) | Wind Condition | Suitability for KAP | Recommended Kite Type |
|---|---|---|---|
| 0 - 5 mph | Calm / Light Breeze | Poor | None (Kite will not fly) |
| 6 - 10 mph | Light to Moderate | Fair | Large Delta or Parafoil (High Lift) |
| 11 - 18 mph | Moderate to Fresh | Ideal | Standard Dual-Line Stunt or Bow Kite |
| 19 - 25 mph | Fresh to Strong | Risky | Depowered C-Kite (Expert Only) |
| 26+ mph | Gale / Storm Force | Dangerous | Do Not Fly |
The "Goldilocks" zone for most photographers is between 11 and 18 miles per hour. At this speed, the kite generates consistent tension on the line. This tension acts as a natural tripod. When the line is taut, vibrations dampen significantly. Your shutter can fire without the image being smeared by micro-movements. Below 10 mph, you are fighting gravity with weak lift, leading to constant bobbing. Above 20 mph, gusts become unpredictable, making precise framing nearly impossible.
Direction Matters: Reading the Wind Consistency
Speed tells you if the kite will fly; direction tells you if the shot will be usable. A steady wind from one direction is worth its weight in gold. Erratic wind that shifts every few seconds makes focusing and composing a nightmare. You find yourself constantly adjusting the angle of the kite to compensate for drift, which introduces motion blur.
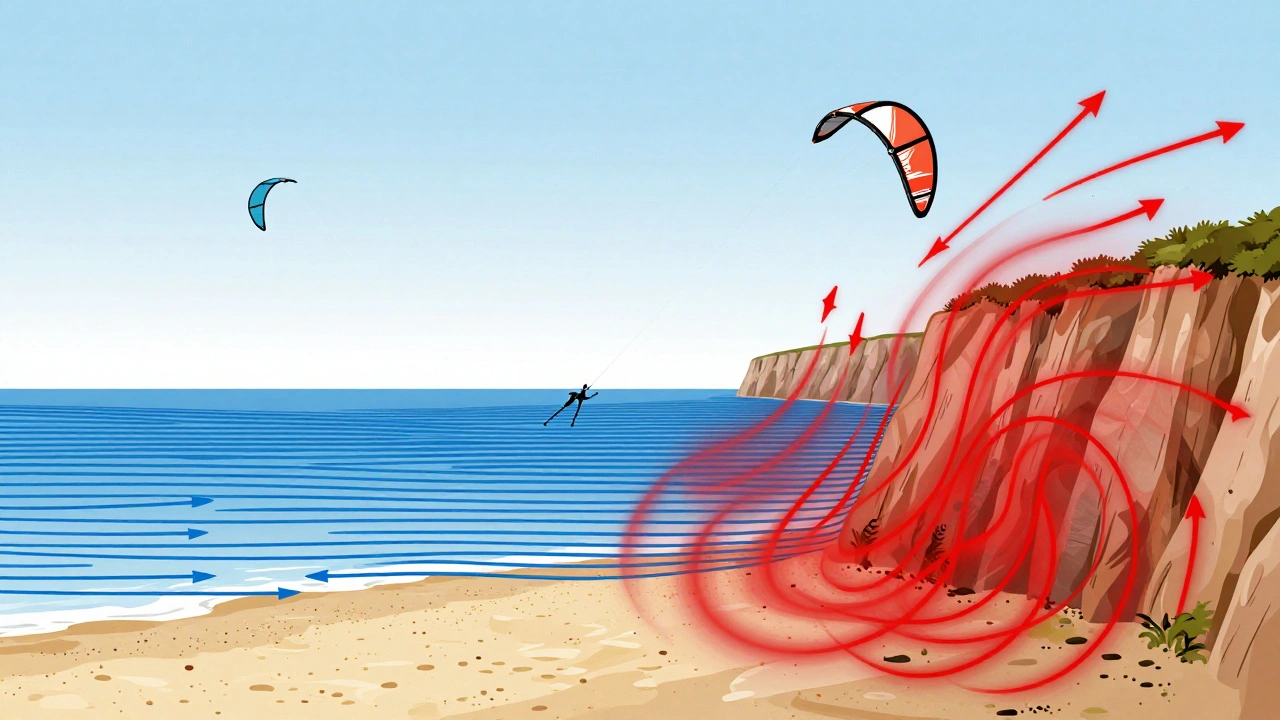
When scouting a location, look at the environment. Are the trees swaying uniformly? Is the smoke from a distant chimney rising straight up or drifting steadily? These visual cues tell you about the consistency of the flow. Avoid areas near large buildings, dense forests, or steep hills. These obstacles create turbulence, which is chaotic air movement caused by obstacles disrupting smooth airflow. Turbulence creates pockets of low pressure and high pressure that jerk the kite unpredictably. You want laminar flow-smooth, unbroken air moving over open fields, beaches, or flat plains.
If you are forced to fly near structures, position yourself upwind of them. The lee side (downwind) of a building or hill is a vortex generator. Your kite will enter this zone and likely crash into the ground or spin out of control. Always have a clear launch and recovery path directly perpendicular to the wind direction.
Forecasting Like a Pro: Tools and Timing
You cannot rely on a standard weather app that says "Windy." That is too vague. You need granular data. Professional KAP pilots use specialized tools to predict conditions hours or even days in advance. Understanding these tools separates the hobbyists from the pros.
- Windy.com: Use the "ECMWF" model for general trends and the "GFS" model for short-term details. Look at the wind arrows, but also check the color-coded heat maps for gustiness. High variance between average wind and gusts indicates instability.
- AirVisual: Great for checking particulate matter. Even if the wind is perfect, thick haze or pollution can ruin the clarity of your aerial shots. You want clean air for maximum contrast.
- Local Weather Stations: If possible, access data from nearby airports or private weather stations. They provide real-time gust history, which helps you understand the current rhythm of the wind.
Timing is everything. Wind patterns change throughout the day due to solar heating. In coastal areas like my home in Portland, Oregon, sea breezes often pick up in the late morning and peak in the early afternoon. However, inland, thermal activity can cause choppy winds during the hottest part of the day. Early morning, just after sunrise, often offers the most stable, laminar air because the ground hasn't heated up enough to create thermals yet. This is the secret window for ultra-sharp landscape shots.
Altitude and Microclimates
Wind speed increases with altitude. What feels like a gentle 10 mph breeze at your feet might be a fierce 20 mph gale at 300 feet. This phenomenon, known as wind shear, can be tricky. If the lower layers of air are calm but the upper layers are fast, your kite may feel unstable as it moves through different air densities.
To mitigate this, observe the behavior of birds or clouds. If hawks are soaring effortlessly, the air is likely stable and lifting. If they are flapping frantically, the air is turbulent. Cloud formations also give clues. Scattered cumulus clouds indicate thermal activity, which means choppy air. Overcast skies with stratus clouds often mean smoother, more consistent wind layers, ideal for steady flight.
Also, consider the temperature difference between the ground and the air aloft. Large temperature gradients create convection currents. On a hot summer day, rising columns of warm air can buffet your kite. Flying in cooler temperatures, such as autumn mornings, generally provides denser, more predictable air masses.
Safety First: Knowing When to Pack Up
No photo is worth risking your safety or your expensive gear. There are hard limits you must respect. Lightning is the number one threat. Electricity travels along wet kite lines. If there is any chance of thunderstorms within 10 miles, do not fly. Period.
Another hidden danger is power lines. They are often invisible against the sky. Always scan your launch area for overhead wires. A kite tangled in high-voltage lines can electrocute anyone who touches the line to retrieve it. If you see lines, choose a different spot.
Monitor the barometric pressure. A rapidly dropping pressure reading suggests an approaching front or storm system. Winds will increase in intensity and unpredictability. If the wind starts gusting beyond your kite's rated limit, land immediately. Don't try to hold on. Let the kite drop safely to the ground rather than risking a line break that could send your camera flying into traffic or bystanders.
Practical Tips for Stable Shots in Variable Wind
Even with perfect forecasting, conditions can shift. Here are some techniques to maintain stability when the wind isn't ideal:
- Use a Brake Line: Many stunt kites have a third brake line. Adjusting this changes the angle of attack. In gusty conditions, slightly increasing brake tension can help the kite absorb sudden bursts of wind without surging forward violently.
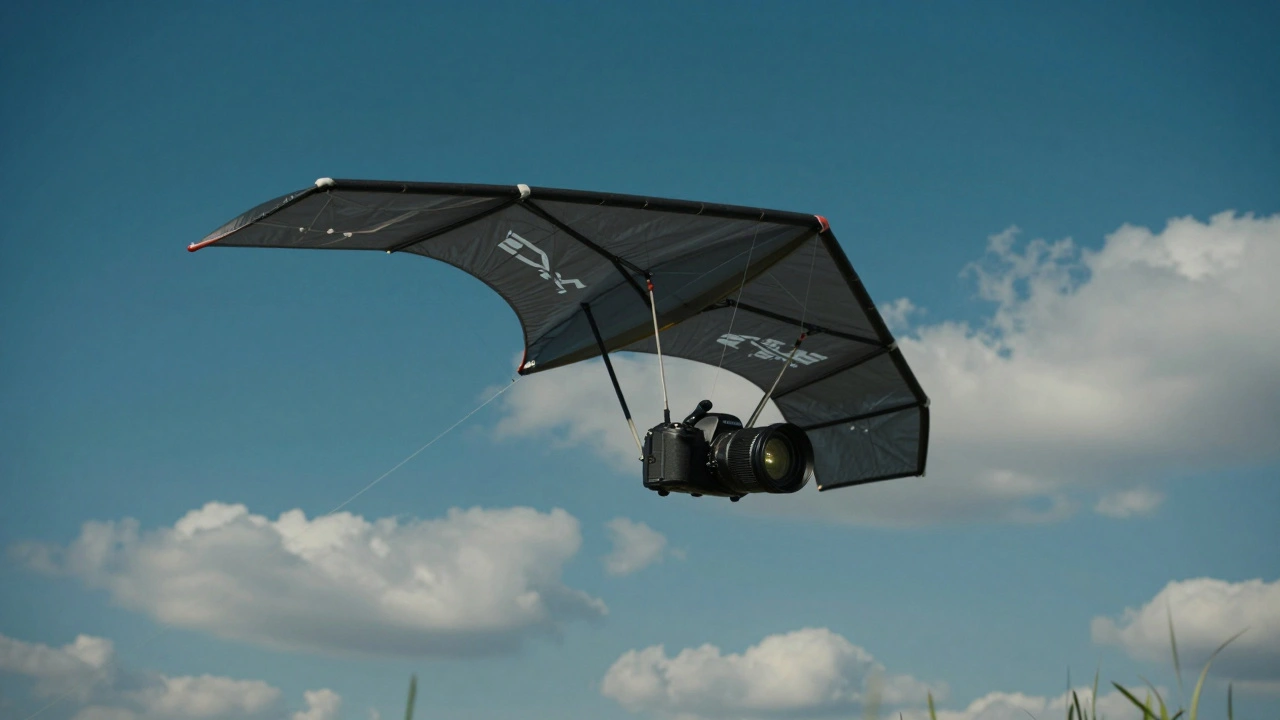
- Heavier Gear, Heavier Kite: If you are using a heavier mirrorless camera, pair it with a larger, higher-lift kite. A small kite struggling under heavy load will oscillate wildly. Match the kite size to the payload and the wind strength.
- Shorten the Line: In turbulent air, shorter lines reduce the leverage effect of gusts. While you lose altitude, you gain stability. Sometimes a sharp shot at 100 feet is better than a blurred one at 400 feet.
- Remote Triggering: Never touch the camera while flying. Use a remote trigger or intervalometer. Any physical contact introduces vibration. Program your camera to take burst shots so you can select the sharpest frame later.
Mastering wind conditions is the foundation of successful KAP. It transforms the experience from a game of chance into a controlled creative process. By respecting the elements, planning meticulously, and understanding the physics of flight, you unlock a world of aerial perspectives that drones simply cannot match. The sky is waiting-but only if you know how to read it.
What is the best wind speed for Kite Aerial Photography?
The ideal wind speed for most KAP setups is between 11 and 18 mph. This range provides enough lift to keep the kite stable and the line taut, minimizing vibration. Winds below 10 mph may not generate sufficient lift, while winds above 20 mph introduce dangerous turbulence and risk of line breakage.
Can I fly my KAP kite in gusty winds?
Flying in gusty winds is risky and generally discouraged for beginners. Gusts cause sudden changes in lift and tension, leading to blurred images and potential loss of control. If you must fly in gusty conditions, use a depowerable kite, shorten your line, and avoid taking photos during peak gusts. Wait for lulls in the wind to trigger your camera.
How does altitude affect wind conditions for KAP?
Wind speed typically increases with altitude due to reduced friction from the ground. This means the wind at your kite's height (e.g., 300 feet) can be significantly stronger than the wind you feel at ground level. This wind shear can cause instability. Observing cloud movement or bird flight can help gauge upper-level wind conditions.
What tools should I use to forecast wind for KAP?
Use specialized weather apps like Windy.com (checking ECMWF or GFS models) for detailed wind vectors and gust forecasts. AirVisual is useful for checking air quality and haze. Local airport weather reports provide real-time data on wind consistency and gust history, which are critical for planning safe flights.
Is it safe to fly KAP near power lines?
No, it is extremely dangerous. Power lines are often difficult to see against the sky. If your kite gets tangled in high-voltage lines, the electricity can travel down the conductive kite line to you, causing severe injury or death. Always scout your location thoroughly and choose open areas far away from any overhead wires.