You’ve spent months mastering the art of indoor kite flying, a sport that combines precision, agility, and creativity in enclosed spaces. Now you’re heading to a competition or a friend’s garage session, but there’s one problem: getting your gear there without snapping a single spar. Indoor kites are delicate. Unlike their outdoor cousins built to survive gusts and grit, these kines are engineered for tight turns and low-wind environments. They demand respect when packed.
I’m Leah, and I’ve flown everything from micro-deltas to complex hexacopters in warehouses across Portland. The biggest lesson I learned wasn’t about technique-it was about logistics. A broken strut can turn an exciting trip into a frustrating repair job. Let’s talk about how to protect your investment using tubes, bags, and smart packing strategies.
Why Indoor Kites Need Special Packing
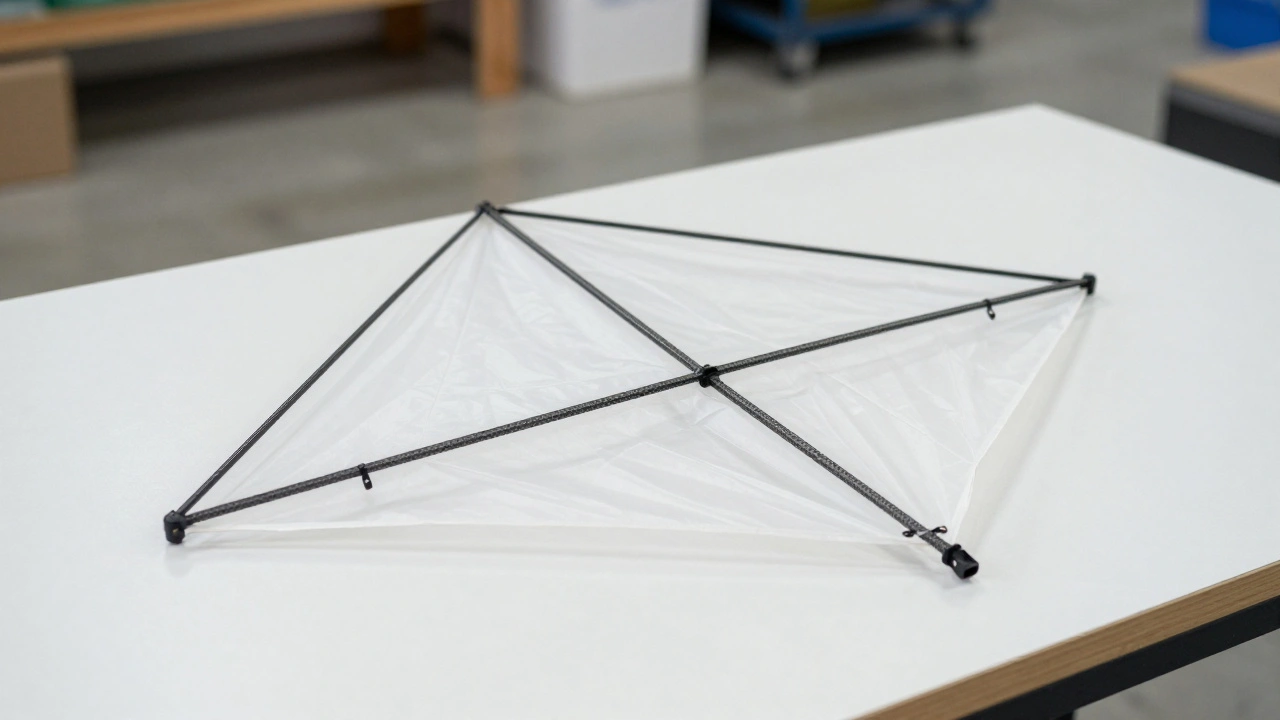
Indoor kites are typically constructed with lightweight materials like carbon fiber or fiberglass spars and thin ripstop nylon or polyester fabric. These materials offer incredible strength-to-weight ratios but lack the durability needed for rough handling. When you pack them carelessly, you risk bending spars, tearing seams, or crushing leading edges.
The stakes are higher than you might think. A bent spar changes the aerodynamics of the kite, making it fly unevenly or not at all. Repairing carbon fiber is expensive and often requires professional tools. Prevention is far cheaper than cure. Understanding this vulnerability is the first step toward better packing habits.
- Carbon fiber spars snap under excessive pressure.
- Fiberglass spars bend permanently if forced.
- Ripstop fabric tears easily along stress points.
- Leading edges crush when compressed against hard surfaces.
Choosing the Right Container: Tubes vs. Bags
Not all containers are created equal. Your choice depends on the size of your kite, the distance you’re traveling, and how much other gear you’re carrying. Here’s a breakdown of the two most common options.
| Feature | Kite Tube | Kite Bag |
|---|---|---|
| Protection Level | High (rigid walls) | Medium (padding only) |
| Portability | Bulky, heavy | Lightweight, flexible |
| Best For | Long trips, fragile frames | Short trips, durable designs |
| Cost | $30-$80 | $15-$40 |
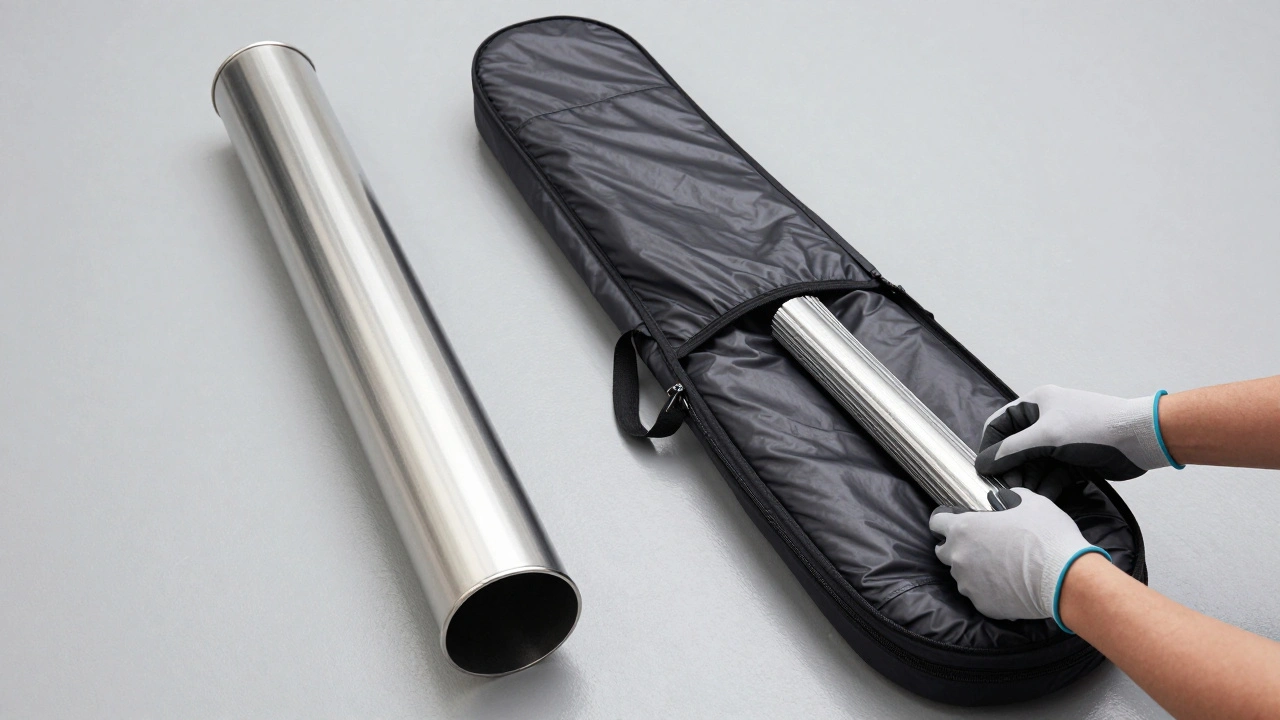
A kite tube is a rigid cylinder made from PVC, aluminum, or composite materials. It provides excellent protection against impacts and compression. If you’re driving cross-country or checking your kite as luggage, a tube is your best bet. Look for one with padded ends and a secure locking mechanism. Avoid cheap plastic tubes that crack under pressure.
A kite bag is a soft-sided container with internal padding. It’s lighter and easier to carry, but it offers less protection. Use a bag only if you’re sure your kite will be handled gently. Never place anything heavy on top of a bag containing a kite. Even a backpack can cause damage if left unattended.
Packing Techniques That Actually Work
How you fold and arrange your kite inside its container matters just as much as the container itself. Follow these steps to minimize risk.
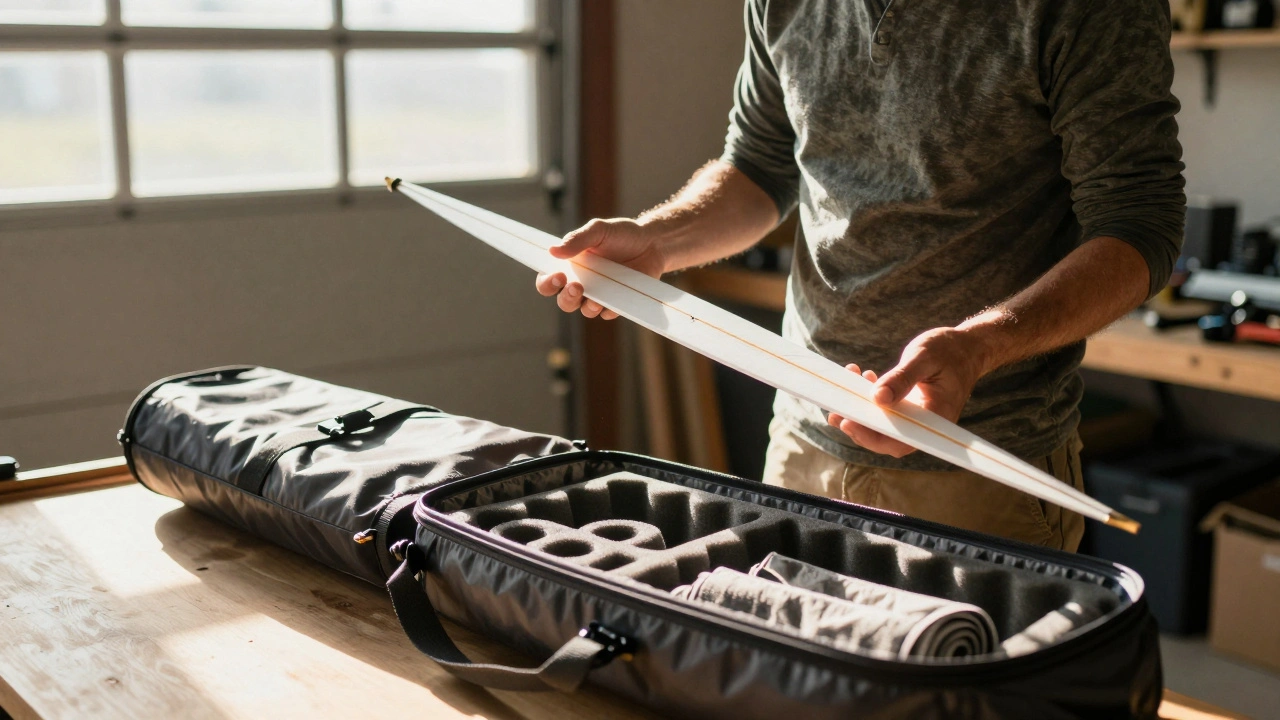
- Disassemble carefully. Remove spars from sleeves one by one. Keep small parts like grommets and toggles in a ziplock bag labeled with the kite’s name.
- Roll, don’t fold. Rolling reduces crease lines that weaken fabric over time. Start from the tail end and roll tightly toward the nose.
- Place spars separately. Store spars in their own sleeve or wrap them in bubble wrap before placing them alongside the rolled kite.
- Add cushioning. Fill empty space with socks, towels, or foam inserts to prevent shifting during transit.
- Seal securely. Ensure zippers or caps are fully closed to keep dust and moisture out.
If you’re using a tube, stand it upright during transport whenever possible. Laying it flat increases the chance of impact damage. In a car, strap it down so it doesn’t slide around. On public transport, hold it close to your body.
Protecting Against Environmental Factors
Moisture, heat, and UV light are silent enemies of indoor kites. Even short exposure can degrade performance.
Humidity causes fabric to stretch and lose tension. This leads to sagging wings and poor flight characteristics. Always store your kite in a dry place. If you live in a humid climate like Portland, consider adding silica gel packets inside your storage container.
Heat softens adhesives used in seam construction. Leaving your kite in a hot car for hours can weaken bonds between layers. Park in shade whenever possible, or use a reflective cover to block direct sunlight.
UV radiation breaks down polymer chains in synthetic fabrics. Over time, this makes material brittle and prone to tearing. While indoor kites aren’t exposed to sun as much as outdoor ones, occasional travel means some exposure is inevitable. Choose bags with UV-resistant linings if available.
Travel Scenarios and Solutions
Different situations require different approaches. Here’s how to handle common scenarios.
Driving locally: Use a sturdy bag with good padding. Place it in the trunk away from sharp objects. Add a towel underneath to absorb any accidental spills.
Flying commercially: Check airline policies ahead of time. Most allow sports equipment as checked baggage, but fees vary. Bring a tube for maximum safety. Label it clearly with contact info and “Fragile - Handle With Care.”
Public transportation: Opt for a compact bag that fits under seats or overhead bins. Disassemble completely to reduce bulk. Be prepared to carry it yourself throughout the journey.
International travel: Research customs regulations regarding sporting goods. Some countries restrict importation of certain materials. Declare your equipment honestly to avoid delays or confiscation.
Maintaining Your Gear After Travel
Once you arrive, inspect your kite thoroughly before unpacking. Look for signs of stress such as bent spars, loose threads, or discolored patches. Address issues immediately rather than waiting until after flying.
Clean the fabric gently with mild soap and water if needed. Avoid harsh chemicals that could strip coatings or weaken fibers. Dry completely before storing again. Moisture trapped inside promotes mold growth, which ruins both appearance and function.
Reassemble slowly, checking each connection point for snugness. Test-fly briefly indoors to ensure stability. If something feels off, stop and investigate further. Flying a compromised kite risks injury and costly repairs.
When to Upgrade Your Storage Setup
If you find yourself constantly worrying about damage, it may be time to invest in better storage solutions. Consider upgrading to a custom-fitted case designed specifically for your model. These provide superior alignment and shock absorption compared to generic alternatives.
Also evaluate frequency of use. Casual flyers might manage with basic bags, while competitive enthusiasts benefit from premium tubes with reinforced corners and waterproof seals. Balance cost against peace of mind based on personal priorities.
Remember, proper care extends beyond transportation. Regular maintenance includes cleaning, inspection, and timely replacement of worn components. Treat your kite like a精密 instrument deserving attention and respect.
Can I check my indoor kite as regular luggage?
Yes, most airlines accept kites as checked baggage. However, always confirm specific rules beforehand since policies change frequently. Using a protective tube significantly reduces risk of damage during handling.
What’s the best way to clean an indoor kite?
Use lukewarm water mixed with gentle dish detergent. Gently wipe surface dirt away with a soft cloth. Rinse thoroughly and air dry completely before folding or storing. Avoid scrubbing vigorously to prevent fabric wear.
How do I know if my kite has been damaged?
Inspect spars for bends or cracks. Check fabric for holes, fraying edges, or discoloration. Feel for unusual stiffness or flexibility differences. Perform test flights cautiously to detect subtle handling changes indicating structural problems.
Should I buy a specialized kite case?
If you travel regularly or compete professionally, yes. Custom cases offer tailored fitment enhancing protection levels beyond standard tubes or bags. For occasional users, high-quality general-purpose containers suffice initially.
Is it safe to leave my kite in a parked car?
No, prolonged exposure to heat accelerates degradation of adhesives and fabrics. Temperatures inside vehicles exceed ambient conditions dramatically even on mild days. Remove kites promptly upon arrival to preserve longevity.