Quick Guide to Box Kite Success
- Use lightweight, rigid materials like carbon fiber or dowels to prevent the frame from bowing.
- Choose Ripstop Nylon for the sail to avoid tearing under pressure.
- Keep your joints tight; a loose frame leads to a distorted shape and a kite that won't lift.
- Balance the bridle carefully so the kite pulls straight up, not sideways.
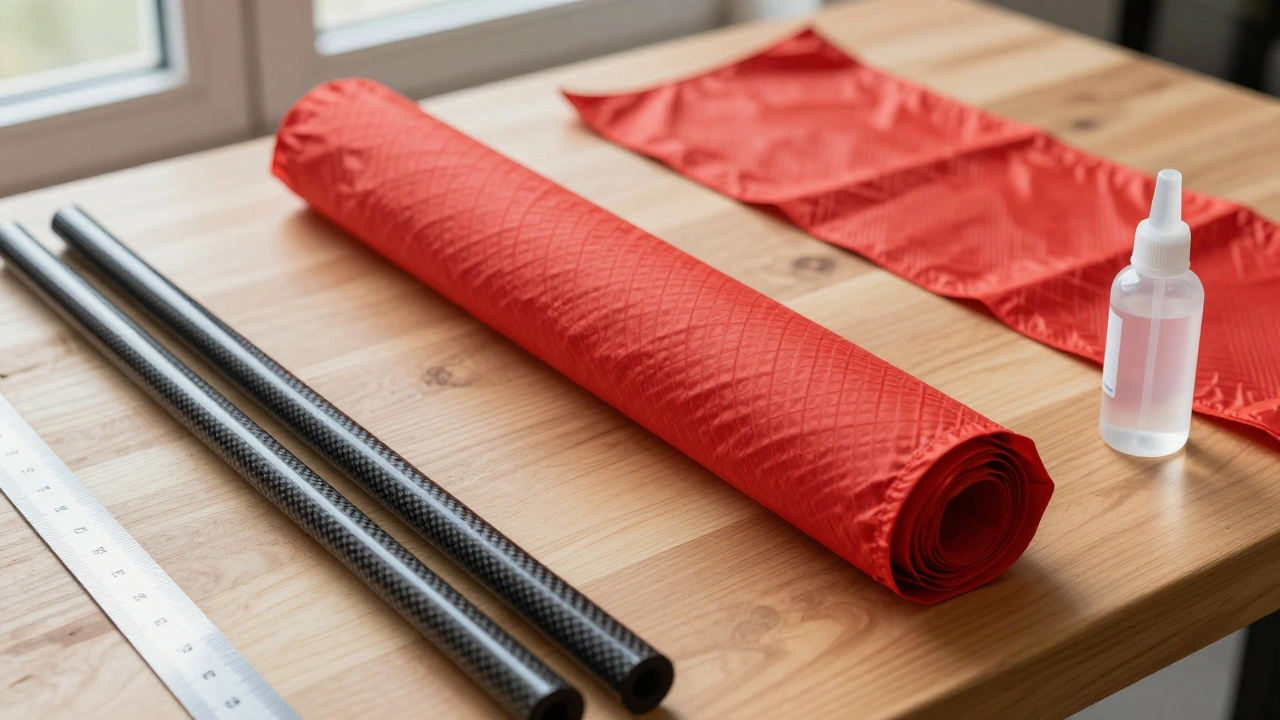
Picking the Right Materials
You can't just grab any stick from the backyard. To get a kite that doesn't collapse, you need materials with a high strength-to-weight ratio. For the frame, I recommend Carbon Fiber Rods. They are incredibly stiff and won't warp over time, unlike bamboo which can split or bend unpredictably. If you're on a budget, high-grade pine dowels work, but you'll need to sand them down to keep the weight low.
For the "skin" of your kite, avoid trash bags or cheap plastic. They stretch and rip. Instead, use Ripstop Nylon. This fabric is woven with a reinforced grid that stops a small puncture from turning into a giant tear. It's the industry standard for parachutes and professional kites because it's lightweight and air-tight enough to provide the necessary lift.
| Material | Stiffness | Weight | Durability |
|---|---|---|---|
| Carbon Fiber | Very High | Ultra-Light | Excellent |
| Bamboo | Medium | Light | Moderate |
| Pine Dowel | Medium | Heavy | Good |
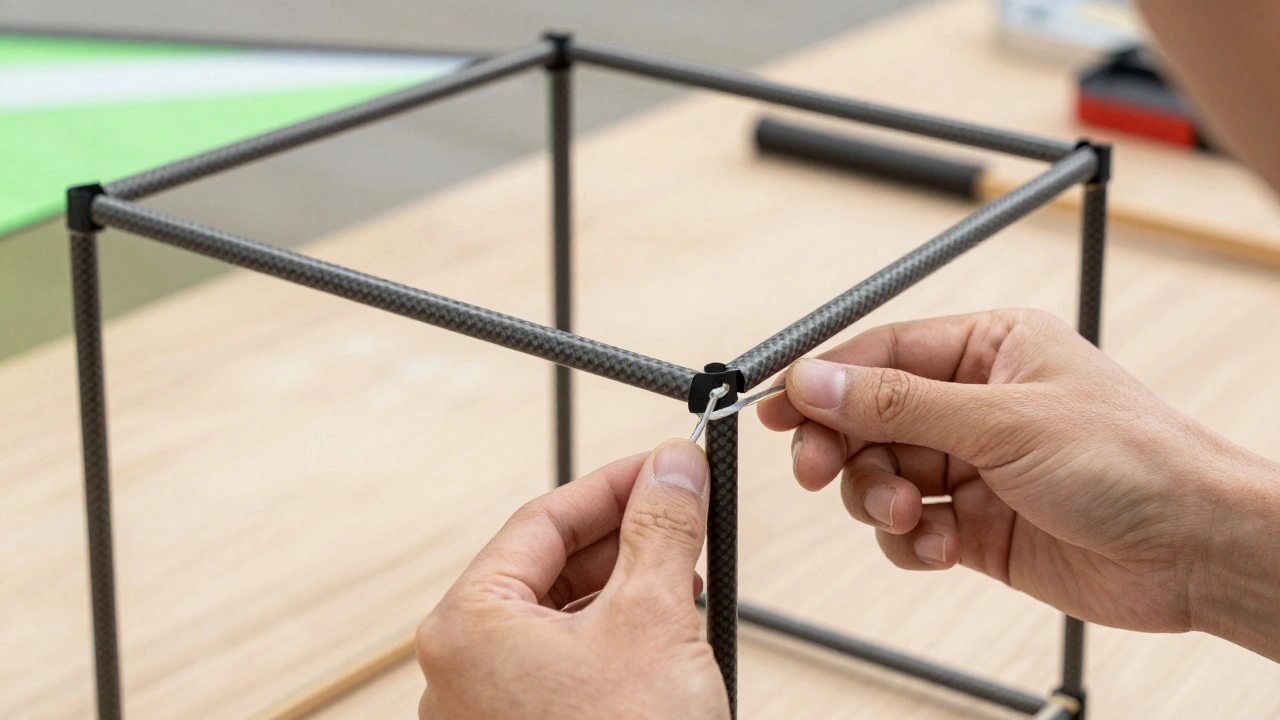
Building the Frame: The Skeleton of Your Kite
The frame is where most beginners fail. If your box isn't a perfect rectangle, the kite will spin or lean. You'll need four long vertical spars and eight shorter cross-pieces (four for the top square and four for the bottom square).
- Create the Squares: Lay out four cross-pieces to form a square. Use a carpenter's square or a ruler to ensure every angle is exactly 90 degrees. Secure the corners using small zip ties or high-strength adhesive tape. Repeat this for the second square.
- Connect the Verticals: Place the four long spars at the corners of your two squares. This transforms your two flat shapes into a 3D cube. Again, ensure the vertical spars are perpendicular to the base. If the kite leans, it will veer off course during flight.
- Reinforce the Joints: Use Epoxy Resin or specialized kite glue on the joints. Tape is fine for a prototype, but for a kite that handles 15 mph winds, you need a bond that won't slip.
Pro tip: Don't over-tighten the zip ties until you've verified the frame is square. Once you're happy with the geometry, cinch them down and trim the excess plastic so they don't snag your sail fabric.
Constructing the Sails: Capturing the Wind
The sail isn't just a cover; it's the engine. In a box kite, you have two sails (the front and back) and two side panels. For maximum performance, the box kite construction depends on the sail being taut. A baggy sail creates drag and makes the kite unstable.
Start by cutting your Ripstop Nylon into rectangles that are about 2 inches larger than the frame dimensions. This extra material is your seam allowance. Instead of sewing, which can be tedious for beginners, you can use a heavy-duty double-sided adhesive tape designed for fabrics. This creates a clean, airtight seal.
- Attach the Main Sails: Wrap the fabric around the top and bottom squares. Fold the edges over the rods and secure them firmly.
- Add the Side Panels: The side panels should be slightly narrower than the main sails to allow for a bit of air leakage; this prevents the kite from becoming too "stiff" and helps it recover from sudden gusts.
- Tension Check: Tug the fabric in all directions. If it feels like a drum, you've done it right. If it sags, the wind will simply push the fabric against the frame rather than lifting the whole structure.
Setting Up the Bridle and Launching
The bridle is the string system that connects the kite to your flying line. It's the steering wheel of your kite. For a box kite, you'll typically use a two-point bridle attached to the two top spars of the front face.
Tie a strong nylon string to the top of the two front spars. Bring those strings together to a single point called the "tow point." The distance from the top of the kite to this point determines the angle of attack. If the tow point is too high, the kite won't catch enough wind. If it's too low, the kite will dive.
As a rule of thumb, the tow point should be positioned so that the kite sits at a 30 to 45-degree angle relative to the wind. Test this by holding the kite up; if it wants to pivot forward or backward, slide the knot on the bridle until it finds a natural equilibrium.

Common Pitfalls and Troubleshooting
If your kite isn't lifting, don't assume the wind is too light. Check for these common issues:
- Asymmetry: If one side of the box is even half an inch wider than the other, the kite will pull to the side. Use a ruler to re-verify your frame.
- Excess Weight: Too much glue or heavy-duty tape can make the kite too heavy for light breezes. Strip away any unnecessary material.
- Fabric Sag: If the sail is loose, the air will move around the fabric instead of pushing it. Tighten the sails using a few small stitches or extra tape.
What is the best wind speed for a box kite?
Box kites generally perform best in steady winds between 8 and 20 mph. Because of their 3D structure, they can handle higher winds than flat kites, but too much wind (over 25 mph) can cause the frame to bend or the fabric to tear if the build isn't reinforced.
Can I use plastic sheeting instead of Ripstop Nylon?
You can for a quick experiment, but plastic sheeting stretches under tension. This causes the box to lose its shape, which reduces lift. Ripstop Nylon is recommended because it maintains its dimensions and resists tearing, ensuring the kite stays stable in the air.
How do I stop my box kite from spinning?
Spinning is usually caused by an unbalanced bridle or an asymmetrical frame. First, ensure your frame is a perfect cube. Then, adjust the tow point of your bridle slightly to the left or right to compensate for any remaining imbalance.
What is the best way to secure the joints?
For a temporary build, zip ties are great. For a permanent, high-performance kite, use a combination of small wraps of thread and a drop of cyanoacrylate (super glue) or epoxy resin. This prevents the spars from sliding out of place during high-wind flights.
Why does my kite dive immediately after launch?
This is almost always a bridle issue. Your tow point is likely too low, which forces the kite to tilt forward and dive. Move the knot upward along the bridle string to increase the angle of the kite relative to the wind.
Next Steps for Kite Enthusiasts
Once you've mastered the standard box, try experimenting with the proportions. A taller, thinner box will behave differently than a short, squat one. You can also look into "tandem box kites," where you stack multiple box cells on top of each other to create a massive aerial sculpture.
If you're looking to upgrade your gear, consider moving from basic nylon string to a braided polyester line, which has much higher tensile strength and less stretch, giving you more direct control over your creation.