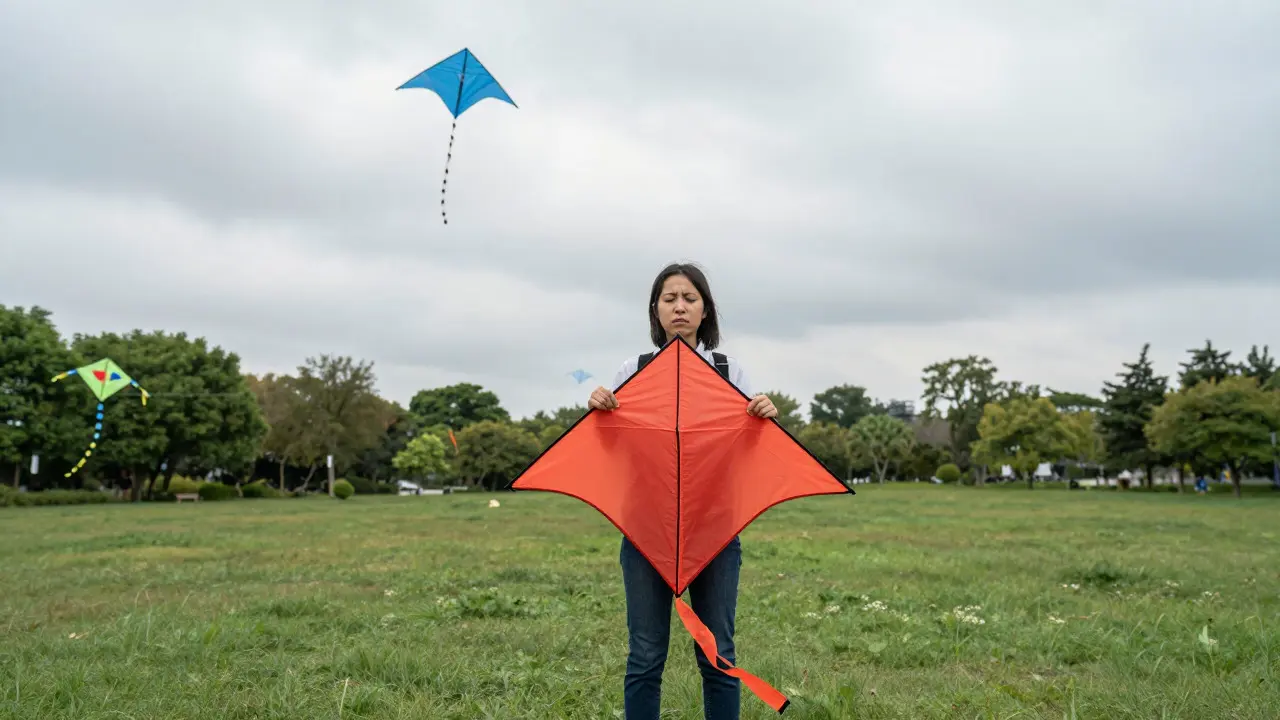
You stand on the beach or park, holding your brand-new diamond kite. The wind is blowing, the sun is out, and everyone else seems to have their kites soaring high in the blue sky. But yours? It just sits there, heavy and stubborn, refusing to leave your hand. Or worse, it goes up a few feet, wobbles violently, and crashes into the grass. It’s frustrating, but rarely is it your fault. Usually, it’s a mismatch between your gear and the environment.
Understanding why a kite fails to fly involves looking at three core factors: wind conditions, the specific aerodynamic forces that keep an object aloft, and the physical setup of the kite itself. Most launch failures stem from one of these three areas being off-balance. Let’s break down exactly what’s happening so you can fix it quickly.
The Wind Sweet Spot: Why Too Little or Too Much Hurts
Wind is the engine of any kite. Without it, you’re just holding a piece of plastic or fabric. However, wind isn’t one-size-fits-all. Different kite types require different wind speeds to generate enough lift. If you are using a standard recreational diamond kite, you typically need a steady breeze of about 8 to 15 mph (13 to 24 km/h). This is often described as a "gentle breeze" where leaves rustle and small flags flutter. Below 6 mph, the air is too still to create significant lift, and the kite will sag under its own weight. Above 20 mph, many simple kites become unstable because the force pushing them back is stronger than the tension in the line, causing them to stall or dive.
It’s not just about speed; consistency matters too. Gusty winds-where the speed jumps from 5 mph to 20 mph in seconds-are the enemy of stable flight. In gusty conditions, the kite experiences sudden spikes in lift followed by drops, leading to erratic behavior. If you’re in a location with frequent gusts, like a mountain pass or an open field near trees, you might need a more robust kite design, such as a delta box or a parafoil, which handles turbulence better than a fragile single-surface diamond.
| Kite Type | Minimum Wind (mph) | Maximum Wind (mph) | Best For |
|---|---|---|---|
| Diamond / Delta | 8 | 15 | Calm days, beginners |
| Box / Parafoil | 10 | 25 | Gustier conditions, power flying |
| Stunt / Performance | 5 | 12 | Precision maneuvers, light air |
Setup Errors That Keep Kites Grounded
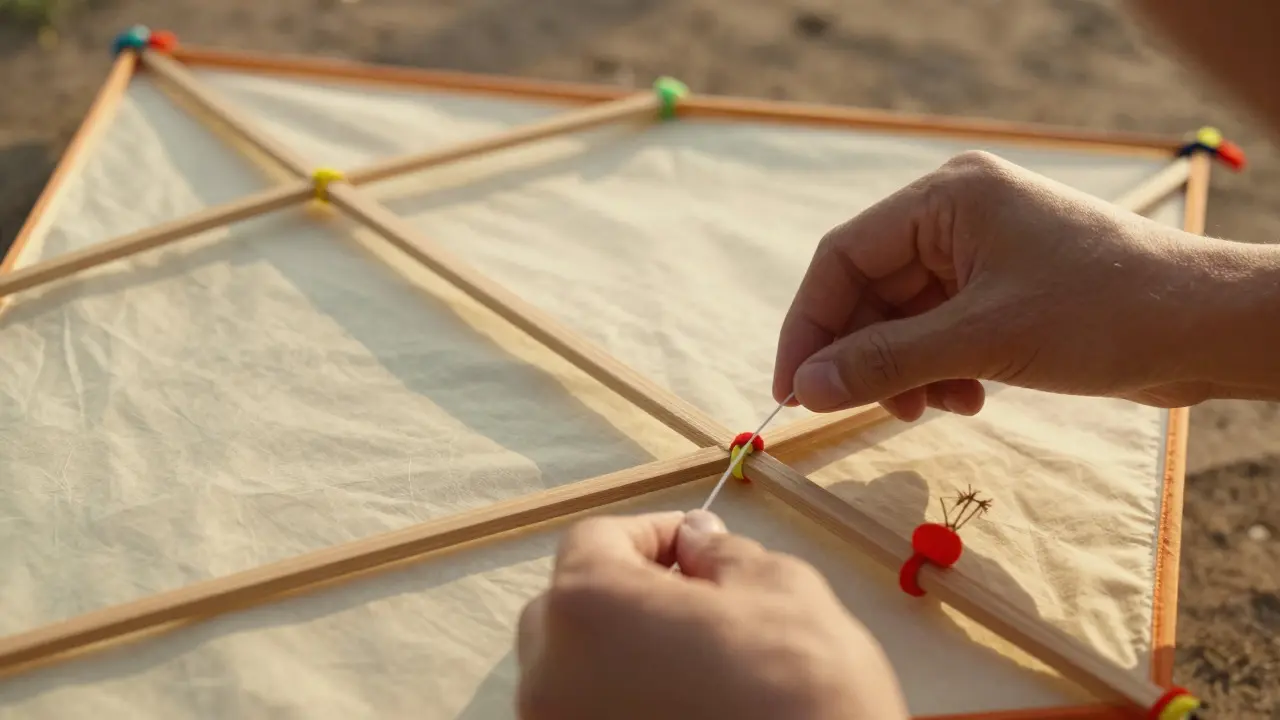
Even with perfect wind, a poorly assembled kite will struggle. The most common setup error is incorrect bracing. Braces are the internal sticks or wires that give a kite its shape. If they are tied too loose, the kite becomes floppy and cannot catch the wind efficiently. If they are too tight, the kite may twist or warp, creating uneven drag. When assembling your kite, ensure the braces form symmetrical triangles. A quick test before launching is to hold the kite by the top and bottom points; it should feel rigid and flat, not springy or bent.
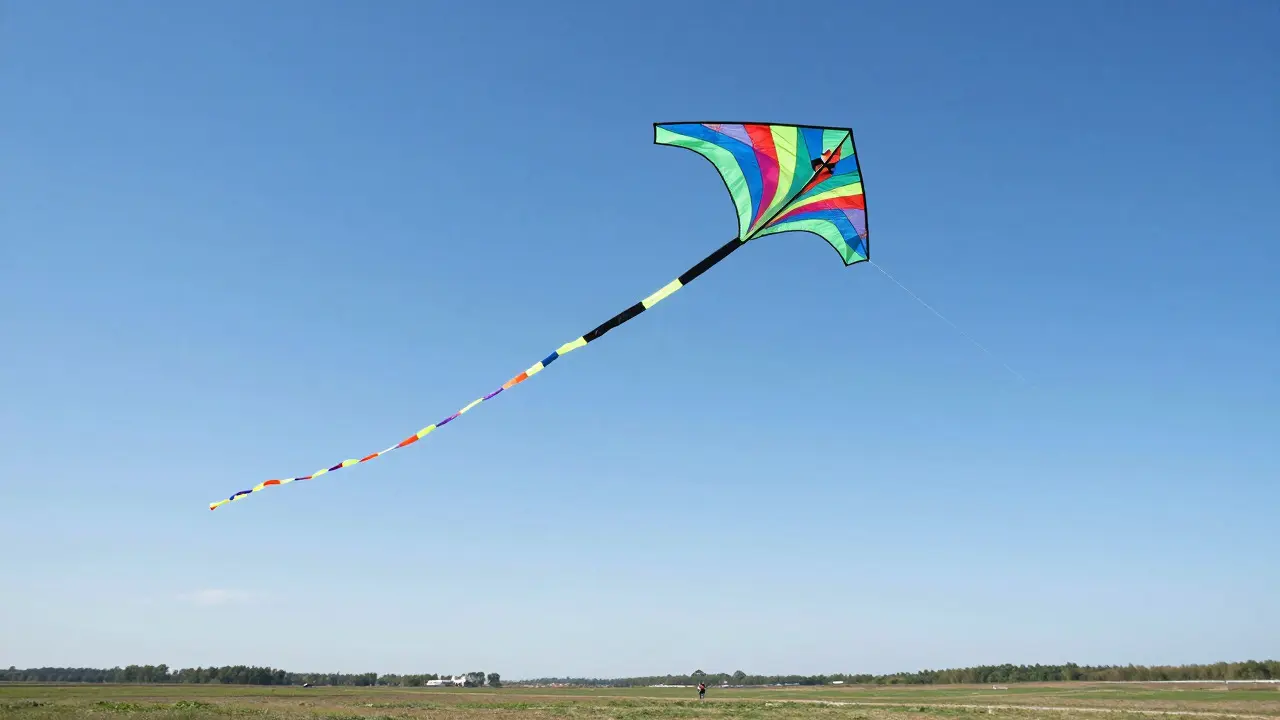
Another critical component is the tail. Many beginners skip tails or use ones that are too short. A tail adds drag to the rear of the kite, which stabilizes it by preventing yawing (side-to-side swinging) and pitching (nose-diving). For a standard diamond kite, a tail length equal to 3 to 5 times the kite’s height is usually sufficient. If your kite is wobbling excessively, try adding a longer tail or attaching a second tail. Conversely, if the kite feels sluggish and hard to launch, the tail might be too heavy or long, dragging it down. Adjusting the tail is the fastest way to diagnose stability issues.
Launch Technique: How You Hold It Matters
Launching a kite is less about strength and more about timing and angle. A common mistake is throwing the kite into the air and letting go immediately. Instead, you want to present the kite face-on to the wind. Stand facing away from the wind direction, holding the kite at arm's length. Let the wind fill the kite until it feels heavy and pulls gently against your grip. Once it has full lift, walk backward slowly while releasing line gradually. Do not run unless you are using a stunt kite or in very low wind. Running increases the relative wind speed over the kite, but it also makes it harder to control the initial ascent, often leading to a crash if the line tangles or the kite stalls.
If you are launching from a crowded area, watch out for other kites. Their wake-the turbulent air behind them-can disrupt your launch. Try to position yourself upwind of other flyers or wait for a clear window. Also, check your line spool. Tangled lines are a silent killer of launches. Before you even step outside, spin the spool once to ensure the line pays out smoothly without knots. A single knot can reduce the effective length of your line and cause the kite to lose altitude prematurely.
Material and Weather Factors
The material of your kite plays a surprising role in performance. Traditional paper kites are beautiful but fragile and heavy when wet. If you’ve been out in the rain or morning dew, a paper kite will absorb moisture, increasing its weight significantly. This extra weight requires much higher wind speeds to achieve lift. For damp conditions, synthetic materials like ripstop nylon or polyester are far superior. They dry quickly and maintain their structural integrity. If you’re using a wooden frame, ensure it hasn’t warped from humidity changes, as this alters the aerodynamic profile.
Temperature and humidity also affect air density. Cold, dense air provides more lift than hot, thin air. On a hot summer day, you might find that your kite needs a slightly stronger breeze to stay aloft compared to a crisp autumn morning. While this difference is subtle for casual flyers, it’s noticeable for those trying to launch in marginal conditions. If you’re in a coastal area like Portland, Oregon, remember that marine layers can create complex wind patterns. The wind might be strong at sea level but calm just a few hundred feet up, or vice versa. Observing how nearby objects move-like tree branches or dust particles-gives you a better sense of the local microclimate than a handheld anemometer alone.
Diagnosing Specific Flight Behaviors
Sometimes the kite flies, but not well. Here’s how to interpret common flight problems:
- Nose Diving: The front of the kite dips downward. This usually means the center of gravity is too far forward or the tail is too short. Move the bridle attachment point closer to the nose or add tail length.
- Tail Wagging: The kite swings side-to-side. This indicates instability, often due to insufficient tail drag or asymmetric bracing. Check for loose lugs or uneven brace tension.
- Stalling at Altitude: The kite rises but then stops and hovers. This suggests the wind is dying out at that height or the kite is overloaded. Try launching earlier in the day when winds are typically more consistent, or use a lighter kite.
- Spinning: The kite rotates around its vertical axis. This is rare but can happen if the bridle is twisted during assembly. Untwist the line and re-attach the bridle carefully.
Pro Tips for Consistent Success
To minimize launch failures, develop a pre-flight checklist. First, inspect the kite for tears or broken spars. Second, verify the tail length matches the expected wind conditions. Third, choose a launch site with unobstructed wind flow-avoid valleys, forest edges, or behind buildings where wind is turbulent. Fourth, bring backup tails and spare lines. It’s easier to swap a tail in the field than to hike back home. Finally, practice in controlled environments. Start with a small, lightweight kite in moderate wind to build intuition. As you gain confidence, experiment with different designs and wind ranges. Kite flying is as much about reading the sky as it is about the equipment. With a little patience and attention to detail, you’ll soon be enjoying the smooth, silent glide of a well-tuned kite dancing in the clouds.
What is the minimum wind speed needed to fly a kite?
For most standard recreational kites, the minimum wind speed is approximately 8 mph (13 km/h). Lighter stunt kites can fly in winds as low as 5 mph, while larger box kites may require 10-12 mph to generate sufficient lift.
Why does my kite keep crashing into the ground?
Crashes are usually caused by stalling, which happens when the wind speed drops below the kite's operational range or when the kite encounters turbulence. Adding a longer tail can help stabilize the kite during gusts, and choosing a kite designed for lower wind speeds can prevent stalling in calm conditions.
How long should a kite tail be?
A general rule of thumb is that the tail should be 3 to 5 times the length of the kite itself. If the kite is unstable, increase the length. If it feels sluggish, shorten the tail. You can also use multiple shorter tails for better balance.
Can I fly a kite in rain?
It depends on the material. Paper kites will get heavy and tear easily in rain. Synthetic kites made of nylon or polyester are water-resistant and can be flown in light rain, but avoid heavy storms due to lightning risks and reduced visibility.
Why does my kite spin around instead of flying straight?
Spinning is often caused by a twisted bridle or uneven bracing. Check that the string connecting the kite to the line is not knotted or twisted. Ensure the internal braces are symmetrically tightened so the kite maintains a flat, aerodynamic shape.