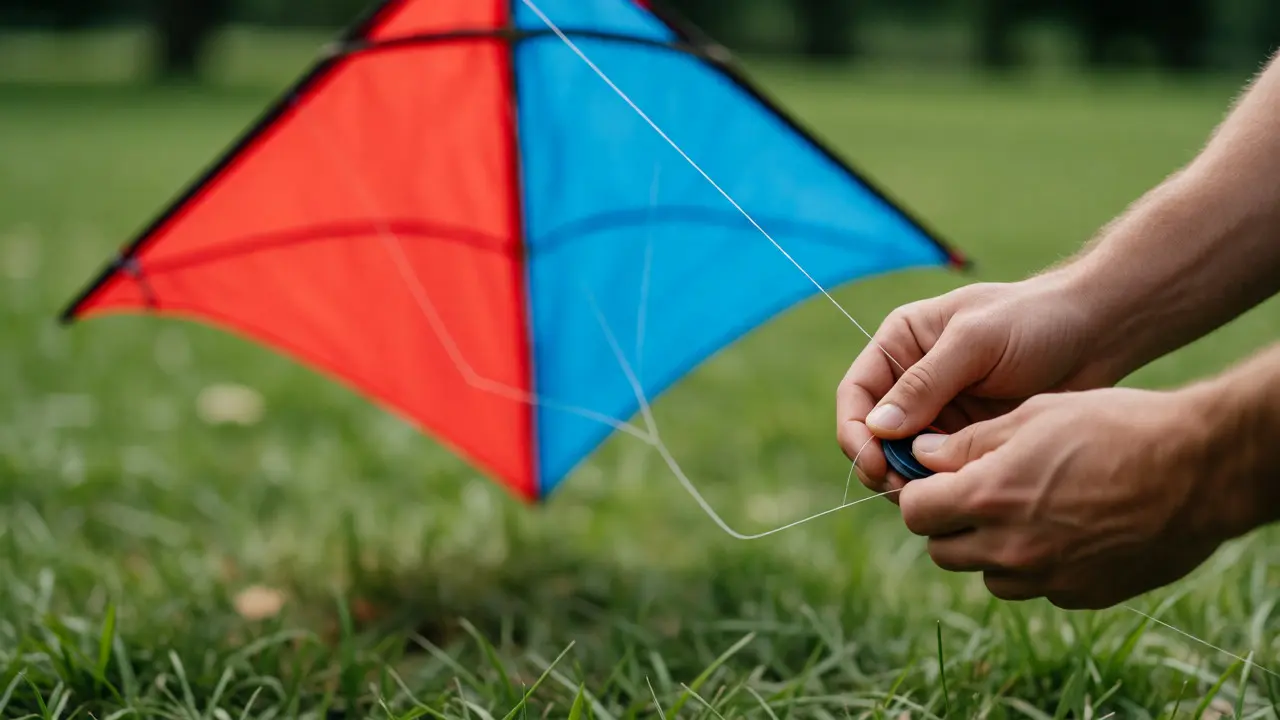
You’re standing in a park, holding a spool of line, watching your new diamond-shaped kite wobble violently before nosediving into the grass. It’s frustrating, right? But here’s the thing: it’s not bad luck or a defective toy. It’s physics. Specifically, it’s about how air pushes against surfaces to create lift and how that same air creates resistance called drag. Once you grasp these two forces, plus the concept of tension from your line, you stop fighting the wind and start working with it. This guide breaks down exactly what is happening between your hands and the sky, so you can keep your kite aloft without constant adjustments.
The Four Forces at Play
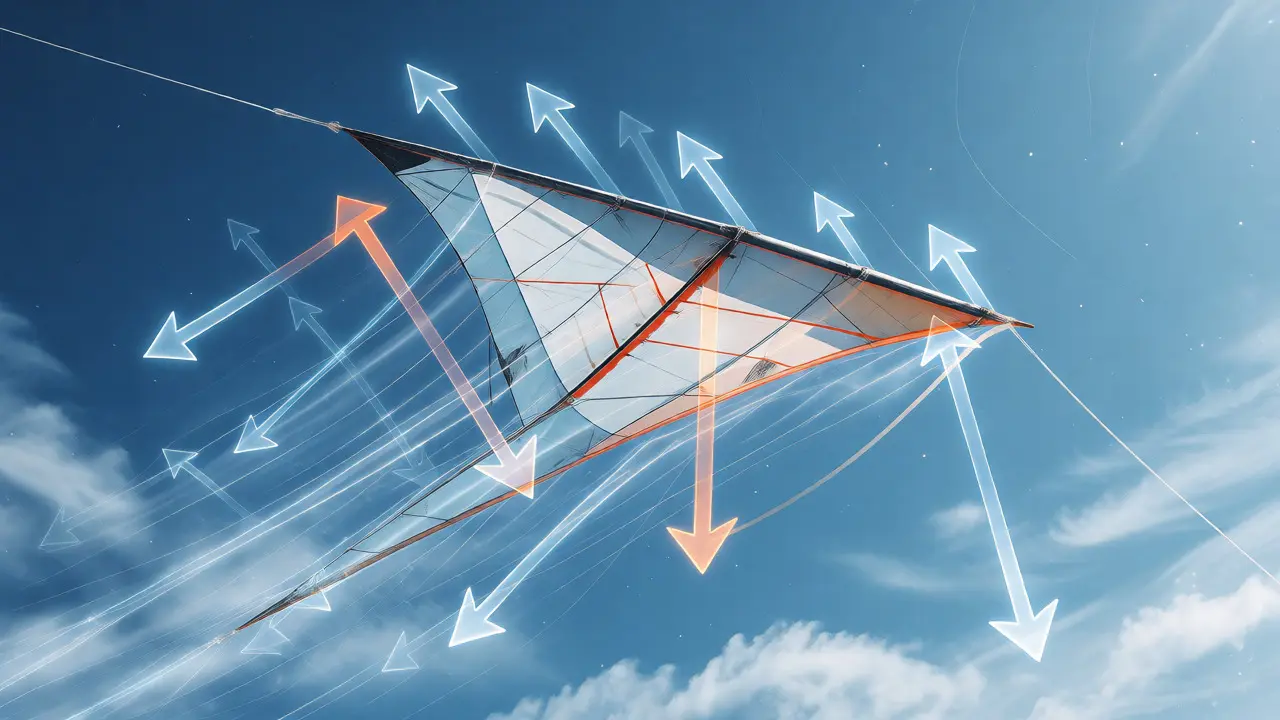
Every object moving through the air obeys Newton’s laws. For a kite, there are four specific players involved in this tug-of-war. Understanding them helps you diagnose why your kite behaves the way it does.
- Lift is the upward force generated when air flows over the curved or angled surface of the kite. This is what fights gravity and keeps the kite in the air.
- Gravity (Weight) pulls the kite straight down toward the earth. The heavier the kite, the more lift it needs to overcome this pull.
- Drag is the resistance the kite feels as it moves through the air. It acts opposite to the direction of motion and slows the kite down.
- Tension comes from your line. It anchors the kite, preventing it from blowing away, and provides the counter-force that allows lift to be effective.
If any of these forces become unbalanced, your kite crashes. Too much weight and not enough lift? Down it goes. Too much drag relative to lift? The kite stalls. Your job as the flyer is to manipulate these variables using wind speed and line length.
How Lift Actually Works
A common myth is that lift only happens because air travels faster over the top of a wing than the bottom (Bernoulli’s principle). While true for airplane wings, kites often rely heavily on another mechanism: Newton’s Third Law. When you tilt a kite into the wind, it deflects air downward. In response, the air pushes the kite upward. This is called angle of attack.
Imagine sticking your hand out of a car window. If you hold it flat parallel to the road, it doesn’t do much. Tilt the leading edge up slightly, and suddenly your hand is pushed up. That’s lift. A kite works the same way. Most beginner kites have a fixed bridle point that sets this angle automatically. If the angle is too steep, the kite stalls; if it’s too shallow, it won’t generate enough push to stay up.
The shape of the kite matters, too. Delta kites use swept-back wings to maintain stability while generating significant lift. Diamond kites rely on a tail for balance but still need that critical tilt to catch the wind. You don’t need to calculate coefficients here, just remember: the kite must meet the wind at an angle, not head-on, to fly.
Managing Drag and Wind Resistance
Drag isn’t always the enemy. In fact, some drag is necessary for stability. Think about the tail on a classic diamond kite. Its primary job isn’t just decoration; it adds drag to the rear of the kite. This rearward drag acts like a weather vane, keeping the nose pointed into the wind. Without that tail, the kite would spin wildly because the center of pressure shifts unpredictably.
However, excessive drag kills performance. If you try to fly a heavy stunt kite in light breeze, the drag will overpower the lift, and the kite will fall backward. Conversely, in strong winds, you want less drag so the kite doesn’t get pulled off course by gusts. This is why experienced flyers adjust their lines. Letting out line reduces the apparent wind speed at the kite, effectively lowering the drag and making the kite easier to control in high winds.
| Kite Type | Lift Generation Method | Drag Characteristics | Best For Beginners? |
|---|---|---|---|
| Diamond | Angle of Attack + Tail Stabilization | High Drag due to large surface area and tail | Yes, very forgiving |
| Delta | Swept-wing aerodynamics | Moderate Drag, efficient glide | Yes, handles variable wind well |
| Stunt (Dual-line) | Active pilot control of angle | Low Drag, requires precise input | No, steep learning curve |
| Box Kite | Cage structure catches wind | Very High Drag, slow movement | Maybe, good for steady wind |
Finding the Wind Window
This is the single most important practical skill for new flyers. The Wind Window is the quarter-sphere of space around you where the wind is accessible. Imagine you are facing directly into the wind. The wind window extends from your left side, up overhead, and down to your right side. It looks like a giant bowl turned upside down, centered on you.
Why does this matter? Because outside this window, the wind doesn’t hit the kite correctly. If you launch a kite behind you (in the "lee"), there is no wind hitting the face of the kite to create lift. It falls immediately. If you stand with the wind at your back, the kite has no relative wind speed to generate lift either. You must position yourself so the wind hits the front of the kite.
When you launch, walk backward quickly while letting out line. This increases the relative wind speed across the kite’s surface. As the kite climbs, it moves up the wind window. To keep it stable, you need to move your body to keep the kite within that optimal zone. If the kite drifts to the edge of the window, it loses power and starts to sink. Step sideways to re-center it.
The Role of Line Length and Tension
Your line isn’t just a rope; it’s a tool for managing energy. Shorter lines mean higher tension and higher apparent wind speed. Longer lines mean lower tension and slower movement. This seems counterintuitive, but think about a boat sail. If you sheet in the sail tight (short line equivalent), it catches more wind and generates more force. If you ease it out, it luffs.
For beginners, shorter lines (10-15 meters) are actually better for learning. They respond faster to your inputs. If your kite dips its nose, a short tug on the line brings it back up instantly. With long lines (30+ meters), there is a delay. By the time the tension change reaches the kite, it might already be crashing. Start small. Master the feel of the tension in your hands before extending your reach.
Also, pay attention to the sag in your line. Gravity pulls the line down, creating a catenary curve. This means the kite isn’t pulling directly horizontal from your hands; it’s pulling from above. Adjust your stance accordingly. Lean back slightly to counteract the upward pull, especially when the kite is high in the wind window.
Troubleshooting Common Flight Issues
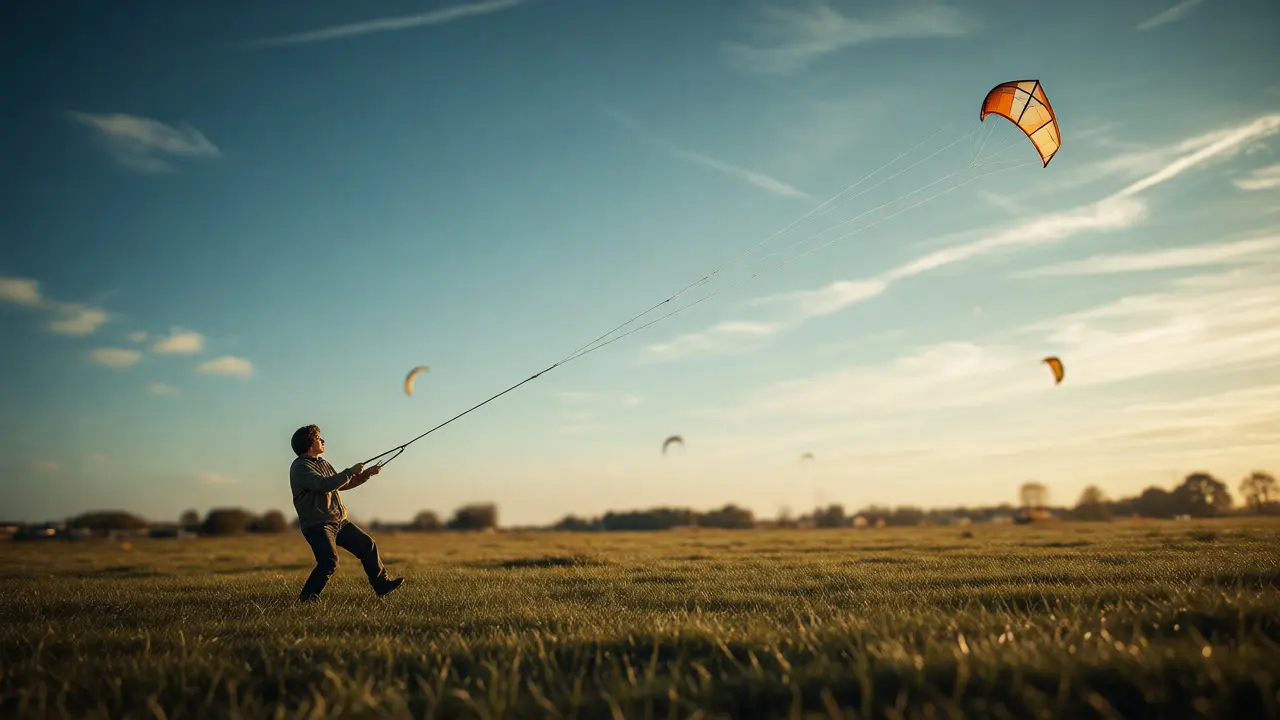
Physics explains every crash. Here is how to fix the most common ones using your new knowledge.
- The Nosedive: The kite pitched forward. This usually means the angle of attack was too high, causing a stall, followed by gravity taking over. Solution: Pull gently on the line to increase tension and raise the nose, or move closer to the kite to reduce the wind effect.
- The Spin: The kite is rotating uncontrollably. This indicates instability, often due to missing or damaged tails on diamond kites, or uneven weight distribution. Solution: Check your bridle points. Ensure both sides are equal. Add a longer tail for more drag stabilization.
- The Backslide: The kite flies backward. This happens when the wind hits the back of the kite, often because you launched it in the lee. Solution: Relaunch. Stand perpendicular to the wind and walk backward into the open field.
- Shaking/Vibration: This is aeroelastic flutter. The kite is oscillating rapidly. It’s often caused by wind gusts hitting a flexible frame. Solution: Tighten the spreader sticks if possible, or choose a stiffer kite design for windy days.
Practical Tips for Better Flights
You don’t need a degree in aerospace engineering to fly well, but a few habits make a huge difference.
- Check the Wind Direction: Wet your finger and hold it up. The side that feels cold is where the wind is coming from. Face that direction when launching.
- Launch with Help: Have a friend hold the kite 50 feet away, facing the wind. On your signal, they release it while you walk backward. This gives the kite initial velocity and height.
- Keep Moving: Don’t stand still. Walk in circles or figure-eights to maintain relative wind speed. If you stop walking, the apparent wind drops, and the kite may lose lift.
- Respect the Limits: If the wind exceeds 20 mph, standard nylon kites can tear. Use heavier materials or smaller kites in high winds.
Flying a kite is a dialogue with the atmosphere. Every tug on the line is a question; every adjustment in altitude is an answer. Once you understand that lift comes from deflection, drag provides stability, and tension connects you to the machine, the mystery fades. You’re no longer guessing. You’re piloting. Grab your kite, find a steady breeze, and let the physics do the work.
Why does my kite fall when I stop running?
Kites rely on relative wind speed to generate lift. Running creates artificial wind. When you stop, the relative wind speed drops below the threshold needed to support the kite's weight, causing it to fall unless natural wind is sufficient.
Do all kites need tails?
No. Only kites that lack inherent aerodynamic stability, like simple diamonds, require tails for drag-based stabilization. Delta kites and box kites have structural designs that provide self-stability without additional drag elements.
What is the best wind speed for beginners?
A steady breeze between 5 and 15 mph (8-24 km/h) is ideal. Below 5 mph, lift is hard to generate. Above 15 mph, gusts can destabilize lightweight kites and make control difficult for new flyers.
Why does my kite lean to one side?
This is usually due to asymmetrical bridle points or uneven wind. Check that the string connecting the kite to the line is centered. If the bridle is twisted or one side is longer, the kite will bank to that side to seek equilibrium.
Can I fly a kite indoors?
Yes, but only with very lightweight indoor kites designed for low-speed air currents. Standard outdoor kites require the higher wind speeds found outside to generate enough lift to overcome gravity in a confined space.