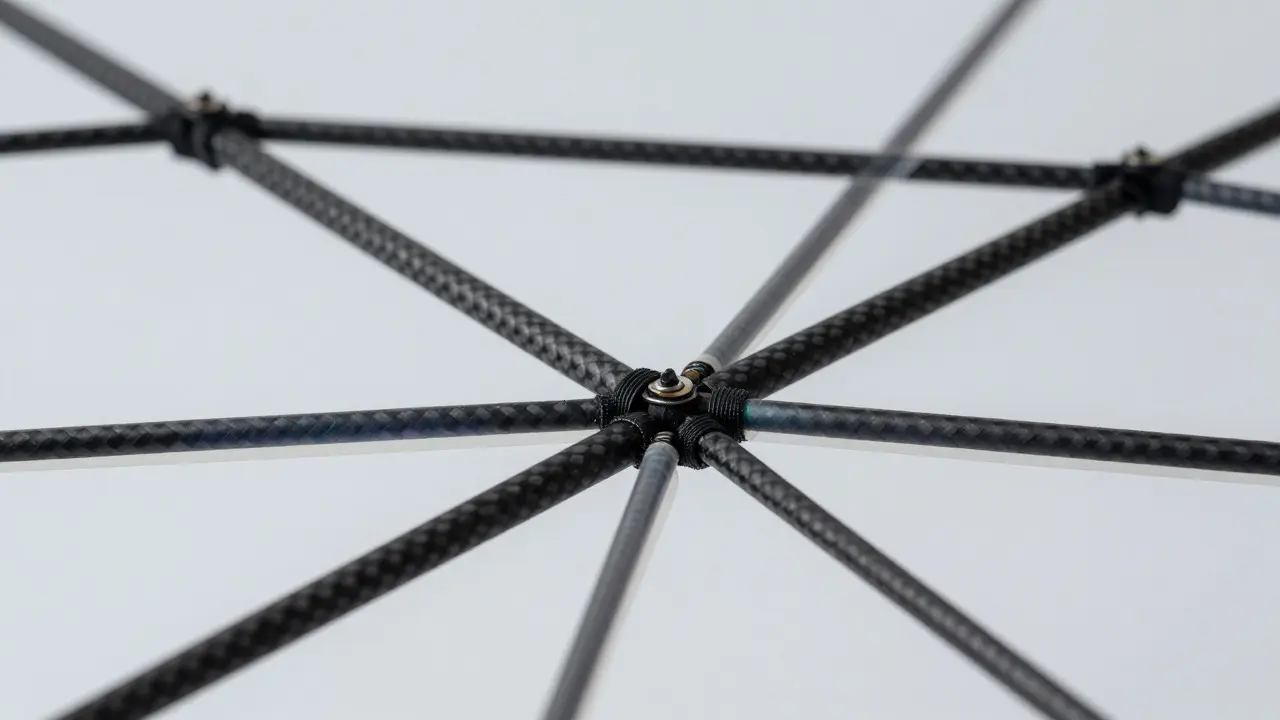
Trying to fly a kite in a gymnasium or a large warehouse? The wind isn't there. You need something that moves on the slightest breeze you can create with your arm. That is where ultralight indoor kites come in. They are not just smaller outdoor kites; they are engineered differently. If you use standard bamboo spars and cotton paper, your kite will be too heavy to stay aloft without a strong draft. The secret lies in three specific material families: carbon fiber, high-strength polyester films, and specialized composites.
This guide breaks down exactly which materials work best for indoor flight, why some common choices fail, and how to combine them for maximum lift-to-weight ratio. We will look at the physics of low-air-density environments and give you practical specs for building a kite that actually flies indoors.
Why Standard Outdoor Materials Fail Indoors
Before picking up a saw or a glue gun, understand the core problem. Indoor air is still, but it is also often turbulent near ceilings and walls. More importantly, the energy input from the pilot is limited. You cannot run like you do on a beach. You have to pump the line by hand or walk slowly. This means the kite must generate lift with minimal velocity.
Lift depends on airspeed squared. If you halve your speed, you quarter your lift. To compensate, you need less weight. A standard outdoor delta kite might weigh 150 grams. An indoor version of the same size should weigh under 40 grams. If you exceed this threshold, the kite stalls every time you stop pumping the line. It drops like a stone. This is why material selection is not about aesthetics; it is about survival in low-energy conditions.
The two main factors determining success are:
- Spar Stiffness vs. Weight: The frame must resist bending but add almost no mass.
- Film Tensionability: The sail must hold shape without being so stiff that it resists airflow changes.
Carbon Fiber: The Gold Standard for Spars
For the skeleton of an indoor kite, Carbon Fiber Rods are high-strength, lightweight composite tubes used for structural support in precision models. Unlike fiberglass, which is flexible and prone to sagging under load, carbon fiber has a high modulus of elasticity. This means it stays straight even when the kite pulls hard against the line.
You don't need aerospace-grade carbon. For indoor kites, you want solid rods or thin-walled tubes. Here is what to look for:
- Diameter: 1mm to 2mm is the sweet spot. Anything thicker adds unnecessary weight. Anything thinner risks snapping during sharp turns.
- Wall Thickness: Look for hollow tubes if possible. A 2mm outer diameter tube with a 0.3mm wall weighs significantly less than a solid 2mm rod while maintaining similar stiffness for small spans.
- Stiffness Rating: Avoid "soft" carbon intended for fishing rods. You need "stiff" or "extra stiff" grades. Soft carbon will bow in the middle, creating drag pockets that kill lift.
A common mistake is using carbon fiber sheet strips cut from larger sheets. These are brittle and difficult to join. Pre-manufactured carbon rods with pre-installed grommets or eyelets save hours of work and ensure consistent strength at the joints.
Polyester Films: The Sail Choice
The sail is where most beginners go wrong. They reach for Mylar (polyethylene terephthalate) because it is shiny and cheap. But Mylar is too stiff for indoor kites. It doesn't flex enough to smooth out turbulent air, and it tears easily if punctured. Instead, turn to Polyester Film is a flexible, high-tensile strength plastic sheet used for aerodynamic surfaces due to its durability and light weight. Specifically, look for ripstop nylon-coated polyester or pure PET film in very thin gauges.
The key attribute here is gauge thickness. For indoor use, you want films between 15 microns and 30 microns. Thicker films (50+ microns) are great for outdoor racing kites but too heavy for indoor maneuvering. Thinner films (under 10 microns) are nearly invisible but tear instantly if they touch a rough surface.
Why polyester over other plastics?
- Crease Resistance: Polyester recovers its shape after being folded. Mylar holds creases permanently, which disrupts airflow.
- Tie-Off Strength: Polyester handles heat-sealing and UV exposure better than many alternatives, ensuring your seams last through multiple flights.
- Transparency Options: Clear or semi-transparent polyester allows you to see the internal structure, making troubleshooting easier when a spar shifts.
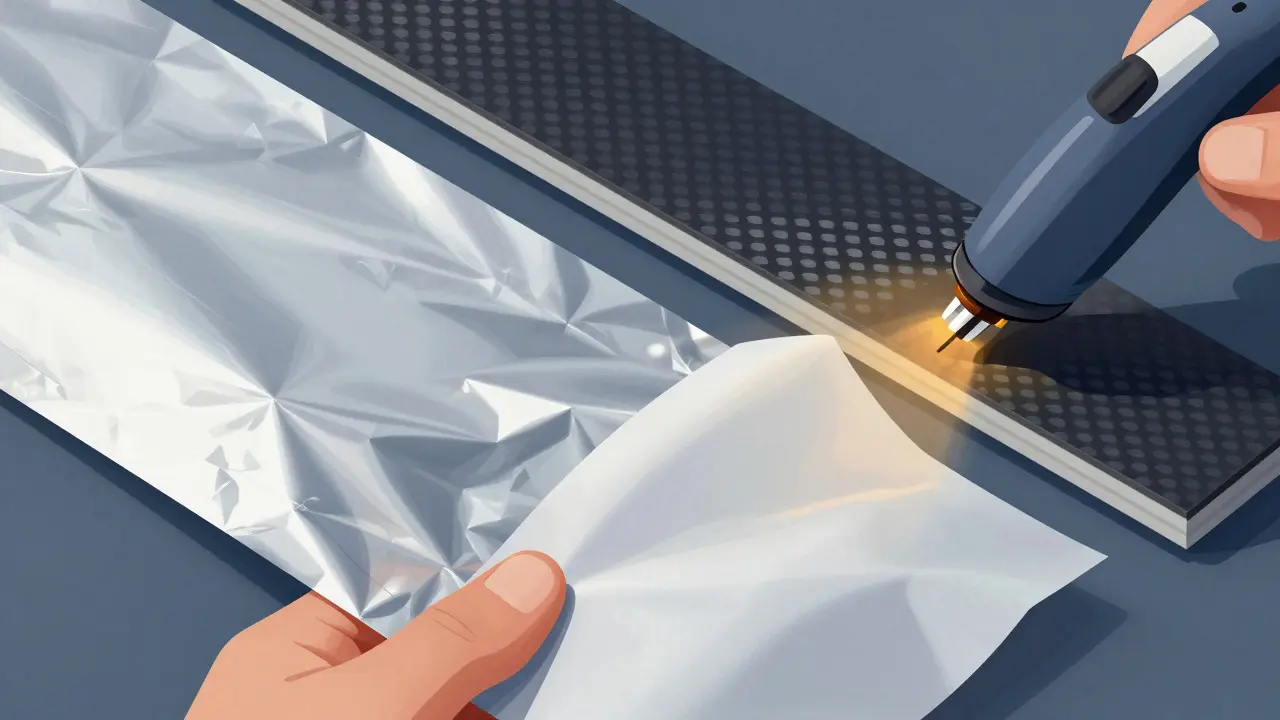
When cutting the sail, use a rotary cutter rather than scissors. Scissors fray the edges of thin polyester, weakening the seam area. A clean cut ensures a stronger bond when you apply adhesive tape or heat welds.
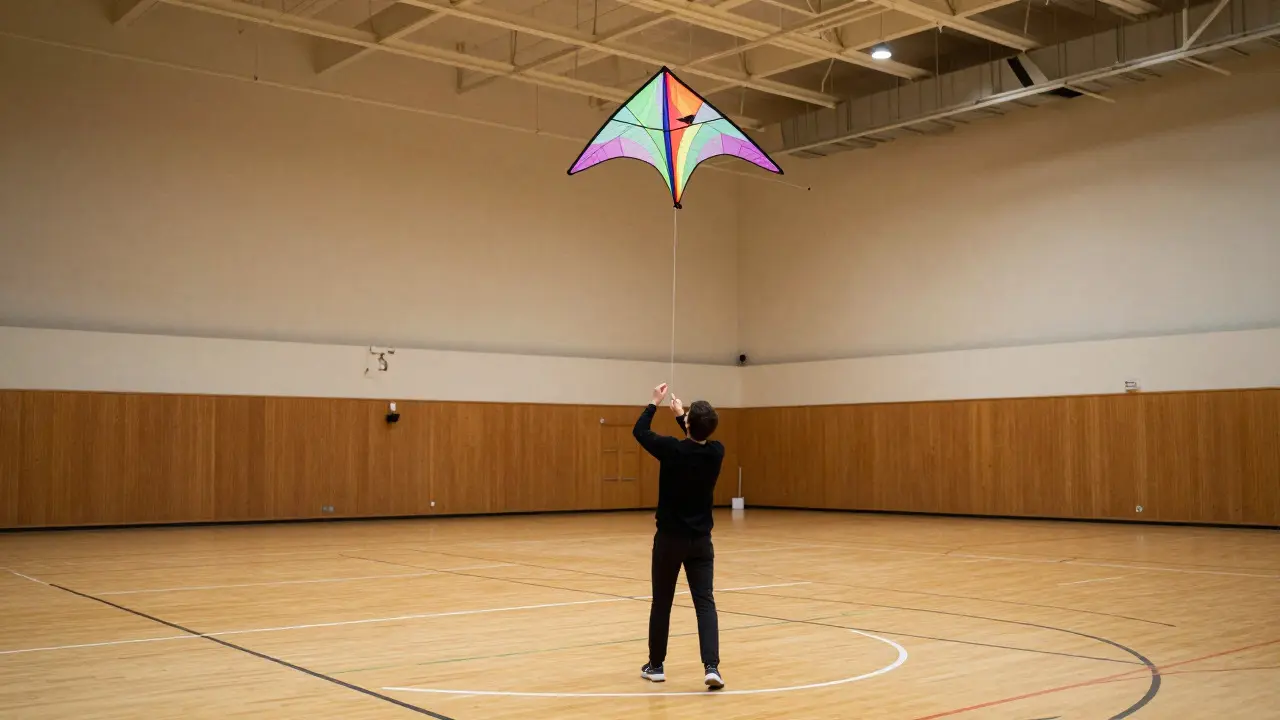
Composites and Hybrid Approaches
Sometimes, pure carbon or pure polyester isn't enough. This is where Kite Composites are hybrid material combinations that balance rigidity, flexibility, and weight for specialized aerial applications. come in. Many advanced indoor builders use a hybrid spar system. For example, the leading edge might be a rigid carbon rod to maintain profile, while the trailing edge uses a flexible fiberglass or carbon-polymer blend to allow the tail to flutter slightly. This controlled flutter stabilizes the kite in still air.
Another composite technique involves laminating. You can laminate a thin layer of carbon fiber onto a polyester film base. This creates a "skin" that is stiffer than plain film but lighter than a solid panel. It works well for box kites or parafoils where surface tension needs to be maintained without a full frame.
Consider the trade-offs:
| Material | Weight per Unit | Stiffness | Best Use Case | Failure Mode |
|---|---|---|---|---|
| Carbon Fiber Rod | Very Low | High | Main Spars | Brittle Snap |
| Glass Fiber Rod | Low | Medium | Trailing Edges/Tails | Bending/Sagging |
| Polyester Film (20 micron) | Extremely Low | Low | Sail Surface | Tearing/Puncturing |
| Mylar (PET) | Low | High | Outdoor Only | Creasing/Stiffness Drag |
Assembly Techniques for Ultralight Structures
Choosing the right materials is only half the battle. How you assemble them determines if the kite stays together. Heavy glues are the enemy. A drop of epoxy can add more weight than the entire spar. Instead, use these methods:
- Heat Sealing: For polyester sails, a hot iron set to low temperature with a Teflon sheet works wonders. It melts the plastic fibers together without adding any foreign material. This is the strongest and lightest joint possible.
- Adhesive Tape: Use double-sided mounting tape rated for plastics. Cut it into tiny strips (2mm wide). Apply it sparingly. Too much tape adds weight and creates drag points.
- Zip Ties: For carbon rod connections, use micro zip ties (the smallest size available). They are strong, require no drilling, and can be trimmed flush after tightening.
Always test the structure before attaching the line. Hold the kite by the nose and gently pull on the tail. If it wobbles excessively, your joints are too loose. If it feels rigid and unyielding, it might be too heavy or stiff. You are looking for a slight give that allows the kite to flex with the air currents.
Common Pitfalls and How to Avoid Them
Even with the best materials, mistakes happen. Here are the top three errors I see in indoor kite building:
1. Over-Sizing the Sail. Bigger is not better indoors. A 6-foot wingspan kite requires too much force to keep airborne. Stick to wingspans between 2 and 4 feet. This size is manageable in a gym or large living room and responds quickly to line inputs.
2. Ignoring Center of Gravity. The center of gravity (CG) must be slightly ahead of the center of pressure. If the CG is too far back, the kite spins out of control. If it is too far forward, it dives. Adjust this by moving the bridle attachment points, not by adding weight. Adding lead weights defeats the purpose of ultralight design.
3. Using Standard Line. Outdoor kite lines are thick and heavy. Use a thin, low-friction monofilament line, typically 0.5mm to 0.8mm in diameter. This reduces drag and allows the kite to feel the subtle movements of your hand. A heavy line acts as a damper, absorbing the energy you need to keep the kite flying.
Testing Your Kite Indoors
Don't wait for a special event to test your build. Set up a simple testing protocol in your home or office. Use a fan on its highest setting to simulate wind. Place the kite 10 feet away from the fan. Observe how it behaves. Does it stall immediately? Does it spin? Does it climb steadily?
If it stalls, check the spar alignment. Bent spars create asymmetric lift. If it spins, adjust the bridle length. Shorten the front bridle to move the CG forward. Lengthen the rear bridle to move it back. Make one change at a time and re-test. This iterative process is faster and cheaper than buying new materials.
Once the kite flies consistently in the fan test, try it in a real indoor space. Start in a hallway or a garage. Pump the line gently. You should feel the kite pulling back smoothly. If it feels jerky, your line is too short or your technique is too aggressive. Indoor kite flying is a dance, not a fight. Let the materials do the work.
Frequently Asked Questions
What is the lightest material for kite spars?
Carbon fiber rods are generally the lightest strong material available for hobbyist use. Hollow carbon tubes offer an even better strength-to-weight ratio than solid rods, though they are harder to source and work with. For most indoor kites, a 1.5mm solid carbon rod provides sufficient strength without excessive weight.
Can I use Mylar for indoor kites?
You can, but it is not recommended. Mylar is stiffer than polyester film, which creates more drag in low-speed indoor conditions. It also retains creases, which disrupts airflow. Polyester film offers better flexibility and smoother performance for indoor flight.
How long should the bridle be on an indoor kite?
There is no fixed rule, as it depends on the kite's aspect ratio and wing span. As a starting point, make the bridle length equal to 20% to 30% of the wing span. Adjust based on flight behavior: shorten the front bridle if the kite dives, lengthen it if it spins.
What type of line is best for indoor kiting?
Use a thin, low-friction monofilament line, ideally between 0.5mm and 0.8mm in diameter. Avoid braided lines, which are heavier and have higher drag. A clear or white line is easier to see against indoor backgrounds, reducing the risk of tangling.
How do I repair a torn polyester sail?
Small tears can be repaired with a patch of matching polyester film and heat sealing. Cut a patch slightly larger than the tear, place it over the hole, and use a hot iron with a Teflon sheet to melt the layers together. For larger tears, replace the entire section to maintain structural integrity.