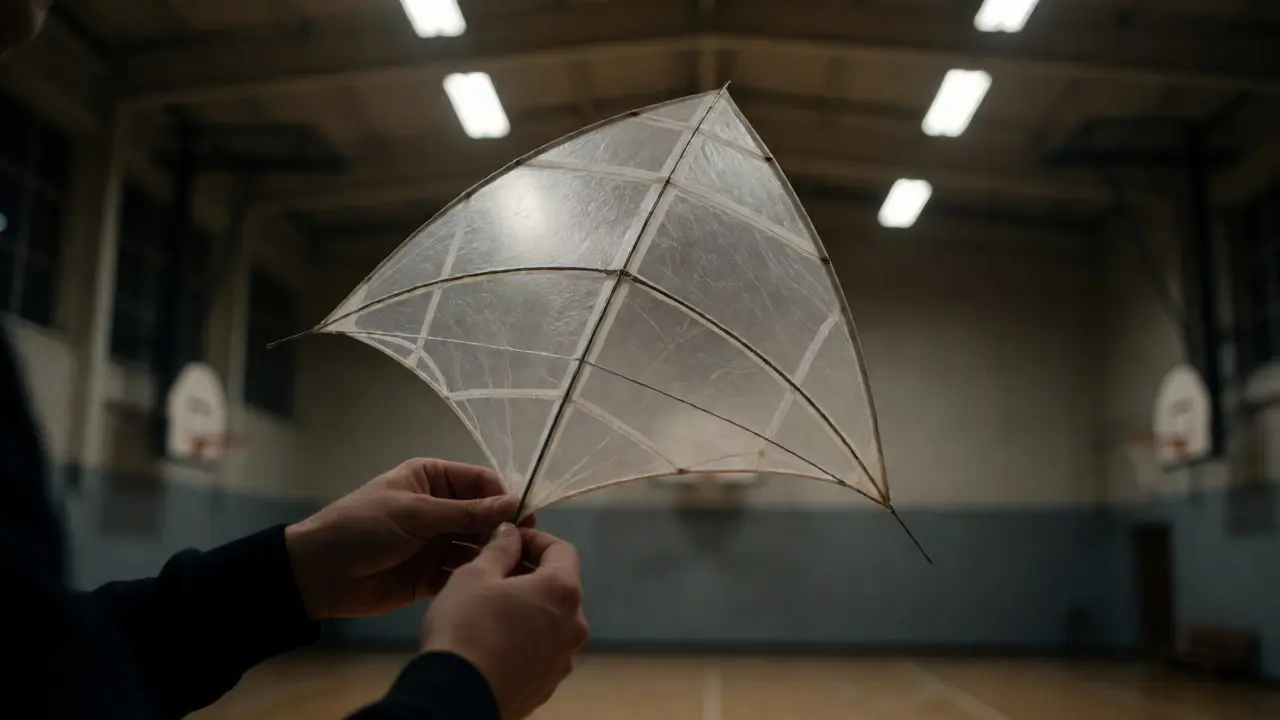
You walk into a gymnasium or a large living room. The air is dead still. No breeze touches your face. You pull out a standard nylon kite, toss it up, and watch it flop onto the floor like a wet towel. It’s frustrating, right? But then you see someone else pulling off loops and dives with a tiny, translucent wing that seems to defy gravity. That’s an indoor kite, specifically designed for environments where wind speed is effectively zero.
Flying indoors isn’t just about having space; it’s about physics. In still air, you are the only source of relative wind. If your gear is too heavy or has too much drag, it won’t fly. If it’s too fragile, it breaks on the first crash. Choosing the right equipment is half the battle. This guide cuts through the noise to help you pick the best ultralight designs and understand the specs that actually matter when the air outside is calm but the air inside needs to be alive.
Why Standard Kites Fail in Still Air
Most outdoor kites rely on natural wind to generate lift. They have heavier frames, thicker fabrics, and longer lines because they need to stay stable in gusts ranging from 5 to 20 mph. In a gymnasium, where the air velocity might hover around 0.5 mph (just enough to keep a candle flame flickering), those heavy components become liabilities.
Think of it this way: An outdoor stunt kite is like trying to drive a truck on ice. It’s powerful, but it lacks the finesse needed for low-friction environments. Indoor kites are the race cars of the sky-lightweight, responsive, and built for precision rather than power. The core difference lies in the lift-to-drag ratio. Indoor models maximize lift while minimizing weight, allowing them to stay airborne using only the airflow generated by your own movement.
The Anatomy of an Ultralight Indoor Kite
To choose the right kite, you need to know what makes it tick. It’s not magic; it’s engineering. Here are the three critical components you must inspect before buying.
Frame Materials: Carbon Fiber vs. Fiberglass
The skeleton of your kite determines its responsiveness. For serious indoor flying, carbon fiber is the gold standard. It’s incredibly stiff yet light, which means the kite reacts instantly to your hand movements without flexing too much. Fiberglass is cheaper and more durable against crashes, but it adds weight and feels sluggish in still air.
If you’re a beginner, don’t let the fear of breaking carbon stop you. Modern carbon rods are surprisingly resilient if you avoid slamming them directly into concrete floors. However, if you plan to practice in a school gym with rough surfaces, a hybrid frame or high-quality fiberglass might save you money in replacements.
Sail Fabric: Ripstop Nylon vs. Mylar
The skin of the kite captures the air. Traditional ripstop nylon is tough but porous and heavy. For still air, look for spinnaker nylon or coated polyester films. These materials are non-porous, meaning they trap every bit of air pressure you create. Some advanced kites use ultra-thin plastic films similar to those used in model airplane wings. They offer superior aerodynamic efficiency but require careful handling to avoid creases, which ruin performance.
Line Systems: Length and Material
This is where many beginners mess up. Outdoor kites often come with 100-foot lines. Indoors, that’s useless. You’ll hit the ceiling or walls constantly. Indoor lines typically range from 6 to 15 feet. Shorter lines give you tighter control and faster reaction times. Use braided Spectra or Dyneema line instead of cotton. Cotton stretches, adding lag to your commands. In a zero-wind environment, that split-second delay can mean the difference between a graceful loop and a nose-dive.
Types of Indoor Kites: Which One Fits Your Style?
Not all indoor kites do the same thing. Your choice depends on whether you want to dance with the kite or race it. Here’s a breakdown of the main categories.
| Kite Type | Best For | Difficulty Level | Key Feature |
|---|---|---|---|
| Dual-Line Delta | Beginners & General Practice | Low to Medium | Stable, easy to launch, forgiving of errors |
| Quad-Line Stunt | Precision Tricks & Displays | High | Can fly backwards, hover, and perform complex maneuvers |
| Single-Line Soft Kite | Relaxation & Large Spaces | Very Low | No rigid frame, uses body motion for lift |
| Discipline-Specific (e.g., Combat) | Competition & Speed | Medium | Small size, extreme maneuverability, aggressive design |
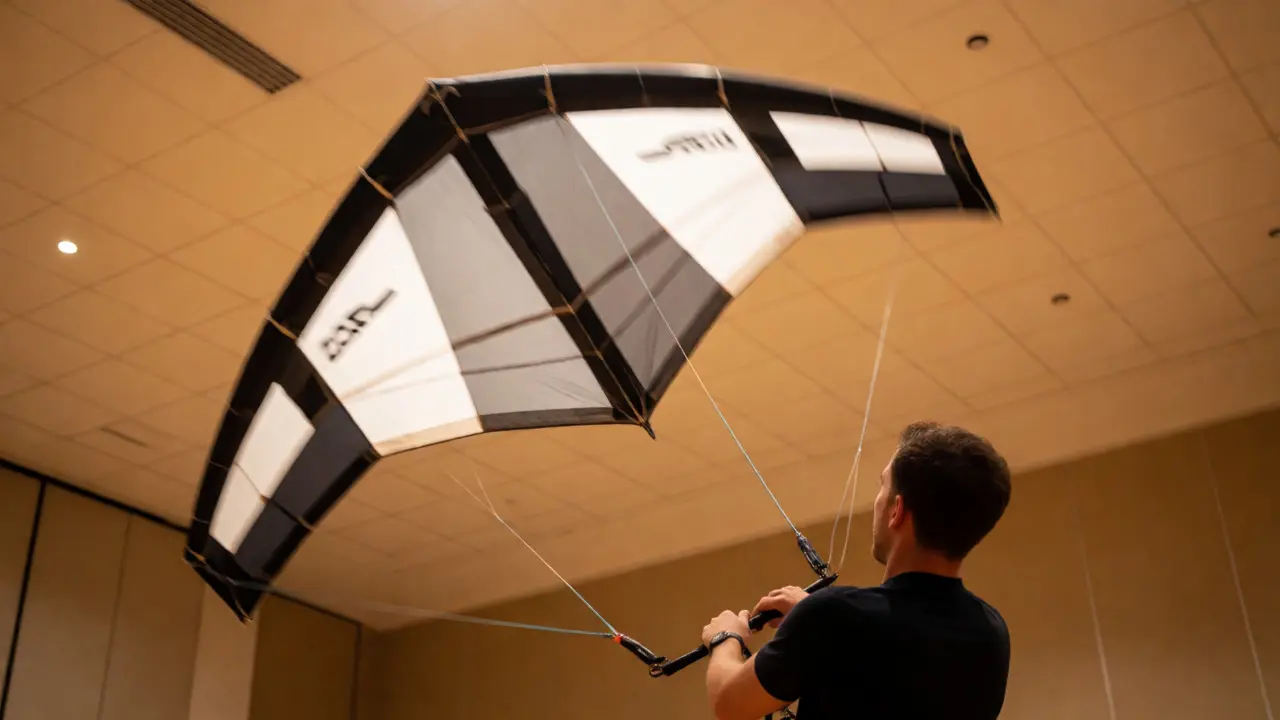
Dual-line delta kites are the workhorses of the indoor world. They look like small versions of outdoor stunt kites but weigh less than 20 grams. They are intuitive. If you’ve ever flown a diamond kite as a kid, you’ll feel at home here, though the controls are sharper. Start here unless you have prior experience with quad-line systems.
Quad-line kites offer four-way control. By pulling one side of the left handle, you can make the kite fly backward or tilt sideways. This allows for hovering, a trick impossible with two lines. However, the learning curve is steep. If you try to learn quad-line tricks in still air without mastering the basics first, you’ll spend more time untangling lines than flying.
How to Evaluate Specifications Before Buying
When you’re scrolling through online stores or browsing at a hobby shop, ignore the pretty colors. Look at the numbers. Here is your checklist:
- Total Weight: Aim for under 25 grams for a standard-sized kite. Anything over 35 grams will struggle in truly still air.
- Wingspan: A wingspan of 24 to 36 inches is ideal for most indoor venues. Larger spans catch more air but hit obstacles sooner. Smaller spans are faster but harder to see.
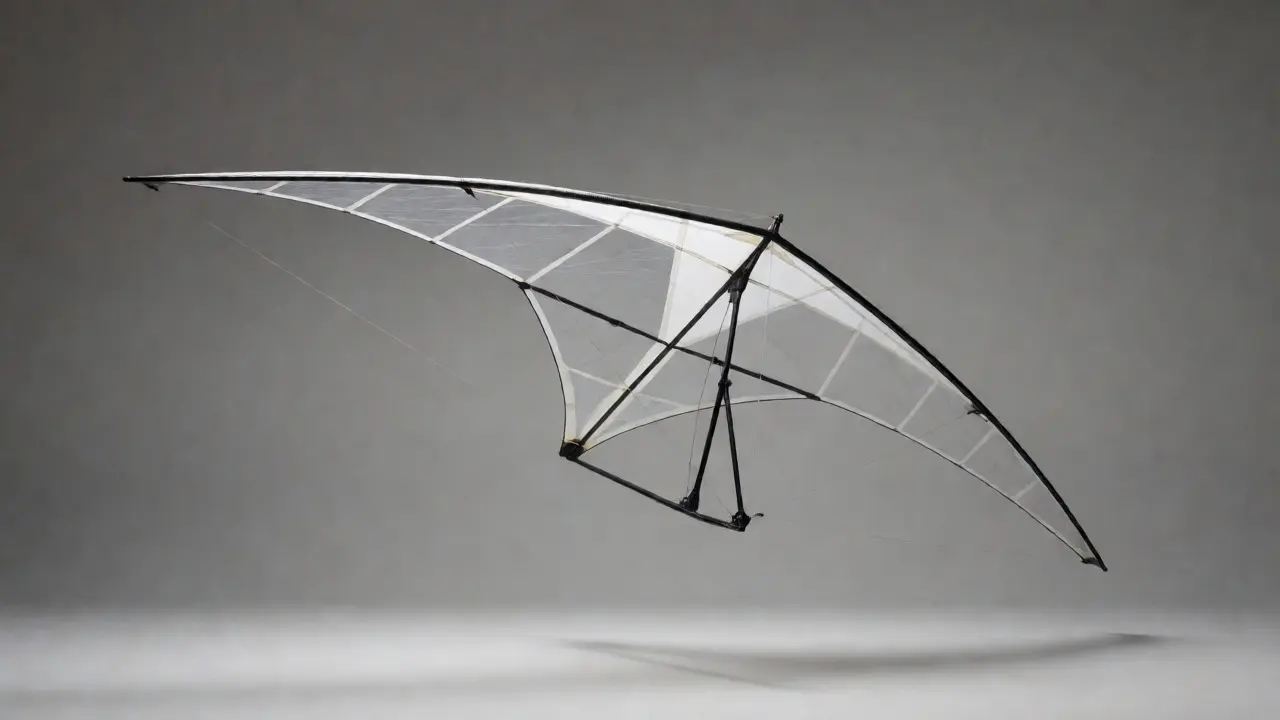
- Aspect Ratio: High aspect ratio kites (long and narrow) glide better and cut through air resistance more efficiently. Lower aspect ratios (short and wide) turn faster. Decide if you prefer gliding elegance or sharp turns.
- Repairability: Check if replacement spars and sails are sold separately. Accidents happen. A kite that can’t be repaired is a toy, not a tool.
A common mistake is buying a "micro" kite thinking smaller is always better. Micro kites (under 12-inch wingspan) are extremely fast and require expert-level reflexes. They also drift away easily if you lose focus. Stick to mid-sized ultralights until you build muscle memory.
Practical Tips for First-Time Indoor Flyers
Once you have the right gear, technique becomes crucial. Since there is no wind to help you, you must generate the airflow yourself.
Move your whole body, not just your hands. When launching, take a few steps forward to create relative wind. Once airborne, subtle shifts in your stance help maintain lift. If the kite sinks, step forward. If it climbs too fast, step back. Treat your feet as part of the control system.
Mind the HVAC vents. Even in "still" air, heating and cooling systems create localized turbulence. Avoid flying near supply vents, which can blast unpredictable jets of air. Conversely, return air grilles create suction zones that can pull your kite unexpectedly. Find the center of the room where air currents are neutral.
Keep your lines clean. Dust and hair accumulate on indoor lines quickly. Dirty lines increase friction and weight. Wipe them down with a damp cloth after every session. A smooth line transmits energy better, making your kite feel more connected to your hands.
Troubleshooting Common Indoor Flight Issues
Even with the best gear, things go wrong. Here’s how to fix the most frequent problems.
The kite keeps nosediving: Your lines are likely uneven. Check the tension on both sides. If one line is shorter, the kite will pull that way. Adjust the bridle points or tie knots to equalize length. Also, ensure you aren’t pulling too hard on the steering handles; gentle inputs are key in still air.
The kite feels sluggish: It’s probably too heavy. Remove any accessories like tails or streamers, which add significant drag. If the problem persists, check for moisture absorption in the fabric. Humid gyms can soak nylon, adding weight. Let the kite dry completely before flying again.
You can’t get it to launch: You might be starting too low. Hold the kite at eye level or higher. Give it a firm, straight push forward-not upward. The goal is to engage the sail with the air moving past it. If it stalls immediately, try increasing your walking speed during launch.
Final Thoughts on Building Your Collection
Starting with one high-quality dual-line ultralight is smarter than buying five cheap toys. Master the basics of hovering, figure-eights, and landings. Once you can fly consistently for ten minutes without crashing, consider adding a quad-line model to expand your repertoire.
Remember, indoor flying is a meditative practice. It demands focus and patience. There’s no wind to blame for mistakes, and no weather to cancel your session. It’s just you, the kite, and the quiet air. Enjoy the process of learning to move together.
Do I need a specific type of room to fly indoor kites?
You need a space with high ceilings (at least 15-20 feet) and no obstructions like hanging lights, fans, or basketball hoops. Gyms, large community centers, and empty warehouses are ideal. Avoid rooms with lots of glass windows if possible, as reflections can disorient you, and broken kites can damage them.
Can I fly an indoor kite outdoors?
Yes, but only in very calm conditions. Ultralight kites are so sensitive that even a mild breeze of 3-5 mph can overpower them, causing them to fly away or crash violently. They are best reserved for controlled environments where you can manage the relative wind yourself.
How long do indoor kites last?
With proper care, a quality carbon-frame kite can last for years. The sails may develop micro-tears over time due to UV exposure or abrasion, but these can often be patched. Frames usually break only upon significant impact. Regular maintenance, such as checking for loose knots and cleaning lines, significantly extends lifespan.
Is it difficult to repair a broken carbon spar?
It requires some dexterity but is quite manageable. You will need a replacement spar of the exact diameter and length, along with strong epoxy or specialized kite tape. Many manufacturers sell repair kits. Watching tutorial videos specific to your kite model is highly recommended before attempting repairs.
What is the best brand for beginners?
While brands change frequently, look for companies that specialize in competitive stunt kiting. Brands known for consistent quality control and available spare parts are preferable. Check local club recommendations, as availability and support vary by region. Avoid generic "toy store" kites labeled as indoor, as they often lack true ultralight specifications.