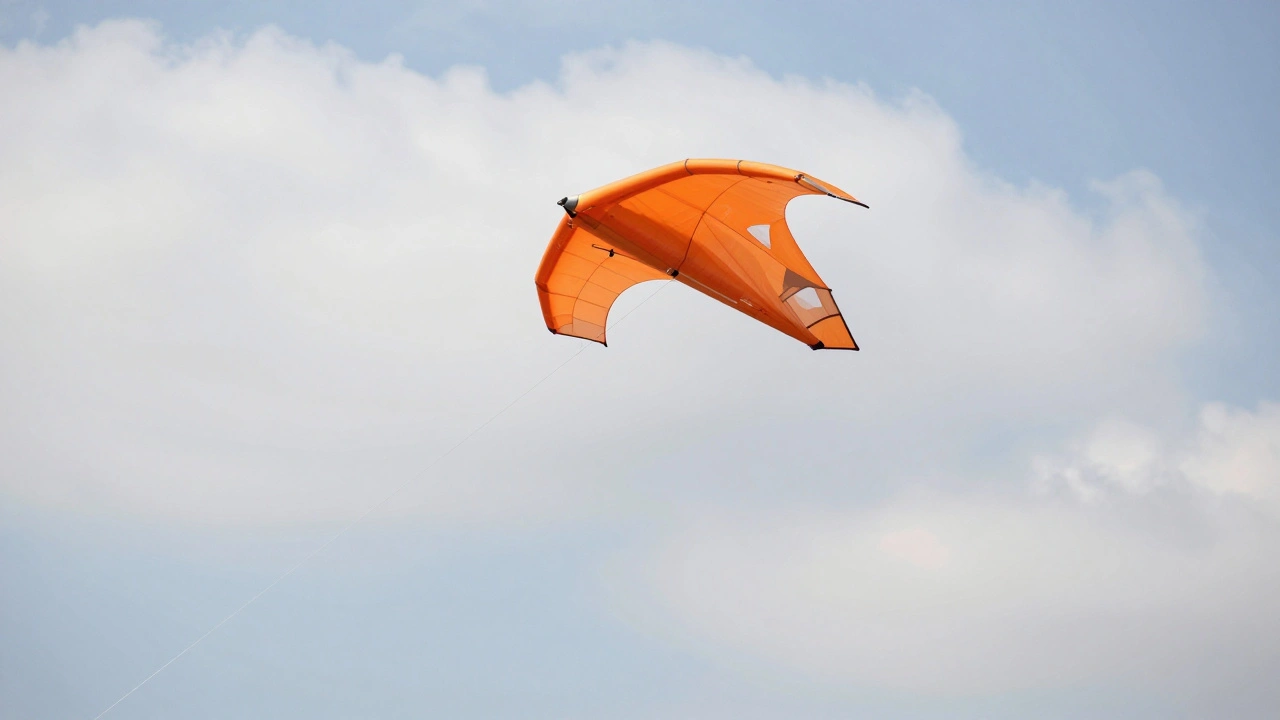
There is a specific kind of magic that happens when you launch a delta wing kite, which is a triangular-shaped kite known for its stability and high-lift performance in moderate winds. Unlike the traditional diamond shape you might remember from childhood, this three-sided design cuts through the air with surprising efficiency. It doesn't just float; it climbs. If you have ever tried to build a kite from scratch only to watch it nosedive into the nearest tree or spin uncontrollably in circles, you know the frustration is real. The secret isn't luck-it's geometry and weight distribution.
I’ve spent years testing designs on the windy shores near Portland, and I can tell you that building a delta wing at home is one of the most rewarding projects you can tackle. You don’t need expensive tools or rare materials. With some basic household items and a little patience, you can create a flyer that handles gusts like a pro. Let’s walk through exactly how to assemble a stable, reliable delta wing kite that will stay aloft even when the wind picks up.
Gathering Your Materials for Success
The first step to a great kite is choosing the right materials. Many beginners make the mistake of using heavy cardboard or thick fabric, which kills lift before the kite even leaves the ground. For a delta wing, you want lightness and rigidity. I recommend starting with mylar or ripstop nylon for the sail. Mylar is shiny, durable, and holds its shape well, making it perfect for beginners. If you can find a lightweight plastic trash bag, that works too-just make sure it’s thin and strong.
For the frame, forget about heavy wooden dowels. Use carbon fiber rods or fiberglass poles. These are available online for a few dollars and weigh almost nothing. A standard set includes two spars (the side supports) and one keel (the center spine). The diameter should be around 4mm to 6mm. Thicker rods add unnecessary weight, while thinner ones might snap in strong winds. Balance is key here.
You’ll also need:
- String or line: Use braided nylon fishing line or specialized kite string. Avoid cotton twine as it stretches and absorbs water.
- Adhesive: Clear packing tape or heat-shrink tubing for attaching the sail to the frame.
- Bridle material: Thin cord or dental floss for the bridle system.
- Tools: Scissors, a ruler, and a marker.
Designing the Delta Shape: Geometry Matters
A delta wing gets its name from the Greek letter Δ (delta), which looks like a triangle. But not all triangles fly equally well. The proportions matter significantly. A good rule of thumb for a beginner-friendly delta is a span-to-chord ratio of roughly 1.5:1. This means if your wingspan (the distance from tip to tip) is 3 feet, the chord (the depth from front to back) should be about 2 feet.
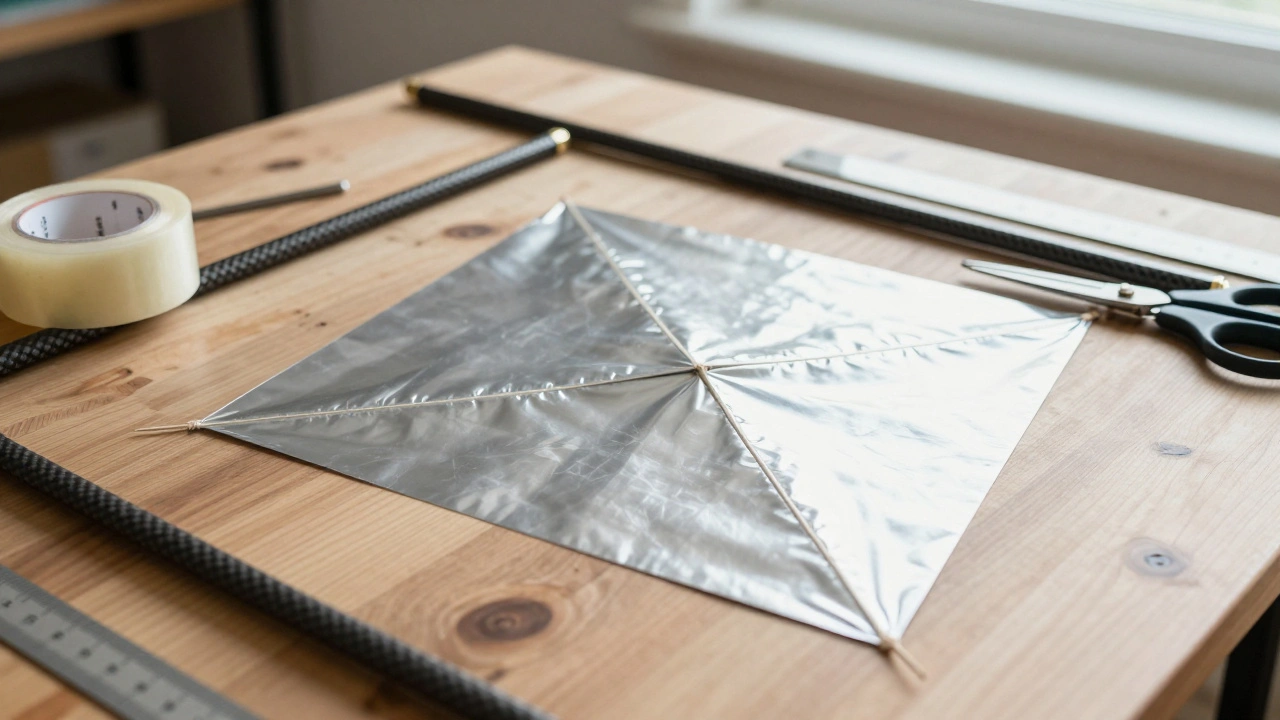
To draw this out, start with a large piece of paper or directly on your chosen sail material. Draw an isosceles triangle. Mark the top point as the apex. Measure down to the base. Now, divide the base into thirds. The center third will anchor your keel, while the outer sections support the spars. This symmetry ensures balanced lift on both sides. If one side is heavier or longer than the other, your kite will yaw left or right constantly, making it impossible to control.
Cut your sail slightly larger than your frame dimensions. This allows you to wrap the edges around the rods and secure them tightly. Precision cutting helps, but perfection isn’t required. What matters more is ensuring the leading edges (the front corners) are sharp and clean to reduce drag.
Assembling the Frame Structure
Once your sail is cut, it’s time to build the skeleton. Take your longest rod-the keel-and place it along the centerline of your triangle, from the apex to the midpoint of the base. Secure it temporarily with tape. Next, take your two shorter rods-the spars-and attach them from the apex down to the ends of the base. They should form a sturdy triangle with the keel inside.
Here’s where many people slip up: they glue everything immediately. Don’t do that yet. First, check for straightness. Lay the frame flat on a table. Does it sit evenly? Are the angles symmetrical? Adjust as needed. Once satisfied, use clear packing tape to bind the joints securely. Wrap the tape multiple times over each connection point to reinforce it. For extra durability, slide small pieces of heat-shrink tubing over the joints before taping and apply heat with a hairdryer. This creates a waterproof, strong bond.
Now, attach the sail to the frame. Starting at the apex, wrap the excess material around the keel and spar junctions. Use tape to hold it in place. Work your way down the sides, smoothing out wrinkles as you go. Wrinkles disrupt airflow and cause turbulence, which leads to instability. Keep the surface taut but not so tight that it distorts the shape. Think of it like drum skin-firm and responsive.
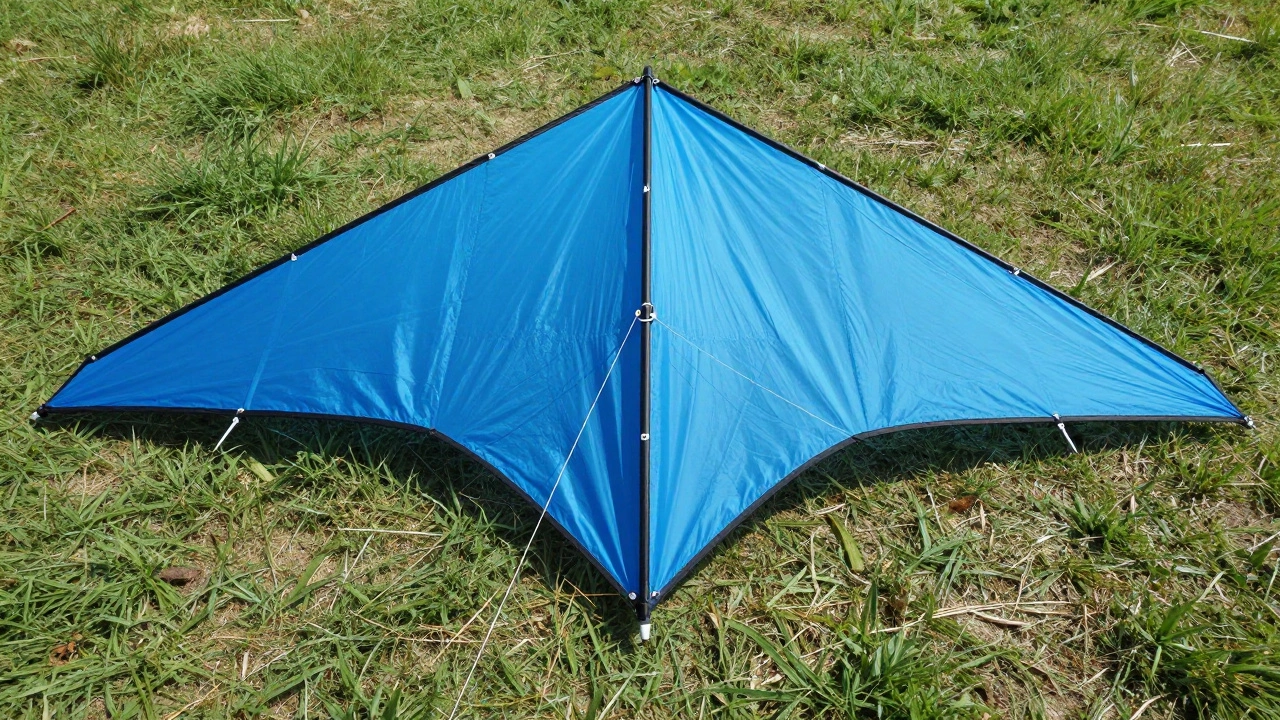
The Critical Bridle System
This is the part that separates amateur kites from professional flyers. The bridle is the network of strings that connects the kite to your main flying line. Its job is to set the angle of attack-the tilt of the kite relative to the wind. Get this wrong, and your kite either stalls (falls backward) or dives (plunges forward).
For a delta wing, you typically need two attachment points: one near the apex (top) and one near the trailing edge (bottom). Cut two equal lengths of bridle cord, each about 12 inches long. Tie one end of each to the designated spots on the kite frame. Bring the free ends together and tie them to a central ring or loop where your main line attaches.
The length of these cords determines the pitch. Longer top cord = higher nose angle (more lift, less speed). Shorter top cord = lower nose angle (less lift, more speed). Start with equal lengths and test-fly. If the kite pitches up too much and stalls, shorten the top cord slightly. If it dives, lengthen it. Small adjustments make a huge difference. I usually mark my knots with colored tape so I can easily tweak them later.
Testing and Tuning for Stability
Take your completed kite outside on a breezy day. Not too calm, not stormy-moderate wind is ideal. Hold the kite by the bridle ring and let the wind catch it. Step back slowly. Watch how it behaves.
If it wobbles side-to-side, you may have uneven weight distribution. Check that both spars are identical in length and stiffness. Add a tiny bit of tape to the lighter side if needed. If it spins, inspect the tail area. Some deltas benefit from a small streamer or ribbon attached to the bottom center to dampen oscillations. Even a few inches of yarn can stabilize the flight path dramatically.
Remember, every kite responds differently based on local conditions. Wind shear, thermal currents, and obstacles all affect performance. Spend time observing and adjusting. There’s no substitute for hands-on experience. Over several flights, you’ll learn what tweaks work best for your specific design.
| Problem | Probable Cause | Solution |
|---|---|---|
| Kite stalls repeatedly | Nose angle too steep | Shorten the top bridle cord |
| Kite dives toward ground | Nose angle too low | Lengthen the top bridle cord |
| Yawing left or right | Uneven frame weight or asymmetry | Add counterweight to lighter side; recheck symmetry |
| Excessive wobbling | Lack of damping | Attach a short tail or streamer |
| Frame breaks under stress | Weak joints or weak materials | Reinforce joints with heat shrink; upgrade to carbon fiber |
Advanced Tips for Better Flight
Once you’ve mastered the basics, consider experimenting with different sail shapes. A deeper chord provides more lift but increases drag. A shallower chord speeds things up but requires stronger winds. You can also try adding a second bridle point near the middle of the keel for finer control over pitch during dynamic maneuvers.
Another pro tip: paint or decorate your kite after assembly. Wet paints can warp the sail or weaken adhesives. Dry markers or vinyl decals applied post-construction keep the structure intact while adding visual flair. Bright colors also help you track the kite against cloudy skies-a practical advantage beyond aesthetics.
Finally, store your kite properly. Roll it gently around a PVC pipe rather than folding it sharply. Sharp folds crease the sail and weaken fibers over time. Proper storage extends the life of your creation significantly.
What size delta wing kite is best for beginners?
A wingspan of 3 to 4 feet is ideal for beginners. This size offers enough surface area to generate lift in moderate winds without being overly cumbersome to handle. Smaller kites require stronger breezes, while larger ones become difficult to manage in gusty conditions.
Can I use cardboard instead of mylar for the sail?
While possible, cardboard adds significant weight and reduces aerodynamic efficiency. It’s better suited for very light winds or educational demonstrations. For regular flying, opt for lightweight plastics like mylar or ripstop nylon for optimal performance.
How do I fix a kite that keeps spinning?
Spinning often results from asymmetrical weight or drag. Check that both spars are identical and securely attached. Adding a small tail or streamer to the bottom center can provide necessary damping to stop rotation. Ensure the bridle is centered and symmetrically tied.
Is it safe to fly a delta wing kite near power lines?
Absolutely not. Never fly any kite near power lines, airports, or busy roads. Conductors in kite strings can conduct electricity, leading to severe injury or death. Always choose open fields away from infrastructure for safety.
What type of string should I use for my delta wing kite?
Braided nylon fishing line or dedicated kite string works best. Avoid cotton twine because it stretches under tension and absorbs moisture, weakening over time. Look for lines rated between 10-20 lbs test strength for typical recreational use.