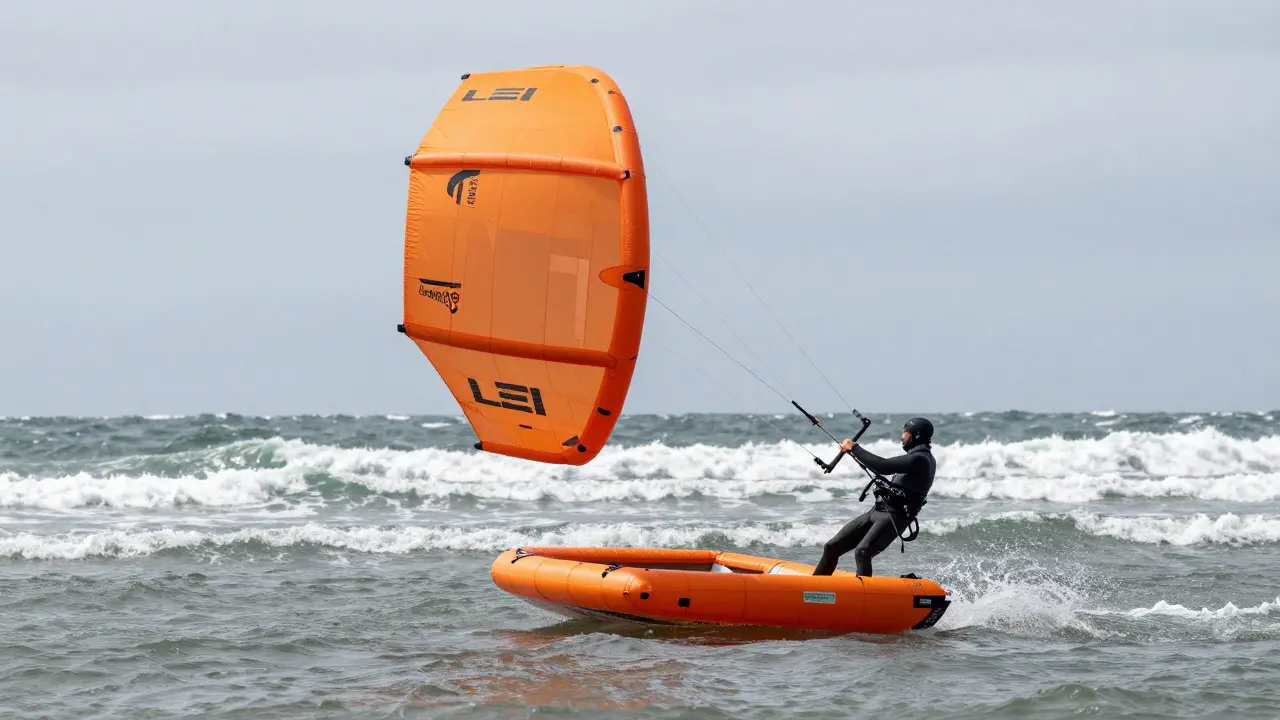
Imagine launching your kite from a choppy beach where the wind is gusting unpredictably. A foil or delta kite might struggle to relaunch without a perfect window of calm air, but a Leading Edge Inflatable (LEI) kite is a type of kite with an inflated tube along its leading edge that provides stability and self-relaunch capabilities. It sits on the water like a boat, ready to pop up the moment you pull it. This isn't just a marketing gimmick; it's the reason most riders choose LEIs for all-around use.
If you are new to kiteboarding or upgrading from a smaller kit, understanding how LEI technology works saves you hours of frustration. The inflated leading edge acts as a buoyant spar, keeping the kite stable in light winds and allowing it to relaunch from the water without needing a flat surface or a specific angle. For riders in places like Portland, Oregon, where conditions can shift rapidly from flat glass to heavy chop, this reliability is a game-changer.
Why Choose an LEI Over Other Kite Types?
The kite market has three main categories: Delta, Foil, and LEI. While foils offer speed and deltas offer agility, LEIs hit the sweet spot for versatility. The primary advantage is the self-relaunch capability. When your kite crashes into the water, the inflated tube keeps the leading edge up. You don't need to run downwind or wait for a lull; you simply pull the bar, and the kite rises vertically.
This feature is critical for safety and convenience. In strong winds, a crashed foil kite can become dangerous if it tangles or pulls unexpectedly. An LEI stays predictable. Additionally, the extra volume in the leading edge helps generate lift in lighter winds compared to a similar-sized delta kite. If you ride in variable conditions, such as the changing breezes off the Pacific Northwest coast, this lift advantage means you can stay out longer before having to pack up.
| Kite Type | Relaunch Capability | Light Wind Performance | Best Use Case |
|---|---|---|---|
| LEI | Excellent (Self-relaunch) | Good (Buoyancy aids lift) | All-conditions, freeride, beginners |
| Foil | Poor (Requires flat water/wind) | Very Good (Hydrodynamic lift) | Surfing, racing, light wind |
| Delta | Moderate (Needs wind window) | Fair | Freestyle, big air, progression |
Understanding the Anatomy of an LEI Kite
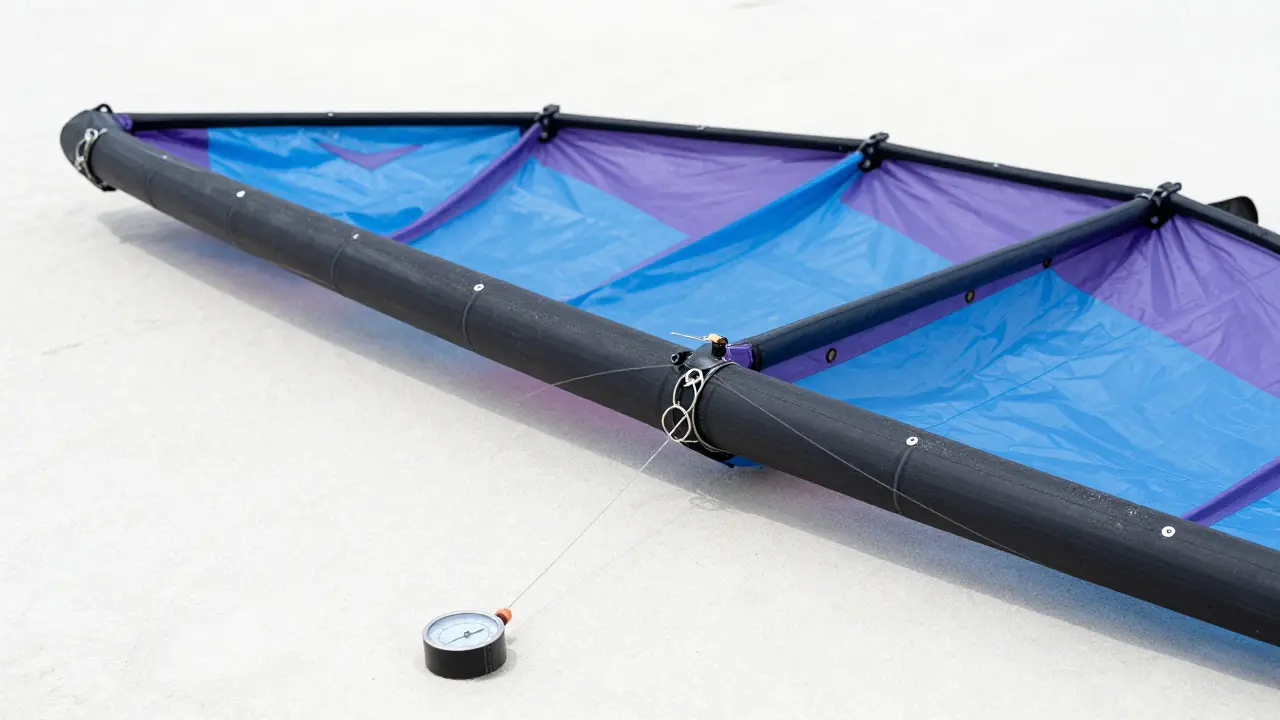
To set up and maintain your gear properly, you need to know what you're looking at. The core component is the inflated leading edge, typically made of reinforced PVC or Hypalon. This tube runs from tip to tip and contains the air that gives the kite its shape and buoyancy. Attached to this are the gores, which are the fabric panels that form the wing surface. Modern LEIs often use asymmetric designs where one side has more gores than the other to optimize power and depower.
Another key part is the bridle system, usually consisting of two lines attached to the trailing edge. These lines connect to your control bar via the steering lines. The geometry of these bridle points determines how the kite turns and how easily it depowers. Most modern LEIs use a C4 or C5 bridling configuration, offering a balance between direct feel and smooth depower. Understanding these parts helps you diagnose issues, such as why one side of the kite might be turning tighter than the other.
Step-by-Step Setup and Launch Procedure
Proper setup prevents 90% of launch problems. Before you even touch the sand, check your inflation pressure. Manufacturers specify exact PSI values, usually between 8 and 12 PSI. Under-inflation makes the kite floppy and hard to steer; over-inflation stresses the seams. Use a digital gauge for accuracy, not just a feel-based pump.
- Inflate the Leading Edge: Connect your pump to the valve. Inflate until the tube feels firm but not rock-hard. Check for leaks by listening for hissing sounds.
- Attach the Bridles: Clip the front and rear bridle lines to the corresponding loops on the trailing edge. Ensure they are seated securely in the clips.
- Connect Steering Lines: Attach the four steering lines to the control bar. Cross-check left-to-left and right-to-right to avoid mirrored steering.
- Position the Kite: Lay the kite on the ground with the leading edge facing downwind. Place the center of the kite about 10-15 feet behind you.
- Launch Sequence: Pull the bar to bring the kite to the 12 o'clock position. Once stable, walk forward while holding the bar, allowing the kite to rise. Never let the kite go fully into the power zone (3 to 9 o'clock) until you are ready to ride.
A common mistake is rushing the launch. Take your time. If the kite stalls at 10 o'clock, gently push the bar away to reduce tension, then pull back slowly. Patience ensures a clean vertical ascent.
Tuning Your Kite for Personal Preference
Out of the box, your LEI is tuned for average conditions. However, you can adjust the line length to change how the kite behaves. Shorter lines make the kite more responsive and faster, ideal for freestyle tricks. Longer lines increase stability and reduce load, which is better for surf riding or learning. Most kits come with adjustable line lengths ranging from 18 to 26 meters.
You can also tweak the bridle tension. Some advanced setups allow you to add or remove bridle segments to alter the turning radius. Tightening the bridle makes the kite turn quicker but can make it twitchy in gusts. Loosening it slows the turn but adds stability. Start with the manufacturer's default settings and only adjust if you have a specific goal, like smoother surfing or sharper jumps.
Maintenance and Care Tips
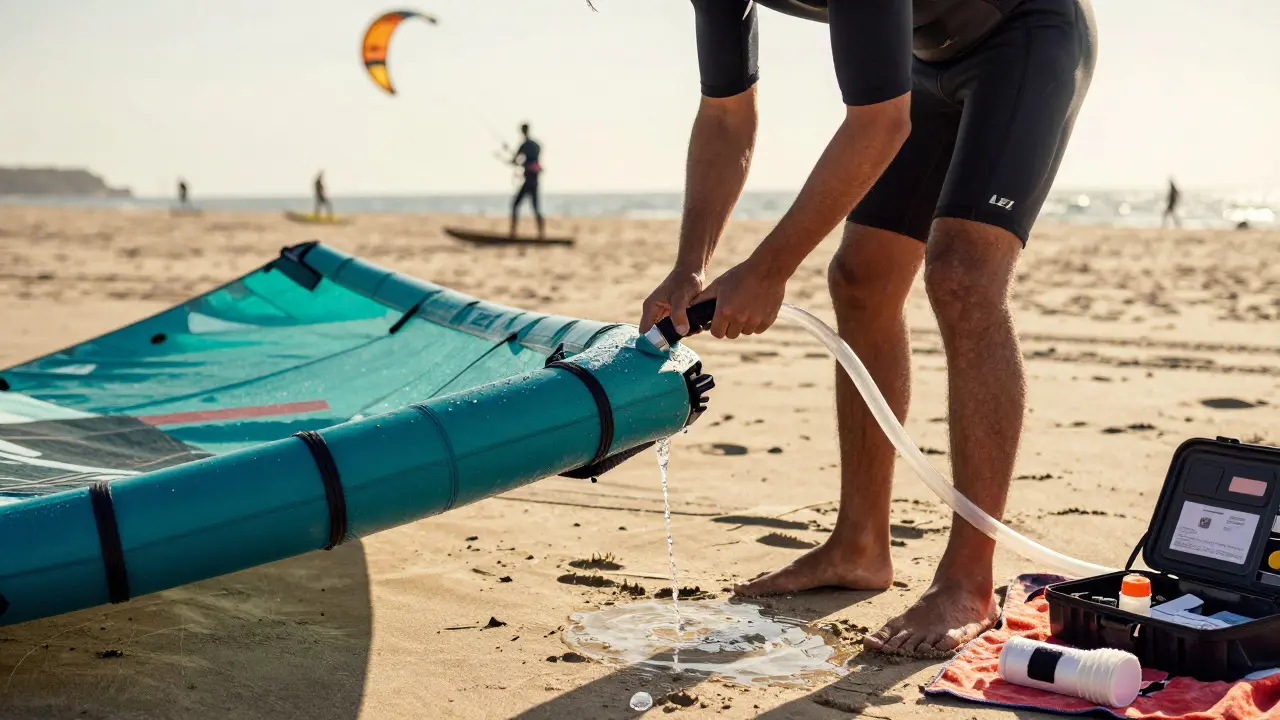
LEIs are durable, but they require basic care to last for years. After every session, rinse the kite with fresh water to remove salt, sand, and chlorine. Saltwater is particularly corrosive to metal fittings and can degrade fabric coatings over time. Dry the kite completely before storing it. Storing a damp kite leads to mold and mildew, which weakens the fabric and ruins the look.
Inspect the leading edge regularly for punctures or abrasions. Keep a repair kit handy with patches and adhesive. Small tears fixed immediately prevent large failures later. Also, check the valves periodically. Valve seals wear out over time and may need replacement if you notice slow deflation. Proper maintenance ensures your LEI remains safe and reliable, season after season.
Frequently Asked Questions
What is the best wind range for an LEI kite?
Most LEI kites perform well in winds ranging from 10 to 25 knots. Lighter models (e.g., 7m) handle 15-25 knots, while larger models (e.g., 14m) work in 10-18 knots. The exact range depends on rider weight and board size.
Can I learn kiteboarding on an LEI kite?
Yes, LEIs are highly recommended for beginners because they are stable and easy to relaunch. Their predictable behavior reduces the risk of sudden power spikes, making the learning curve smoother than with foils or deltas.
How do I fix a leak in my LEI leading edge?
Clean the area around the leak with rubbing alcohol. Apply a patch from a repair kit using the provided adhesive. Press firmly for 30 seconds and let it cure for 24 hours before re-inflating. For large tears, consult a professional repair service.
What is the difference between C4 and C5 bridling?
C4 bridling uses four attachment points, offering a good balance of power and control. C5 bridling adds a fifth point, providing smoother depower and better handling in strong winds. C5 is generally preferred for all-round riding in variable conditions.
Do LEI kites require more pumping effort?
Yes, inflating an LEI takes slightly longer than a foil due to the larger volume of the leading edge. However, the process is straightforward and only needs to be done once per session unless you lose air. Using a high-volume pump speeds up the process significantly.