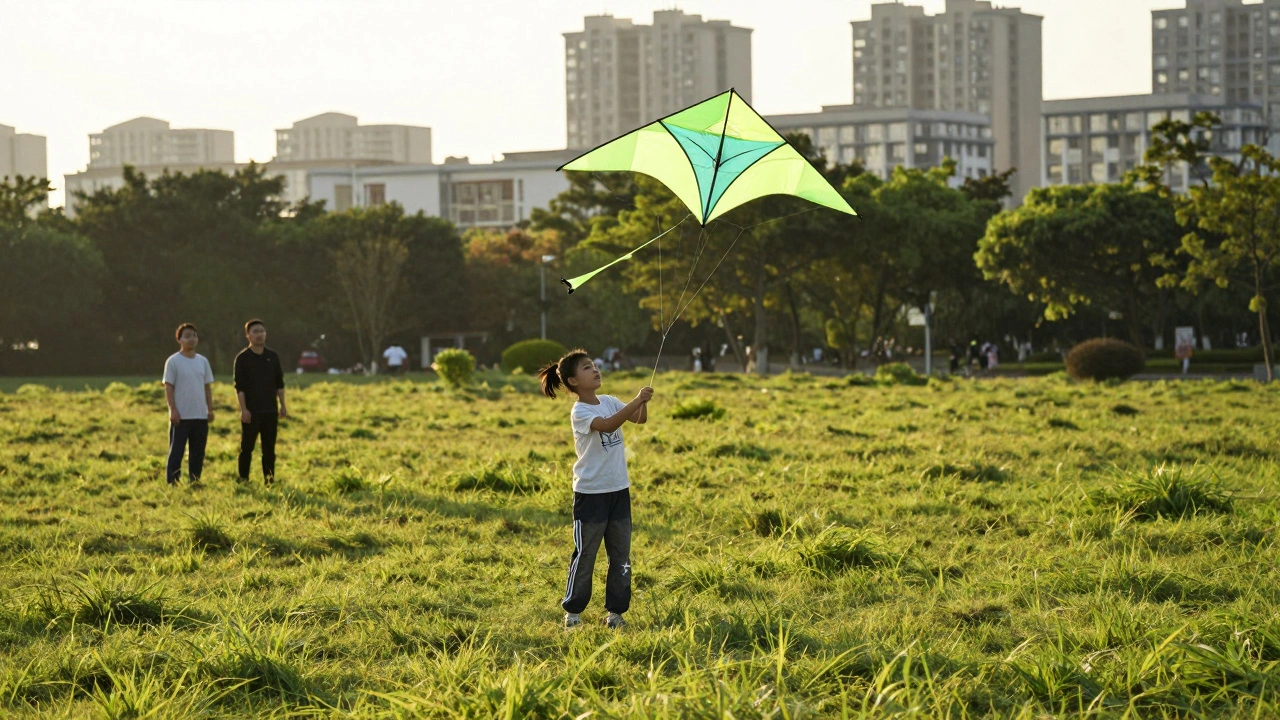
Ever watched someone twist a kite through the air like it’s dancing, pulling sharp loops and spirals with just two lines? That’s stunt kite flying - and it’s way easier to start than you think. You don’t need to be an athlete or have a degree in aerodynamics. All you need is a good beginner stunt kite, a decent breeze, and a little patience. Most people quit because they start with the wrong kite or expect magic on day one. Let’s fix that.
What Makes a Stunt Kite Different
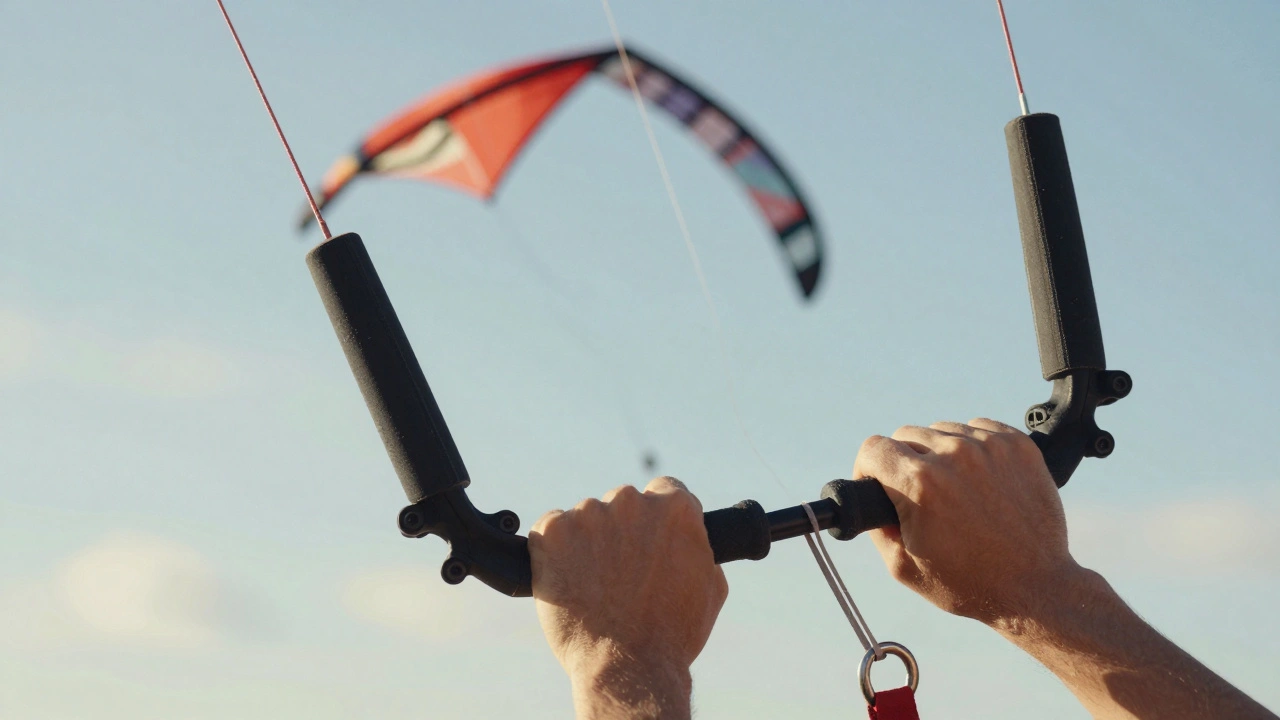
Not all kites are built the same. A simple diamond kite floats. A stunt kite responds. It’s designed to turn, roll, dive, and hover - all on command. Most beginner stunt kites are dual-line, meaning you hold two handles connected to separate lines. Pull left, the kite turns left. Pull right, it turns right. Tug both lines at once, and it stalls or loops. It’s like steering a tiny airplane with your hands.
Unlike single-line kites that just fly up and drift, stunt kites are built for control. They’re lighter, have stiffer frames, and use specially shaped sails that catch wind in a way that lets them maneuver. The most common design for beginners is the delta shape - triangle with a curved leading edge. It’s stable, forgiving, and easy to launch.
What to Look for in Your First Stunt Kite
Here’s what actually matters when you’re picking your first kite:
- Wind range: Look for a kite rated for 5-15 mph. Too light, and it won’t fly in a light breeze. Too heavy, and it’ll yank your arms off in a gust.
- Frame material: Fiberglass is the sweet spot. It’s flexible enough to absorb crashes but stiff enough to hold its shape. Avoid cheap plastic - it snaps.
- Line length: 60-80 feet is ideal for beginners. Shorter lines make the kite feel sluggish. Longer ones are harder to control.
- Handle design: Comfortable, non-slip grips matter. You’ll be holding these for 20 minutes at a time. Look for padded or rubberized handles.
- Color and visibility: Bright colors help you track the kite. If you can’t see it, you can’t fly it well.
Brands like Prism, Wills Wing, and Peter Powell make reliable beginner models. The Prism Nexus or the Wills Wing T2 are solid choices. They cost between $60 and $100. Skip the $20 kites from big-box stores - they’re toys, not tools.
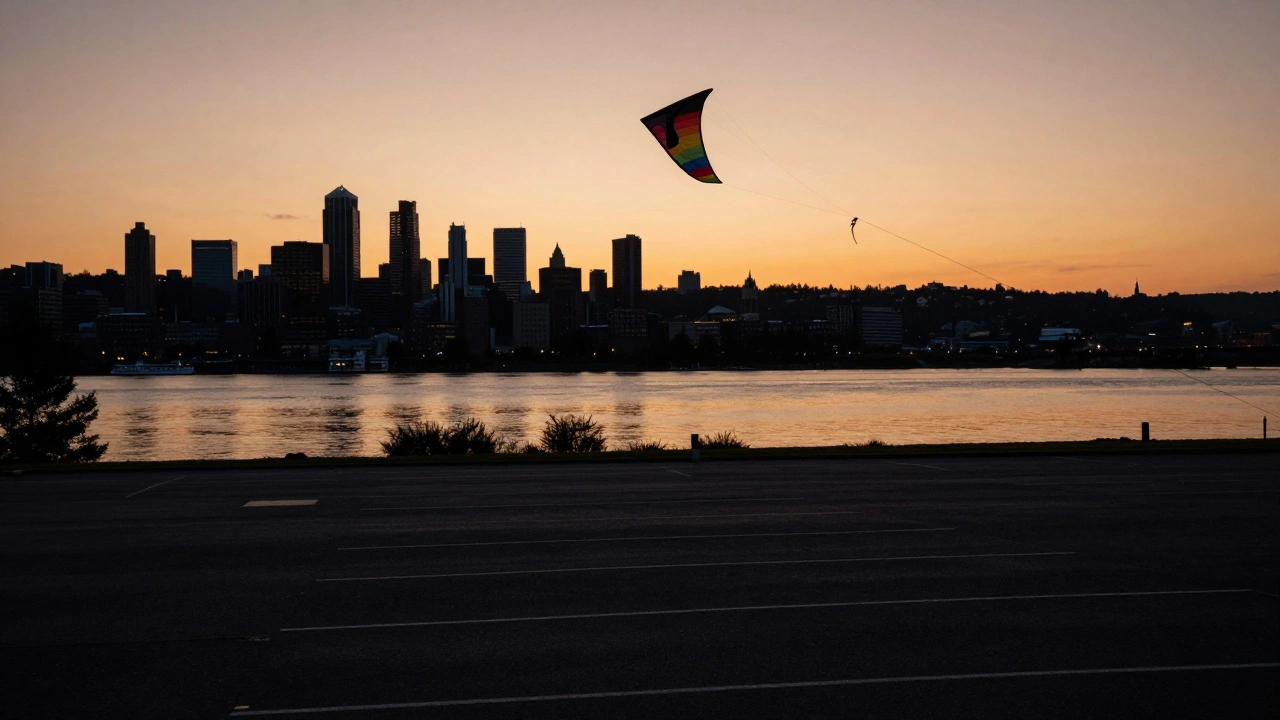
Where and When to Fly
You don’t need a field. You need space. A large open park, an empty parking lot, or even a wide beach works. Avoid trees, power lines, and people. A 100-yard radius is your minimum safety zone.
Wind matters more than you think. Too little? The kite won’t lift. Too much? It’ll spin out of control. The best time to fly? Late afternoon, when the wind is steady and not gusty. Morning winds are often too choppy. Use a wind meter app - they’re free and surprisingly accurate. Aim for 8-12 mph. That’s the Goldilocks zone for learning.
Portland’s parks - like Peninsula Park or Forest Park’s open edges - are perfect. The wind here rolls in off the Columbia River, and it’s usually consistent. Don’t wait for a perfect day. Just wait for a decent one.
How to Launch (Without Faceplanting)
Most beginners try to run and throw. That’s how kites get broken. Here’s the right way:
- Unroll your lines completely. Make sure they’re not tangled. A single knot can ruin your day.
- Hold both handles in your hands, arms extended. Keep your elbows slightly bent.
- Have a friend hold the kite 15 feet away, facing you. Tell them to let go when you say “Go.”
- As soon as the kite lifts, gently pull your right hand back - just an inch. The kite will turn right. Then pull left to correct. This is steering.
- Don’t yank. Don’t jerk. Think “tug,” not “pull.”
If it dives into the ground? That’s normal. It happens to everyone. Pick it up, check the lines, and try again. The first 10 launches are usually crashes. That’s part of the process.
First Moves to Master
Forget fancy tricks. Focus on three basics:
- Hover: Fly the kite straight up, then gently tug both lines to stop it. Hold it in place for 5 seconds. This teaches you how the kite responds to tension.
- Turns: Pull one handle slightly to turn. Then release and let it fly straight again. Practice 10 left turns, 10 right turns. Keep the kite at eye level.
- The figure eight: This is your first real skill. Fly a small circle to the right, then smoothly switch to a circle to the left. It looks like an infinity symbol. Master this, and you’ve got control.
Don’t rush. Spend a week on just these three. Most people quit because they want to do loops on day three. You won’t learn to walk by trying to run. This is about building muscle memory, not showing off.
What to Avoid
Here are the three mistakes that kill beginner progress:
- Flying in gusty wind: Wind that changes speed every few seconds? That’s a nightmare. Wait for smooth, steady air.
- Using worn-out lines: If your lines look frayed or feel stiff, replace them. Cheap line snaps under tension. Replace them every 6 months if you fly weekly.
- Trying to fly alone in a crowd: You’re learning. You’ll drop the kite. You’ll swing it. You’ll panic. Don’t risk hitting someone. Fly in open space, alone.
How to Practice Smart
Practice 15-20 minutes a day, three times a week. That’s enough. Too much and you get frustrated. Too little and you forget what you learned.
Record yourself. Use your phone. Watch the video. See where you yank too hard. See where the kite wobbles. You’ll spot mistakes you didn’t feel while flying.
Join a local kite club. Portland has a small but active group that meets at Sellwood Park every second Saturday. You’ll meet people who’ve been flying for years. They’ll give you tips. They’ll laugh with you. They’ll help you fix your kite. That’s worth more than any YouTube tutorial.
What Comes Next
Once you’ve nailed the figure eight, you’re ready for the next step: the loop. It’s a full circle in the sky - up, over, down, and back. It’s flashy, but it’s built on the same control you’ve been practicing.
After that? Try a tail. A 10-foot tail adds stability and makes your kite look amazing. Or upgrade to a kite with a carbon fiber frame - lighter, more responsive. But don’t rush. The best fliers didn’t start with expensive gear. They started with patience.
Stunt kites aren’t about speed or height. They’re about precision. About timing. About listening to the wind through your fingers. That’s the magic. And it’s waiting for you - right now, in the next breeze.
Can I fly a stunt kite in the city?
Yes, but only in large open areas like parks, empty lots, or wide sidewalks. Avoid tight spaces, trees, power lines, and crowds. City wind can be gusty and unpredictable, so stick to calm afternoons. Portland’s Peninsula Park or the waterfront at Tom McCall Waterfront Park are great options.
Do I need special training to fly a stunt kite?
No. No certification or course is required. But watching a few beginner videos helps. Focus on launch techniques and basic steering. Most skills come from practice, not theory. Start slow, and let your hands learn the feel of the kite.
How long do stunt kites last?
A well-made beginner kite lasts 2-5 years with regular use. The frame can take a lot of abuse, but the sail fabric wears out from UV exposure and crashes. If the fabric starts tearing or the frame bends permanently, it’s time to replace it. Keep it stored in a dry, cool place when not flying.
Are stunt kites safe for kids?
Kids aged 10 and up can fly them with supervision. The lines can cut skin if snapped under tension, so always use gloves. Choose a kite with a soft fiberglass frame and padded handles. Avoid kites over 80 square inches for younger kids - they’re too powerful.
What if my kite keeps spinning out of control?
This usually means your lines are twisted or the kite is out of balance. Lay the kite flat. Untwist both lines completely. Check that the frame is straight and the sail isn’t stretched unevenly. If the problem continues, the kite might be damaged. Try a different one. Most beginner kites are designed to self-correct - if yours doesn’t, it’s likely faulty.