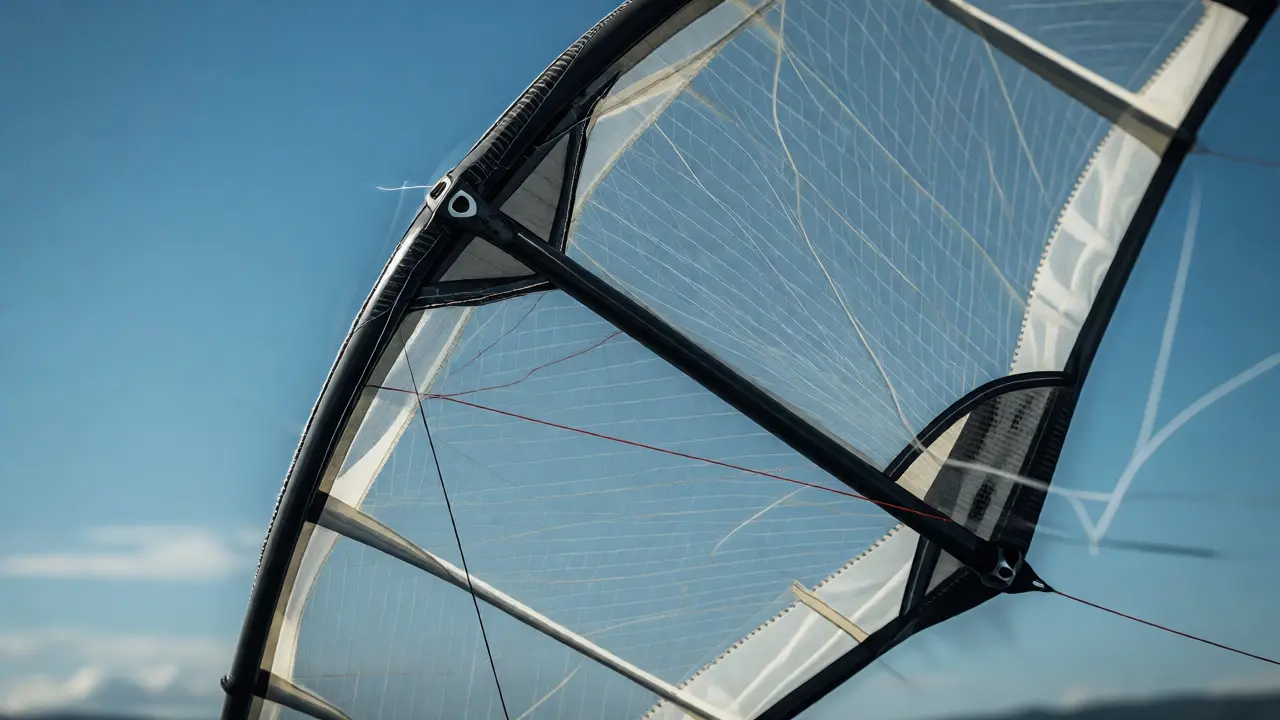
You’ve got your new kite in the air. It looks beautiful for about ten seconds, and then it starts to buzz. That high-pitched vibration, known as kite flutter, isn’t just annoying-it’s a sign that your setup is fighting against physics rather than working with it. If you’re seeing your bridle lines shake or hearing a hum that sounds like a angry bee trapped in a jar, you’re dealing with aeroelastic instability. This happens when the aerodynamic forces acting on the sail match up poorly with the structural properties of the frame and fabric.
Here’s the good news: you don’t need an engineering degree to fix this. You just need to understand three levers: Stiffness, the resistance of the kite's structure to deformation under load, Tension, the pre-load applied to the sail and bridle system, and Damping, the dissipation of vibrational energy through friction or material absorption. Master these, and your kite will fly smooth, quiet, and stable, even in gusty conditions.
Why Does My Kite Buzz?
Kite flutter is essentially a self-excited oscillation. Imagine pushing a child on a swing. If you push at exactly the right moment, the swing goes higher and higher. If you push at the wrong time, it slows down. In a kite, the wind provides the energy, but the timing of how the sail deforms determines whether that energy builds up (flutter) or dies out (stable flight).
This usually happens because the sail is too loose relative to its size, or the spars are too flexible for the speed the kite is flying at. When the sail ripples, it changes the angle of attack locally. This change creates more lift or drag, which bends the spar further, which changes the shape again. If the cycle reinforces itself, you get flutter. If the structure absorbs the energy before it can reinforce the next ripple, the kite stays calm.
Lever One: Stiffness Tuning
Spars are the backbone of any framed kite. Their job is to hold the sail taut and maintain the aerodynamic profile. If they are too soft, the sail collapses under pressure, creating the wobble that leads to flutter. But here is the trap: making them stiffer makes them heavier, which hurts performance in light winds.
You have two main ways to adjust stiffness without buying new parts:
- Material Choice: Carbon fiber spars offer the highest strength-to-weight ratio. They resist bending significantly better than fiberglass or bamboo. If your current spars feel "mushy" when you flex them by hand, upgrading to carbon is the most direct fix. For example, switching from 1/4-inch fiberglass to 3K carbon fiber can increase bending stiffness by over 40% with minimal weight gain.
- Spar Diameter and Wall Thickness: Stiffness scales with the fourth power of the diameter. Doubling the diameter makes the spar 16 times stiffer. However, doubling the wall thickness only doubles the stiffness while doubling the weight. Always prioritize increasing diameter slightly over thickening walls if you want to suppress flutter without killing your launch capability.
For delta kites or parafoils without rigid frames, "stiffness" comes from internal pressure. A parafoil that feels floppy needs more volume or tighter cell construction. You can't easily change the fabric, but you can ensure all cells are fully inflated by checking for leaks or blocked vents. A semi-rigid rib inserted into the leading edge can also add localized stiffness where flutter often starts.
Lever Two: The Power of Tension
If stiffness is about resisting bend, Tension is about removing slack. Slack is the enemy of stability. A loose sail acts like a drum skin; it wants to vibrate. A tight sail acts like a trampoline; it snaps back immediately.
Adjusting tension is often the quickest way to stop flutter mid-session. Here is how to approach it:
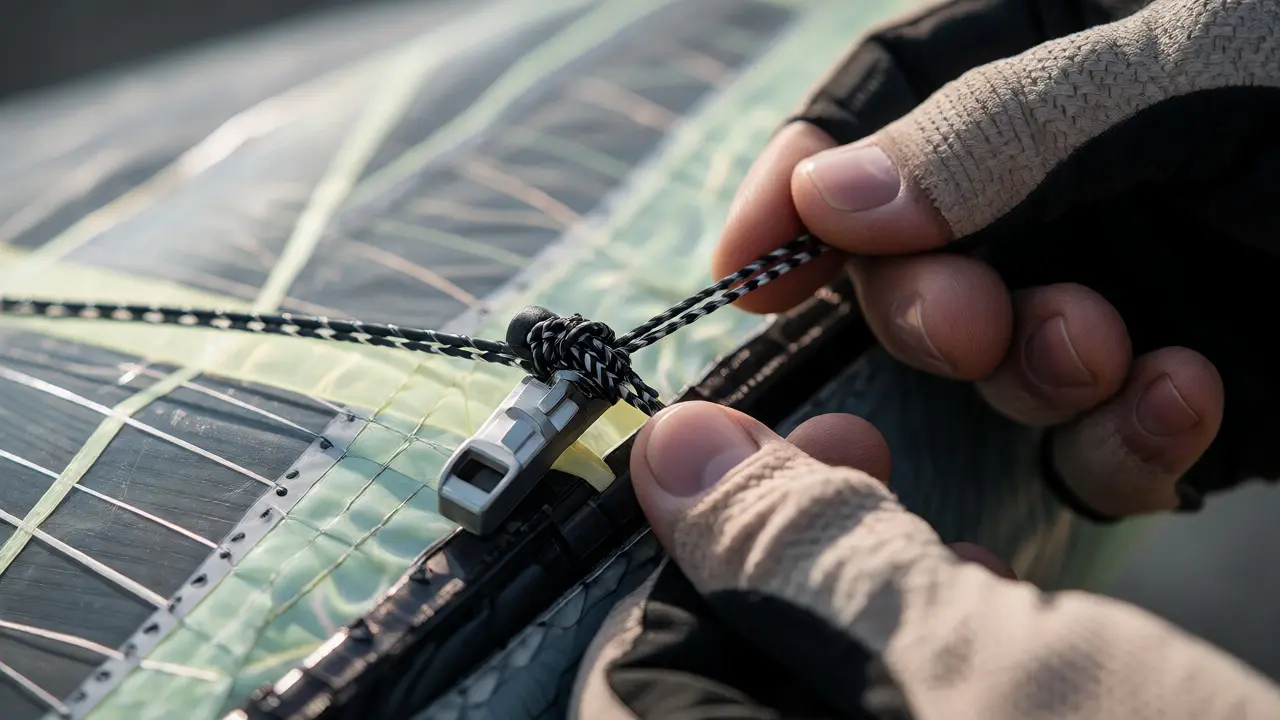
- Bridle Adjustment: Most modern stunt kites and box kites use adjustable bridles. Shortening the front bridle points pulls the nose down and increases sail tension across the span. Try shortening the front pigtails by 1-2 millimeters. This small change often eliminates low-frequency flapping.
- Sail Pre-stretch: New sails stretch. After 5-10 flights, your kite might develop flutter simply because the fabric has relaxed. Re-tighten your bridle knots to compensate. Conversely, if you overtighten during assembly, you risk snapping a spar. Find the sweet spot where the sail is drum-tight but not distorting the spar shape.
- Line Tension: Don't forget your flying lines. If your lines are too long or have too much stretch (like old nylon), the kite can oscillate behind you. Switching to low-stretch Dyneema lines reduces this lag, allowing the pilot to dampen movements faster.
| Tension Level | Flutter Risk | Wind Range | Turn Speed |
|---|---|---|---|
| Low (Loose) | High | Light Wind Only | Slow |
| Medium (Optimal) | Low | Wide Range | Balanced |
| High (Tight) | Very Low | Strong Wind | Fast/Jittery |
Lever Three: Damping Strategies
Even with perfect stiffness and tension, some energy always remains. This is where Damping comes in. Damping turns kinetic energy into heat. Without it, vibrations persist. With it, they die out quickly.
In kite design, damping is rarely added via shock absorbers. Instead, it comes from material properties and friction:
- Fabric Selection: Ripstop nylon is great for strength, but it has low internal damping. It rings like a bell. Polyethylene fabrics (like those used in high-end paragliders) have higher hysteresis, meaning they absorb more vibrational energy naturally. If you are building a custom kite, consider blending materials or using heavier denier ripstop (e.g., 1.9 oz instead of 1.0 oz) to add mass-damping.
- Friction Points: Where spars connect to hubs or sleeves, there should be slight friction. If connections are too loose, they rattle. If they are too tight, they bind. Use waxed thread wraps or specific lubricants sparingly. Sometimes, adding a small rubber O-ring inside a spar sleeve adds just enough friction to dissipate vibration without stopping movement.
- Aerodynamic Drag: Surprisingly, drag helps damping. Small tabs or "streamers" attached to the wingtips can act as passive dampeners. They create consistent drag that opposes rapid oscillations. This is why many racing kites have small vertical stabilizers-they aren't just for direction; they dampen yaw oscillations.
Diagnosing the Source of Your Flutter
Not all flutter is created equal. Identifying the type tells you which lever to pull.
Leading Edge Wobble: If the front of the kite shudders, your leading edge spar is likely too flexible. Increase spar stiffness or reduce the aspect ratio (make the kite shorter/wider). This is common in large delta kites made with thin dowels.
Trailing Edge Flap: If the back edge buzzes, your tension is insufficient. Tighten the rear bridle points or add weight to the trailing edge (small lead weights) to lower the natural frequency away from the wind's excitation frequency.
Global Humming: If the whole kite hums at a constant pitch, it is likely a resonance issue. Change the wind speed slightly. If the humming stops at different speeds, it confirms aeroelastic coupling. Adjusting line length can shift the phase of the feedback loop, breaking the resonance.
Practical Tuning Checklist
Before you start cutting or gluing, try this sequence. It solves 80% of flutter issues in minutes.
- Clean and Inspect: Remove dirt from bridle knots. Dirt adds weight and irregularity. Check for broken strands in the sail that could cause asymmetric flapping.
- Check Symmetry: Lay the kite flat. Are both wings identical? A 1mm difference in spar length can cause massive asymmetrical flutter. Measure diagonals from tip to tail.
- Incremental Tensioning: Fly the kite. Note the flutter. Land. Tighten front bridle by 1 turn. Fly again. Repeat until flutter disappears. Do not skip steps.
- Test Spar Rigidity: Hold the kite by the nose and tap the wingtip. Listen to the sound. A dull thud means good damping/stiffness balance. A high-pitched ring means low damping-consider heavier fabric or added friction.
Can I fix flutter without changing my kite?
Yes, in most cases. Start by adjusting your bridle tensions. Tightening the front attachment points usually resolves mild flutter by increasing sail tension. Additionally, ensuring your flying lines are taut and free of excessive stretch helps stabilize the kite's position relative to the wind.
Does heavier fabric help with flutter?
Heavier fabric generally increases inertia and internal damping, which can reduce flutter. However, it also raises the minimum wind speed required for flight. For light-wind kites, heavier fabric might make the kite unable to launch, so it is a trade-off between stability and accessibility.
Why does my kite flutter only in strong winds?
Strong winds exert higher aerodynamic loads, causing greater deformation of flexible components. If the structure cannot resist this deformation (low stiffness) or if the sail becomes too loose under load (insufficient tension), the critical flutter speed is exceeded. Upgrading to stiffer spars or tightening the rig is necessary for high-wind performance.
What is the role of aspect ratio in flutter?
Higher aspect ratio kites (long and narrow) are more prone to bending and torsional flutter due to longer lever arms on the spars. Lower aspect ratio kites (short and wide) are structurally stiffer and less prone to flutter but may have higher induced drag. Designers balance these factors based on intended use.
Do streamers actually stop flutter?
Streamers primarily indicate airflow and add minor drag. While they do not directly stiffen the kite, their consistent drag force can provide a small amount of aerodynamic damping, helping to settle unstable oscillations, particularly in yaw or roll modes. They are more diagnostic tools than active suppression devices.