You’re standing on the beach, wind whipping your hair, ready to launch that 12-foot delta kite. You’ve got the perfect breeze-steady, consistent, just enough lift to make it sing. But here’s the thing nobody tells you at the park: kite anchor safety is where most disasters happen. Not in the air, but on the ground. I learned this the hard way when a sudden gust ripped my stake out of dry soil and sent my kite careening into a stranger’s picnic setup. The string snapped like a guitar wire, and the tail nearly took out a toddler. That moment taught me that anchoring isn’t just about keeping the kite up-it’s about controlling chaos.
If you fly kites regularly, whether for fun, competition, or even aerial photography, you need to understand the three pillars of secure anchoring: ground stakes, sand bags, and quick releases. Each has its place, its risks, and its sweet spot. Get one wrong, and you’re either fighting a runaway kite or dealing with tangled lines and broken equipment. Let’s break down what actually works, what fails under pressure, and how to choose based on your environment.
Why Kite Anchor Safety Matters More Than You Think
Kites aren’t lightweight toys anymore. Modern performance kites can generate hundreds of pounds of pull. A single gust can double that force instantly. If your anchor gives way, that energy doesn’t vanish-it transfers to whatever the kite hits next. People, cars, power lines, other flyers. In Portland’s windy spring seasons, I’ve seen kites tear through backyard fences because someone used a flimsy tent peg in soft grass.
The real danger isn’t just losing your kite. It’s injury. Kite lines are thin but incredibly strong-often made from Dyneema or Spectra fibers that can cut skin or cause deep lacerations. When a kite breaks free, it becomes an uncontrolled projectile. And if you’re using a static anchor without a release mechanism, you might try to grab the line yourself, which is how fingers get sliced open.
So before we talk gear, let’s set the rule: your anchor must be stronger than the maximum expected load. For most recreational flyers, that means planning for at least 3x the kite’s rated pull. If your kite says “max 50 lbs,” your anchor should handle 150 lbs without budging.
Ground Stakes: The Classic Choice (With Caveats)
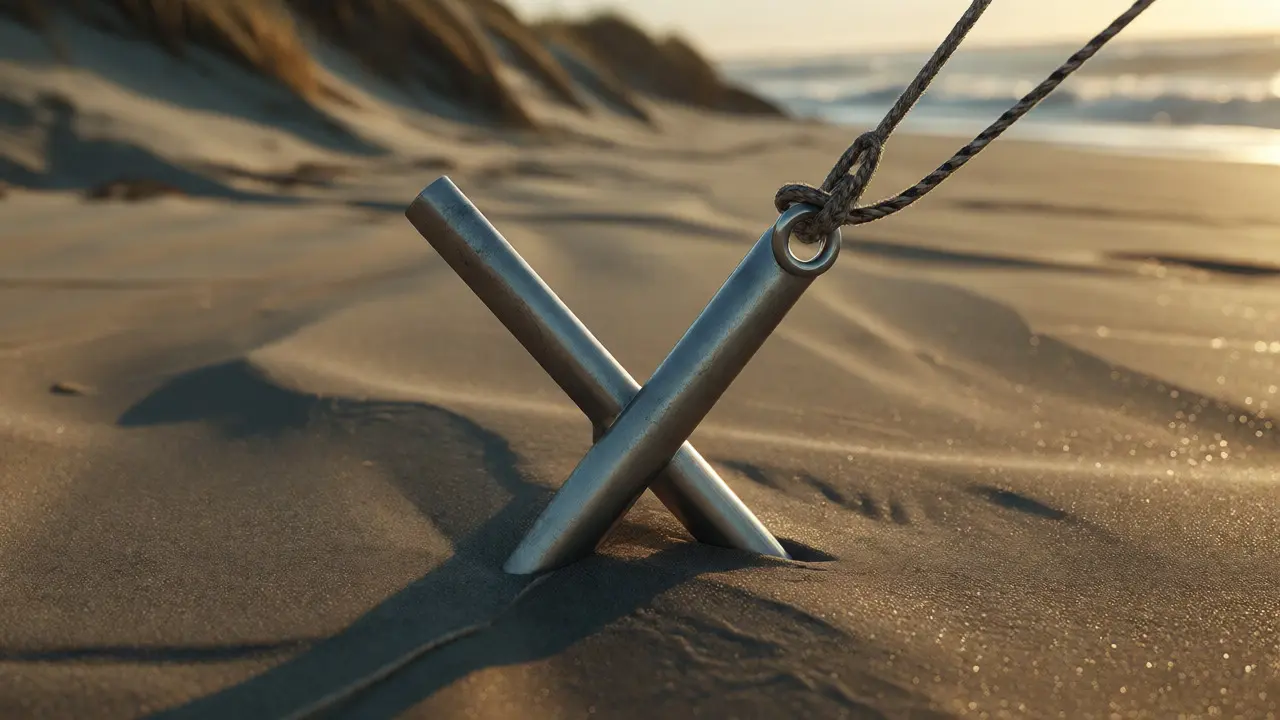
Ground stakes are probably what you picture first-a metal or plastic spike driven into the earth. They’re cheap, portable, and familiar. But not all stakes are created equal, and their effectiveness depends entirely on soil type and angle.
In sandy beaches or loose dirt, standard tent stakes fail fast. They pull out sideways under tension. What works better? Long, angled stakes-think 18 to 24 inches, driven at a 45-degree angle away from the kite. This uses the soil’s shear strength rather than relying on friction alone. Aluminum alloy stakes resist bending; steel ones hold better but rust quickly near saltwater.
| Stake Type | Best For | Max Load Estimate | Downside |
|---|---|---|---|
| Tent Peg (Plastic) | Calm days, small kites (<6 ft) | 20-30 lbs | Bends easily, pulls out in soft soil |
| Steel Screw Stake | Firm soil, moderate winds | 100-150 lbs | Rusts, heavy to carry |
| Aluminum T-Stake | Beaches, parks, mixed terrain | 80-120 lbs | Can bend under extreme gusts |
| Deadman Anchor (Buried) | High-wind events, large kites | 200+ lbs | Time-consuming to set up |
Pro tip: Always test your stake before launching. Give the line a sharp tug-if the stake moves even an inch, reset it deeper or change angles. Never trust a visual check alone.
Sand Bags: Your Best Friend on Beaches and Hard Surfaces
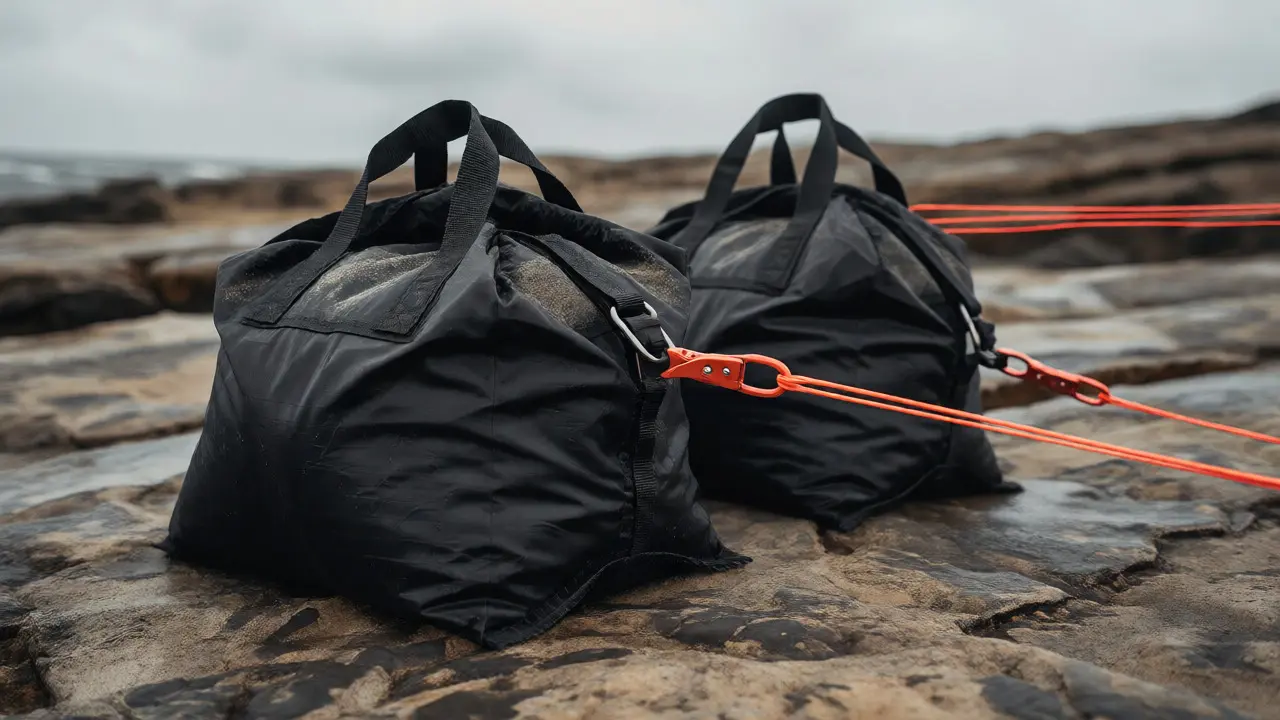
When you can’t drive a stake-like on concrete, asphalt, rocky shores, or packed sand-sand bags become essential. These aren’t your hardware store’s generic burlap sacks. Purpose-built kite sandbags weigh 20 to 50 pounds, have reinforced handles, and often include D-rings for easy attachment.
Why do they work? Weight distribution. Unlike stakes, which rely on penetration, sand bags use mass to resist horizontal pull. On a beach, fill them with wet sand-it’s denser and less likely to shift. On pavement, use gravel or purchased ballast. Avoid dry sand; it compacts unevenly and can leak out over time.
I keep two 30-pound sand bags in my car trunk year-round. One stays filled for immediate use; the other empties for transport. Setup takes ten seconds: drop it, clip the bridle, done. No digging, no alignment fuss. Plus, if the kite breaks free, the bag stays put instead of becoming a flying hazard like a loose stake might.
One mistake people make? Underestimating wind direction. Place the sand bag directly opposite the kite’s pull vector. If the wind shifts 30 degrees mid-flight, your anchor point changes too. Recheck positioning every 15 minutes during long sessions.
Quick Releases: The Unsung Hero of Kite Control
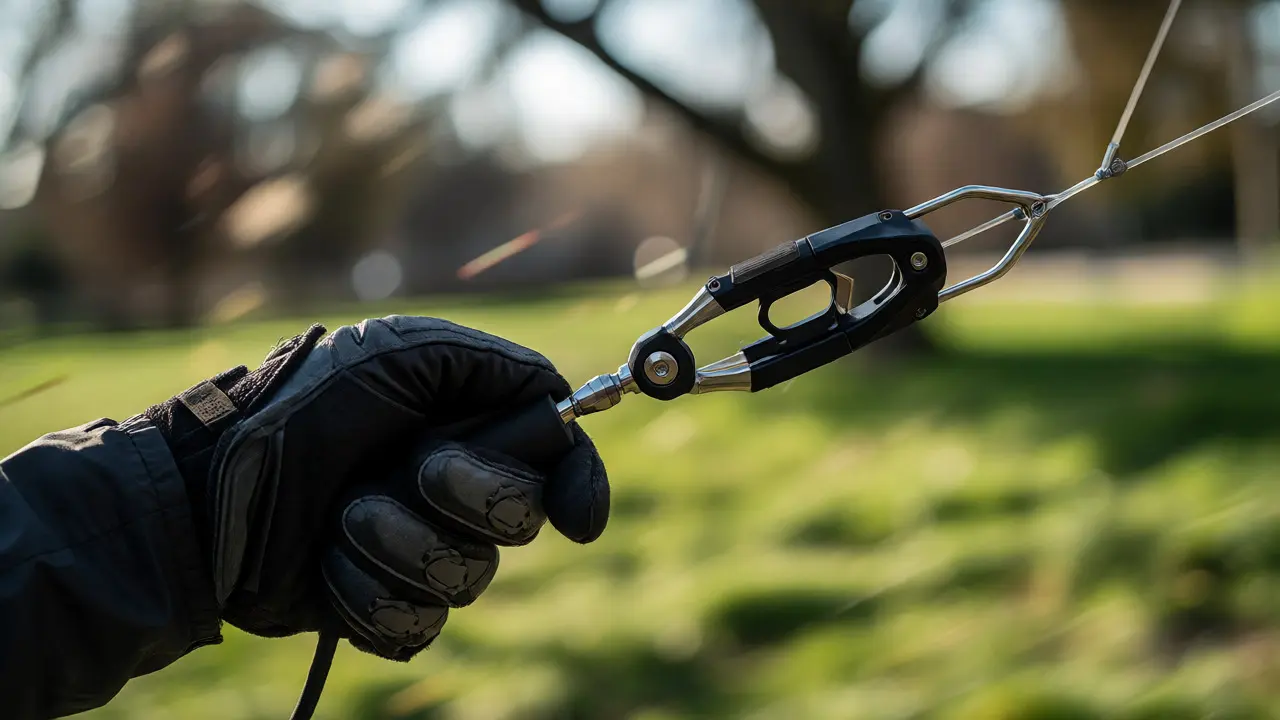
Here’s where most beginners skip critical safety: quick releases. These are mechanical connectors between your kite line and anchor that let you detach instantly under load. Without one, you’re stuck holding a screaming kite while trying to untangle knots or react to emergencies.
Types vary. Simple carabiners work for light kites but can jam under tension. Better options include:
- Trigger snaps: Spring-loaded gates that open with thumb pressure. Reliable up to 100 lbs.
- Pin shackle systems: Used in racing kites; require manual pin removal but won’t accidentally open.
- Magnetic disconnects: Newer tech, ideal for photography rigs where hands-free detachment matters.
Always pair a quick release with a leash or wrist strap. Why? So if you drop the handle, the kite doesn’t zoom off uncontrollably. The leash keeps you connected until you decide to release.
Test your quick release weekly. Pull hard-simulate a gust. If it sticks or requires excessive force, replace it. Saltwater corrodes metal parts fast, so rinse after beach use.
Matching Anchors to Environments: A Practical Guide
Your location dictates your best anchor strategy. Here’s how I approach different spots around Portland and beyond:
- City Parks (Grass/Loam): Use aluminum T-stakes at 45° + a quick release. Check for underground utilities first-Portland’s old neighborhoods have shallow pipes.
- Oregon Coast Beaches: Wet-sand-filled sand bags only. Stakes sink and lose grip. Add a secondary tether tied to a distant rock or post for redundancy.
- Dry Lake Beds (e.g., Summer Time): Hardpan surfaces reject stakes. Go heavy: 50-lb sand bags or even cinder blocks wrapped in fabric to prevent scratching.
- Rooftops or Balconies: Clamp-on rail anchors with built-in quick releases. Never tie directly to railings-you’ll damage paint and risk slippage.
And remember weather forecasts. If wind speeds exceed 20 mph, downgrade your kite size or switch to heavier anchors. Gusts don’t warn you-they hit suddenly.
Common Mistakes That Lead to Accidents
Even experienced flyers mess up. Here’s what I see repeatedly:
- Using rope instead of proper kite line: Rope stretches unpredictably and frays. Stick to braided polyester or Dyneema.
- Ignoring line length: Too short = poor control; too long = harder to manage sudden loads. Keep under 100 feet unless you’re experienced.
- No backup plan: Always have a second anchor option nearby. If your primary fails, you can catch the kite before it hits trees or roads.
- Flying solo without communication: If someone else is helping, agree on signals beforehand. Shouting “RELEASE!” beats fumbling for a clasp mid-gust.
Also, never anchor near overhead wires. Power lines attract kites due to thermal rising air-and contact equals electrocution risk. Maintain at least 50 feet clearance horizontally.
Building Your Own Anchor Kit: What to Pack
For serious flyers, assemble a modular kit. Mine includes:
- Two 30-lb collapsible sand bags (with zippered tops for easy filling)
- Four 20-inch aluminum T-stakes with carrying pouch
- Three trigger-snap quick releases (rated 150 lbs)
- 50 feet of spare 200-lb test kite line
- Gloves (for handling high-tension lines)
- Small shovel or trowel (for burying deadman anchors)
Total weight? About 70 pounds. Heavy, yes-but worth it when you’re battling coastal winds. Store everything in a duffel with separate compartments so nothing tangles en route.
If you’re casual, start with one quality sand bag and one good quick release. Upgrade as you encounter tougher conditions.
How much weight do I really need in a sand bag?
It depends on your kite’s max pull rating. As a rule of thumb, aim for at least twice the kite’s rated load. For a typical 10-foot sport kite pulling up to 40 lbs, use a 80-100 lb sand bag. In very windy areas or for larger kites, go higher-up to 150 lbs. Remember, wet sand adds density, so adjust accordingly if you're on the coast versus inland.
Can I use any type of knot for attaching the kite to the anchor?
Avoid basic knots like square knots-they slip under cyclic loading. Instead, use bowlines, figure-eights with stopper knots, or better yet, attach via shackles or quick-release connectors directly to reinforced eyelets. Knots weaken line integrity by up to 40%, so mechanical connections are safer and more reliable for repeated use.
What happens if my anchor fails mid-flight?
Stay calm and don’t chase blindly. Most runaway kites will descend gradually once drag increases. Try to guide it toward open space using gentle line tension if still attached. If completely detached, wait until it lands naturally. Chasing can lead to trips, falls, or collisions with bystanders. Always scan ahead for safe landing zones before launching.
Are magnetic quick releases safe for all kite types?
Not necessarily. Magnetic releases are great for controlled environments like drone-kite hybrids or camera rigs where precision matters. However, in high-vibration scenarios or strong crosswinds, magnets may disengage unexpectedly. For traditional stunt or power kites, stick with mechanical triggers or pins-they offer positive lock engagement and resist accidental opening.
How often should I inspect my anchor gear?
Before every session, visually check for cracks, corrosion, or wear. After each outing, clean salt residue from metal parts and ensure zippers or seams on sand bags remain intact. Perform a full stress test monthly-apply known weights to simulate peak loads. Replace any component showing deformation or reduced functionality immediately.