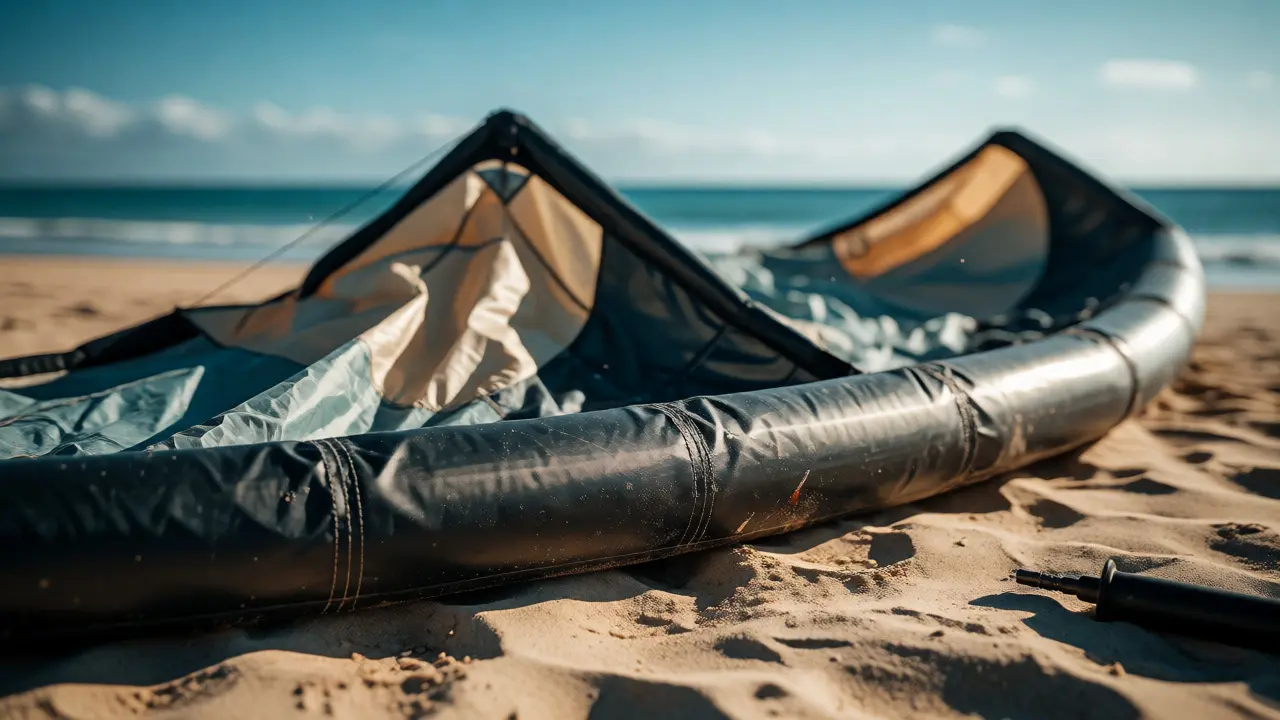
There is nothing quite like the sinking feeling of watching your Leading Edge Inflatable (LEI) kite slowly deflate while you are still on the beach. One minute it’s holding pressure perfectly, and the next, it looks like a sad, deflated balloon. If you’ve been kiting for more than a season, you’ve probably dealt with this. It’s annoying, but here’s the good news: most leading edge bladder leaks are tiny, easy to find, and cheap to fix. You don’t need a new kite; you just need a little patience and the right tools.
Before we grab the patch kit, let’s talk about why this happens. LEI kites rely on internal bladders to keep their shape. These bladders sit inside the fabric leading edge and struts. Over time, UV exposure, heat, and friction from sand or rocks weaken the material. Or, maybe you landed hard on a sharp piece of coral or a stray nail at the launch site. Whatever the cause, air escapes, performance drops, and your session ends prematurely. Let’s get that kite back in the sky.
Gather Your Repair Toolkit
You don’t need a workshop full of equipment. Most kitesurfers carry a basic repair bag, but if yours is missing items, here is what you actually need to hunt down a leak and seal it up.
- Soapy Water Solution: Mix a few drops of dish soap with water in a spray bottle. This is your primary leak detector.
- Patch Kit: Most kite brands include one. If not, buy a universal PVC or nylon patch kit compatible with your kite’s bladder material.
- Sandpaper or Emery Board: Fine-grit (120-240 grit) is best for scuffing the surface without damaging the bladder.
- Isopropyl Alcohol: Essential for cleaning the area before patching. Dirt prevents glue from sticking.
- Hand Pump: You need to pressurize the kite to find the leak.
- Scissors and Tweezers: For trimming patches and handling small debris.
Pro tip: Check your kite’s manual first. Some newer models use specific bladder materials that require particular adhesives. Using the wrong glue can melt the bladder or fail to bond properly.
Step 1: Isolate the Problem Area
An LEI kite usually has multiple bladders-one for the leading edge and separate ones for each strut. You need to know which one is leaking. Start by inflating the entire kite to its recommended pressure (check the valve cap or manual). Use your hand pump rather than an electric compressor if possible, as they offer better control and less risk of over-inflation.
Once inflated, close all valves securely. Wait five minutes. If the kite feels soft in a specific section, you have narrowed it down. But "soft" isn't precise enough. We need to see exactly where the air is escaping. This is where soapy water becomes your best friend.
Step 2: The Soapy Water Test
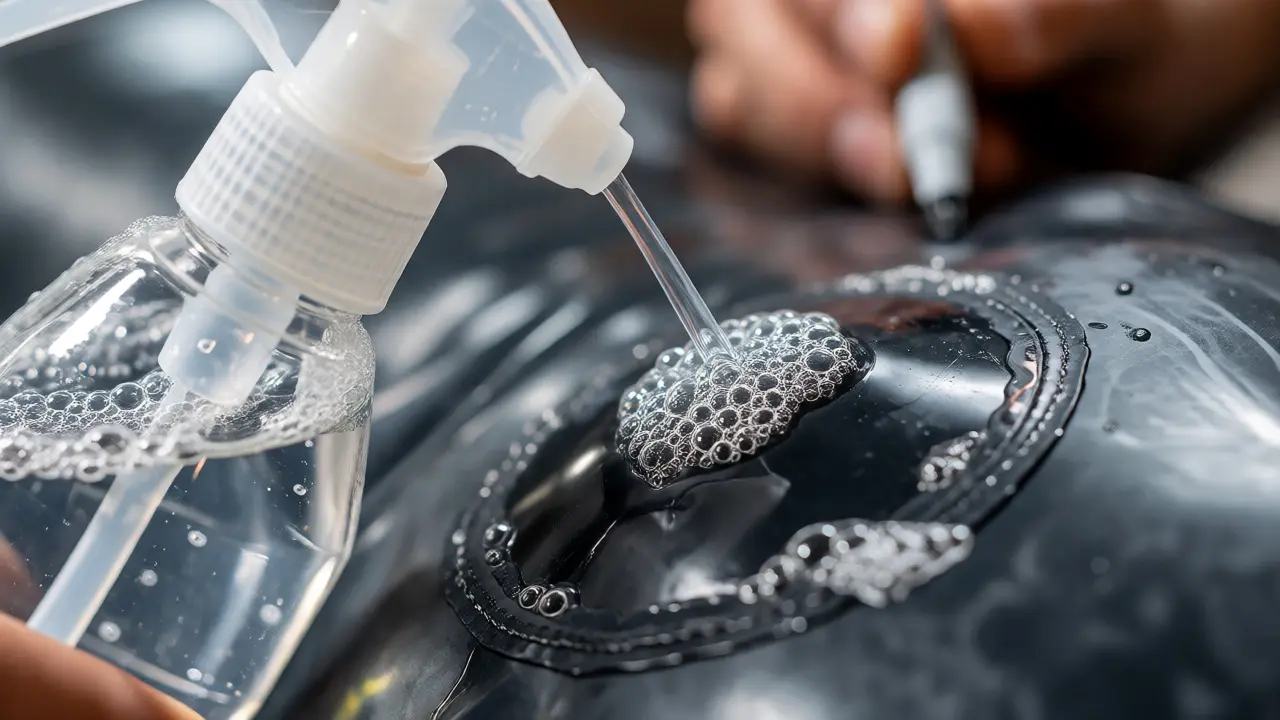
Mix your soapy water solution. It needs to be sudsy-too much water and you won’t see bubbles; too much soap and it gets messy. Spray the solution generously along the suspected leaking area. Don’t just spray the outside fabric; you need to access the bladder itself.
Most modern LEI kites have external valves that allow you to inflate individual bladders without removing them. Inflate only the suspect bladder. Then, spray the soapy mix directly onto the valve stem and the surrounding fabric seams. Watch closely. A steady stream of bubbles means a hole. Intermittent bubbles might mean a loose valve core.
| Location | Likely Cause | Detection Method |
|---|---|---|
| Valve Stem | Loose core or cracked O-ring | Apply soapy water directly to the open valve mechanism |
| Seam Lines | Friction wear or manufacturing defect | Spray along the stitched seams of the bladder |
| Mid-Leading Edge | Puncture from debris or impact | Systematic spraying across the length of the tube |
| Strut Connections | Chafing against the kite skin | Check where the strut meets the leading edge |
Step 3: Accessing the Bladder
If the leak is coming from the valve, you’re lucky. Often, tightening the valve core or replacing the O-ring solves the problem instantly. No disassembly needed. But if the bubbles are coming from the middle of the tube, you have to go deeper.
Deflate the kite completely. Locate the Velcro closures or zipper flaps that cover the leading edge. Open them carefully. Pull the bladder out gently. Be careful not to snag it on any rough edges of the kite fabric. Lay the bladder flat on a clean surface. Now, repeat the soapy water test on the exposed bladder. Mark the exact spot of the leak with a permanent marker. Make the mark large enough to see through the foam padding if your kite has it, but small enough to minimize the patch size.
Step 4: Preparing the Surface
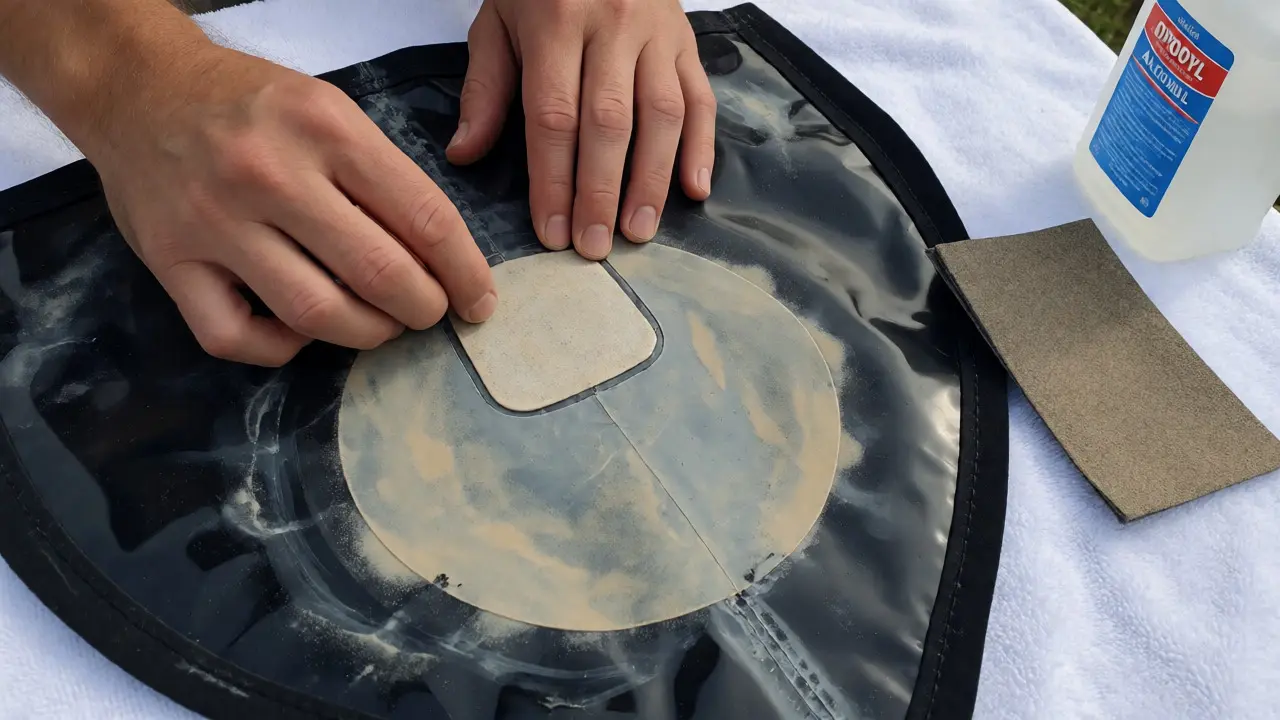
This step makes or breaks the repair. If you skip it, your patch will fall off the next time you crash into the water. First, clean the area around the leak with isopropyl alcohol to remove oils, sunscreen residue, and dirt. Let it dry completely.
Next, take your fine-grit sandpaper. Lightly scuff the area around the hole. You want to create a matte finish. Shiny surfaces repel adhesive; rough surfaces grip it. Sand an area slightly larger than your intended patch. Wipe away the dust with a clean cloth dampened with alcohol again. Do not touch the sanded area with your fingers after this point-the oils from your skin will ruin the bond.
Step 5: Applying the Patch
Cut a round patch from your repair kit. Round corners are crucial because square corners peel up easily under stress. Apply a thin, even layer of glue to both the scuffed area on the bladder and the back of the patch. Follow the manufacturer’s instructions regarding drying time. Some glues need to become tacky (touch-dry) before bonding; others bond wet.
Press the patch firmly onto the bladder. Start from the center and smooth outward to push out air bubbles. Use the back of a spoon or a roller tool to apply consistent pressure. Hold it there for at least 60 seconds. Then, place a weight on top of it (like a heavy book) and let it cure for the recommended time-usually 2 to 24 hours depending on the glue type. Patience pays off here. Rushing this step leads to re-leaks.
Step 6: Testing the Repair
Once the glue has fully cured, reinsert the bladder into the leading edge. Close the Velcro or zippers. Inflate the kite to normal pressure. Listen closely. Then, do the soapy water test one last time on the patched area. No bubbles? Success.
Let the kite sit inflated for a few hours or overnight. Check it again in the morning. If it holds pressure, you are ready to ride. If it loses air, you either missed a second leak or the patch failed. Repeat the process if necessary.
Preventing Future Leaks
Finding and fixing is great, but prevention is better. Here is how to extend the life of your bladders:
- Rinse After Use: Saltwater and sand are abrasive. Rinse your kite with fresh water after every session, especially if you launched from a sandy beach.
- Avoid Direct Sunlight Storage: UV rays degrade bladder material faster than almost anything else. Store your kite in a shaded area or a bag when not in use.
- Don’t Over-Inflate: Hot days expand the air inside the bladder. If you inflate tightly in the cool morning, the expanding air during midday can stress weak spots. Leave a little give.
- Inspect Valves Regularly: Check valve cores for cracks and ensure O-rings are intact. Replace them annually.
When to Call a Pro
While DIY repairs handle 90% of issues, some situations require professional help. If the tear is larger than 2 inches, or if the bladder is shredded beyond recognition, a patch might not hold. Also, if the leak is inside a sealed seam that cannot be opened without cutting the kite fabric, take it to a certified repair shop. They have specialized welding equipment that creates a stronger bond than glue alone.
Remember, a small leak today can become a blown-out kite tomorrow. Catching it early saves money and keeps you on the water longer. Grab your soap, check those valves, and get back to riding.
Can I use super glue to fix a kite bladder?
Generally, no. Super glue (cyanoacrylate) is brittle and dries hard. Kite bladders flex constantly, causing super glue to crack and fail. Always use flexible PVC or urethane-based adhesives specifically designed for inflatable repairs.
How long does a bladder repair take?
Finding the leak takes 15-30 minutes. The actual patching process takes another 15 minutes. However, you must wait for the glue to cure, which typically requires 2 to 24 hours depending on the product. Plan for a full day off the water to ensure a reliable fix.
Why is my kite losing air only in the sun?
This is often due to thermal expansion. As the temperature rises, the air inside the bladder expands, increasing pressure. If there is a micro-leak or a loose valve, the higher pressure forces air out faster. Conversely, in cold weather, the air contracts, making the leak harder to detect. Always check valves and seals regardless of temperature.
Do I need to replace the whole bladder?
Not usually. Small punctures (under 1 cm) are easily patched. Replacing the entire bladder is expensive and labor-intensive, reserved for cases where the bladder is extensively damaged, brittle from age, or has multiple large tears.
Can I patch a bladder while it is inside the kite?
It is difficult and not recommended. You need clear access to both sides of the leak for proper surface preparation and patch application. Working inside the confined space of the leading edge risks poor adhesion and accidental damage to the kite fabric.