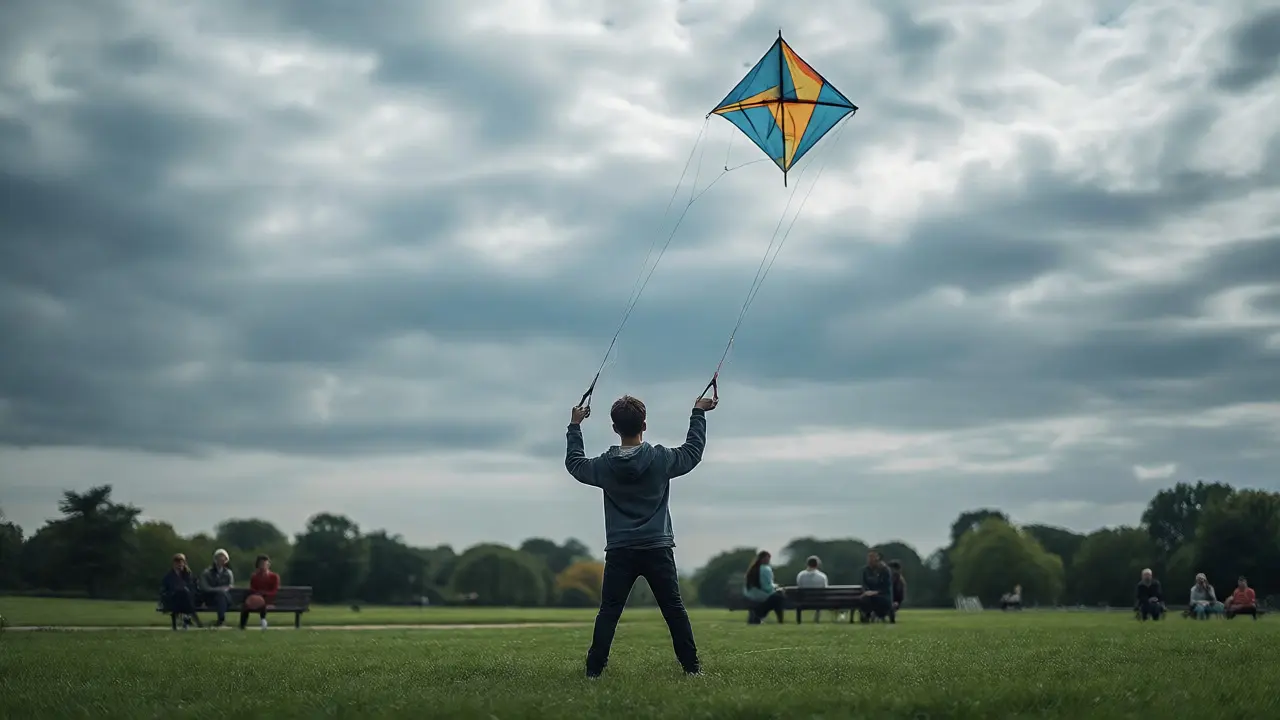
You bought a dual-line stunt kite. You watched the pros on YouTube doing those dizzying loops and dives. Then you went to the park, launched it, and spent twenty minutes untangling lines while your friends laughed. Sound familiar? The gap between "I can keep it in the air" and "I can fly a competition routine" isn't talent-it's structure. Most people quit because they try to learn everything at once, getting frustrated with inconsistent results.
Here’s the truth: sport kite practice is about muscle memory, not just theory. You need a plan that builds specific skills in a logical order so you don't hit a plateau after month two. Whether you are aiming for local competitions or just want to impress people at the beach, having a weekly schedule changes everything. It turns random fiddling into actual progress.
The Foundation: Why Structure Beats Random Flying
Think of learning to fly a stunt kite like learning guitar chords. If you only strum randomly, you might make noise, but you won't play songs. Sport kiting relies on precise hand movements and visual tracking. Without a structured approach, you develop bad habits-like pulling too hard on one line or looking at the kite instead of its shadow-that take months to unlearn.
A good practice plan does three things:
- Isolates variables: You work on one skill (e.g., turning) without worrying about others (e.g., landing).
- Builds confidence: Small wins every week keep you motivated.
- Prevents injury: Proper warm-ups and breaks save your shoulders and wrists from repetitive strain.
Most beginners fail because they jump straight to complex tricks before mastering the basics. This article breaks down exactly how to structure your week, what skills to tackle first, and how to measure if you're actually getting better.
Phase 1: The First Four Weeks (Control and Orientation)
Before you try any fancy maneuvers, you need to master basic control. This phase is boring but non-negotiable. If you skip this, every trick you learn later will feel unstable.
| Week | Primary Focus | Drill Example | Success Metric |
|---|---|---|---|
| 1 | Launch & Landing | Launch from ground, hover 10 seconds, land gently. | 5 clean launches/landings in a row. |
| 2 | Square Pattern | Fly a perfect square box around the wind window. | Kite stays within 2 feet of intended path. |
| 3 | Left/Right Turns | Execute 90-degree turns on command without losing altitude. | 10 consecutive smooth turns. |
| 4 | Figure-Eights | Fly figure-eights using both hands equally. | No stalling or diving during transitions. |
In Week 1, focus entirely on the wind window. Learn where the power zone is (directly in front of you) versus the edge zones (left and right). Practice launching without assistance. Many pilots rely on a friend to hold the kite up, but competitions often require solo launches. If you can't launch it yourself, you can't compete.
By Week 3, you should be comfortable with independent hand control. This means your left hand controls the left line and your right hand controls the right line independently. If you find yourself crossing arms or twisting your body awkwardly, slow down. Go back to the square pattern drill until it feels automatic.
Phase 2: Weeks 5-8 (Intermediate Maneuvers)
Once you have stable control, it's time to add movement. This phase introduces dynamic moves that form the basis of most competition routines. We aren't talking about infinite loops yet-we're talking about controlled chaos.
Start with the axel, a fundamental move where the kite rotates 360 degrees horizontally while maintaining altitude. It sounds simple, but it requires precise timing. Pull slightly on the inside line as you initiate the turn, then release smoothly. If the kite drops, you pulled too late. If it stalls, you pulled too early.
Next, introduce the reverse axel. This is harder because you're fighting the natural tendency to turn toward the center of the wind window. Practice these moves in isolation. Do not chain them together yet. Master the entry and exit of each move separately.
During these four weeks, your weekly schedule should look like this:
- Tuesday: 30 minutes of pure repetition. Just axels. Left, right, left, right. Record yourself on video to check your posture.
- Thursday: Mix in reverse axels and basic figure-eights. Focus on smoothness, not speed.
- Saturday: Free flight session. Try to string together 3-4 moves in a sequence. Don't worry about perfection; worry about flow.
Phase 3: Weeks 9-12 (Advanced Skills and Sequencing)
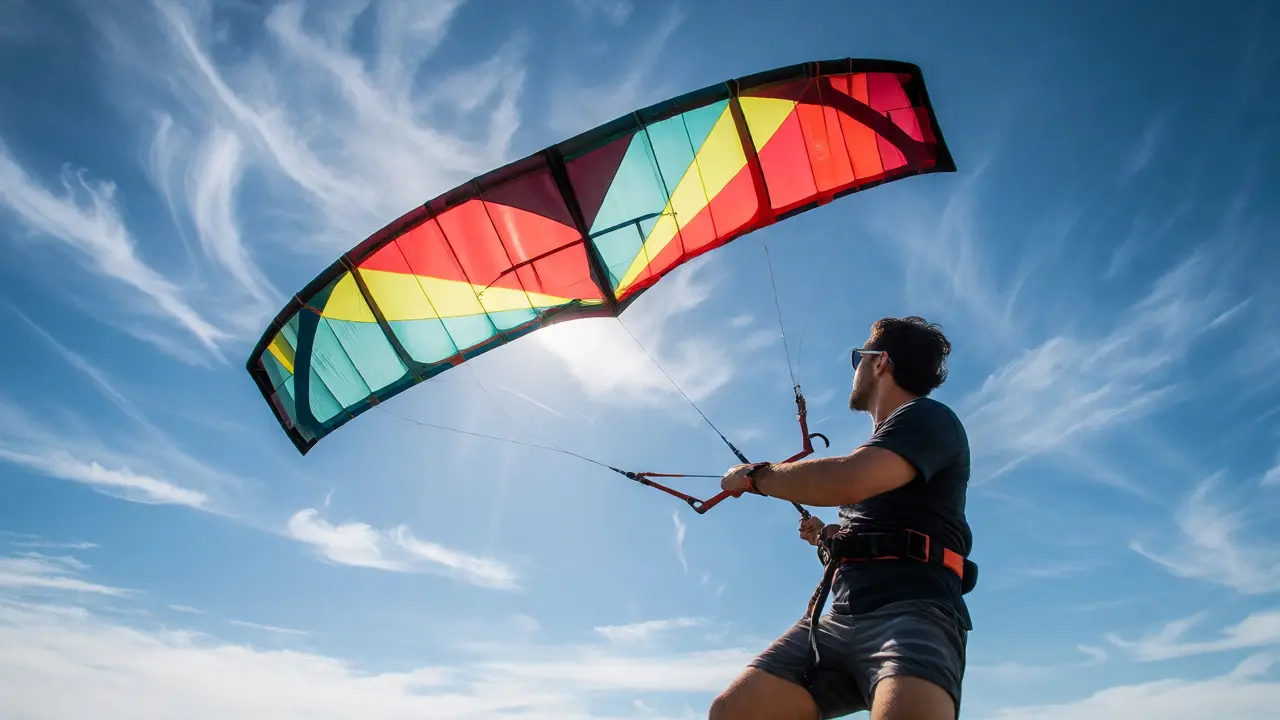
This is where it gets fun. You've got control, you know the basics, now you build routines. Advanced sport kiting involves combining multiple maneuvers into seamless sequences.
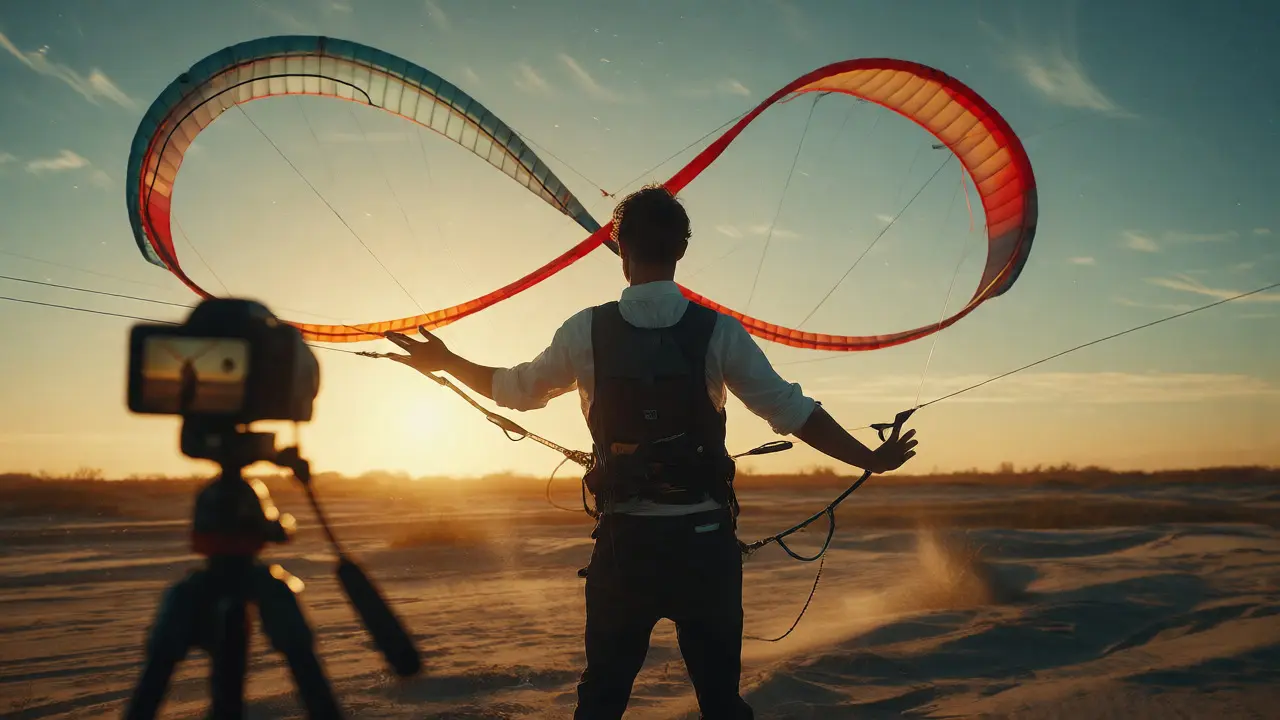
Introduce the infinity loop. This is the holy grail for many beginners. It requires constant tension adjustment. Start with small loops near the top of the wind window. As you get comfortable, expand the size of the loops. Remember: larger loops require more space and stronger wind awareness.
Another key skill is the side slide. This looks effortless when done correctly but demands excellent balance. Keep the kite nose-down and use short, sharp pulses on the lines to keep it sliding sideways. Avoid long pulls, which cause the kite to dive.
At this stage, start thinking about choreography. Even if you're not competing, creating a 60-second routine helps identify weak spots. Pick five moves you've mastered and link them. For example: Launch → Figure-Eight → Axel → Reverse Axel → Infinity Loop → Land. If you stumble between moves, that's your homework for next week.
Sample Weekly Schedule Templates
You don't need to fly every day. In fact, overtraining leads to fatigue and sloppy technique. Consistency beats intensity. Here are two schedules based on your availability.
The Busy Professional (3 Days/Week)
If you have limited time, maximize efficiency. Each session must be focused.
- Day 1 (Skill Drill): 20 minutes. Pick one specific move (e.g., reverse axel). Repeat it 50 times. Stop when you miss twice in a row.
- Day 2 (Recovery/Review): 15 minutes. Watch videos of pro flyers. Analyze their hand positions. No flying today.
- Day 3 (Flow Session): 45 minutes. Warm-up with squares, then practice your current routine. End with free flying to enjoy the process.
The Dedicated Enthusiast (5 Days/Week)
If you're serious about competition prep, increase volume but keep sessions short to maintain focus.
- Monday: Technical precision. Slow-motion practice of difficult moves.
- Tuesday: Speed and reaction. Fast-paced drills to improve reflexes.
- Wednesday: Rest or light stretching.
- Thursday: Routine building. Chain 3+ moves together.
- Friday: Weakness targeting. Work on the move that frustrates you most.
- Saturday: Full mock competition. Fly your entire routine under pressure.
- Sunday: Complete rest.
Troubleshooting Common Plateaus
Every flyer hits a wall. Maybe you can do an axel perfectly, but it falls apart when you add a figure-eight beforehand. Or maybe your kite keeps crashing on landings. Here’s how to diagnose the issue.
Problem: Kite drifts left/right unintentionally. Solution: Check your stance. Are you facing the wind directly? Often, subtle body shifts change line tension. Also, inspect your kite setup. Uneven bridle points can cause asymmetrical pull. Adjust the bridle by tiny increments (1mm at a time) and test.
Problem: Lines tangle constantly. Solution: You’re likely flying too close to the edges of the wind window. Stay central during practice. Also, ensure you’re not crossing your hands unnecessarily. Keep elbows tucked in.
Problem: Fatigue sets in quickly. Solution: Grip strength matters. Use foam grips on your handles. Take micro-breaks every 10 minutes. Stretch your forearms and shoulders before and after flying. If pain persists, see a physiotherapist.
Tools and Gear That Accelerate Learning
You don't need expensive gear to start, but the right tools help track progress.
Video Recording: Always record your sessions. What feels smooth often looks messy on camera. Review footage to spot hand position errors.
Wind Meter: A handheld anemometer helps you understand optimal conditions. Most sport kites perform best in 8-15 mph winds. Knowing the exact speed helps correlate performance with conditions.
Line Markers: Colored tape on your lines helps judge distance from other flyers and obstacles. Essential for safety and spatial awareness.
How long does it take to learn basic sport kite maneuvers?
With consistent practice (3-4 times per week), most adults can master basic control, squares, and figure-eights within 4-6 weeks. Intermediate moves like axels typically take another 4-8 weeks depending on coordination and wind conditions.
Do I need a coach to improve my sport kite skills?
Not necessarily, but helpful. Online tutorials cover most techniques, but a local club or experienced flyer can provide immediate feedback on posture and line tension, which is hard to self-diagnose. Video analysis is a great low-cost alternative to live coaching.
What wind speed is best for practicing sport kites?
For beginners, steady winds between 8-12 mph are ideal. Too little wind makes the kite sluggish and hard to control; too much wind makes it twitchy and dangerous. Use a wind app or meter to find consistent days.
How do I prevent shoulder pain while flying?
Use proper ergonomics: keep elbows bent and close to your body rather than extended. Take frequent breaks to stretch. Consider adding foam grips to your handles to reduce vibration and grip fatigue. Strengthening exercises for rotator cuffs also help long-term.
Can I practice sport kiting alone?
Yes, but solo launching takes practice. Learn to launch by holding the kite with one hand and releasing cleanly, or use a stand-off device. Practicing alone allows for focused repetition without distractions, though safety checks for nearby people are crucial.