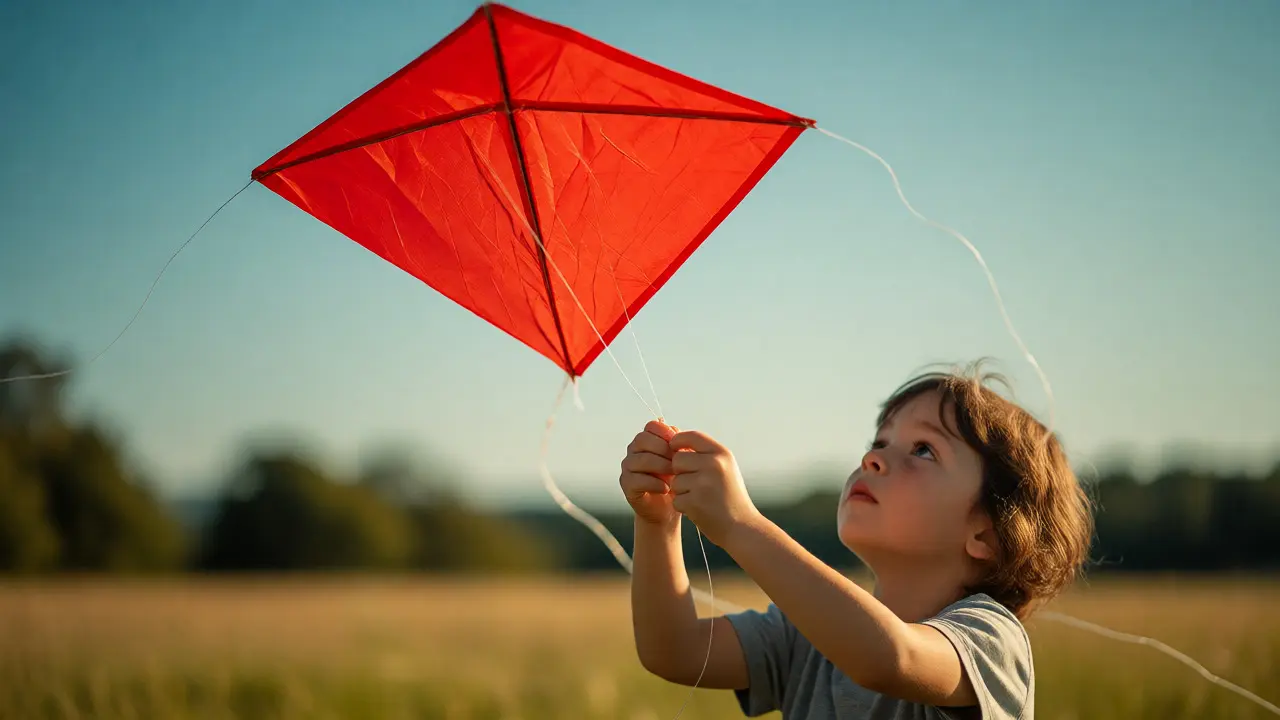
You might think a kite is just a toy for windy days at the park. But for students in special education, it’s a powerful therapeutic tool that bridges the gap between physical movement and cognitive focus. Imagine a student who struggles with eye contact or sitting still suddenly locking onto a bright red diamond soaring against the blue sky. That moment of connection? It’s gold.
Why kites? Because they demand attention without demanding conversation. They offer predictable patterns (the lift, the sway) while introducing variable feedback (wind changes). This balance makes them perfect for sensory integration therapy. If you’re an educator, therapist, or parent looking for low-cost, high-impact engagement strategies, this guide breaks down how to use kites effectively in special education settings.
Why Kites Work for Sensory Processing
Kite flying engages multiple senses simultaneously but in a controlled way. For individuals with Autism Spectrum Disorder (ASD), Attention Deficit Hyperactivity Disorder (ADHD), or sensory processing disorders, traditional classroom tasks can feel overwhelming. A kite offers a different kind of input.
- Visual Tracking: Following the kite requires smooth pursuit eye movements. This helps develop visual-motor coordination without the pressure of reading text.
- Proprioceptive Input: Holding the line provides deep pressure feedback through the hands and arms. This grounding sensation can help calm an anxious nervous system.
- Vestibular Stimulation: Watching the kite move creates a sense of motion and spatial awareness, which supports balance and body schema development.
- Auditory Feedback: The hum of the wind through the kite’s bridle or tail offers white noise that many find soothing, masking distracting environmental sounds.
The key here is predictability. Unlike a ball game where other players’ actions are unpredictable, a kite reacts only to physics and the flyer’s inputs. This reduces social anxiety and allows the student to focus entirely on cause-and-effect relationships.
Choosing the Right Kite for Special Needs
Not all kites are created equal. For special education purposes, simplicity and safety are paramount. You don’t want a complex stunt kite that requires two-handed control and rapid reflexes. Instead, look for specific features that reduce frustration and increase success rates.
| Kite Type | Best For | Sensory Profile | Difficulty Level |
|---|---|---|---|
| Delta Kite | Beginners & Low Wind Conditions | High visibility, stable flight, minimal tangle risk | Low |
| Diamond Kite | Classic Visual Tracking | Strong contrast options available, familiar shape | Low-Medium |
| Parafoil Kite | Soft Landing Safety | No rigid frame, soft impact if dropped, quiet | Medium |
| Stunt Kite | Advanced Motor Planning | Requires bimanual coordination, high tactile feedback | High |
For most initial sessions, start with a Delta kite. Its wide wingspan catches light breezes easily, meaning the student sees immediate results from their effort. Avoid kites with sharp plastic spars if the student has poor impulse control or motor planning issues. Parafoils are excellent alternatives because they collapse harmlessly when the wind dies, preventing sudden crashes that might startle sensitive learners.
Setting Up a Sensory-Friendly Environment
The environment matters as much as the equipment. A crowded park with screaming children and barking dogs can trigger sensory overload before the kite even leaves the ground. Here’s how to curate the space:
- Wind Check: Use an anemometer or simply observe flags/trees. Ideal wind speed is 5-15 mph. Too little wind causes frustration; too much causes loss of control.
- Open Space: Ensure there are no overhead power lines or tree branches. Clear sightlines prevent visual clutter.
- Sound Buffering: If auditory sensitivity is a concern, choose early morning hours or secluded areas. Noise-canceling headphones can be used during setup if needed.
- Tactile Prep: Let the student handle the kite and line before launching. Some may dislike the texture of nylon or the roughness of braided polyester line. Offer gloves or alternative grip materials if necessary.
In Portland, Oregon, where I live, we often have steady marine layer winds in the spring and fall. These consistent conditions are ideal for teaching the mechanics of flight without the chaos of gusty summer thermals.
Step-by-Step Instructional Strategies
Teaching someone to fly a kite isn’t just about letting go. It’s about breaking down the task into manageable chunks. Here’s a structured approach that works well for neurodiverse learners:
Phase 1: Familiarization
Before going outside, let the student explore the kite indoors. Unroll the line together. Count the wraps. Feel the weight of the kite. This builds familiarity and reduces fear of the unknown. Ask questions like, "Does this feel heavy or light?" to engage proprioceptive awareness.
Phase 2: The Launch Assist
Initially, use a two-person launch. One person holds the kite upwind, keeping it perpendicular to the wind. The student holds the winder. On your cue, the holder releases gently. The student’s job is simple: walk backward slowly while letting out line. This shared responsibility lowers anxiety.
Phase 3: Solo Success
Once comfortable, try solo launches. Place the kite on the ground nose-down. Hold the line tight. Pull gently until the kite lifts its nose. Then release tension gradually. This method relies less on timing and more on steady hand pressure, which suits students with motor planning difficulties.
Phase 4: Recovery Practice
Flying is fun, but landing is critical. Teach "reeling in" as a calming activity. The rhythmic cranking motion provides repetitive proprioceptive input that can regulate arousal levels. Make sure the student knows that bringing the kite down is part of the game, not a failure.
Adapting for Specific Challenges
Different disabilities require different tweaks. Here’s how to adapt kite flying for common scenarios:
- Autism Spectrum Disorder (ASD): Focus on routine. Create a visual schedule: 1. Check Wind, 2. Assemble, 3. Fly, 4. Pack Up. Use brightly colored kites to aid visual tracking. Allow stimming behaviors like flapping hands when excited by the kite’s movement.
- ADHD: Keep sessions short (10-15 minutes initially). Use high-energy kites that respond quickly to inputs. Incorporate games like "Keep the Kite High" to maintain focus. Reward sustained attention with immediate praise.
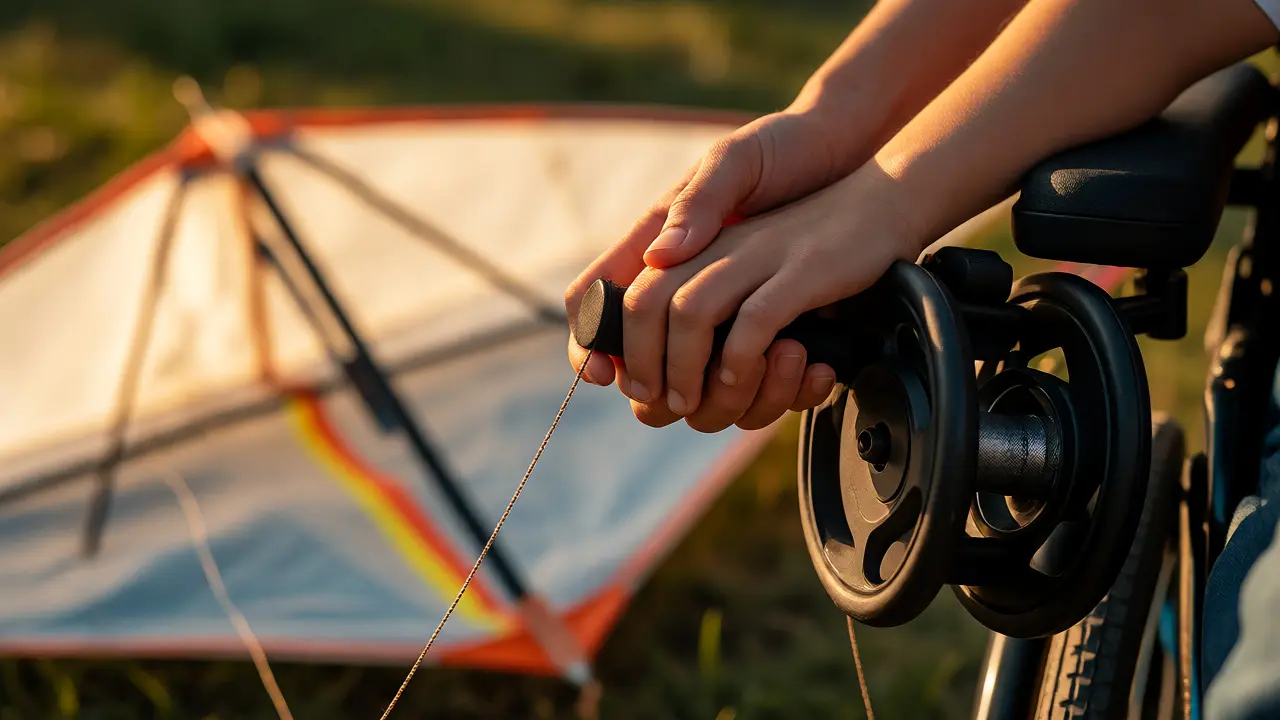
- Cerebral Palsy / Physical Disabilities: Use a winder with a large, easy-grip handle. Consider mounting the winder on a wheelchair armrest. Choose lightweight parafoil kites that require less force to launch. Adaptive straps can secure the line to the wrist if grip strength is limited.
- Visual Impairments: Focus on tactile and auditory cues. Use a kite with a long, noisy tail. Teach the student to feel the tension in the line-tight means lifting, loose means dropping. Describe the kite’s position using clock-face directions (e.g., "The kite is at 2 o'clock").

Social Skills and Emotional Regulation
Beyond sensory benefits, kite flying fosters social interaction. It naturally encourages turn-taking. "Your turn to hold the line," says one student to another. It also teaches resilience. When the kite falls, it’s a low-stakes failure. There’s no scorekeeper judging you. Just pick it up and try again.
Emotional regulation improves as students learn to read the wind. They must wait for the right gust rather than forcing action. This patience translates well to classroom behavior management. Plus, the shared experience of watching something beautiful soar creates a positive communal memory.
I’ve seen non-verbal students communicate excitement by pointing at the sky or handing over the line reel. These small interactions build confidence in social initiation and response.
Troubleshooting Common Issues
Even with preparation, things go wrong. Here’s how to fix frequent problems:
- Kite Won’t Lift: Check wind direction. Stand with back to wind. Ensure the kite is facing into the breeze. Try walking forward instead of backward to create artificial wind.
- Line Tangling: Prevent this by always winding neatly. Use a line winder with a guard. If tangled, stay calm. Untangling is a great fine motor skill exercise.
- Student Gets Frustrated: Pause. Take a break. Switch roles. Sometimes holding the kite for someone else is enough participation. Validate feelings: "It’s annoying when it falls. Let’s take a breath and try once more."
- Overstimulation: If the student covers ears or hides eyes, reduce input. Move to a quieter spot. Shorten the session. End on a positive note, even if it was just holding the kite.
Related Concepts and Next Steps
Kite flying sits at the intersection of several educational domains. It relates closely to occupational therapy techniques involving bilateral coordination and visual-perceptual skills. It also connects to science curricula covering aerodynamics, weather patterns, and basic physics concepts like lift and drag.
If you found success with kites, consider exploring related adaptive hobbies like disc golf (for throwing practice) or gardening (for tactile engagement). Each offers unique sensory profiles that can complement kite flying in a broader individualized education program (IEP).
What is the best age to start kite flying for special needs children?
There is no strict minimum age, but most children show readiness around age 4 or 5 if they can follow simple two-step instructions. For younger children, adults can do the flying while the child holds the line, focusing on sensory exposure rather than control.
Are kites safe for children with seizure disorders?
Generally yes, but caution is advised. Bright flashing lights or rapid spinning patterns can sometimes trigger photosensitive seizures. Choose solid-colored kites without strobing effects. Always supervise closely and know the student's specific triggers.
How do I teach a non-verbal student to ask for the kite?
Use Augmentative and Alternative Communication (AAC) tools. Create a picture card showing a kite. Model the exchange: Hand them the card, give them the kite. Over time, encourage them to initiate the request by reaching for the card or making eye contact with the kite holder.
Can kite flying help with handwriting skills?
Indirectly, yes. Flying a kite strengthens shoulder stability and core muscles, which are foundational for good posture and arm endurance during writing. The visual tracking required also supports the eye-hand coordination needed for forming letters.
What if it’s not windy enough to fly a kite?
You can create artificial wind. Have the student run slowly across a field while holding the line. Alternatively, use a fan indoors for very small kites. Or, shift the activity to kite assembly and maintenance, which focuses on fine motor skills and sequencing.