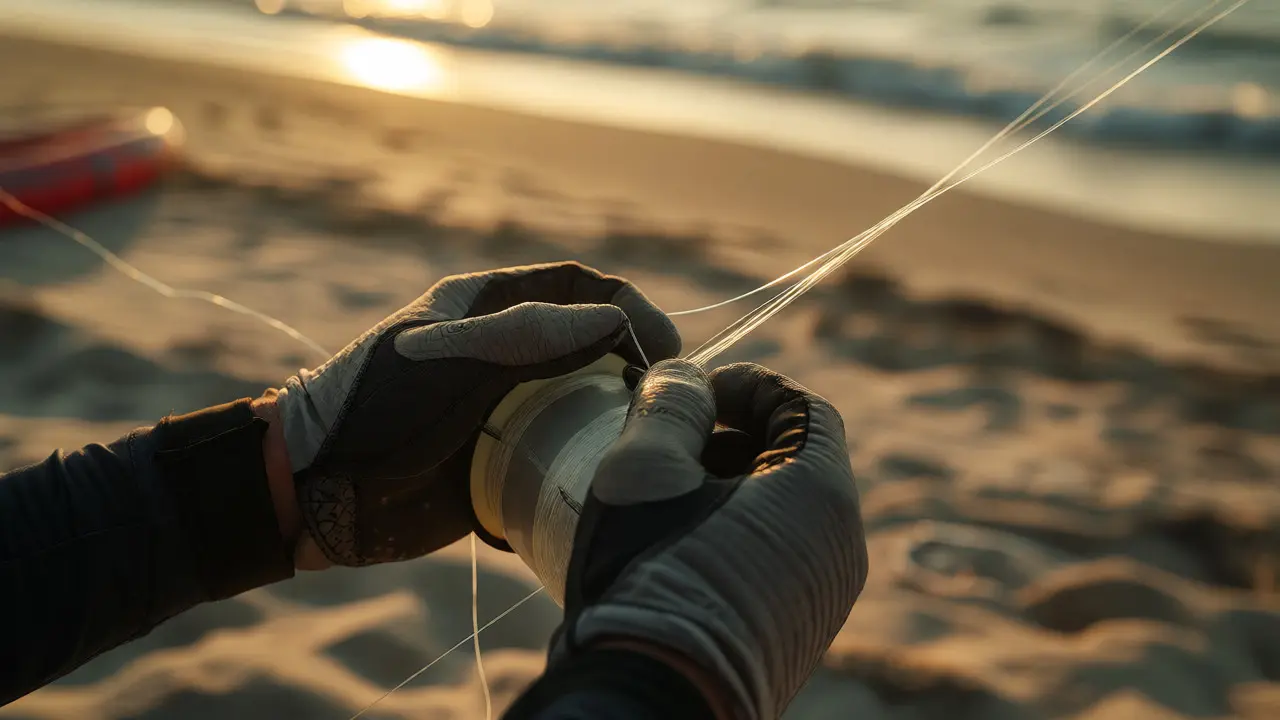
You’ve probably felt it before. You’re standing on a beach or a park, holding a spool of kite line a high-strength cord used to tether and control a kite during flight, and suddenly the pull changes. It’s not just wind pushing against fabric; it’s a complex tug-of-war happening three hundred feet up. If you don’t understand kite line tension the force exerted along the string due to aerodynamic lift and drag acting on the kite, your kite might dive into the dirt or snap free. But get it right, and that piece of nylon becomes an extension of your arm.
The Physics of Pull: Why Kites Stay Up
Most people think kites fly because the wind pushes them up. That’s only half the story. A kite is essentially a wing turned sideways. When air hits the front edge (the leading edge), it splits. Some goes over the top, some under the bottom. Because of the angle at which you hold the kite-called the angle of attack the angle between the chord line of the kite and the relative wind vector-the air moving over the top travels faster than the air underneath. This creates lower pressure on top and higher pressure below. The result? Lift.
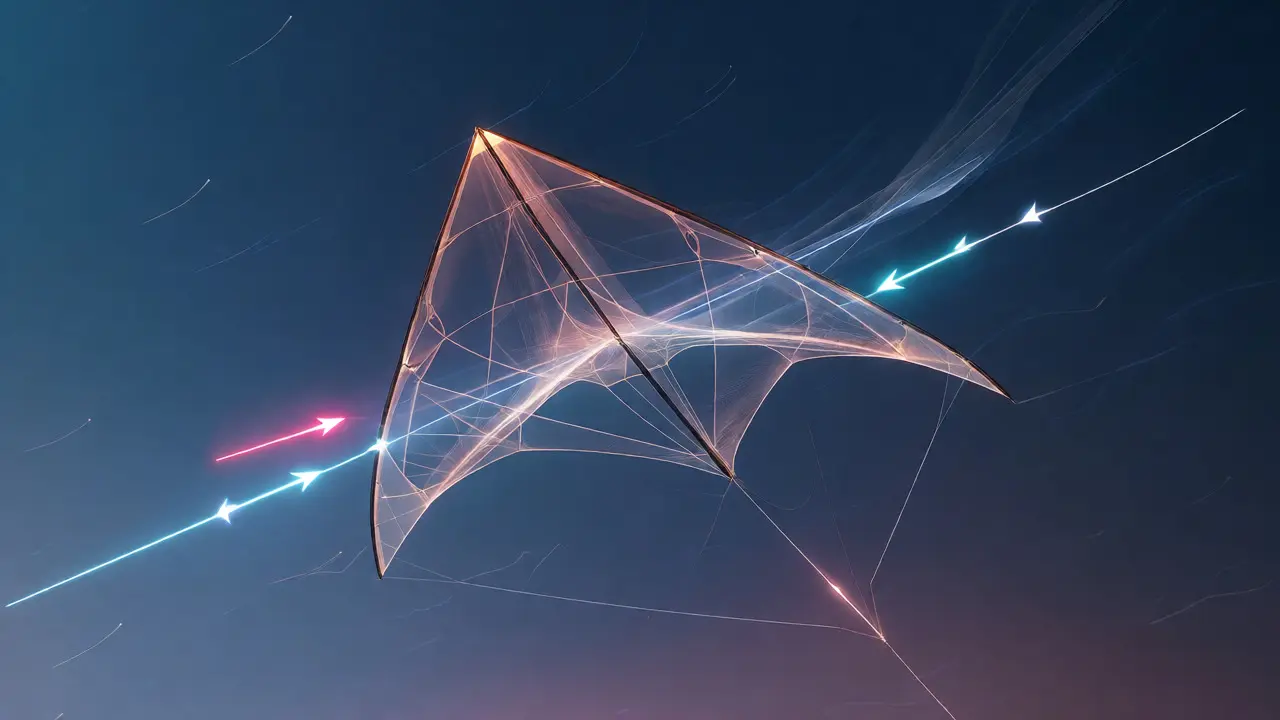
But lift doesn’t happen in a vacuum. Gravity pulls the kite down. Drag tries to push it backward. And your hand, holding the line, provides the anchor. These four forces-Lift, Weight, Drag, and Thrust (provided by your pulling)-must balance for stable flight. If the lift exceeds the combined weight and downward component of the line tension, the kite climbs. If drag wins, it falls back. Your job as the pilot is to manage this equilibrium through subtle adjustments in line length and body position.
| Force | Direction | Influencing Factors |
|---|---|---|
| Lift | Upward/Forward | Sail area, wind speed, angle of attack |
| Weight | Downward | Kite material mass, frame weight |
| Drag | Backward | Air density, sail texture, turbulence |
| Tension | Along the line | Line length, bridle geometry, pilot input |
Understanding Line Tension Dynamics
Here’s where it gets interesting. The tension in your line isn’t constant. It fluctuates based on wind gusts, but also based on how much line you let out. Think about a diamond kite in a steady 15 mph breeze. At 50 feet of line, the tension might feel manageable, maybe 2-3 pounds of pull. Let that same kite go to 300 feet, and the tension can spike significantly. Why?
Two main reasons. First, wind speed usually increases with altitude. Ground-level winds are slowed by friction from trees, buildings, and terrain. Higher up, the air moves faster. More wind speed equals more dynamic pressure, which equals more lift and more drag. Second, longer lines have more weight. Even lightweight Dyneema or Spectra fibers add up over hundreds of feet. This added weight pulls the kite down slightly, changing the angle of attack and altering the force vectors. You end up fighting both the increased aerodynamic load and the physical weight of the line itself.
This is why experienced flyers talk about "feeling" the wind. They aren’t just guessing; they’re reading the tension feedback loop. A sudden increase in tension often signals a gust hitting the upper atmosphere before it reaches you. Conversely, a slack line might mean the kite has entered a "dead zone" of turbulent, low-pressure air behind a cloud or thermal column.
The Role of Bridle Geometry
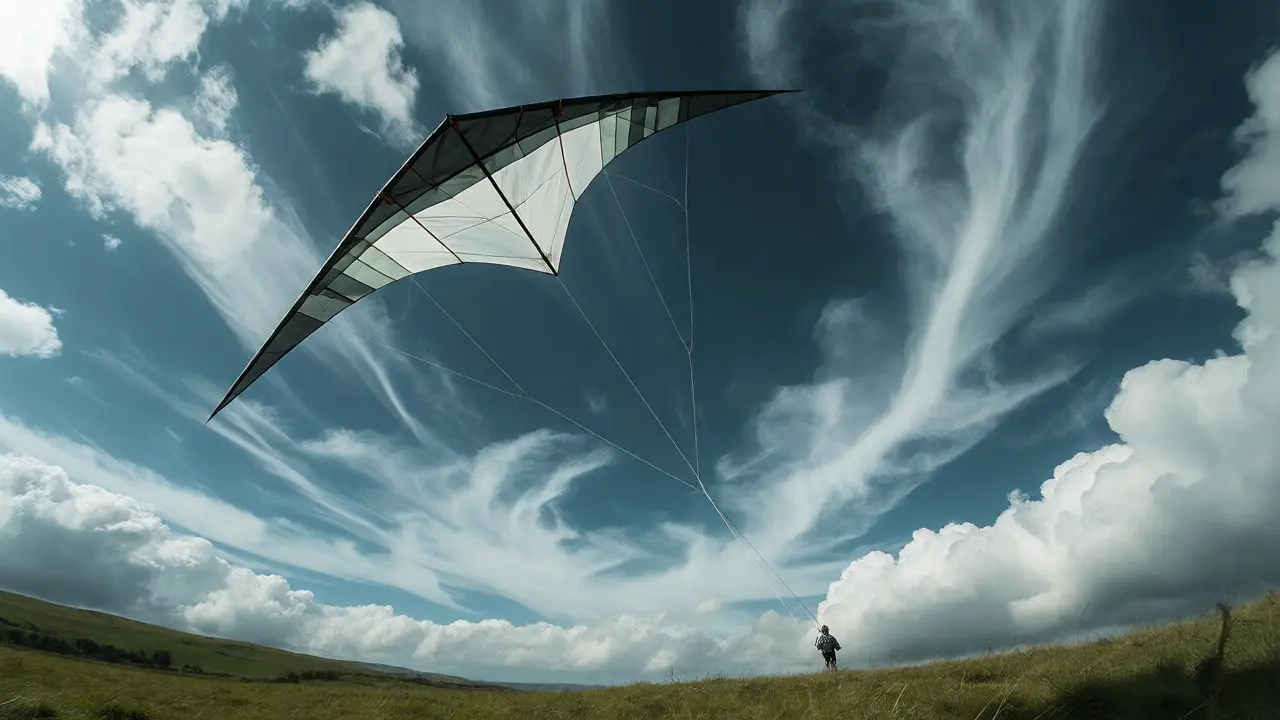
If you’re flying a dual-line stunt kite or a traditional delta, you know the bridle the system of strings attached to the kite's frame that connects it to the main flying line is critical. The bridle determines the default angle of attack. If the attachment point is too far forward, the kite will stall and fall. Too far back, and it’ll dive nose-first into the ground.
Adjusting the bridle effectively changes the leverage the wind has on the kite. Imagine a see-saw. The fulcrum is the center of gravity. The wind applies force at the sail surface. By moving the tow point (where the line attaches) forward or backward, you change the torque required to keep the kite stable. In high winds, pilots often move the tow point slightly forward. This reduces the angle of attack, presenting less surface area to the wind, thereby reducing drag and preventing the kite from being overpowered. In light winds, you might move it back to catch every bit of breeze, accepting the risk of instability for the sake of lift.
Managing Tension During Wind Changes
Wind is rarely steady. It pulses, swirls, and shifts direction. Managing line tension means anticipating these changes rather than reacting to them after the fact. Here’s a practical approach:
- Gusting Conditions: When you feel a sharp jerk on the line, resist the urge to immediately pull back hard. Instead, give the line a little slack. This allows the kite to pivot its nose up into the gust, converting the sudden energy into climb rate rather than structural stress. Once the gust passes, gently take up the slack.
- Calm Patches: If the tension drops and the kite starts to sink, do not run toward it. Running creates artificial wind, but it also disrupts the airflow pattern around the kite. Instead, try pumping the line rhythmically. Short, sharp tugs create vortices that can help reattach airflow to the sail, restoring lift temporarily.
- Directional Shifts: If the wind swings left or right, the kite will swing with it. To correct this, walk laterally across the wind window. Moving perpendicular to the wind direction changes the apparent wind angle, helping you steer the kite back to the center of the power zone without excessive line manipulation.
Equipment Choices and Their Impact
Your gear plays a huge role in how tension feels and behaves. Not all lines are created equal. Traditional cotton twine stretches significantly. This elasticity acts as a shock absorber, smoothing out gusts, but it also dampens your control inputs. You pull, the line stretches, and the kite reacts seconds later. Modern synthetic lines like Dyneema an ultra-high-molecular-weight polyethylene fiber known for high strength-to-weight ratio or Spectra a brand of UHMWPE fiber similar to Dyneema have minimal stretch. This gives you instant feedback and precise control, but it transfers every jolt directly to your hands and the kite’s frame.
Consider the diameter of the line. Thicker lines create more drag themselves. A thick line flutters in the wind, adding unnecessary resistance. For most recreational flying, a 100 lb test Dyneema line is the sweet spot. It’s thin enough to cut through the air with minimal drag but strong enough to handle unexpected gusts. However, if you’re flying large box kites or multi-kite trains, you might need thicker, heavier lines to support the cumulative weight, accepting the trade-off in reduced sensitivity.
Practical Tips for Better Control
Mastering tension isn’t just theory; it’s muscle memory. Start by practicing in consistent winds. Stand with your feet shoulder-width apart. Hold the line winder close to your waist, not extended out in front of you. Keeping the line short between your hands and the winder reduces leverage on your wrists, making it easier to absorb shocks.
Watch the kite’s tail. On many designs, the tail acts as a stabilizer and a visual indicator of airflow. If the tail is limp, you don’t have enough tension or wind. If it’s whipping violently, you’re likely in a turbulent zone or overpowered. Adjust your stance accordingly. Leaning back slightly helps counterbalance heavy pull, while leaning forward prepares you to release line quickly.
Finally, remember safety. High tension can lead to snapped lines. Always wear gloves when handling lines under load. A snapping line under 50 lbs of tension can cause serious cuts or eye injuries. Check your knots regularly. A poorly tied lark’s head knot a common knot used to attach lines to kite frames can slip under variable tension loads, causing the kite to break free unexpectedly.
Why does my kite line feel slack even though the kite is flying?
This usually happens when the kite is in a "low pressure" zone, such as directly above you or behind a thermal column. The wind may be insufficient to generate lift at that specific altitude, or the kite may have stalled and lost its angle of attack. Try walking backward to increase apparent wind speed or gently pump the line to restore airflow over the sail.
How does line length affect kite performance?
Longer lines generally reach stronger, smoother winds at higher altitudes, increasing lift and drag forces. However, they also add weight and inertia, making the kite slower to respond to steering inputs. Shorter lines offer quicker response times but are subject to more turbulent, variable ground-level winds.
What is the best line material for minimizing tension loss?
Dyneema and Spectra fibers are the best choices. They have very low stretch compared to nylon or polyester, meaning nearly all your input force is transferred directly to the kite. This maximizes control efficiency and minimizes energy loss through elastic deformation.
Can adjusting the bridle fix constant diving?
Yes. If your kite constantly dives, the angle of attack is likely too steep. Move the bridle attachment point (the tow point) slightly forward toward the nose of the kite. This reduces the angle of attack, decreasing lift-induced drag and stabilizing the flight path.
How do I prevent line tangles during high-tension maneuvers?
Keep the line wound neatly on the spool and avoid crossing loops. When performing tricks, ensure the kite remains within the "power zone" (the quarter-circle area in front of you). Flying outside this zone increases the likelihood of the line wrapping around the kite or other obstacles. Regularly inspect the line for twists and untwist them before they tighten under load.