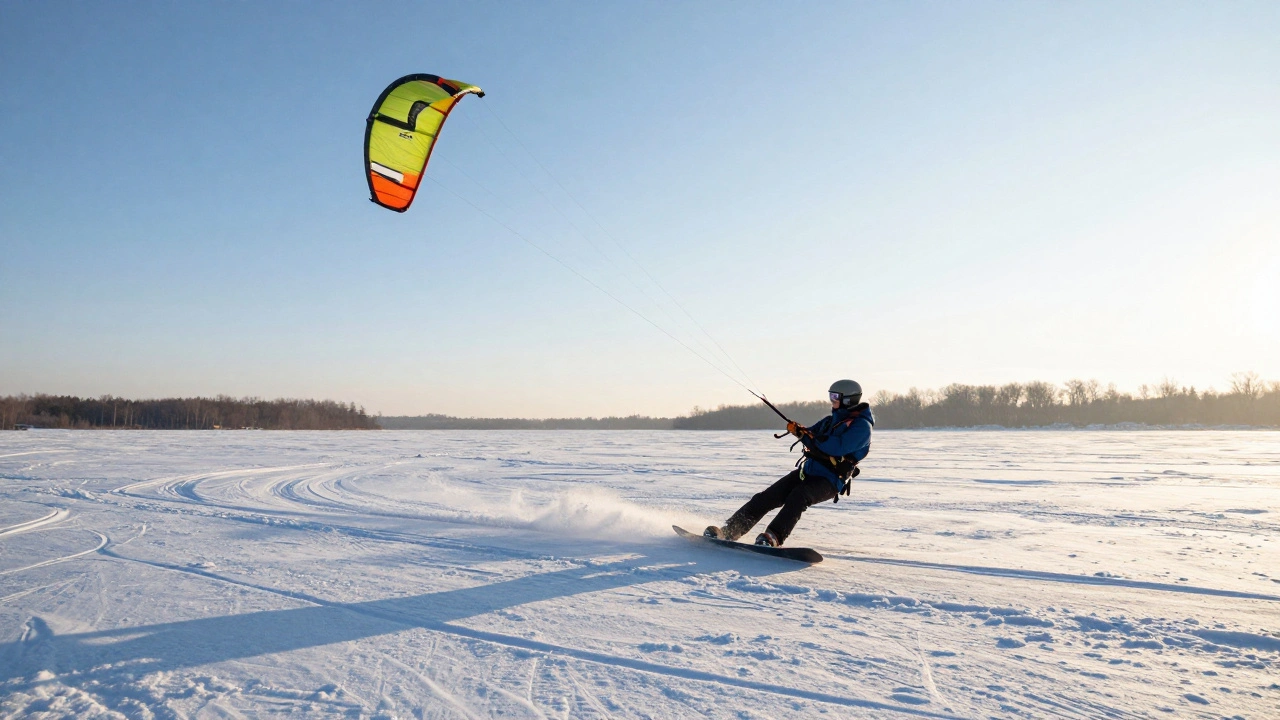
Imagine gliding across a frozen lake, wind pulling you forward as your skis slice through powder, and a colorful kite overhead doing all the work. This isn’t fantasy-it’s snow kiteboarding, and it’s growing fast in places like Minnesota, Quebec, and the Oregon high desert. Unlike summer kiteboarding on water, snow kiting lets you ride over snow-covered terrain with a kite, skis or a snowboard, and zero waves. It’s faster, quieter, and way more accessible than you think.
How Snow Kiteboarding Works
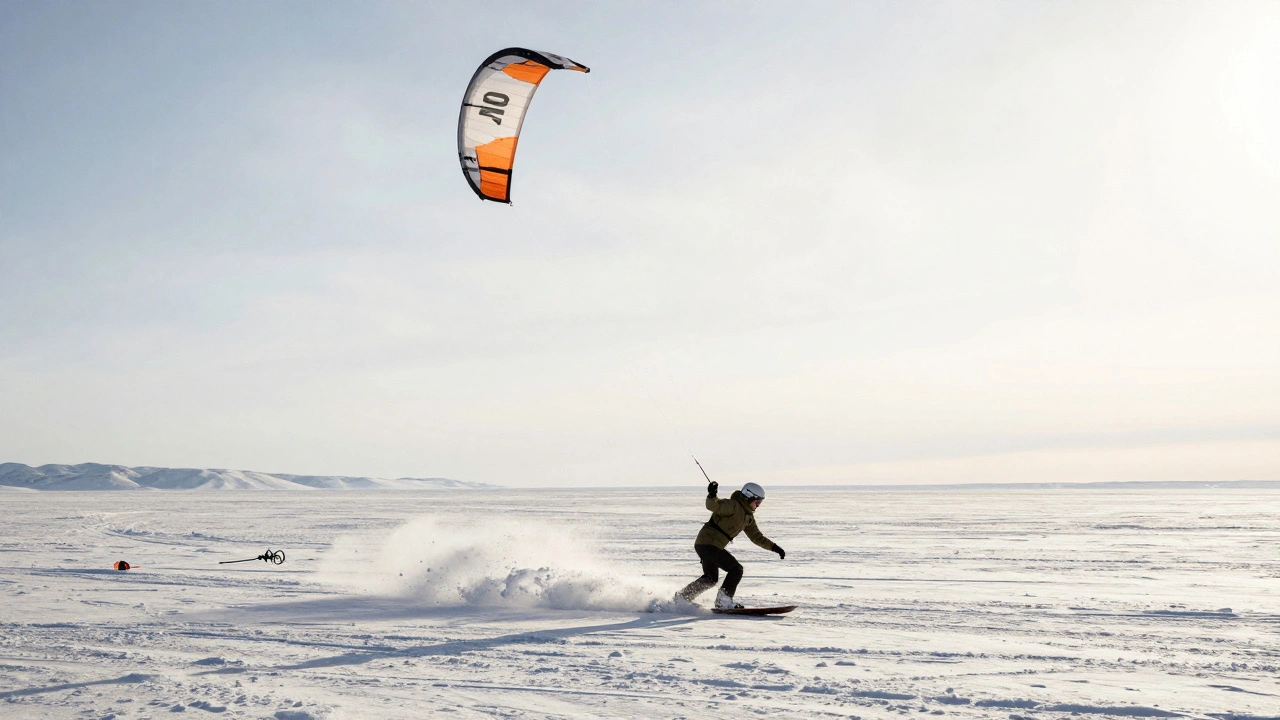
Snow kiteboarding combines elements of kiteboarding, skiing, and snowboarding. You strap into skis or a snowboard, attach yourself to a harness, and fly a traction kite-usually between 8 and 14 square meters-depending on wind and snow conditions. The kite pulls you across flat or rolling terrain, letting you reach speeds of 30 to 50 mph without any motor. Unlike water kiteboarding, there’s no need for waves or deep water. Just open space, snow, and wind above 10 mph.
The physics is simple: the kite generates lift and pull through its aerodynamic shape. You steer it with a control bar, adjusting angle and power. More tilt = more lift. More forward motion = more speed. Unlike snowboarding or skiing, you don’t need to push or pump-everything comes from the wind. That means you can cover huge distances with little effort, even on gentle slopes.
Essential Equipment for Snow Kiteboarding
You don’t need a ton of gear to start, but each piece has to do its job. Here’s what you absolutely need:
- Kite: A dual-line or four-line inflatable kite designed for snow. Brands like Slingshot a kiteboarding brand known for durable snow kites with quick relaunch features and Polar Kite a specialized snow kite brand with low-wind performance make kites built for cold, dry air. Avoid water kites-they’re too heavy and slow to relaunch on snow.
- Control Bar and Lines: Look for a bar with a safety leash and quick-release. The lines should be durable, UV-resistant, and at least 25 meters long. Shorter lines give more control in gusty conditions.
- Harness: A seat or waist harness designed for kiteboarding. It connects you to the kite’s power, so your legs don’t get tired. A good harness distributes weight evenly and has padding for long sessions.
- Skis or Snowboard: Wide, lightweight skis with metal edges work best. They let you carve turns and hold grip on icy patches. Some riders use snowboards, but they’re harder to control at high speeds. Skis give you more stability and quicker edge transitions.
- Helmet and Protective Gear: Always wear a helmet. Snow kiting involves fast movement, sudden stops, and unpredictable terrain. Goggles, insulated gloves, and a windproof jacket are non-negotiable. Temperatures often drop below -10°C even on sunny days.
- Snow Anchor: A small, lightweight anchor to hold your kite when you stop. It’s not fancy, but it saves you from having to chase your kite in the wind.
Most beginners spend between $1,200 and $2,000 on new gear. Used equipment can cut that in half. Look for gear on forums like SnowKiteForum a community hub for snow kite enthusiasts sharing gear tips and ride reports or local classifieds in snowy regions.
Key Techniques to Master
Learning snow kiting is faster than learning water kiteboarding because the surface is stable and forgiving. But there are still key skills you need to nail.
- Launching and Landing the Kite: Always launch into the wind. Stand with your back to the wind, lay the kite on the snow, and pull one line to flip it up. Keep the control bar low as it rises. To land, bring the kite down slowly into the snow and let it deflate. Never let it crash sideways-it can damage the frame.
- Body Position: Keep your knees bent, weight centered, and arms relaxed. Your body should be slightly leaning into the pull, not fighting it. Think of it like skiing downhill, but with the wind doing the work.
- Steering and Turning: To turn left, pull the left bar. To turn right, pull the right. For sharp turns, combine bar pull with a slight lean. Don’t yank the bar-smooth inputs give smooth motion. Practice figure-eights on flat ground before hitting hills.
- Stopping and Safety: If you lose control, use the quick-release on your harness. The kite will depower and fall to the ground. Never try to grab the lines. Always carry a whistle and know the wind direction before you start.
- Jumping and Airtime: Once you’re comfortable, you can pop off small bumps or use the kite’s lift to jump. Keep your skis flat, pull the bar down slightly, and let the kite pull you upward. Land with bent knees. Don’t attempt jumps until you’ve ridden for at least 10 hours.
Where to Ride and When
Not every snowy place works for snow kiting. You need wide-open areas with consistent wind and no trees or power lines. Good spots include:
- Frozen lakes in Minnesota and Michigan
- The high desert of Eastern Oregon, like the Alvord Desert
- Plains of Quebec and the Canadian Prairies
- Open fields near Lake Baikal in Russia
- Glaciers in the Swiss Alps (for advanced riders only)
The best time to ride is between November and March, when winds are strongest and snow is firm. Avoid deep powder-it slows you down. Look for packed snow, wind-scoured surfaces, or icy crusts. Early mornings often have the most consistent wind.
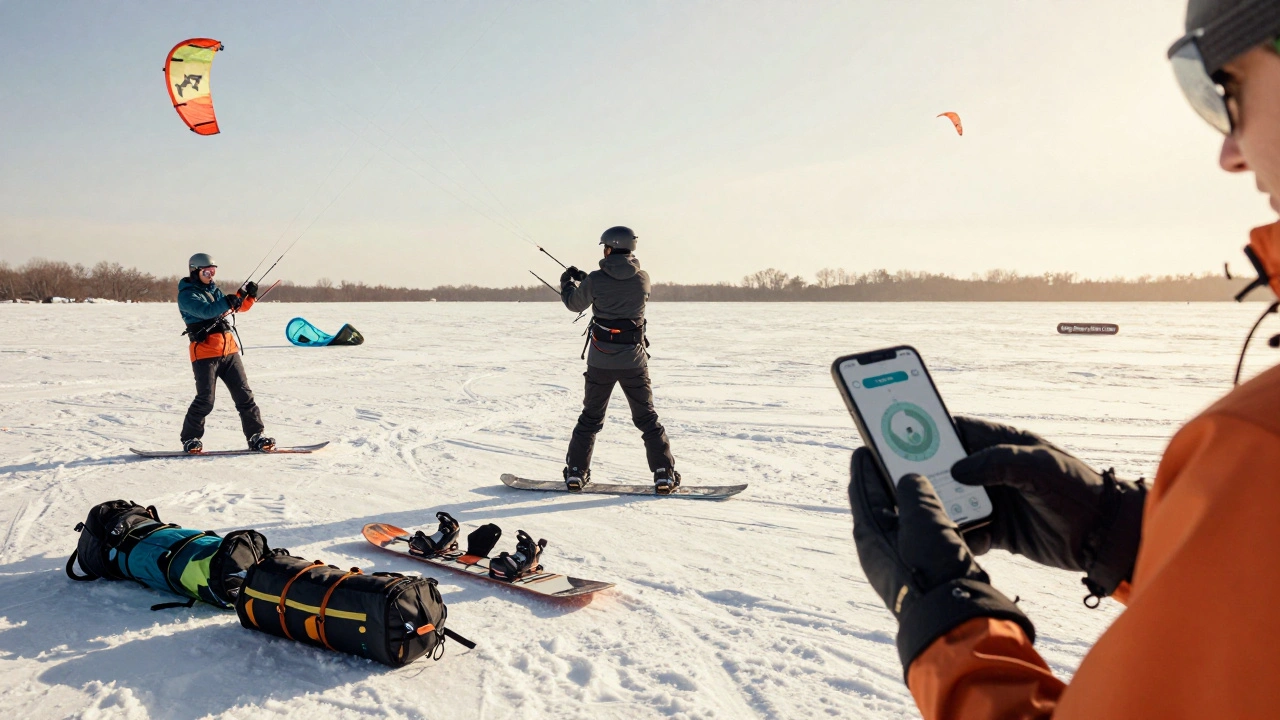
Check wind forecasts before heading out. Apps like Windfinder a weather service that provides detailed wind data for kite sports show real-time wind speed and direction at 10-meter height-exactly what you need.
Common Mistakes and How to Avoid Them
New riders make the same errors over and over. Here’s how to skip the frustration:
- Using the wrong kite size: Too big = uncontrollable in gusts. Too small = no power. Start with a 10m kite if you weigh 60-80 kg. Adjust up or down based on average wind speed.
- Riding too close to obstacles: Trees, fences, and buildings create dangerous wind turbulence. Stay at least 200 meters away.
- Ignoring weather changes: Wind can shift fast. If the sky darkens or temperature drops suddenly, head in. Hypothermia is real.
- Not practicing safety drills: Practice your quick-release until it’s automatic. Test it at home. You need to react in a second, not a minute.
- Trying to ride alone: Always go with someone. If you crash or get tangled, having a buddy can prevent serious injury.
Why Snow Kiteboarding Is Growing
Snow kiting is no longer a niche hobby. In 2025, the global market for snow kite gear grew by 27% compared to the year before. Why? It’s cheap to get into, easy to learn, and offers more freedom than skiing or snowmobiling. You don’t need lift tickets, gas, or trail maintenance. Just wind, snow, and your own two legs.
Clubs are popping up in snowy states. In Portland, Oregon, a group called High Desert Kite Crew a local community organizing weekly snow kiting sessions in Eastern Oregon meets every weekend from December to March. They teach newcomers, share gear, and organize group rides. You don’t need to be an athlete-just willing to learn.
It’s also eco-friendly. No engines. No emissions. Just wind and snow. That’s why national parks and conservation groups are starting to allow it in designated zones-something you’d never see with snowmobiles.
Getting Started: First Steps
Here’s how to begin:
- Watch 3-5 beginner videos on YouTube. Look for ones tagged "snow kiteboarding tutorial" and made by certified instructors.
- Join a local group. Many have free demo days or gear rentals.
- Start on a flat, open field with light wind (12-18 mph). No hills.
- Practice kite control on the ground first. Learn how to launch, hover, and land without moving.
- Once you can keep the kite stable above your head, strap in and try slow, short rides.
You don’t need lessons to start, but they help. A single 2-hour session with a certified coach can save you weeks of frustration. Look for instructors certified by the International Kiteboarding Organization the global body that sets safety and teaching standards for kiteboarding sports.
What Comes Next
Once you’re comfortable, you can explore tricks, racing, or even snow kiting in the backcountry. Some riders use GPS trackers to map long-distance routes across frozen lakes. Others compete in speed challenges or endurance races. The sport is wide open-no rules, no limits, just wind and snow.
Can you snow kiteboard on ice?
Yes, ice is actually ideal for snow kiting. Smooth, hard ice offers low friction, which means you can go faster and turn more easily. Frozen lakes in Minnesota and Canada are popular for this. Just make sure the ice is at least 15 cm thick and free of cracks or open water. Always check local ice reports before riding.
Is snow kiteboarding dangerous?
Like any wind-powered sport, it carries risks-but it’s safer than many think. Most injuries come from poor gear, bad judgment, or riding alone. Wearing a helmet, using a safety leash, and avoiding obstacles cut risk dramatically. The fatality rate is less than 0.2 per 10,000 participants annually, according to the International Kiteboarding Organization. That’s lower than skiing or snowboarding.
Do you need a license to snow kiteboard?
No, there’s no legal license required anywhere in the U.S. or Canada. However, some public lands require permits for kite use. Always check local regulations. National parks often allow it in designated zones, but state parks may restrict it near trails or wildlife areas.
Can you use a regular kite for snow kiting?
Not really. Regular recreational kites aren’t designed for traction. They lack the power, durability, and control needed for snow. Snow kites are built with stronger materials, better wind range, and safety systems. Using a toy kite can lead to loss of control or equipment failure. Stick to gear made for kiteboarding.
What’s the best wind speed for beginners?
Between 12 and 18 mph. That’s enough to pull you without overwhelming you. Winds below 10 mph won’t give you enough power. Above 20 mph, it gets hard to control, especially if you’re learning. Use a wind meter app to check conditions before heading out.