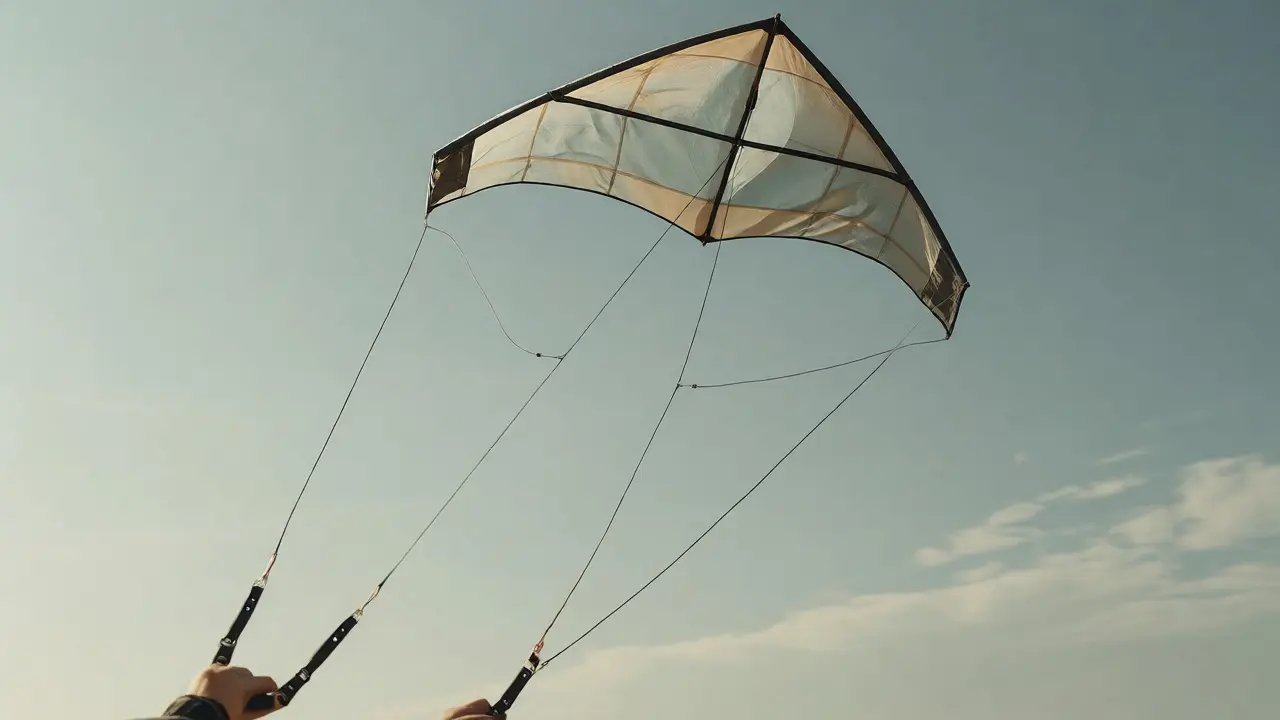
You are flying a stunt kite, maybe a Revolution or a standard dual-line model. You pull the right handle to initiate a loop, but the wind drops for a split second. The lines go slack. Your heart skips a beat because you know what happens next if you panic: the kite dives, tangles, and you spend twenty minutes untangling nylon instead of flying.
Slack line recovery is the specific skill set required to regain control when your kite loses tension in its lines. It is not just about pulling hard; it is about understanding aerodynamics and timing. If you can master this, you stop fearing light wind days and start enjoying them. This guide breaks down exactly how to save your flight without crashing your gear.
Why Lines Go Slack During Flight
To fix the problem, you need to understand the cause. A stunt kite stays aloft because of lift generated by air moving over its sail. That lift creates tension on the flying lines. When that tension disappears, the kite stops responding to your hands. It becomes a dead weight hanging from two strings.
This usually happens for three reasons:
- Wind Lulls: The most common culprit. Even a steady breeze has pockets of calm air. If you are performing a high-drag maneuver like a deep stall turn, a lull can kill your momentum instantly.
- Oversized Maneuvers: Trying to fly too fast in low wind causes the kite to overshoot its power zone. You end up flying "off the edge" where there is no lift.
- Pilot Error: Pulling both handles simultaneously or unevenly during a transition can disrupt the airflow balance, causing the kite to drop vertically rather than glide.
Recognizing which type of slack you have is step one. Is the kite floating gently? Or is it plummeting? The recovery technique changes based on the severity.
The Immediate Reaction: Don't Panic Pull
Your instinct will be to yank both handles back to create tension. Resist this urge. Yanking often results in "over-correction," where the kite suddenly snaps upward, loops uncontrollably, or crashes into the ground due to excessive speed once lift returns.
Instead, follow the "Soft Hands" protocol:
- Stop Moving: Freeze your arms. Let the kite hang. This prevents adding chaotic energy to an already unstable system.
- Assess Position: Look at the kite's nose. Is it pointing left, right, or straight down? This tells you which direction has residual lift.
- Wait for Tension: In mild lulls, gravity alone might pull the kite down enough to re-engage the lines. Give it two seconds. Often, the kite will dip, catch air, and stabilize itself.
If the kite continues to fall after those two seconds, you need active intervention. But keep your movements smooth. Think of it as catching a falling egg, not slapping a mosquito.
Technique 1: The Asymmetric Pull
When the kite is drifting slowly and the lines are loose but not tangled, use asymmetric inputs. This works best when the kite is still oriented somewhat correctly relative to the wind.
Suppose your kite is drifting to the left. You want to steer it back toward the center of the wind window. Instead of pulling both handles, apply a gentle pulse to the right handle. This acts as a rudder input. The goal is to angle the kite slightly so it catches even a tiny bit of breeze. Once you feel resistance return to the lines, immediately neutralize the pull. Do not hold the pull, or you will spin the kite out of control again.
Think of it like steering a car on ice. Small, deliberate corrections. Large, jerky movements cause spins.
Technique 2: The Vertical Drop Reset
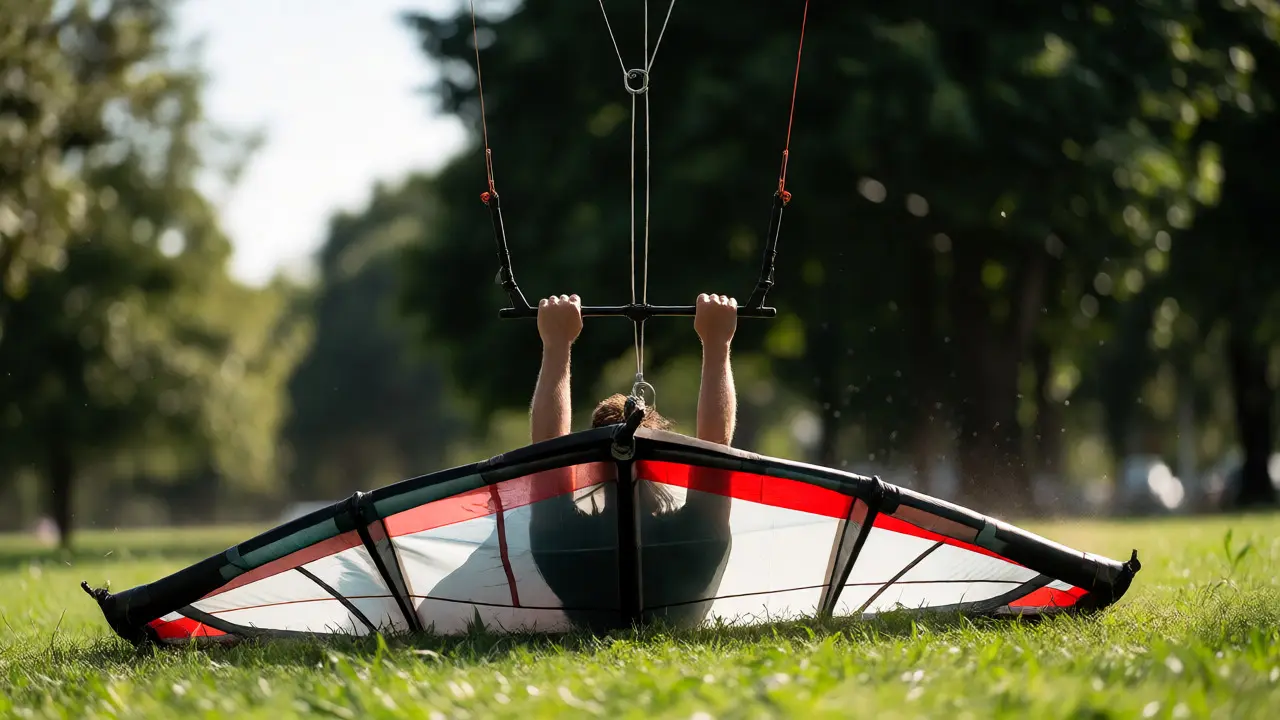
Sometimes, the kite is in freefall. It is nose-down, lines completely slack, heading for the grass. This is the classic "crash imminent" scenario. Here, fighting gravity is useless. Use it.
Allow the kite to drop all the way to the ground, or close to it. As it hits the surface, the impact often knocks the kite upright or sideways. While it is on the ground (or hovering inches above it), give a sharp, single tug on both handles. This sudden tension can jerk the kite back into the air, re-establishing the necessary angle of attack.
This trick saves countless kites from permanent damage. By letting it hit the soft ground rather than forcing it through dead air, you preserve the frame integrity. Just ensure you are on soft turf or sand. Concrete will break spars.
Technique 3: The Scoop and Lift
For advanced pilots, there is a move called the "Scoop." This is used when the kite is stalled horizontally-flat to the wind, like a leaf floating. It has no forward motion and no lift.
Here is how to execute it:
- Keep the kite horizontal.
- Rapidly pull both handles toward your hips while stepping forward. This moves the pilot closer to the kite, effectively shortening the distance and changing the angle of incidence.
- Simultaneously, twist your wrists to tilt the kite's nose up.
- The combination of proximity and angle change forces air under the sail, generating instant lift.
This requires practice. If you do it too slowly, the kite just falls. If you do it too aggressively, you might snap the lines. Start with small scoops in moderate wind before trying it in a dead calm.
Preventing Slack Lines Before They Happen
Recovery is great, but prevention is better. Most slack line incidents stem from poor positioning or equipment mismatch.
| Cause | Prevention Strategy | Equipment Check |
|---|---|---|
| Flying too far off-center | Stay within the core power zone (90 degrees to wind) | Ensure lines are equal length |
| Over-flying in light wind | Reduce speed; use larger sails | Check sail porosity |
| Uneven hand movement | Practice symmetrical drills | Inspect bridle knots |
| Tangled lines | Maintain clear space between pilots | Use swivels on leaders |
One major factor people overlook is line length. Shorter lines (e.g., 60 feet) react faster but have less margin for error in low wind. Longer lines (e.g., 85 feet) provide more time to react but require stronger wind to stay taut. If you constantly struggle with slack, try switching to shorter lines. They maintain tension better in turbulent air because the kite cannot drift as far outside the effective wind window.
Also, check your bridle. An incorrectly tuned bridle makes a kite sluggish. If the tow point is too far back, the kite will resist turning and stall easily. Adjust your bridle settings according to the manufacturer's chart for your current wind speed. A properly tuned kite fights back against slackness much harder.
Handling Line Tangles After Recovery
Even if you save the kite from a crash, you might end up with crossed lines. This is distinct from slack lines. Crossed lines mean the kite will fly in circles or refuse to turn one way.
To fix crossed lines mid-flight:
- The Figure-Eight: If the lines are lightly crossed, perform a series of figure-eight maneuvers. This naturally unwinds the twist.
- The Stop-and-Walk: Land the kite safely. Walk directly toward the kite while holding the handles together. This pulls the crossing knot toward the kite, where it is easier to untangle than near your hands.
- Swivel Check: If crossings happen repeatedly, your swivels may be stuck or missing. Ensure every line leader has a functional swivel.
Never force a tangled kite. If it feels stiff, land it. Forcing it leads to broken spars or shredded sail fabric.
Building Muscle Memory for Emergencies
You cannot think your way out of a slack line crisis. You have to react. This means drilling these recoveries until they are automatic.
Set aside ten minutes at the start of each session for "Lull Drills." Fly normally, then intentionally reduce your speed until the kite stalls. Practice the Soft Hands freeze. Then practice the Asymmetric Pull. Repeat this cycle. Over time, your brain will bypass the panic response and go straight to the correct motor function.
Another useful drill is the "Blindfold Test." Close your eyes for five seconds while flying. Feel the tension in the lines. Open your eyes. Did the kite drift? This heightens your sensitivity to subtle changes in line pressure, allowing you to detect slack before the kite actually starts falling.
Remember, every expert flyer has crashed. The difference between a beginner and a pro is not that pros never lose tension; it is that pros know how to get it back without ruining their afternoon.
What should I do first when my stunt kite lines go slack?
First, stop moving your arms immediately. Panicked pulling often worsens the situation by creating erratic movements. Allow the kite to hang freely for a moment to see if natural gravity or a slight breeze restores tension. Assess the kite's orientation before making any corrective inputs.
How do I recover a stunt kite that is falling nose-down?
If the kite is in a steep dive, let it drop until it is close to the ground. Then, give a sharp, simultaneous tug on both handles. This sudden tension can jerk the kite back up into the air, re-establishing lift. Alternatively, allow it to touch the ground gently and launch it again if the wind is insufficient to sustain flight.
Can line length affect slack line issues?
Yes. Shorter lines (such as 60 feet) tend to maintain tension better in low or variable winds because the kite remains closer to the power zone. Longer lines (85+ feet) require more consistent wind to stay taut and are more prone to going slack during lulls or wide turns.
What is the 'Scoop' technique in kite flying?
The Scoop is an advanced recovery move for a horizontally stalled kite. You rapidly pull both handles toward your body while tilting the kite's nose up. This reduces the distance between you and the kite and changes the angle of attack, forcing air under the sail to generate immediate lift.
How can I prevent my lines from tangling during recovery?
Ensure your line leaders have functioning swivels. Avoid crossing your hands excessively during maneuvers. If lines do cross, land the kite and walk toward it to unwind the tangle from the kite side, which is often easier than untangling near the handles.