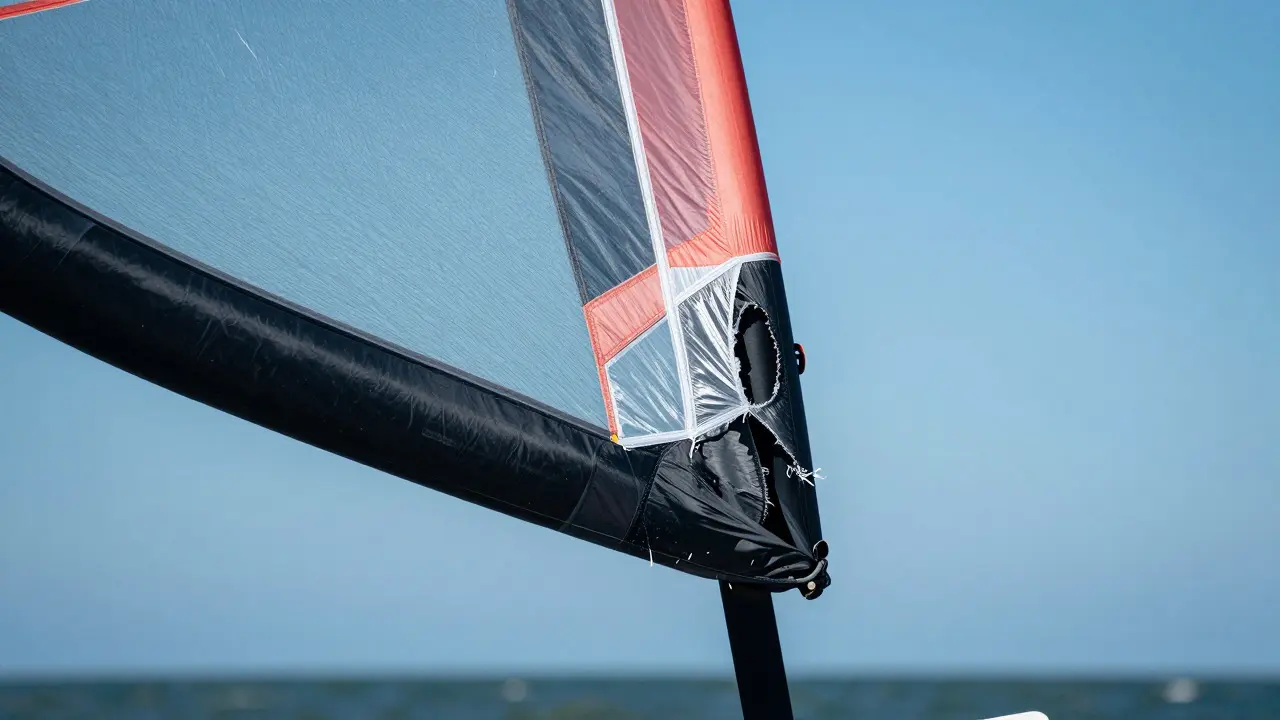
There is nothing more frustrating than feeling your foil kite lose power mid-session, only to realize the sail has started peeling away from the leading edge. Sail delamination is a silent killer for Foil Kites is a type of inflatable kite characterized by its flexible, tube-based structure that generates lift through aerodynamic shape rather than rigid frames. Unlike traditional frame kites, these rely entirely on air pressure to maintain their profile, making the integrity of the seams critical. When the bond between the fabric and the tubes fails, you don't just lose efficiency; you risk a complete structural collapse in the water.
This isn't just a cosmetic issue. If left unchecked, a small peel can turn into a massive tear that renders your $1,500+ investment useless. Understanding why this happens and how to stop it before it starts is the difference between years of reliable flying and an expensive pile of scrap plastic.
Why Does Sail Delamination Happen?
Delamination occurs when the adhesive bond between the sail fabric and the inflatable tubes breaks down. This is rarely caused by a single event; instead, it’s usually a combination of environmental factors and mechanical stress. The most common culprit is UV degradation. Even if you store your kite indoors, prolonged exposure to sunlight during sessions weakens the polymer chains in the adhesive and the fabric itself.
Mechanical abrasion plays a huge role too. Think about how often your kite hits sand, rocks, or even the water surface. Every impact stresses the seam line. Over time, micro-cracks form in the glue layer. Add saltwater residue, which acts as a corrosive agent, and you have a perfect storm for failure. Finally, temperature fluctuations matter. Hot days expand the materials, while cold mornings contract them. This constant expansion and contraction can eventually fatigue the bond.
Identifying Early Signs of Separation
You don’t need to wait for the sail to fall off to know there’s a problem. Learning to spot early signs can save your gear. Start with a visual inspection after every session. Look for:
- Bubbling: Small air pockets forming under the fabric near the leading edge indicate moisture intrusion or adhesive failure.
- Discoloration: Yellowing or whitening of the fabric right next to the seam suggests UV damage has weakened the area.
- Stiffness: If the fabric feels hard or brittle instead of supple, the material has degraded.
- Peeling Corners: Tiny lifts at the corners of the sail panels are often the first point of failure.
Don’t ignore these signs. A 2-inch peel today becomes a 2-foot tear tomorrow. Regular checks take less than five minutes but can prevent catastrophic failures.
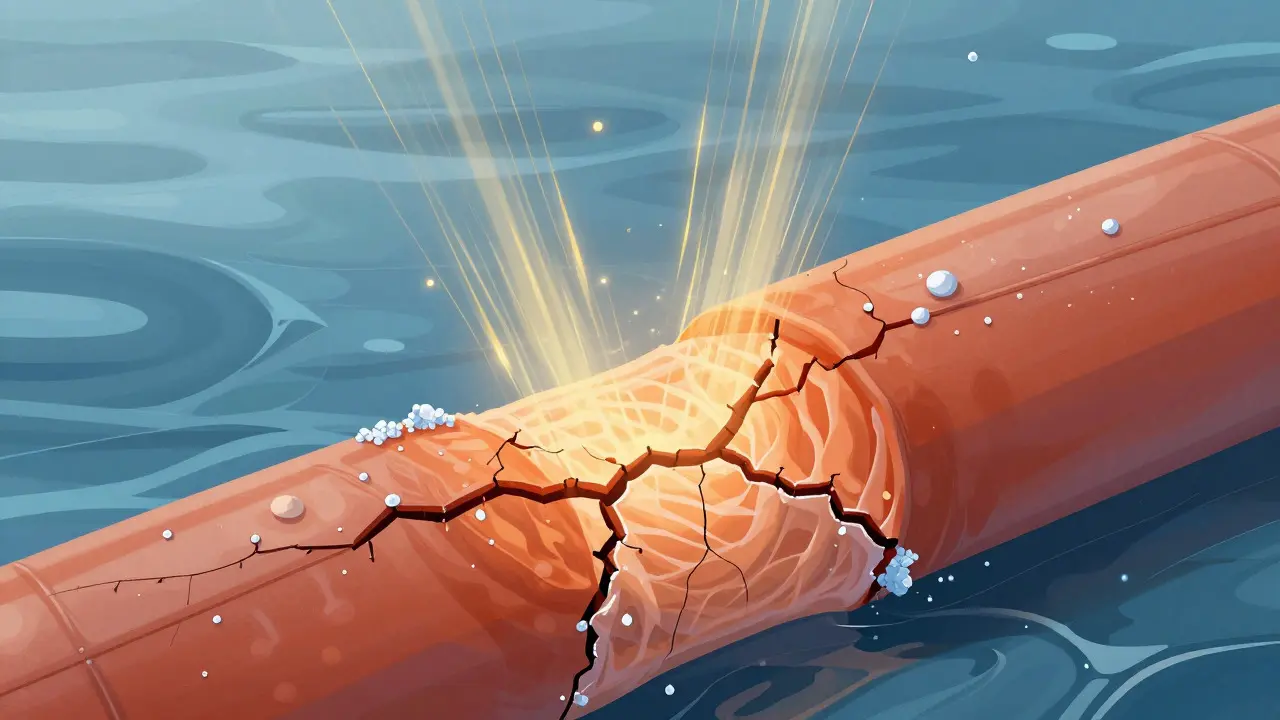
How to Repair Delaminated Seams
Repairing a delaminated seam is doable at home if you have the right tools and patience. You’ll need a heat gun (or a hair dryer on high), a strong marine-grade adhesive, and clean rags. Avoid using standard super glue, as it becomes brittle over time and doesn’t handle flex well.
- Clean the Area: Remove all dirt, salt, and old adhesive residue. Use isopropyl alcohol on a rag to ensure the surface is completely clean and dry. Any contamination will ruin the new bond.
- Re-activate the Adhesive: Apply gentle, even heat to the separated area. You want to warm the existing glue without melting the fabric. Move the heat source constantly to avoid hot spots.
- Apply New Adhesive: Once the area is warm and the old glue is soft, apply a thin, even layer of marine-grade polyurethane adhesive. Don’t use too much; excess glue squeezes out and creates lumps.
- Press and Clamp: Align the fabric perfectly and press firmly. Use clamps or heavy books to keep the seam flat and under pressure. Leave it for at least 24 hours in a cool, dry place to cure fully.
- Test Before Flying: After curing, gently pull on the repaired area. It should feel solid. If it feels spongy, repeat the process.
For larger separations, consider adding a fabric patch underneath the seam for extra reinforcement. This adds a layer of protection against future wear.
Prevention Strategies That Actually Work
The best repair is the one you never need. Prevention focuses on reducing stress on the seams and protecting the materials. Here are the most effective strategies:
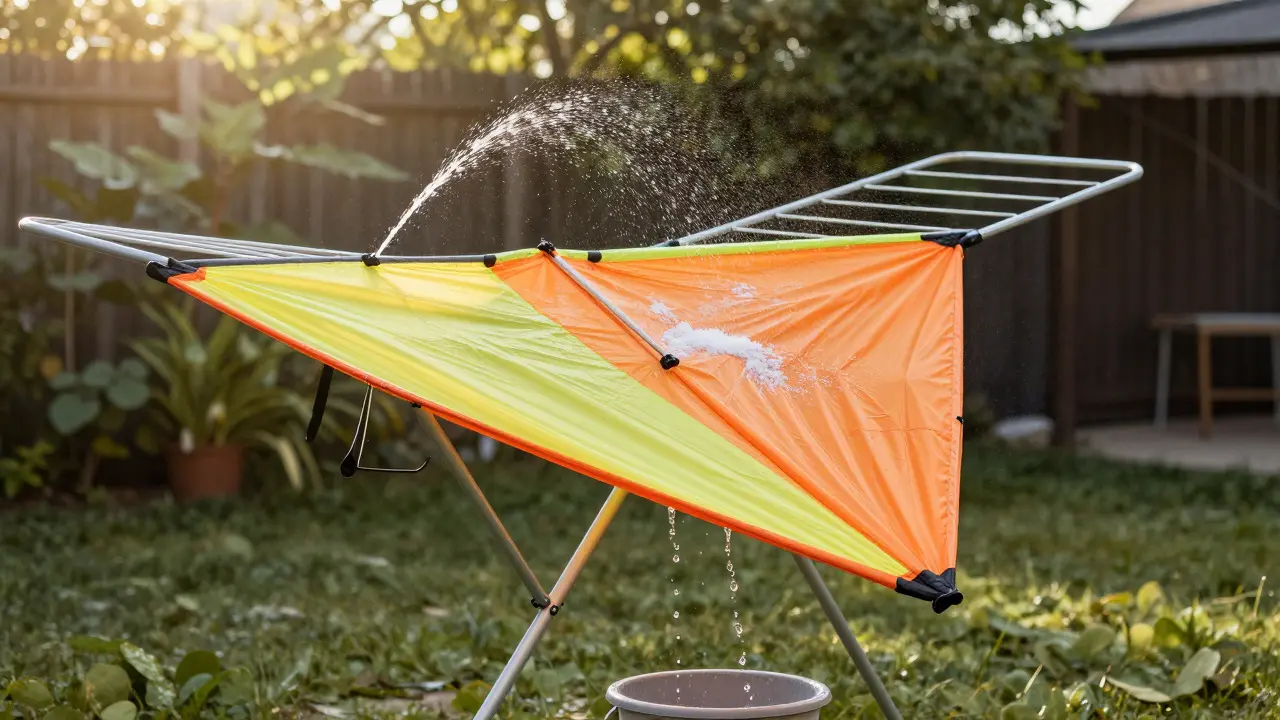
- Proper Drying: Never store a wet kite. Saltwater accelerates corrosion and mold growth. Rinse with fresh water after every session and hang it upside down in a shaded area to dry completely.
- UV Protection: Store your kite in a UV-resistant bag when not in use. If you leave it out overnight, cover it with a tarp or sheet. Direct sunlight is the enemy of adhesives.
- Correct Inflation Pressure: Over-inflating puts excessive stress on the seams. Under-inflating causes flutter, which also wears the fabric. Stick to the manufacturer’s recommended PSI range.
- Avoid Abrasion: Be mindful of where you launch and land. Sandy beaches are tough on kites. Try to find grassy areas when possible, or use a landing mat.
- Regular Inspections: Make a habit of checking your seams every month. Catching a small issue early is far easier than fixing a major tear.
Investing in a quality storage bag and following these simple habits can extend the life of your kite by several seasons.
Comparison of Repair Methods
| Method | Best For | Durability | Difficulty | Cost |
|---|---|---|---|---|
| Marine Adhesive + Heat | Small to medium peels | High (if done correctly) | Moderate | $20-$50 |
| Fabric Patch + Adhesive | Larger tears or weak spots | Very High | Hard | $30-$70 |
| Professional Service | Complex damage or warranty claims | Variable | Easy (for user) | $100-$300+ |
| Super Glue | Temporary emergency fixes only | Low (becomes brittle) | Easy | $5-$10 |
Avoid using super glue for permanent repairs. While it works in a pinch, it lacks flexibility and will crack within a few flights. Marine adhesives are formulated to withstand water, UV, and flex, making them the superior choice for long-term durability.
When to Replace vs. Repair
Sometimes, a repair isn’t worth it. If the delamination covers more than 30% of the leading edge, or if the fabric itself is torn or shredded, replacement might be the better option. Also, if your kite is older than five years and has suffered multiple repairs, the overall structural integrity may be compromised. In these cases, investing in a new kite could be safer and more cost-effective in the long run.
However, for minor issues, DIY repair is almost always the way to go. It saves money and keeps your favorite kit in action. Just remember: prevention is key. Treat your kite well, and it will treat you well in return.
What is the best adhesive for repairing foil kites?
Marine-grade polyurethane adhesive is the best choice. It remains flexible after curing, resists water, and handles UV exposure well. Avoid cyanoacrylate (super glue) for permanent repairs as it becomes brittle and cracks easily.
How long does it take for kite repair adhesive to cure?
Most marine adhesives require 24 to 48 hours to fully cure. During this time, keep the kite in a cool, dry place with the seam under light pressure. Do not fly the kite until the adhesive is completely hardened.
Can I use a hair dryer to re-activate old adhesive?
Yes, a hair dryer on high heat can work, but move it constantly to avoid burning the fabric. A heat gun is more effective for thicker adhesives, but requires more caution to prevent melting the sail material.
Does saltwater really damage kite sails?
Yes, saltwater accelerates the degradation of adhesives and fabrics. Always rinse your kite with fresh water after ocean sessions and allow it to dry completely before storage to prevent corrosion and mold.
How often should I inspect my foil kite for delamination?
Inspect your kite after every session and perform a thorough check once a month. Pay special attention to the leading edges and corners, where stress is highest. Early detection makes repairs much simpler and cheaper.