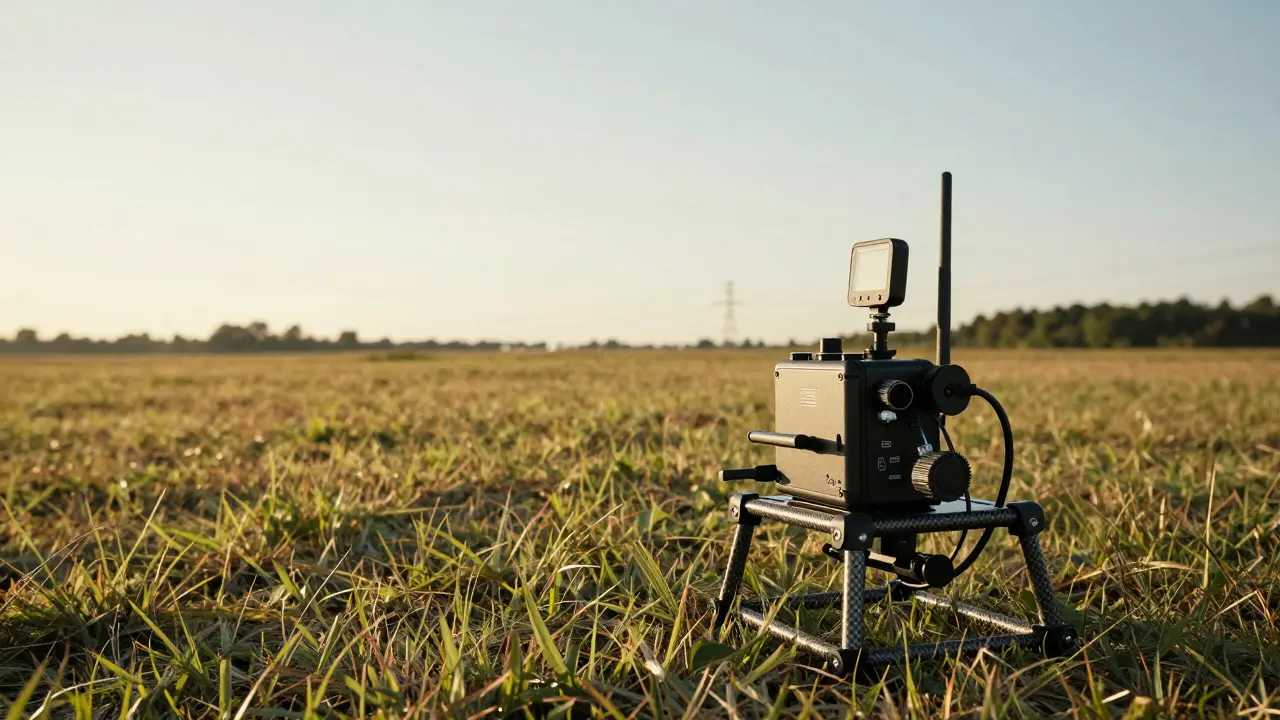
Imagine watching your kite land safely, only to find out later that it clipped a tree branch you didn't see. Or worse, realizing post-flight that your exposure settings were off because the light changed faster than you could react. In Kite Aerial Photography (KAP), where every second of flight counts and equipment is expensive, guesswork is a luxury you can't afford. Data logging turns your flight from a visual experience into a dataset you can analyze, refine, and repeat.
You don't need a PhD in aerospace engineering to get started. You just need the right sensors, a way to record them, and the willingness to look at the numbers after the fact. This guide breaks down how to integrate GPS modules, altimeters, and telemetry systems into your KAP rig. We’ll cover hardware selection, wiring logic, and how to actually use the data to improve your shots.
Why Guessing Doesn't Work in KAP
Unlike drone photography, where you have live video feeds and automated stabilization, KAP is manual. You are flying a camera on a string. The environment changes rapidly-wind gusts, thermal updrafts, and sudden shifts in sunlight. Without data, you're relying on memory and estimation. Did you fly at 300 feet or 400? Was that sharp image taken during a smooth glide or a turbulent dive?
Data logging solves three specific problems:
- Safety Verification: Confirming you stayed within legal altitude limits and away from no-fly zones using GPS coordinates.
- Exposure Correlation: Matching shutter speed and ISO settings to actual altitude and light conditions recorded by sensors.
- Flight Pattern Analysis: Understanding how your kite behaves in different wind speeds to optimize launch and recovery times.
The goal isn't to replace your instincts. It's to validate them. When the data confirms what you felt, you gain confidence. When it contradicts your perception, you learn something valuable.
Core Hardware Components
Building a robust logging system requires three main types of sensors. Each serves a distinct purpose, and mixing them up leads to poor data quality.
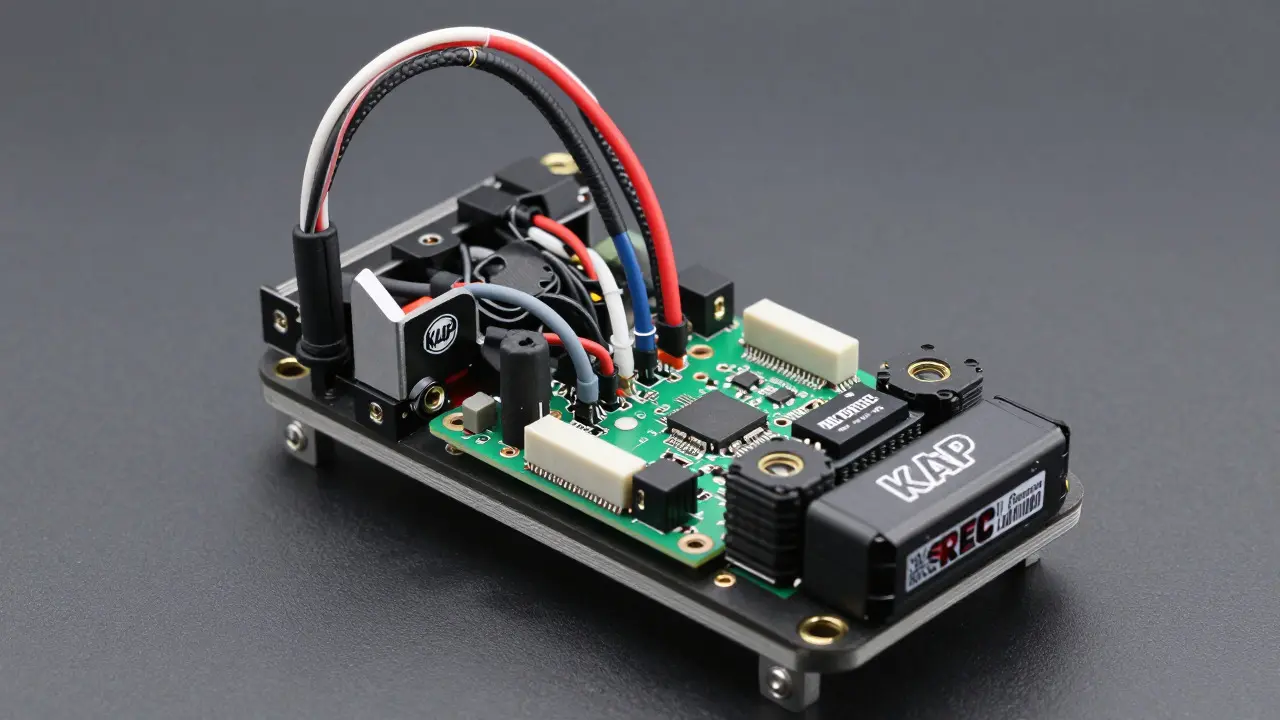
- GPS Module: Provides latitude, longitude, and sometimes velocity. Look for modules with high sensitivity (like u-blox NEO-6M or better) that can lock onto satellites quickly. For KAP, accuracy within 3-5 meters is usually sufficient for safety checks.
- Altimeter: Measures height above sea level or relative altitude. Barometric altimeters are common but affected by weather pressure changes. Radar altimeters are more accurate for ground proximity but heavier. For most KAP pilots, a barometric altimeter calibrated at the launch site is the standard choice.
- Telemetry Receiver/Logger: This is the brain. It collects signals from the GPS and altimeter and stores them in a file. Options range from dedicated flight loggers (like those used in RC aviation) to DIY Arduino-based setups. Commercial units often offer real-time display via a handheld monitor, which is great for live feedback.
Don't forget the power source. Your logger needs stable voltage. A small LiPo battery pack with a BEC (Battery Eliminator Circuit) is standard. Ensure the total weight of the electronics stays under 10% of your kite's total mass to avoid affecting flight dynamics.
Wiring and Integration Best Practices
Connecting these devices sounds simple, but vibration and electromagnetic interference (EMI) are your enemies. A loose wire can cause signal dropouts exactly when you're at peak altitude.
- Shielded Cables: Use shielded wires for all sensor connections. Connect the shield to ground to prevent noise from corrupting your data stream.
- Vibration Damping: Mount your GPS and logger on rubber grommets or foam pads. Vibration can shake loose solder joints and stress microchips over time.
- Power Separation: If possible, power the sensors separately from the motor or heavy loads. Even if you don't have motors, separating the power line for the logger from any other active electronics reduces ground loop issues.
- Strain Relief: Secure cables so they don't pull on connectors during launch and landing. Use zip ties and heat shrink tubing for durability.
A common mistake is ignoring the orientation of the GPS antenna. Keep it clear of metal components and place it as high as possible on the frame. Metal reflects GPS signals, causing multipath errors that make your position jump around on the map.
Understanding the Data: From Raw Logs to Insights
Once you've flown, you'll download a CSV or proprietary file containing timestamps, coordinates, and altitude readings. Raw data is useless until you visualize it. Most telemetry software allows you to plot altitude over time and overlay GPS tracks on a map.
Here’s what to look for:
| Metric | What It Tells You | Actionable Insight |
|---|---|---|
| Altitude Profile | Smoothness of climb and descent | Jagged lines indicate turbulence or pilot input corrections; smooth lines suggest stable conditions. |
| Velocity Vector | Speed and direction of movement | High lateral velocity may indicate crosswind drift; plan your shooting angle accordingly. |
| Signal Loss Events | Gaps in GPS or telemetry data | Identify dead zones or hardware failures; check cable integrity if gaps are frequent. |
Correlate this data with your photo metadata. If you shoot in RAW, your files contain EXIF data including timestamp, ISO, aperture, and shutter speed. By matching the timestamp of a photo to the telemetry log, you can see exactly where the camera was and how fast it was moving when the shutter fired. This helps you understand why certain images are sharp while others are blurry due to motion blur from wind gusts.
Troubleshooting Common Issues
Even with good hardware, things go wrong. Here are the most frequent headaches and how to fix them.
- GPS No-Fix: Usually caused by poor antenna placement or low battery. Ensure the antenna has a clear view of the sky before launch. If the problem persists, test the module on the bench with a known-good power supply.
- Altimeter Drift: Barometric altimeters change reading with weather pressure. Always calibrate your altimeter to local sea-level pressure before each flight. Many loggers allow you to set a reference point manually.
- Data Gaps: If you lose data for seconds at a time, check your storage card. Slow SD cards can fail to write data during rapid changes. Use high-endurance microSD cards rated for continuous writing.
Keep a simple checklist for pre-flight checks: Battery levels, antenna connections, and storage card space. Ten minutes of preparation saves hours of frustration.
Choosing the Right Setup for Your Skill Level
Not everyone needs a $500 commercial telemetry suite. Start simple. A basic GPS logger and a barometric altimeter connected to an Arduino Nano cost less than $100 and provide 80% of the value. As you become more comfortable analyzing data, upgrade to a system with real-time monitoring.
For beginners, focus on altitude and location. These two metrics tell you if you're safe and where you are. Advanced users might add airspeed sensors or inclinometers to analyze aerodynamic performance. But remember, more data means more complexity. Only add sensors if you know how you'll use the information.
Frequently Asked Questions
Do I really need telemetry if I'm flying in open fields?
Yes. Open fields hide hazards like hidden fences, power lines, or uneven terrain. Telemetry provides a safety net, especially when you're focused on composition and not looking at the kite constantly. It also helps you track your progress in learning consistent flight patterns.
How much weight does a typical data logging setup add to a KAP rig?
A minimal setup (GPS, altimeter, small logger, battery) typically adds between 50g and 100g. This is manageable for most kites weighing over 500g. For lighter kites, consider ultra-lightweight modules or wireless solutions that transmit data to a phone instead of carrying extra batteries onboard.
Can I use my smartphone as a telemetry receiver?
Yes, many modern loggers use Bluetooth or Wi-Fi to send data to a smartphone app. This is convenient for beginners as you don't need a separate handheld monitor. However, ensure the connection is stable and the app doesn't drain your phone battery too quickly during long flights.
What format should I save my flight logs in?
CSV (Comma-Separated Values) is the most universal and easiest to import into spreadsheet software or analysis tools. Some proprietary formats are easier to read directly in their specific apps but harder to share or archive long-term. Aim for a system that exports to CSV for future-proofing your data.
How often should I back up my telemetry data?
After every flight session. Data loss from a corrupted SD card or lost device is frustrating, but losing historical flight data means losing your ability to track improvement over time. Automate backups if you fly frequently, or develop a habit of transferring files immediately after landing.