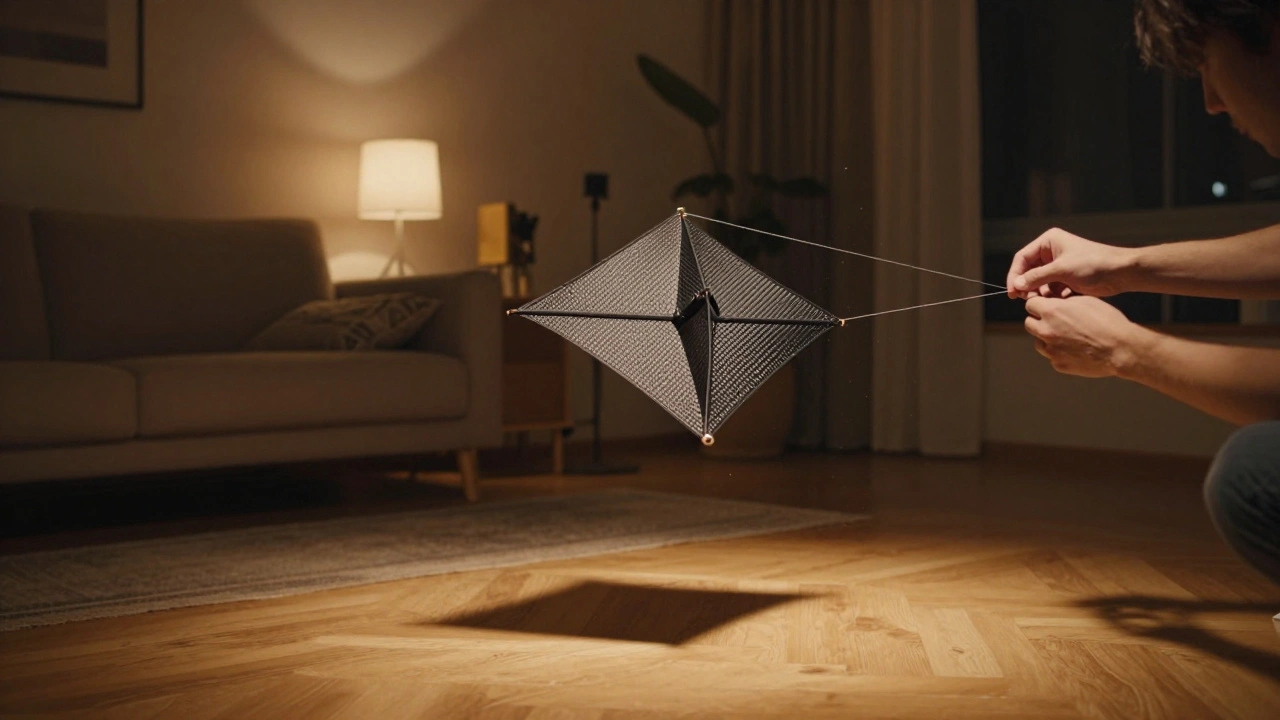
Most people think indoor kite flying is just a quiet, harmless pastime-something you do when the wind won’t cooperate or you’re stuck inside. But if you’ve ever flown a kite in a still room, you know it’s not about calm weather. It’s about control. And that’s where the real skill lives.
Why Indoor Kite Flying Builds Better Outdoor Flyers
Indoor kites don’t rely on wind. They rely on you. No breeze? No problem. You pull, you tilt, you twist the line to make the kite dance. There’s no wind to hide your mistakes. If you jerk too hard, the kite spins out. If you’re too gentle, it drops. No excuses. That’s why indoor flying teaches you what wind can’t: precision.Outdoor kites are easy to blame on the wind. “It’s too gusty,” you say. “It’s too light.” But if you’ve flown indoors, you know the wind is never the real problem. It’s your timing. Your reflexes. Your sense of tension in the line. Indoor flying strips away every excuse and leaves you with just you and the kite.
The Three Core Skills You Learn Indoors
- Line tension awareness - Indoors, you feel every twitch. A 1-inch pull becomes a 360-degree spin. You learn how little movement it takes to change direction. That sensitivity carries straight to outdoor flying, where you’ll stop over-correcting in gusts.
- Anticipation - Without wind, you can’t wait for the kite to move. You have to predict its path. You learn to think two steps ahead: pull left, then ease up, then give a tiny tug upward. That muscle memory becomes instinct outside, where wind shifts are unpredictable.
- Smooth input - Indoor kites don’t like jerks. They’re small, light, and respond to the tiniest motion. You stop yanking. You stop over-flying. You learn to move the kite like you’re steering a boat with silk ropes. That calm control makes outdoor kites respond better, even in turbulent air.
How to Practice the Transition
Don’t just go outside and expect your indoor skills to magically work. You need to bridge the gap. Here’s how:
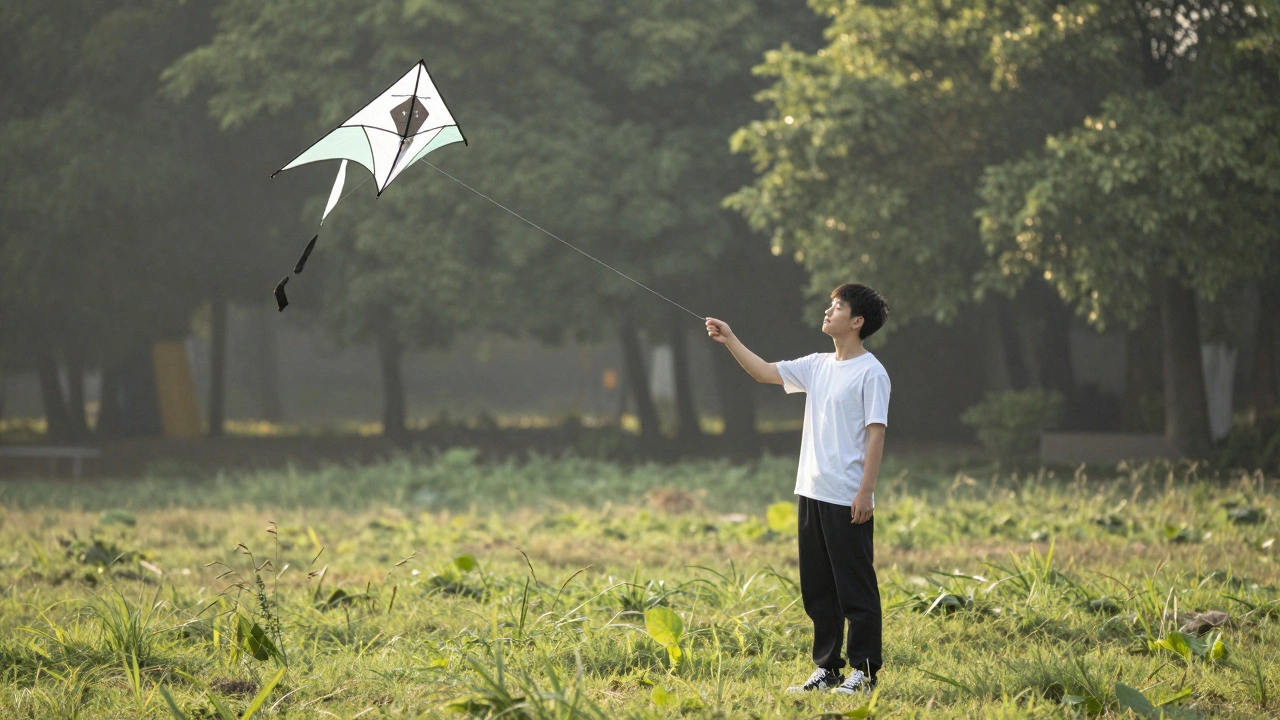
- Start on a calm day. Pick a morning when the wind is under 5 mph. That’s your indoor-equivalent wind. Use the same kite you flew inside.
- Hold the line like you do indoors-loose, but not slack. Let the kite find its balance. Don’t fight it. Just watch how it responds to your smallest adjustments.
- Practice figure eights. Not big ones. Tiny, controlled loops. Think of them as indoor maneuvers scaled up. If you can make a perfect 2-foot loop in your living room, you can make a 10-foot one in the park.
- Listen to the line. Indoors, you feel the tension. Outside, you hear it. A faint hum means steady flow. A sharp snap means you’re over-correcting. That sound is your new feedback system.
- Don’t upgrade too fast. Stick with your indoor kite for at least five outdoor sessions. It’s small. It’s slow. It’s forgiving. It’s your teacher.
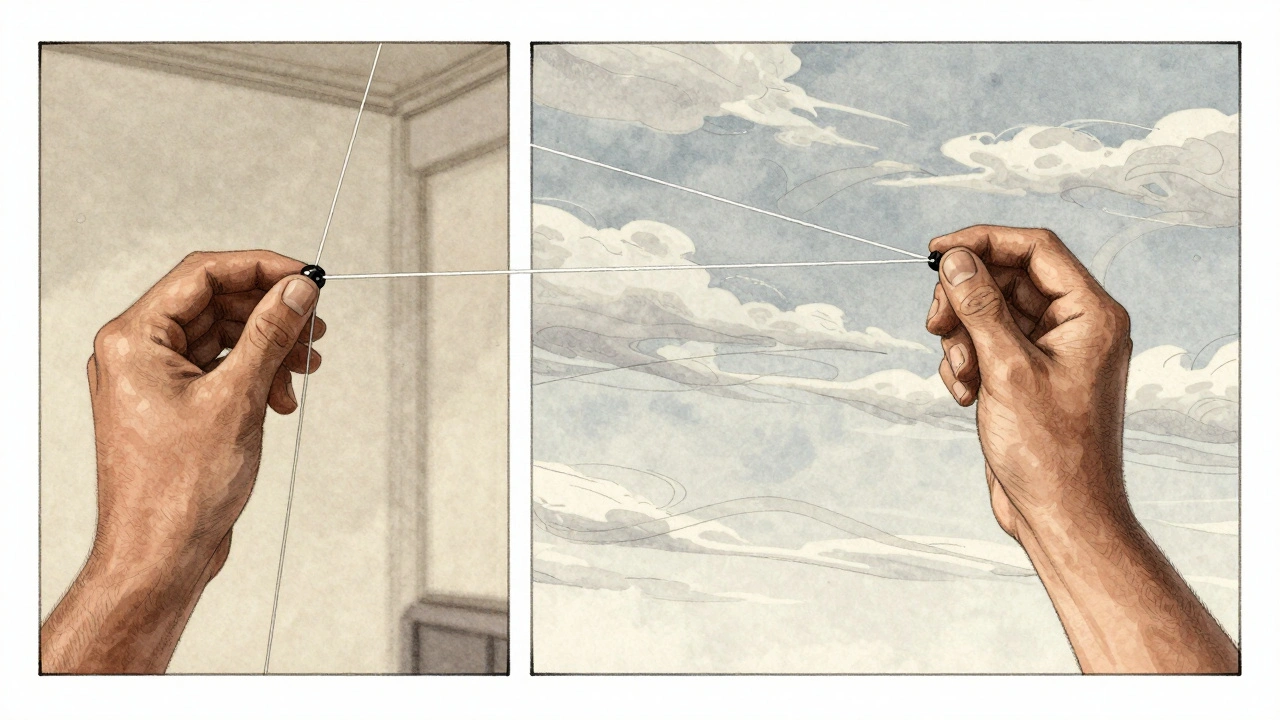
What Changes When You Step Outside
The biggest shift isn’t the wind-it’s the scale. Indoors, you’re working in feet. Outside, you’re working in yards. The kite is farther away. The line is longer. Your inputs take longer to register. But here’s the secret: your hands haven’t changed. Your reflexes haven’t changed. You just need to adjust your expectations.
Outdoors, you’ll notice your indoor training helps you:
- Stay calm when the kite dives. You’ve seen drops before. You know how to recover without panicking.
- Use less line. Indoor flyers don’t let out long tails. They keep it tight. That means better control in gusty conditions-you’re not fighting 50 feet of slack.
- Read the air better. If you’ve learned to sense subtle shifts in a still room, you’ll notice the difference between a draft and a real gust.
Common Mistakes When Making the Switch
Even experienced indoor flyers mess up when they head outside. Here’s what usually goes wrong:
- Over-pulling - You’re used to small movements. Outside, you think you need big ones. You yank. The kite flips. Then you yank harder. It crashes. The fix? Trust your hands. If it feels like you’re doing too much, you probably are.
- Ignoring the ground - Indoors, you’re surrounded by walls. Outside, the ground is your boundary. If you let the kite dive too low, it hits the grass. Practice low-altitude control. Learn how to bring it down gently, like you’re setting it on a table.
- Using the wrong kite - Not all indoor kites fly well outside. Lightweight delta or diamond shapes work best. Avoid box kites or those with long tails-they’re too slow to respond. Stick to single-line, lightweight designs.
Real-World Example: From Living Room to Park
Last fall, a friend of mine-someone who’d flown indoors for two years-tried outdoor flying for the first time. He used his favorite indoor kite: a 20-inch carbon fiber diamond. He went to a local park in Portland. The wind was 7 mph. He stood there for ten minutes, pulling hard, watching the kite spiral. He was frustrated.
Then he remembered: indoors, he didn’t fight the kite. He talked to it. He waited. He adjusted. So he sat down. He took a breath. He held the line lightly. He gave one smooth tug upward, then a tiny pull to the right. The kite rose. Then it glided. Then it made a perfect circle. He didn’t say a word. He just smiled.
That’s the moment indoor training clicks. It’s not about power. It’s about patience. It’s about listening.
What Comes Next
Once you’ve mastered the transition, you’ll notice something surprising: outdoor kites feel easier. Not because the wind helps. But because you’ve learned to be the wind. You’re not waiting for conditions. You’re shaping them.
From here, you can explore:
- Two-line kites - they’re just indoor kites with more control points.
- Stunt kites - if you can make a figure eight in a still room, you can make one in a 15-mph wind.
- Windless flying - yes, it’s a thing. Some kite clubs use fans or tethered systems to simulate indoor control outdoors. It’s the ultimate test.
The best flyers don’t chase the wind. They become its partner. And that starts in a quiet room, with a small kite, and your hands.
Can I use my indoor kite outside?
Yes, but only if it’s lightweight and designed for single-line control. Most indoor kites are built with thin frames and light fabric, which makes them great for light wind. Avoid heavy or tail-heavy designs-they’ll stall or spin out. Stick with small diamonds, deltas, or flat squares. They respond best to the precise inputs you learned indoors.
Do I need a special line for outdoor flying?
Not necessarily. The same braided polyester or nylon line you use indoors works fine for light wind conditions. But if you’re flying in winds over 10 mph, switch to a slightly heavier line (20-30 lb test). Thinner lines snap too easily outside, and you’ll lose your kite. Indoors, you can use 10 lb test. Outside, you need a little more strength to handle sudden gusts.
How long does it take to transfer indoor skills to outdoor flying?
Most people notice a difference after just one or two outdoor sessions. But true mastery-where you feel as confident outside as you do inside-takes about five to ten flights. The key is consistency. Don’t wait for perfect weather. Fly in light wind, even if it’s just 3 mph. That’s when your indoor training really shines.
Is indoor kite flying harder than outdoor?
In a way, yes. Indoors, there’s no wind to help. You’re 100% responsible for every movement. Outdoor flying has variables-wind, terrain, obstacles-but they can mask poor technique. Indoor flying exposes your weaknesses. That’s why it’s the best training ground. If you can fly well inside, you’ll fly better outside, no matter the conditions.
What’s the best way to practice indoors?
Set up a small space-your living room or hallway works. Tape a small target on the wall. Practice flying your kite to touch it without hitting. Try hovering in place for 30 seconds. Do figure eights around furniture. Use a stopwatch. The goal isn’t to fly far-it’s to fly with precision. Ten minutes a day, five days a week, will build the muscle memory you need.