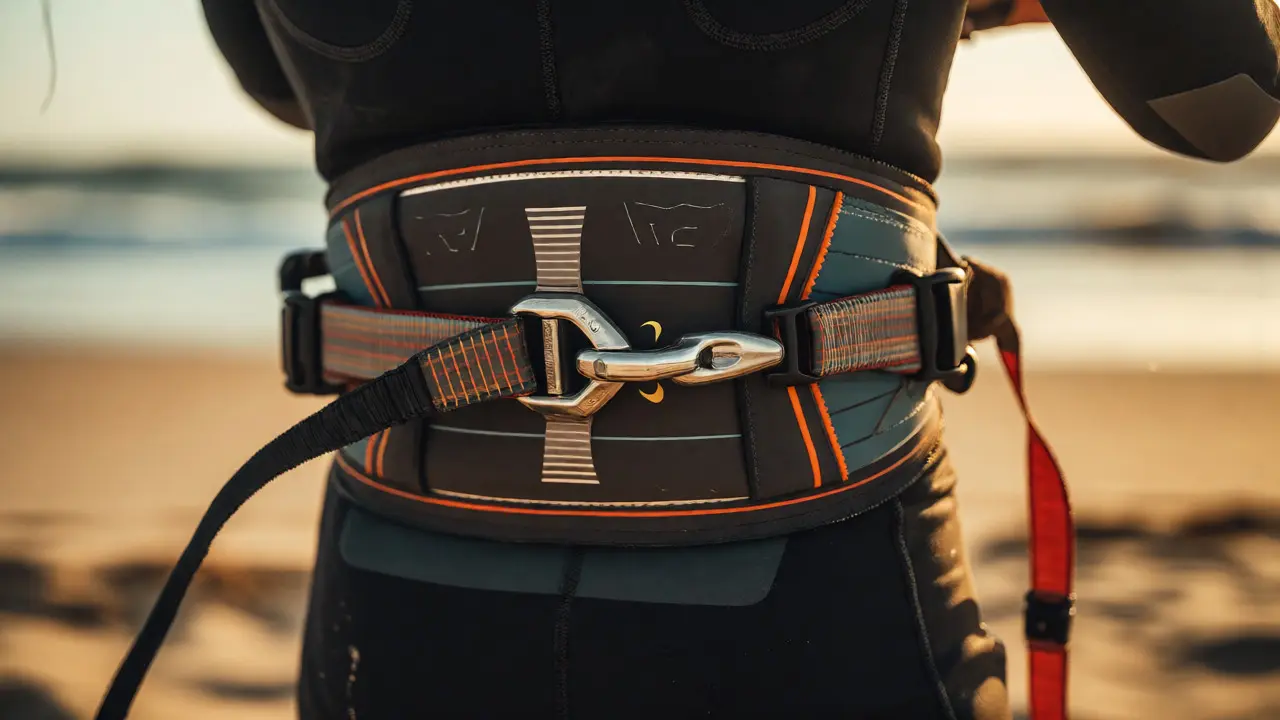
You’re standing on the beach, wind whipping your hair, and you just hooked into a power kite that could theoretically drag you into the next county if it decides to misbehave. It’s not a toy; it’s a controlled engine of lift. The difference between a fun afternoon and a trip to the ER often comes down to three things: how you wear your harness, a wearable device that transfers the pull of the kite from your arms to your body, how well you understand your depower system for reducing the kite's pulling force, and whether your quick release mechanism works instantly under load actually works when you need it.
Most beginners obsess over learning to fly the kite in loops or doing jumps. That’s fine. But before you start chasing adrenaline, you need to master the safety systems. If you can’t kill the power in two seconds flat, you aren’t ready for big kites. Here is exactly how to set up, use, and maintain these critical components so you stay safe and keep flying.
The Foundation: Choosing and Wearing Your Harness
Your harness is the interface between you and the kite. If this part fails or fits poorly, everything else falls apart. There are generally two types: waist and seat. For most people starting out, a seat harness is safer because it keeps you upright if you get dragged and offers better back support during long sessions. Waist harnesses offer more freedom of movement but require stronger core engagement and are better suited for advanced riders who want easier access to their bar and lines.
Fitting matters more than brand. A loose harness slides up your torso, putting pressure on your ribs and making it hard to breathe. A tight one cuts off circulation. You should be able to slide two fingers comfortably under the straps. Always hook in while sitting or kneeling on the ground. Never try to hook in while standing with a loaded kite unless you have a helper holding the chicken loop for you. This prevents the sudden jerk from knocking you over or causing injury.
- Check the Hook: Ensure the metal hook is smooth and free of burrs that could snag your wetsuit or skin.
- Adjust Straps: Tighten leg straps first, then the waist belt. This locks the harness to your hips.
- Test the Range: Move around, squat, and twist. The harness shouldn’t pinch or shift significantly.
Understanding Depower: Reducing Force Before Trouble Starts
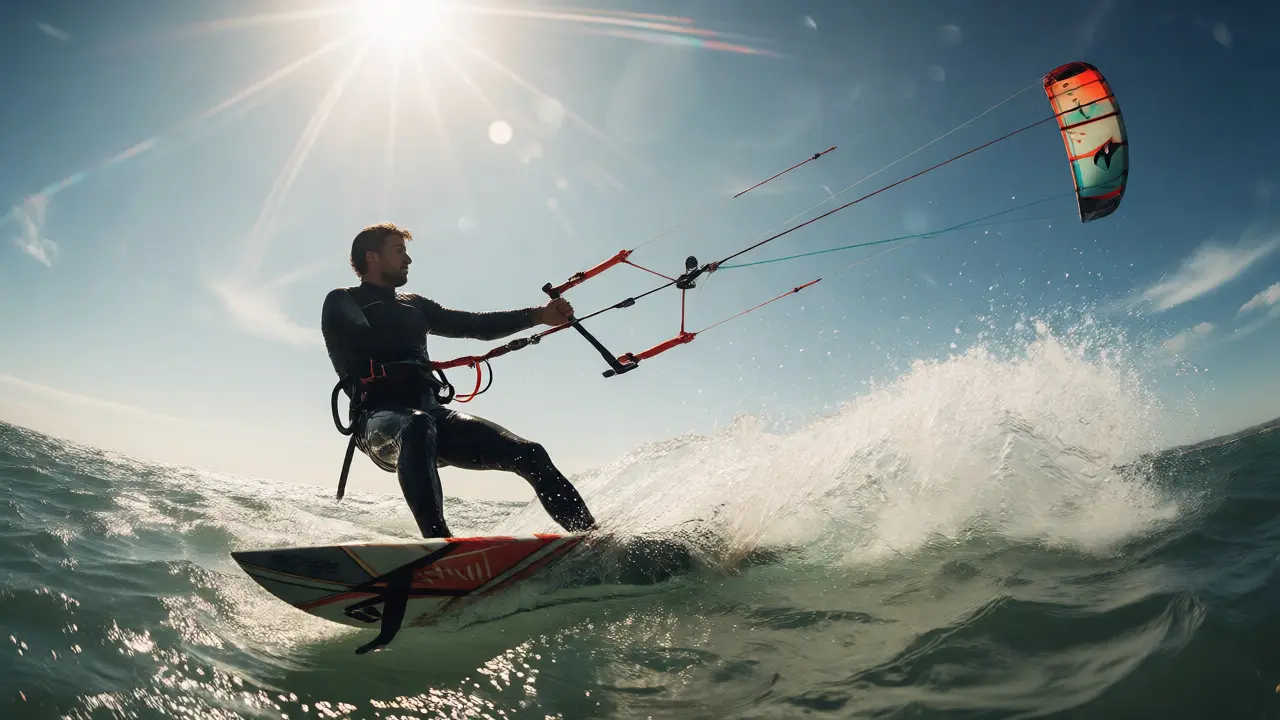
People often confuse depower with steering. They aren’t the same thing. Steering changes the direction of the pull. Depower reduces the magnitude of the pull. On modern inflatable kites, depower is achieved by changing the angle of attack of the kite relative to the wind. When you push the control bar away from your body (or pull it closer, depending on the system design), you alter the tension on the front lines versus the rear lines.
Think of it like shifting gears in a car. Low gear gives you torque and control at slow speeds; high gear lets you go fast but requires more space. In kite terms, full depower means the kite is flatter in the wind window, generating less lift and drag. Full power means the kite is angled aggressively, catching maximum wind. Knowing where your depower range is allows you to manage gusts without panicking. If a sudden gust hits, don’t fight the bar. Push it forward immediately to flatten the kite and shed excess power.
| System Type | Mechanism | Best For | Safety Implication |
|---|---|---|---|
| 5-Line System | Dedicated safety line connects leading edge to bridle. | Beginners, Freeride | Kite collapses fully upon release; very safe. |
| 4-Line Bow/Delta | Rear lines connect directly to kite; front lines via pigtails. | Intermediate, Wakestyle | Kite turns on side upon release; moderate collapse. |
| C-Shape/Race | Direct connection to leading edge; minimal bridle. | Experts, Racing | Kite may continue pulling after release; high risk. |
The Lifeline: Mastering the Quick Release
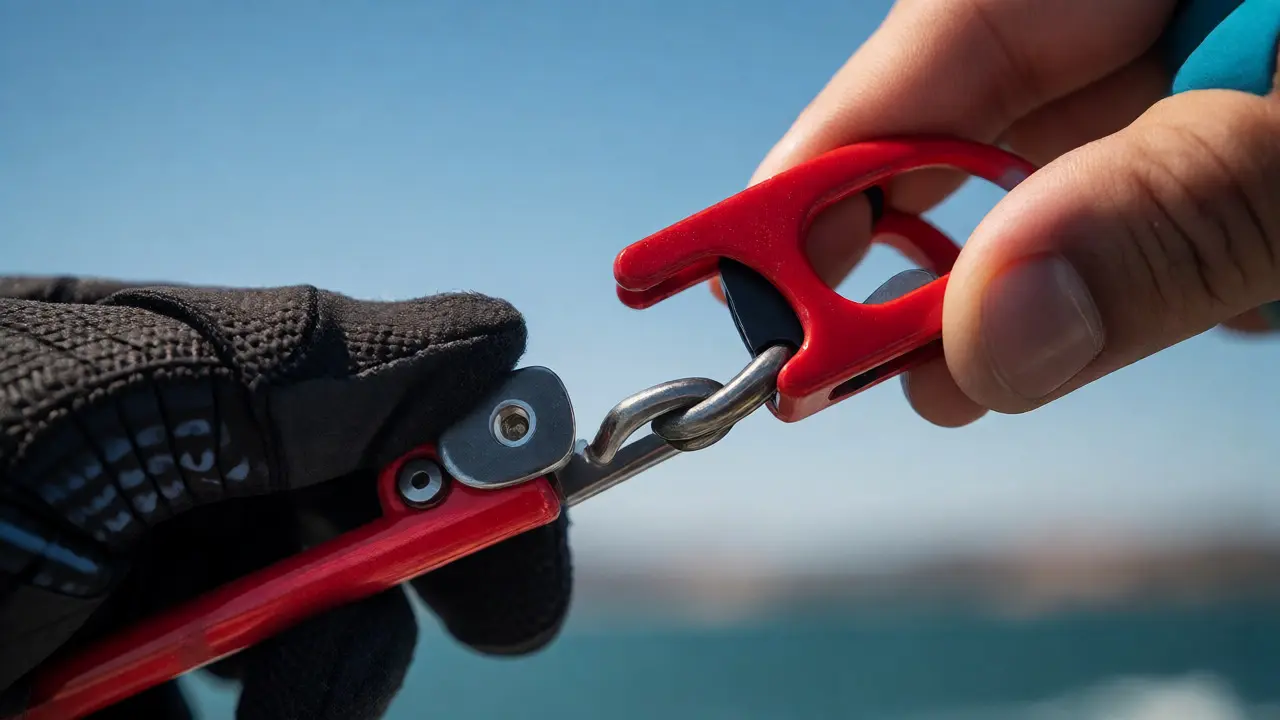
If depower is your brake pedal, the quick release is your emergency handbrake and airbag combined. Its job is simple: disconnect you from the kite instantly. Most modern bars feature a primary chicken loop release and a secondary leash release. Some also include a trim release. Confusing them can be dangerous.
The chicken loop release is usually a red handle or lever near the center of the bar. Pulling this releases the main load-bearing connection. However, many beginners make the mistake of relying solely on this. What happens if the release jams? Or what if you’re unconscious? That’s why the safety leash is non-negotiable. Attach it to your harness, not your wrist. If you let go of the bar, the kite should turn sideways and lose power, dragging you gently rather than launching you across the beach.
Practice your releases dry. Do this at home, hooked into a door handle or a heavy post, with no wind. Pull the release. Feel the resistance. Make sure you can operate it with one hand, wearing gloves, and while looking away from the mechanism. Muscle memory saves lives. If you have to look down to find the release during a panic moment, it’s too late.
Pre-Launch Checks: The Ritual That Saves Gear
Before you launch, run through a physical inspection. Wind doesn’t care about your schedule. It will test every weak link in your setup. Start with the lines. Check for twists. A twisted line bundle creates uneven tension, which can cause the kite to steer unexpectedly or fail to depower properly. Untangle them carefully using the "figure-eight" method if necessary.
Next, inspect the bladders. Inflate the kite and leave it for ten minutes. Does it hold pressure? Micro-leaks can grow rapidly in cold water or heat. Check the valves-they must be screwed tight and capped. Then, check the bridle attachments. Are the knots secure? Is there any fraying on the lines where they touch the bar or the kite tips? Replace any line showing significant wear. Lines are cheap; hospitals are expensive.
Finally, test the safety systems again with the kite inflated but unlaunched. Pull the quick release. Watch the kite. It should fall backward or turn on its side, depending on your model. If it stays facing the wind and pulling, your safety system isn’t working correctly. Don’t launch until you fix it.
In-Water Recovery and Emergency Procedures
Even with perfect gear, things go wrong. Maybe you crash. Maybe you get tangled. Maybe the wind drops and you’re stuck in shore break. Knowing how to recover is part of safety. If you crash and your kite lands face-down, relaunching can be tricky. Use your rear lines to pull the wingtips up. If you’re unable to relaunch and the current is strong, consider releasing the kite entirely. Let it float. It’s easier to swim to shore and retrieve a floating kite than to drown trying to save it.
What if you’re being dragged uncontrollably? First, try to depower by pushing the bar all the way out. If that fails, trigger the quick release. Once released, do not chase the kite immediately if it’s still powered up. Wait for it to deflate or turn sideways. If it’s still pulling, swim parallel to the shore to escape the line’s path, then approach the kite from the side or rear, never head-on.
Maintenance and Longevity: Keeping Safety Systems Sharp
Saltwater, sand, and UV rays are enemies of mechanical parts. Rinse your bar and lines with fresh water after every session. Salt crystals act like sandpaper inside your quick release mechanisms, causing them to stick. Lubricate moving parts occasionally with a silicone-based spray designed for marine use. Avoid petroleum-based lubricants as they can degrade rubber seals.
Store your kite out of direct sunlight when not in use. UV degradation makes fabric brittle and lines weaker. Inspect your harness stitching regularly. Look for stretched webbing or cracked plastic buckles. Replace any component that shows signs of fatigue. Don’t wait for it to snap mid-session.
Consider keeping a repair kit handy. Include spare line connectors, needle-nose pliers, and zip ties. These small tools can help you fix minor issues on the beach, preventing a ruined day or a dangerous situation.
Can I use my wrist leash instead of a waist leash?
It is strongly discouraged for beginners. A wrist leash keeps the kite attached to you even if you let go of the bar, meaning the kite can still pull you underwater or drag you across rocks. A waist leash allows the kite to detach completely from your body when the quick release is triggered, letting it drift away safely.
How often should I replace my kite lines?
There is no fixed timeline, but regular inspection is key. Replace lines if you notice significant stretching, fraying, or discoloration. Typically, heavy users might replace lines every 1-2 seasons, while casual flyers might get 3-4 years. Always follow manufacturer guidelines for specific materials like Dyneema or Spectra.
Why does my kite not depower when I push the bar out?
This usually indicates a tangled line bundle or incorrect trim setting. Check for twists in the lines. Also, ensure your trim strap is adjusted correctly for your arm length. If the lines are correct, inspect the pulley system on the bar for debris or jamming.
Is a 5-line kite safer than a 4-line kite?
Generally, yes, especially for beginners. The fifth line provides a dedicated safety tether that causes the kite to collapse completely onto its back when released. Most 4-line kites rely on turning the kite sideways to depower, which leaves some residual pull.
What should I do if my quick release sticks?
Do not launch. Clean the mechanism thoroughly with fresh water and a soft brush. Apply a marine-grade silicone lubricant. Test it repeatedly with load applied. If it remains sticky, replace the release unit or seek professional service before flying.