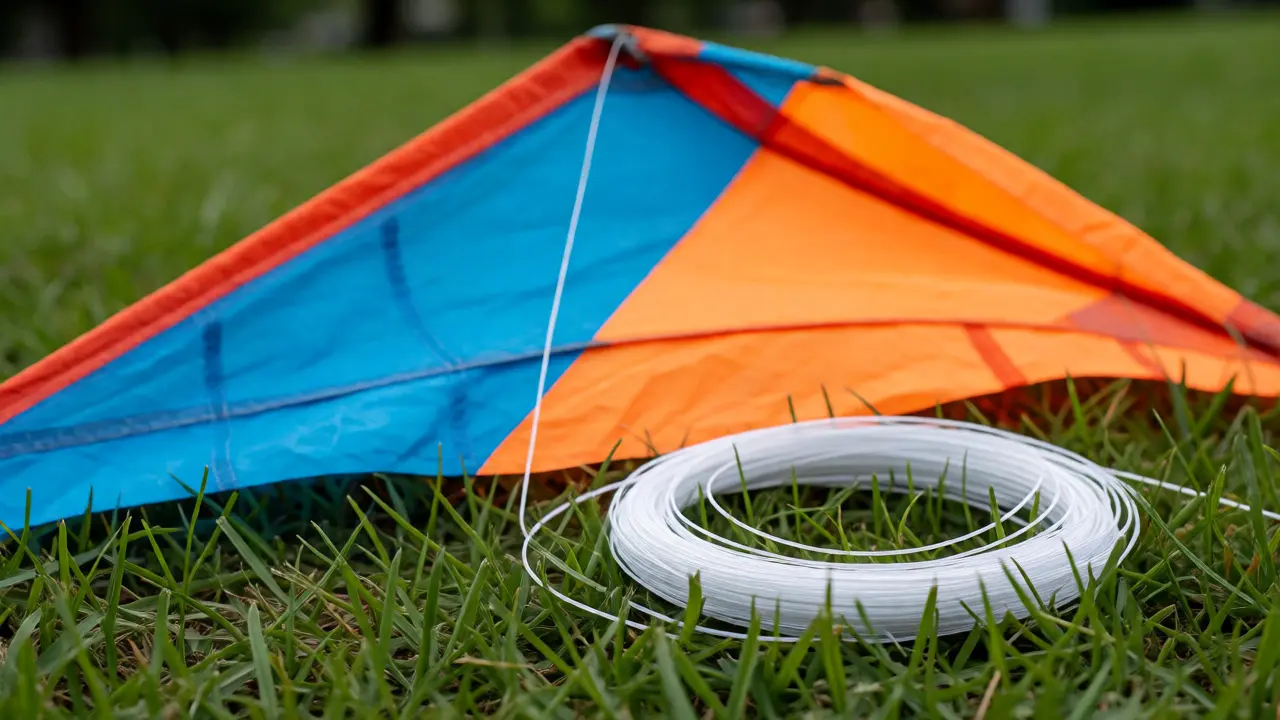
You bought a colorful diamond-shaped kite at the hardware store. You took it home, ran into the backyard, and watched it crash into the fence before it even hit eye level. Sound familiar? Most people think kite flying is just about the wind. It’s not. It’s about having the right kite flying gear to match the conditions you’re actually in.
I’ve been flying kites out of Portland’s waterfront parks for years, and I’ve seen countless beginners give up because they were fighting their equipment instead of the air. The truth is, you don’t need a $200 stunt rig to have fun. But you do need more than just the plastic sheet that came in the box. This guide breaks down exactly what you need to get airborne without wasting money on things you won’t use yet.
The Right Kite Type for Learning
Before you buy string or spools, you need to pick the right aircraft. For 90% of beginners, this means a single-line delta kite. Why? Because deltas are stable. They self-correct when the wind gusts, and they launch easily with a simple toss. Avoid dual-line or quad-line kites initially. Those require two hands and specific muscle memory that takes months to develop.
Here is how common beginner kite types stack up against each other:
| Kite Type | Wind Range (mph) | Launch Difficulty | Best For |
|---|---|---|---|
| Delta Kite | 5-15 mph | Easy (Self-launching) | General recreation, light winds |
| Diamond Kite | 8-18 mph | Moderate (Needs tail) | Classic look, steady winds |
| Sled Kite | 3-10 mph | Very Easy | Weak winds, children |
| Dual-Line Stunt | 6-20 mph | Hard (Requires training) | Advanced tricks, competition |
If you live in a breezy coastal area like Oregon, stick to Deltas. If you’re in a calm suburban neighborhood, a Sled might be your only option until you find a hill. Don’t let the price tag fool you; a $15 Delta flies better than a $50 Diamond if the Diamond doesn’t have a proper tail.
Line Material Matters More Than Length
Most cheap kites come with cotton or nylon string that stretches like a rubber band. This kills your control. When the wind picks up, a stretchy line makes the kite feel sluggish and unresponsive. You want low-stretch material. Dacron polyester is the gold standard for hobbyists. It has minimal stretch, high strength-to-weight ratio, and resists UV damage better than nylon.
How much line do you actually need? Start with 100 feet. That sounds short, but it’s plenty for learning launches and basic maneuvers. Once you’re comfortable, upgrade to 200 or 300 feet. Buying a pre-spooled reel with 100 feet of Dacron is cheaper and easier than winding your own line onto a wooden dowel.
- Material: Dacron Polyester (Look for "low stretch" labels).
- Diameter: 0.010 to 0.014 inches is ideal for small to medium kites.
- Break Strength: At least 100 lbs test rating for safety margins.
- Length: 100 feet to start; 200 feet for open fields.
The Hardware That Saves Your Kite
Connecting the line to the kite isn’t just tying a knot. You need connectors that allow movement and reduce friction. Without these, your line will twist, tangle, and eventually snap under stress.
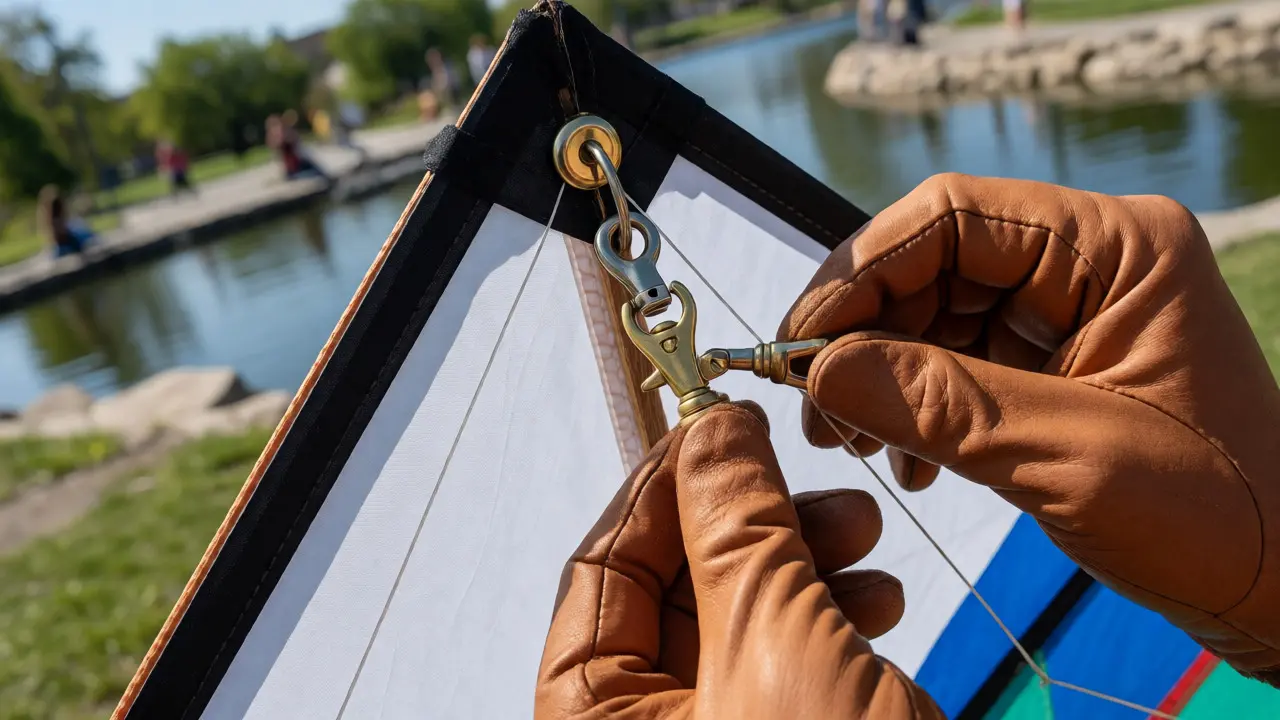
First, grab a set of swivels. These small metal rings rotate freely, preventing the line from twisting as the kite spins or dives. Buy brass swivels-they resist corrosion better than steel if you fly near saltwater or rain. Attach one between your line and the kite bridle.
Second, you need bridle clips. Never tie your line directly to the kite’s bridle points with a permanent knot. Clips allow you to swap lines quickly if one breaks and adjust the tow point (the angle at which the kite catches wind) for different wind speeds. Plastic clips work fine for light kites, but metal spring-loaded clips last longer.
Ground Gear: Anchors and Gloves
Flying alone requires an anchor. Flying with friends requires gloves. Both prevent frustration and injury.
If you plan to fly solo, you cannot hold the line forever. Your arms will tire, and if you let go, the kite becomes a projectile. A ground stake or heavy-duty clip-on anchor keeps the line secure while you adjust the kite. In sandy areas, spiral stakes work best. In grassy parks, a heavy bag filled with sand or rocks tied to the line end works perfectly. Just make sure it’s heavy enough to hold a 5-foot kite in a 15 mph gust.
Gloves aren’t optional. Thin kite line can cut skin instantly-a phenomenon known as "line burn." Even in cool weather, wear thin leather or synthetic gloves. They protect your hands when the kite pulls hard during launch and prevent blisters when reeling in long distances. Look for gloves with reinforced palms; fingerless versions offer better dexterity for handling clips.
Storage and Maintenance Essentials
Kites are fragile. One bad landing on gravel can shred the sail. Investing in protection extends the life of your gear significantly.
A dedicated kite storage tube protects the frame and sail from crushing in your car trunk or garage shelf. Rigid PVC tubes are great, but soft padded bags are easier to carry. Always remove the line from the kite before storing it. Leaving the line attached causes tension points that warp the frame over time.
Keep a small repair kit handy. You’ll need:
- Spare spar pieces: Fiberglass rods break easily. Carry one spare section.
- Tape: Clear packing tape fixes minor sail tears temporarily.
- Splicing tool: Or simply extra line ends to tie new loops.
Putting It All Together: The First Flight Checklist
Now that you have the gear, here’s how to prepare for your first successful session. Don’t skip steps. Rushing leads to tangled messes.
- Check the Wind: Hold a ribbon or tissue paper. If it streams horizontally, you have good lift. If it flaps wildly, wait. If it barely moves, try a lighter kite.
- Inspect the Line: Run your fingers along the entire length. Feel for nicks or weak spots. Replace if damaged.
- Attach Swivel and Clip: Ensure connections are tight. Test by pulling firmly.
- Set Up Anchor: Place your ground stake or weight behind you, opposite the wind direction.
- Wear Gloves: Put them on before touching the line.
- Launch: Have a friend hold the kite, or place it nose-down on the ground. Let out 10-20 feet of slack. Pull gently. As the kite lifts, walk backward slowly, feeding line gradually.
Remember, kite flying is iterative. You will crash. You will untangle knots. But with the right essential kite supplies, those crashes become learning moments rather than reasons to quit. Start small, master the basics, and then expand your collection.
What size kite should a beginner buy?
For most beginners, a wingspan between 4 and 6 feet is ideal. Smaller kites (under 4 feet) are too sensitive to wind changes and hard to see. Larger kites (over 8 feet) require stronger winds and more physical effort to manage. A 5-foot delta kite offers the best balance of visibility, stability, and ease of use for typical park conditions.
Can I use fishing line for kite flying?
Yes, but choose carefully. Braided fishing line is excellent because it has very low stretch and high strength. However, monofilament fishing line stretches significantly, which reduces control. If you use fishing line, ensure it is rated for at least 50-100 lbs and avoid extremely thin diameters that can cut your hands. Always check local regulations regarding line material near power lines.
Why does my kite keep crashing?
Crashes usually happen due to three reasons: incorrect bridle adjustment, turbulent wind, or lack of a tail. Check that your bridle points are symmetrical. If the wind is gusty, shorten your line to keep the kite in smoother air closer to you. If your kite lacks a tail and flips repeatedly, add a lightweight streamer tail to stabilize its orientation relative to the wind.
Do I really need a winder or reel?
You can fly with a simple handle, but a reel or winder makes managing line length much easier. Handles are prone to tangling if you drop them. Reels allow you to let out and retrieve line smoothly without stepping on it. For beginners, a basic handheld spool with a crank is recommended to build good habits early.
How do I store my kite to prevent damage?
Always store kites flat or rolled loosely in a protective tube or bag. Do not fold the sail sharply, as this creates permanent creases that weaken the fabric. Keep the kite away from direct sunlight for extended periods, as UV rays degrade nylon and polyester sails over time. Remove the line before storage to prevent stress on the bridle attachments.