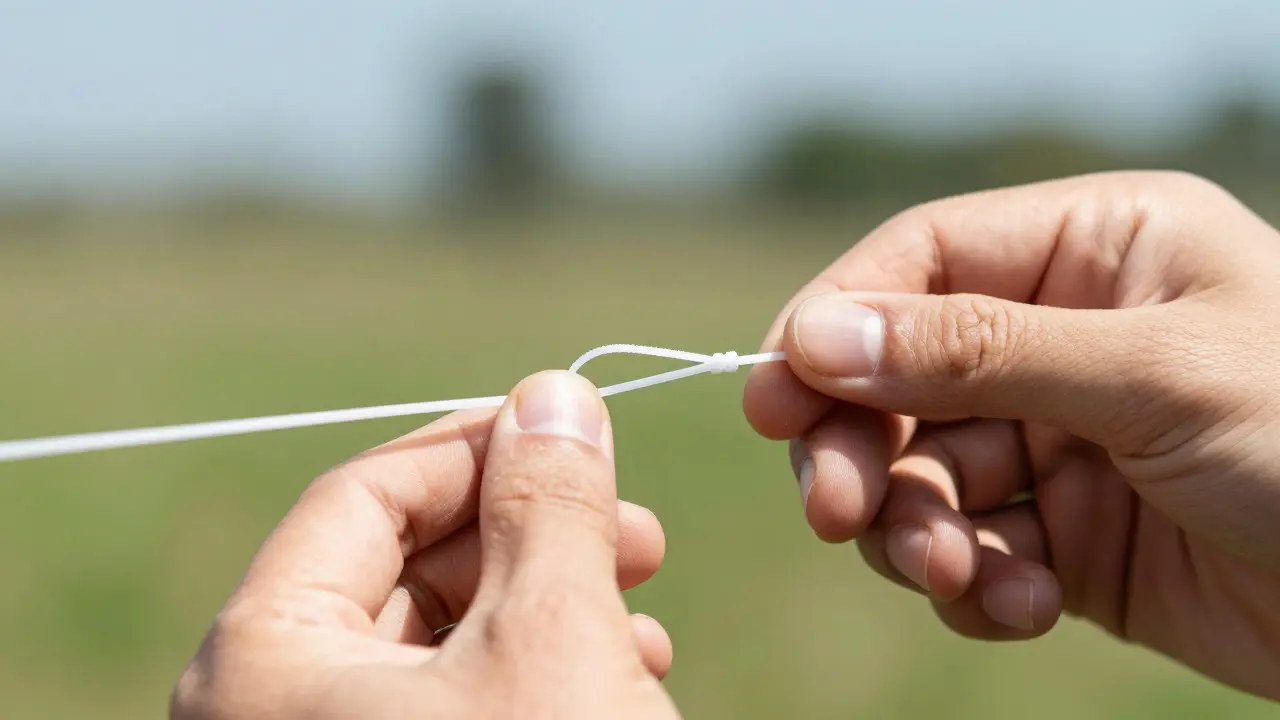
Nothing kills the buzz of a perfect launch faster than a frayed line or a broken loop. If you fly kites regularly, you know that kite line splices are critical structural connections that determine how much force your gear can handle before failing. Most flyers treat lines like disposable strings, but in reality, they are high-tension cables that need specific engineering attention when damaged.
The difference between a safe flight and a crash into the neighbor’s yard often comes down to how well you repaired that tiny knot. This guide breaks down the mechanics of line integrity, the best methods for fixing loops, and the hidden dangers of common shortcuts. We will look at why some knots weaken your gear by half, how to identify when a splice is actually safe, and the tools you need to keep your setup flying strong.
Understanding Line Stress and Failure Points
To fix a line correctly, you first have to understand where it breaks. Kite lines are typically made from Dyneema, a high-modulus polyethylene fiber known for its incredible strength-to-weight ratio. However, this material has a quirk: it has very low friction coefficient and can melt if rubbed too hard. When you tie a standard overhand knot, you create a sharp bend. This bend concentrates stress on one side of the fiber, reducing the breaking strength of the line by up to 50%. That means a line rated for 100 pounds might snap at just 50 pounds if tied poorly.
Most failures don’t happen in the middle of the span; they happen at the connection points. The two most vulnerable areas are the bridle attachment and the main loop where the bar connects. If you see white fuzzing or thinning strands near these points, the line is already compromised. You aren't just looking at cosmetic wear; you're looking at reduced tensile strength. Before reaching for the tape or a quick knot, assess the damage. If the core fibers are exposed, the line needs a proper splice, not just a wrap.
The Best Methods for Repairing Broken Loops
When a loop fails, you have three main options: buy new lines, use a commercial connector, or perform a manual splice. Buying new lines is the safest bet for beginners, but it’s expensive. Commercial connectors, like aluminum rings or swivels, add weight and drag. They also introduce another point of failure: the metal can corrode or the plastic housing can crack under load. For experienced flyers, a manual splice offers the best balance of strength and lightness.
The gold standard for repairing a loop in Dyneema is the Eye Splice. This technique involves passing the end of the line back through itself to form a loop, then locking it in place with a series of wraps. It maintains nearly 90% of the line's original strength because it avoids sharp bends. Here is how to execute it safely:
- Cut the damaged section cleanly so the ends are square.
- Form a temporary loop using a small piece of thread or dental floss to hold the shape.
- Pass the working end of the line back through the loop, creating a figure-eight path.
- Wrap the working end around the standing part of the line, starting about two inches from the eye.
- Make four to six tight, overlapping wraps. Keep them snug against each other.
- Feed the tail end back through the initial eye and pull tight to lock the wraps.
- Burn the excess tail with a lighter to prevent unraveling, being careful not to melt the main line.
This method creates a smooth, low-profile loop that slides easily through pulleys. It is significantly stronger than a simple bowline or double fisherman’s knot, which can slip under dynamic loads. If you are unsure about your hand skills, practice on scrap line first. A sloppy splice is worse than no splice at all because it gives you false confidence.
Knot Selection: What to Use and What to Avoid
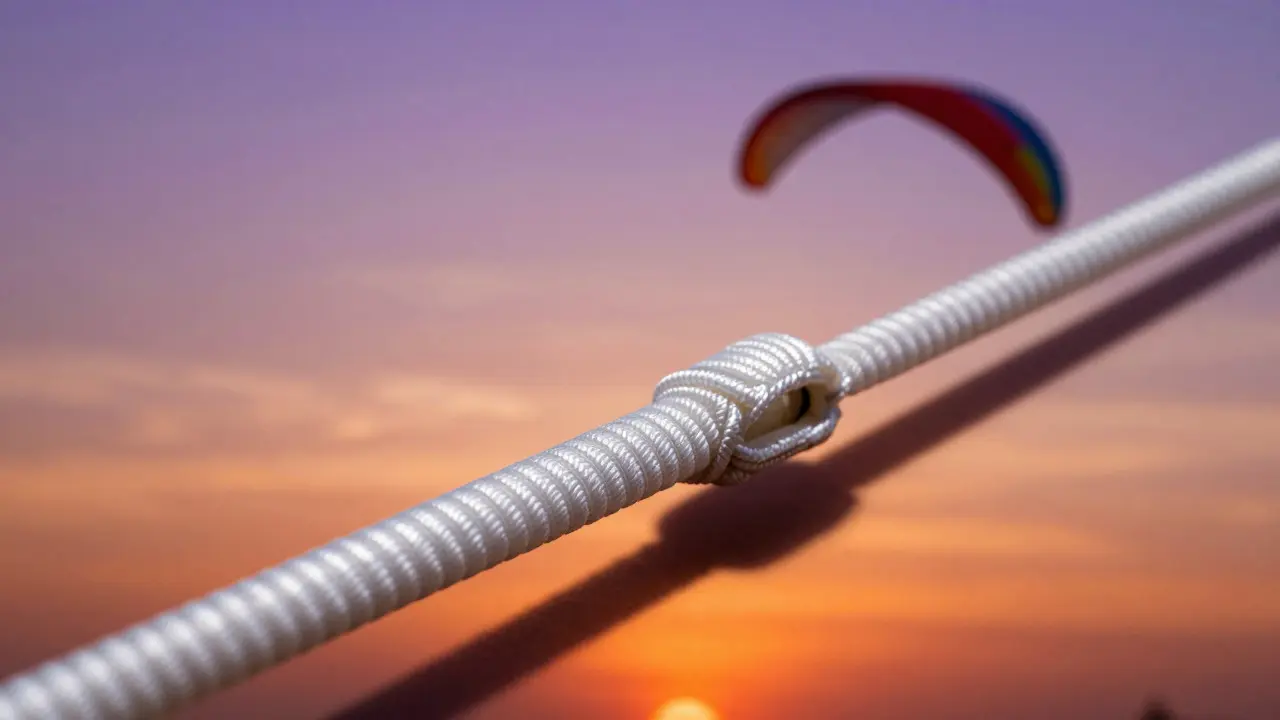
Not all knots are created equal when dealing with modern synthetic lines. Many traditional sailing knots fail spectacularly on Dyneema because the material is too slippery and stiff. Let’s compare the most common knots used in kite repairs and their actual performance ratings.
| Knot Type | Strength Retention | Slippage Risk | Best Use Case |
|---|---|---|---|
| Eye Splice | ~90% | Low | Permanent loops, bridle attachments |
| Double Fisherman’s | ~75% | Medium | Joining two lines temporarily |
| Bowline | ~60-70% | High (under shock) | Temporary tethers only |
| Overhand Stopper | ~50% | Very High | Avoid for main load paths |
The data shows why the Eye Splice dominates professional repairs. The Bowline, while easy to tie, is notorious for slipping if the line gets wet or if there is a sudden jerk. In kite flying, sudden jerks are common when a kite hits a thermal or the wind shifts. If you must use a knot for a quick field repair, the Double Fisherman’s is safer than a Bowline, but you should still plan to replace the line as soon as possible. Never rely on an Overhand knot for anything bearing weight. It acts more like a weak link than a secure connection.
Tools and Materials for a Professional Finish
You don’t need a workshop to make a solid repair, but you do need the right tools. Using a kitchen knife to cut Dyneema often results in frayed ends that won’t hold a splice. Instead, use a pair of sharp scissors designed for synthetic fabrics or a dedicated line cutter. Clean cuts ensure the fibers align properly during the wrapping process.
You also need a way to secure the wraps without crushing the line. Some flyers use electrical tape, but this adds bulk and can peel off in the rain. A better option is a small amount of marine-grade UV-resistant thread. Wrap this tightly around the completed splice. It holds the structure together without adding significant weight. If you are working with braided nylon lines instead of Dyneema, you can use a heat gun to slightly shrink the sheath, but be cautious. Too much heat melts the fibers, destroying the line entirely. Start with low heat and move quickly.
Keep a small kit in your bag: spare line matching your current diameter, a lighter, scissors, and a bit of UV thread. This setup weighs less than an ounce and can save your day. Don’t forget to check the compatibility of your spare line. Mixing different materials, like attaching a polyester line to a Dyneema bridle, creates friction issues that can lead to premature wear at the junction.
Safety Checks and Testing Your Repair
Before you trust your life-or your equipment-to a new splice, test it. You don’t need a hydraulic press. Just hang a heavy object from the loop, such as a full water jug or a dumbbell, and let it sit for ten minutes. Watch for any movement or elongation. If the loop stretches even slightly, the wraps weren’t tight enough. Undo it and start over. A good splice should feel rigid, like part of the line itself, not like a separate component.
Also, inspect the visual profile. The wraps should be flat and parallel. If they are twisted or uneven, they will create pressure points that abrade the line over time. Run your thumb along the length of the splice. It should feel smooth, with no sharp edges protruding. Any rough spot is a potential failure point under high tension. Finally, remember that every repair reduces the lifespan of the line. Even a perfect splice introduces a slight weakness compared to the virgin line. If you find yourself repairing the same spot twice, it’s time to retire that line and invest in a new set.
Frequently Asked Questions
Can I use super glue to fix a kite line?
Generally, no. Super glue (cyanoacrylate) becomes brittle when cold and can shatter under impact. It also doesn't bond well to the slick surface of Dyneema. Use mechanical splices or UV-resistant thread instead.
How long does a spliced kite line last?
A properly executed eye splice can last the lifetime of the line, provided the surrounding area isn't worn out. However, the overall line life depends on UV exposure and abrasion. Inspect the splice annually or after every major storm.
What is the strongest knot for flying lines?
Technically, a splice is stronger than any knot. Among knots, the Double Fisherman’s Bend retains the most strength for joining lines, while the Bowline is easier to untie but weaker under shock loads.
Should I burn the ends of my kite line after splicing?
Yes, for monofilament or Dyneema lines, burning the tail prevents fraying. Hold the lighter briefly until the tip melts into a bead. Be careful not to touch the main body of the line, as melting the core reduces strength significantly.
Is it worth repairing old kite lines or buying new ones?
If the damage is minor and localized, repair is cost-effective. If the line is discolored, feels soft, or has multiple weak spots, buy new. Old lines lose elasticity and strength due to UV degradation, making them unpredictable regardless of how well you splice them.