
Have you ever watched a kite struggle against the wind while a frustrated child tugs at the string? It’s a familiar scene in parks from Portland to Paris. But what if that frustration turned into a shared victory? Parent-child kite workshops are more than just craft sessions; they are dynamic classrooms where physics meets play. These gatherings teach families how to construct aerodynamic flyers and then take them to the sky, turning abstract concepts into tangible joy.
You might wonder why these workshops have surged in popularity recently. In an age of screens, parents crave authentic connection. A kite workshop offers exactly that. You build together, you fail together when the tail spins wildly, and you succeed together when the kite climbs steady. It is teamwork in its purest form. Plus, the skills learned-patience, spatial awareness, and basic engineering-stick with kids long after the string is reeled in.
Why Build Your Own Kite?
Buying a pre-made plastic kite is easy. Building one is better. When you attend a workshop, you aren’t just assembling parts; you are learning how air moves. You discover why a diamond shape cuts through wind differently than a delta wing. This hands-on approach demystifies science for children. Instead of reading about lift and drag, they feel it in their hands as they adjust the bridle lines.
Consider the difference between a store-bought toy and a handmade creation. The store-bought version breaks easily and holds little sentimental value. The homemade version, even if it flies lopsidedly, carries the memory of glued fingers and shared laughter. That emotional anchor makes the activity powerful. Kids remember the effort, not just the result. They learn that things can be fixed, adjusted, and improved-a lesson applicable far beyond the park.
The Anatomy of a Workshop Session
A typical two-hour session follows a predictable yet engaging rhythm. First comes the theory, kept brief and visual. Instructors show diagrams of airflow over wings. Then, the construction phase begins. Families receive kits containing bamboo skewers, ripstop nylon or Tyvek fabric, and adhesive tape. The instructor guides them through cutting, framing, and covering. Mistakes happen here, and that’s good. A crooked frame teaches precision better than any lecture.
Once built, everyone heads outside. This transition is critical. Indoor crafting is calm; outdoor flying is chaotic. Wind gusts test your craftsmanship instantly. If the tail is too short, the kite spins. If the bridle is off-center, it dives. Instructors circulate, offering quick fixes. This immediate feedback loop keeps engagement high. Children see cause and effect in real-time. Did I tighten this knot? Yes, now it flies straight. That instant gratification reinforces learning.
Choosing the Right Kite Design for Beginners
Not all kites suit beginners. A complex stunt kite requires two-handed control and sharp reflexes. For a first-time family outing, simplicity wins. The diamond kite remains the gold standard for novices. Its symmetrical design forgives minor errors in construction. The box kite offers stability but demands precise assembly. Delta kites fly well in light winds but need careful tuning.
| Kite Type | Wind Range | Difficulty Level | Best For |
|---|---|---|---|
| Diamond | 5-15 mph | Low | First-time builders, young children |
| Delta | 3-10 mph | Medium | Light breeze days, older kids |
| Box | 8-20 mph | High | Precision lovers, stable hovering |
| Sled | 4-12 mph | Low | No-frame construction, quick setup |
Notice the wind ranges. Flying a heavy box kite in a gentle breeze results in a grounded disappointment. Conversely, a lightweight sled kite might tear apart in a gale. Workshops often provide multiple designs so families can match their choice to local conditions. Always check the forecast before signing up. If the wind averages below 3 mph, expect a lot of running and very little soaring.
Mastering the Launch Technique
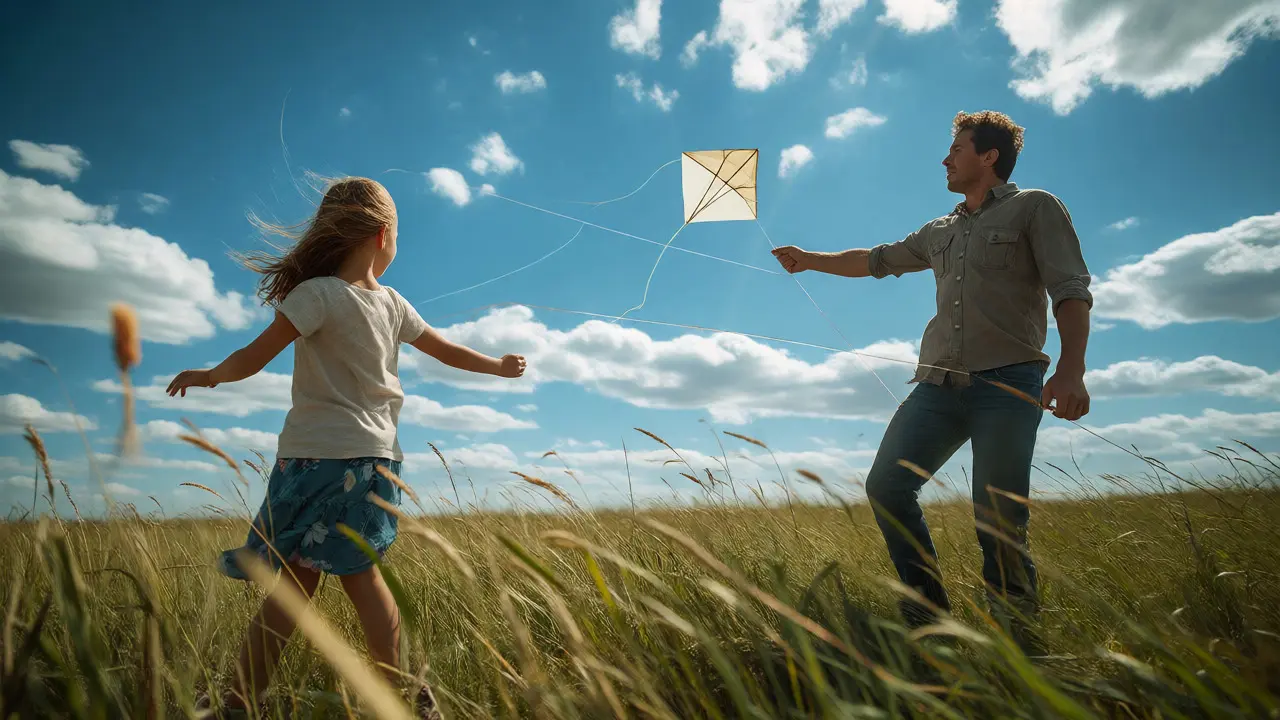
Building is half the battle. Launching is the other half. Most failures happen because of poor launch technique, not bad kites. Here is the secret: never throw the kite. Throwing kills momentum. Instead, use the helper method. One person holds the kite downwind, arms extended, keeping the nose slightly up. The pilot stands 20 feet away, holding the line tight. On command, the helper releases without throwing. The pilot gently pulls back on the line, letting the wind catch the sail.
If no helper is available, use the ground launch. Lay the kite face-down with the nose pointing into the wind. Anchor the bottom edge with a rock or foot. Let out some line, then run forward while pulling the line upward. This requires practice. Don’t get discouraged if the first attempt fails. Adjust the angle of attack by moving the tow point higher or lower on the spine. Small adjustments yield big changes.
Safety and Etiquette on the Field
Parks can become crowded during festival season. Safety isn’t just about avoiding crashes; it’s about respecting others. Always keep your kite within sight. Never fly near power lines-this rule is non-negotiable. Electricity arcs across gaps, and a wet kite string becomes a conductor. Keep a safe distance from airports, typically five miles, unless you have permission.
Etiquette matters too. If another flyer’s kite crosses yours, don’t panic. Tangles happen. Offer to help untangle rather than blaming. Share space generously. If the wind shifts, move your position rather than forcing your kite into someone else’s airspace. Teach your children to ask before entering a new area. "Is this spot taken?" goes a long way in maintaining community spirit.

Troubleshooting Common Flight Issues
Even well-built kites misbehave. Here is how to diagnose problems quickly:
- Spinning wildly: Add weight to the tail. Extend it by adding strips of ribbon. This stabilizes the yaw axis.
- Leaning left or right: Check symmetry. Ensure both wings have equal tension. Adjust the bridle attachment points slightly toward the leaning side.
- Falling backward: The nose is too heavy. Move the tow point up the spine, closer to the nose, to increase lift.
- Nose diving: The nose is too light. Move the tow point down the spine, or add small weights to the nose tip.
These tweaks take seconds but transform the experience. Keep a small kit of repair supplies: spare tape, extra ribbon, and scissors. Being prepared reduces stress and keeps the focus on fun.
Beyond the Workshop: Keeping the Momentum
After the workshop ends, don’t let the kite gather dust. Schedule regular flying dates. Choose locations with open spaces and consistent breezes. Coastal areas or large fields work best. Urban parks often suffer from turbulent wind caused by buildings, which confuses beginners. Start in clear zones to build confidence.
Encourage your child to document their flights. Draw sketches of successful launches. Note wind speeds and directions. Over time, they develop intuition. They’ll start predicting weather patterns and understanding microclimates. This scientific curiosity extends to other hobbies. Maybe they’ll try model airplanes or sailing next. The kite is just the entry point.
Join local clubs. Many cities have active kite societies that host meetups. These groups share advanced techniques and rare designs. Networking with experienced flyers accelerates learning. You might discover specialized kites like parafoils or rokkaku styles. Exposure to variety keeps interest alive.
What age is appropriate for kite workshops?
Most workshops cater to children aged 6 and up. Younger children can participate with significant parental assistance during the building phase. The flying portion requires enough motor skill to manage a reel, which most kids develop by age 7 or 8.
Do I need special tools for a kite workshop?
Typically, no. Workshops provide all necessary materials including frames, sails, and adhesives. Bringing your own scissors can be helpful, but instructors usually supply everything needed for the specific project.
What happens if it rains during the workshop?
Construction phases usually continue indoors. Flying may be postponed or moved to a covered pavilion if possible. Organizers typically notify participants in advance if weather forces a reschedule.
Can we keep our kite after the workshop?
Yes, in almost all cases, you take your completed kite home. Some premium workshops include a reusable storage bag or a custom spool, enhancing the value of the experience.
How do I choose a good location for flying?
Look for open fields free of trees and power lines. Beaches offer consistent wind but watch for tide schedules. Avoid urban canyons where buildings create turbulent gusts. Early morning or late afternoon often provides smoother air.