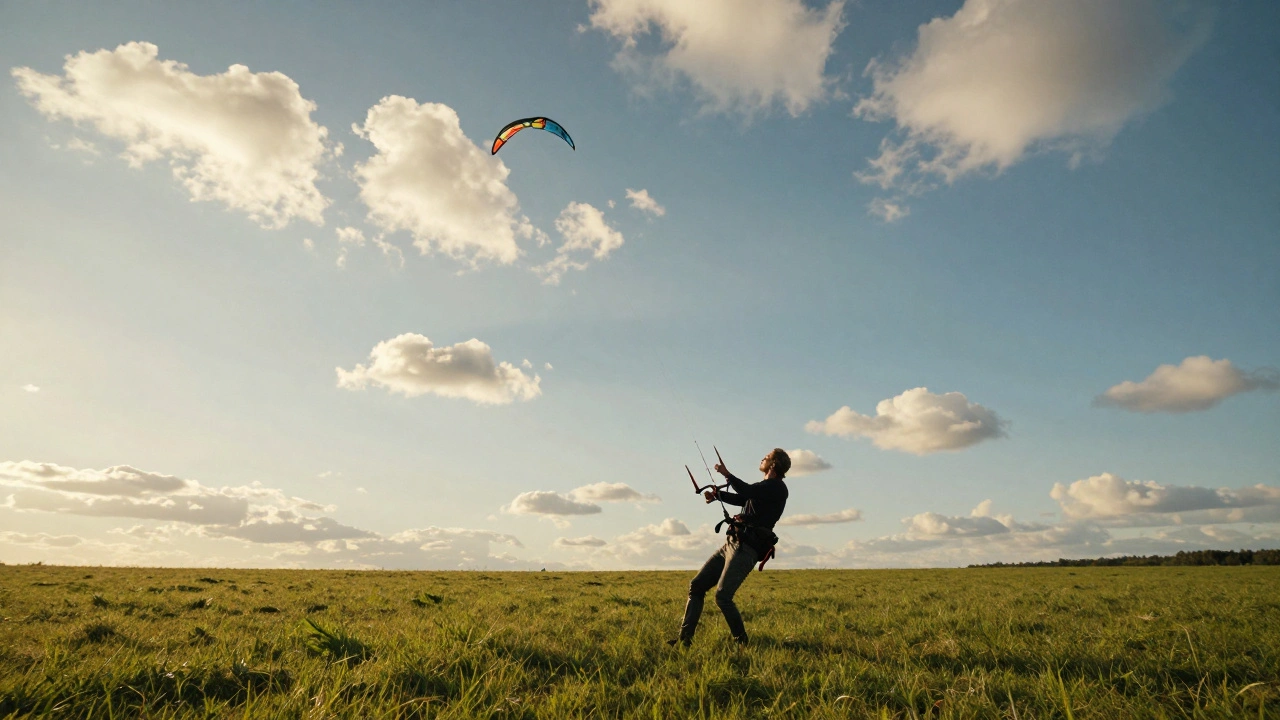
There is a distinct feeling when you pull the left handle and your sport kite is a highly maneuverable, dual-line controlled flying toy designed for aerobatics and tricks snaps into a perfect loop. It feels good. But doing one trick in isolation is like playing a single note on a piano. The real magic happens when you connect that loop to a stall, then into a spin, and finally out to a glide. This flow-this seamless chain of movements-is what separates casual flyers from those who truly command the sky.
If you have been practicing basic moves but feel stuck when trying to combine them, you are not alone. Most beginners master the individual components but struggle with the glue that holds them together: the transition. Today, we are going to break down how to build complex combo tricks by focusing on weight transfer, timing, and the geometry of the lines. You will learn to stop thinking about each move as a separate event and start seeing the flight path as a continuous sentence.
The Physics of Flow: Why Transitions Fail
Before we look at specific combos, we need to address why they often fall apart. The biggest enemy of smooth transitions is inconsistent tension. When you finish a aerial figure eight is a fundamental sport kite maneuver where the kite flies a continuous infinity symbol pattern in the air, the kite carries momentum. If you abruptly stop your hands or jerk them to start the next move, that momentum dies. The kite stalls or dives because the airflow over the wings has been disrupted.
Think of your arms as shock absorbers, not rigid levers. In a successful chain, the end of one maneuver should naturally feed energy into the start of the next. For example, the outward pull required to exit a loop creates the exact tension needed to initiate a stall if timed correctly. If you are fighting the kite’s natural tendency to fly forward, you are working too hard. Relax your grip slightly during the neutral phases-the brief moments between active pulls-to let the kite stabilize before demanding the next action.
Building Your Foundation: The Essential Moves
You cannot build a house without bricks. Similarly, you cannot chain advanced tricks without mastering four core maneuvers. These are the building blocks for every combo you will ever learn. Ensure you can perform these consistently in light winds (8-12 mph) before attempting to link them.
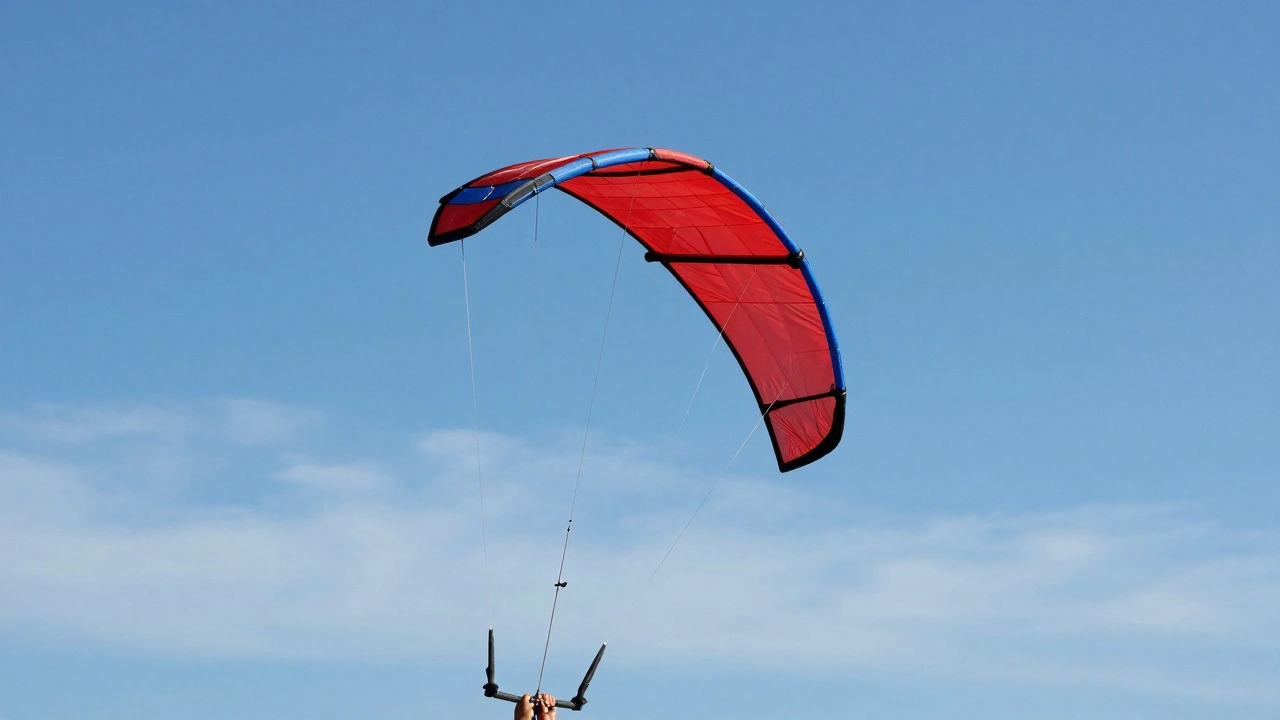
- The Loop: A 360-degree rotation around the vertical axis. It requires equal pressure on both handles, followed by a release.
- The Stall: Bringing the kite to a near-hover by pulling both handles firmly toward your body while leaning back slightly. This kills forward momentum.
- The Spin: A rapid rotation initiated by a sharp pull on one handle while releasing the other. It relies on asymmetrical lift.
- The Dive: Pushing both handles away to drop the kite’s nose, gaining speed and altitude recovery potential.
Practice these individually until they become muscle memory. You should be able to execute a loop without looking at the kite. Only then are you ready to start connecting them.
Combo 1: The Loop-Stall-Loop Sequence
This is the classic "gateway" combo. It teaches you how to manage momentum changes. The goal is to go from high-speed rotation (loop) to zero speed (stall) and back to high speed (loop) without dropping the kite.
- Start with a Loop: Execute a standard right-hand loop. As the kite completes the 360 degrees, do not relax your hands immediately.
- Transition to Stall: Instead of letting the kite fly off, maintain slight inward pressure. As the kite levels out, pull both handles sharply toward your chest. This absorbs the residual energy from the loop and forces the kite into a stall position.
- The Hold: Pause for a split second. Feel the tension. The kite should be hovering directly above or slightly behind you.
- Exit to Second Loop: To restart motion, push both handles away gently to regain airflow, then immediately initiate another loop in the same direction. The key here is that the stall acts as a brake, allowing you to reset your hand position for the next acceleration.
If the kite drops during the stall, you likely pulled too late or didn’t lean back enough. If it refuses to loop after the stall, you pushed the handles away too aggressively, causing it to dive instead of climb. Adjust your timing based on wind strength; stronger winds require quicker transitions.
Combo 2: The Figure Eight with Spiral Exit
The dual-line control system is the mechanism consisting of two handles connected to the kite via bridle lines, allowing precise directional control through differential tension shines in this maneuver. The figure eight is rhythmic, but adding a spiral exit adds complexity and visual flair. This combo works well because the figure eight naturally builds lateral momentum, which the spiral utilizes.
- Establish the Rhythm: Fly two clean figure eights. Focus on keeping your arms parallel to the ground and moving smoothly. Do not rush.
- Identify the Exit Point: At the apex of the second loop (the highest point), instead of crossing your hands to continue the eight, keep your dominant hand steady.
- Initiate the Spiral: Pull sharply on the outside handle while simultaneously releasing tension on the inside handle. This causes the kite to bank steeply and begin a corkscrew descent.
- Control the Descent: Use small, pulsing pulls on the outside handle to tighten or widen the spiral. To recover, gradually equalize tension on both lines and pull both inward to arrest the spin and bring the kite back to a hover.
This maneuver is particularly effective in moderate winds (15-20 mph). In lighter air, the kite may lack the power to sustain the spiral, resulting in a lazy turn rather than a tight corkscrew. Practice recovering from the spiral first, then work backward to integrating it with the figure eight.
Combo 3: The Dive-and-Spin Recovery
Sometimes the best way to gain height is to lose it first. This combo uses gravity to generate speed, which is then converted into rotational energy. It is a dynamic move that looks impressive and helps you understand energy conservation in flight.
- The Setup: Start with the kite hovering steadily in front of you.
- The Dive: Push both handles forward firmly. The kite’s nose will drop, and it will accelerate downward. Keep your arms extended to maintain control.
- The Transition: As the kite reaches its lowest safe altitude (about 10-15 feet above the ground), do not pull up yet. Instead, yank the left handle hard while releasing the right.
- The Spin:**: The sudden asymmetry combined with the high speed from the dive will cause the kite to whip into a rapid spin. The faster the dive, the tighter the spin.
- The Recovery: To stop the spin, pull both handles in evenly. The kite will shoot upward due to the stored kinetic energy. Guide it back to a hover using gentle corrections.
Caution: This move requires good spatial awareness. Ensure you have enough clearance below the kite to avoid hitting the ground or bystanders. It is also easier to execute with a larger surface area kite, such as a 3.7-meter model, which generates more lift during the recovery phase.
Equipment Matters: Choosing the Right Gear
Your ability to execute smooth transitions depends heavily on your equipment. Not all kites are created equal. A delta-shaped sport kite is a triangular kite design known for stability and ease of use, ideal for beginners and intermediate flyers offers different handling characteristics compared to a parafoil or a square cell design.
| Kite Type | Best For | Wind Range | Transition Difficulty |
|---|---|---|---|
| Delta | Beginners, Stability | 8-25 mph | Low |
| Square Cell | Aggressive Tricks, Loops | 10-30 mph | Medium |
| Parafoil | High Altitude, Towing | 5-20 mph | High |
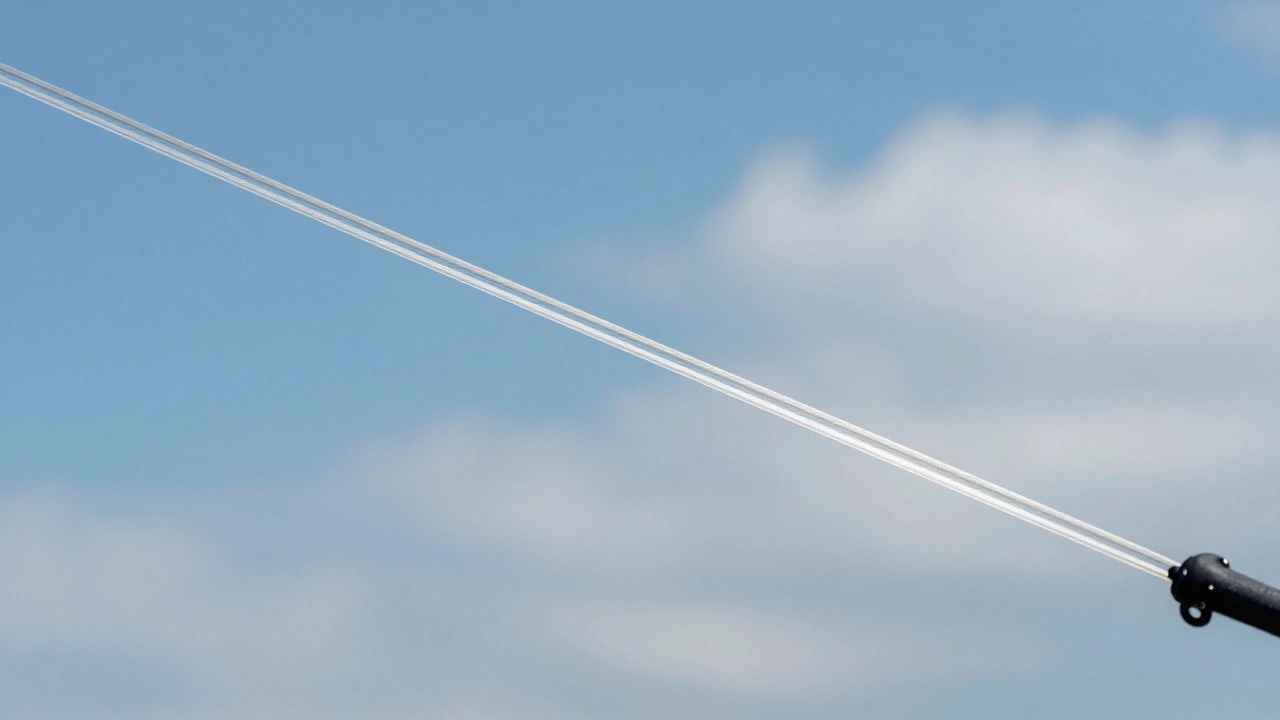
For learning combos, a square cell kite is often the preferred choice among enthusiasts. Its rigid frame provides immediate feedback, allowing you to feel exactly when the kite is stalling or accelerating. Delta kites are more forgiving but can feel "mushy" during fast transitions. Additionally, ensure your lines are low-stretch Dyneema or Spectra material. Stretchy lines act like rubber bands, delaying your commands and making precise timing nearly impossible.
Troubleshooting Common Issues
Even experienced flyers encounter problems. Here are three common issues when chaining maneuvers and how to fix them.
- Line Tangling: If your lines cross during a spin, stop immediately. Do not try to untangle them while the kite is under tension. Land the kite, lay it flat, and carefully separate the lines. Prevention involves keeping your hands parallel and avoiding extreme wrist rotations.
- Stalling Mid-Combo: If the kite drops unexpectedly, you likely lost tension. Check your grip. Are you holding the handles too loosely? Tighten your grip and engage your core muscles to support the load, especially in gusty conditions.
- Inconsistent Loops: If one side of a loop is larger than the other, your hand movement is uneven. Practice moving your hands symmetrically. Imagine pushing against an invisible wall with equal force on both sides.
Next Steps: Developing Your Own Style
Once you can reliably perform the three combos above, start experimenting. Try reversing the direction of the loops. Add a stall between two spins. Combine a dive with a figure eight. The sky is literally your canvas. Record yourself flying with a smartphone mounted on a tripod. Watching playback reveals subtle errors in hand positioning and timing that you cannot feel in the moment.
Join a local kite club or online community. Sharing videos and receiving feedback accelerates learning. Remember, smooth transitions come from patience and practice. Do not rush to add new tricks. Master the flow of the current sequence before moving on. Over time, your movements will become fluid, and the kite will feel like an extension of your own body.
What is the best wind speed for learning sport kite combos?
The ideal wind speed for learning combos is between 10 and 15 mph. This range provides enough lift to keep the kite stable during stalls and transitions, without being so strong that it becomes difficult to control. Winds below 8 mph may not provide sufficient power for aggressive moves, while winds above 20 mph require advanced skills to manage safely.
How do I prevent my kite lines from tangling during spins?
To prevent tangling, keep your hands parallel to the ground and avoid rotating your wrists excessively. When initiating a spin, pull sharply on one handle while keeping the other hand steady. If tangling occurs, land the kite immediately and untangle the lines on the ground. Using a line winder with a built-in anti-twist mechanism can also help reduce twists.
Can I learn sport kite tricks with a delta kite?
Yes, you can learn basic tricks with a delta kite. Deltas are stable and forgiving, making them great for beginners. However, for advanced combos involving tight loops and rapid stalls, a square cell kite offers better responsiveness and control. Deltas may feel less precise during fast transitions due to their flexible structure.
Why does my kite stall unexpectedly during a combo?
Unexpected stalls usually occur due to loss of tension or improper timing. If you relax your grip too early after a maneuver, the kite loses momentum and stalls. Ensure you maintain consistent pressure on the lines throughout the transition. Also, check if the wind has dropped suddenly, which can reduce lift. Adjust your technique to compensate for changing wind conditions.
What type of lines are best for sport kite flying?
Dyneema or Spectra lines are the best choice for sport kite flying. These materials offer low stretch, high strength, and minimal water absorption. Low stretch is crucial for precise control, as it ensures your commands are transmitted instantly to the kite. Avoid cotton or nylon lines, which stretch significantly and reduce responsiveness.