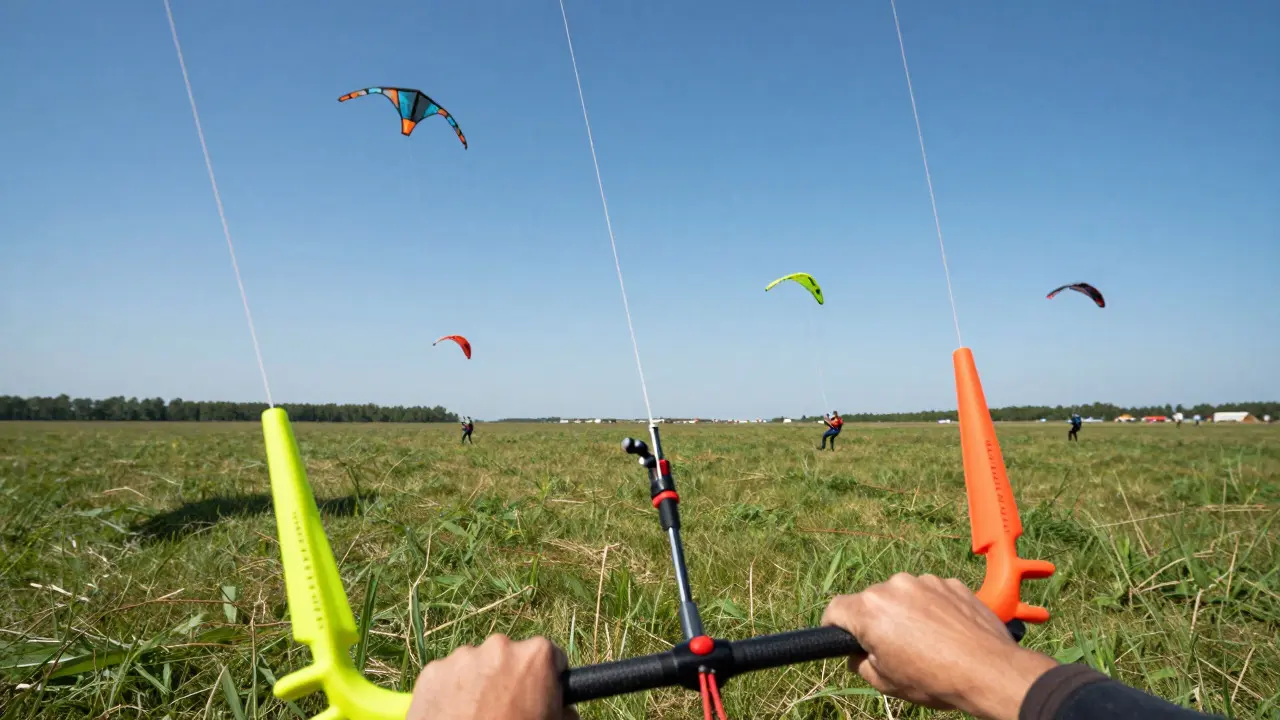
Standing in a crowded field with five other pilots trying to keep your line from tangling with theirs is a recipe for disaster. You know the panic when a gust hits and your kite is a powered aerodynamic device used for recreational or sport purposes suddenly drifts into someone else’s airspace. Without clear visual cues, you’re guessing where your line goes, which often leads to tangles, broken lines, or worse, a crash. This is where line markers are small, lightweight devices attached to kite lines at specific intervals to provide visual reference points become non-negotiable. They turn an invisible string into a visible path, giving you and others around you the spatial awareness needed to fly safely.
The core problem isn’t just about seeing your own kite; it’s about communicating your position to everyone else on the field. In a multi-kite environment, every pilot is managing their own vector while constantly scanning for conflicts. If you can’t see your line clearly against the sky or the ground clutter, you lose control of that communication channel. The solution involves two main tools: line markers and tail flags. While they serve slightly different functions, using them together creates a robust safety net that prevents the majority of field accidents.
Why Visual Reference Points Matter in Crowded Airspace
When you fly a single kite in an empty field, you have time to react. Your brain tracks the kite, calculates the wind speed, and adjusts your bar input accordingly. But add four more kites, and your cognitive load doubles. You’re no longer just tracking one object; you’re tracking five objects plus the invisible lines connecting them to the ground. This is where human perception fails us. We tend to focus on the high-contrast object (the kite) and ignore the low-contrast connection (the line).
Aerial sports is a category of outdoor activities involving flight equipment such as kites, gliders, or balloons relies heavily on situational awareness. In these scenarios, the line acts as the tether between your physical presence and the aerial asset. If that tether disappears visually, you lose the ability to judge distance accurately. For example, if your line is tangled with another pilot’s, you might not realize it until the tension builds up enough to snap a connector. Line markers break this invisibility by creating distinct nodes along the line. These nodes act like beads on a string, allowing you to trace the entire path from your hand to the kite bridge.
Consider a scenario where you are flying downwind. The sun is behind you, making the line nearly invisible due to backlighting. A pilot flying upwind sees their kite clearly but struggles to see yours because your line blends into the bright sky. By adding high-visibility markers at 10-meter intervals, you create a series of visual anchors. Even if the rest of the line fades out, those anchors remain visible, giving the other pilot a warning before a collision becomes likely.
Choosing the Right Line Markers: Types and Materials
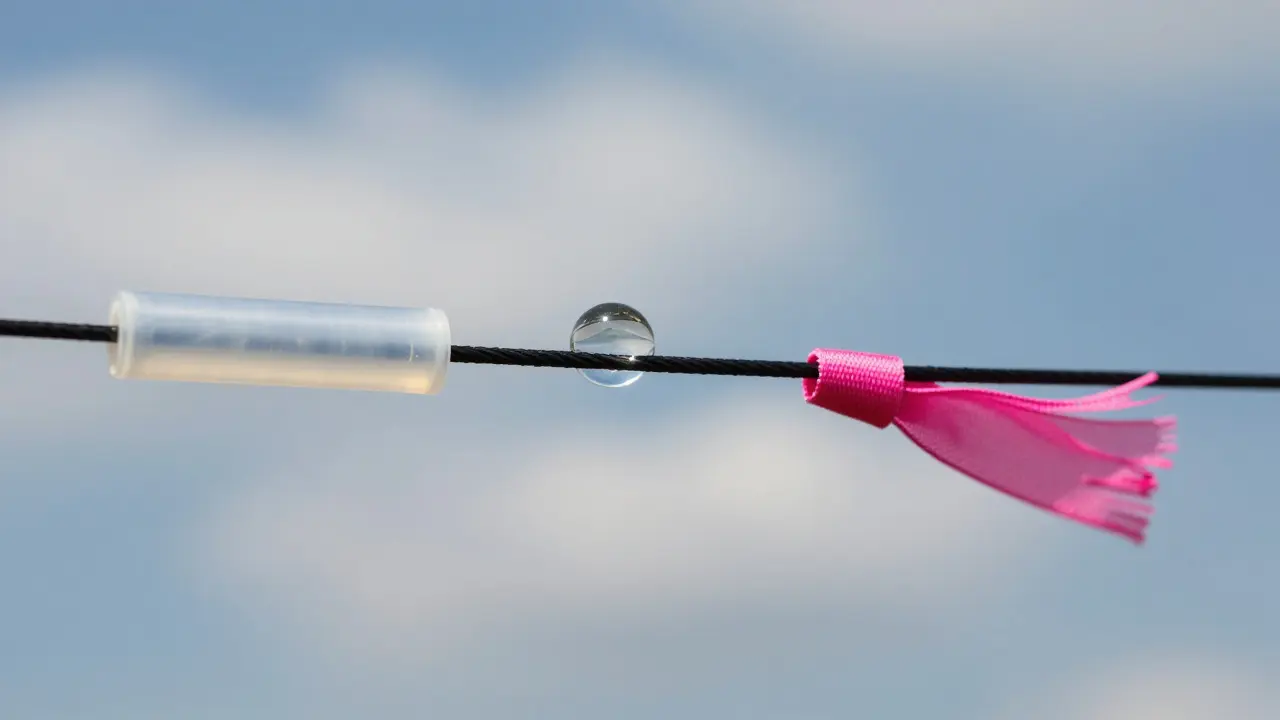
Not all line markers are created equal. The market offers several types, each with specific pros and cons depending on your flying conditions. The most common type is the silicone sleeve marker. These are small, cylindrical tubes that slide onto the line. They are inexpensive, easy to replace, and come in bright colors like neon orange, yellow, or pink. However, they can slip if the line vibrates excessively, so they require periodic tightening or use of a locking mechanism.
Another popular option is the reflective bead marker. These are larger, spherical beads made of glass or plastic with a reflective coating. They work exceptionally well during early morning or late evening flights when headlamps or vehicle lights are present. During daylight hours, however, their visibility drops compared to solid-color silicone sleeves. If you fly primarily during golden hour, reflective beads are a smart investment. For mid-day sessions, solid color is king.
Then there are the fabric loop markers. These are small pieces of colored fabric tied around the line. They are highly visible and catch the wind, creating a slight flutter that draws the eye. The downside? They add drag. On a high-performance racing kite, even a few grams of extra weight can affect handling. For leisurely day flyers, though, the added visibility is worth the minor performance hit. When choosing, consider your primary flying style. Are you doing freestyle tricks where precision matters? Go with low-drag silicone sleeves. Are you learning in a busy park? Go with high-visibility fabric loops or large silicone sleeves.
| Type | Visibility Level | Drag Impact | Best Use Case |
|---|---|---|---|
| Silicone Sleeve | High (Daylight) | Low | All-around flying, racing |
| Reflective Bead | Medium (Night/Dusk) | Very Low | Early morning, evening |
| Fabric Loop | Very High | Medium | Beginners, crowded parks |
The Role of Tail Flags in Long-Distance Visibility
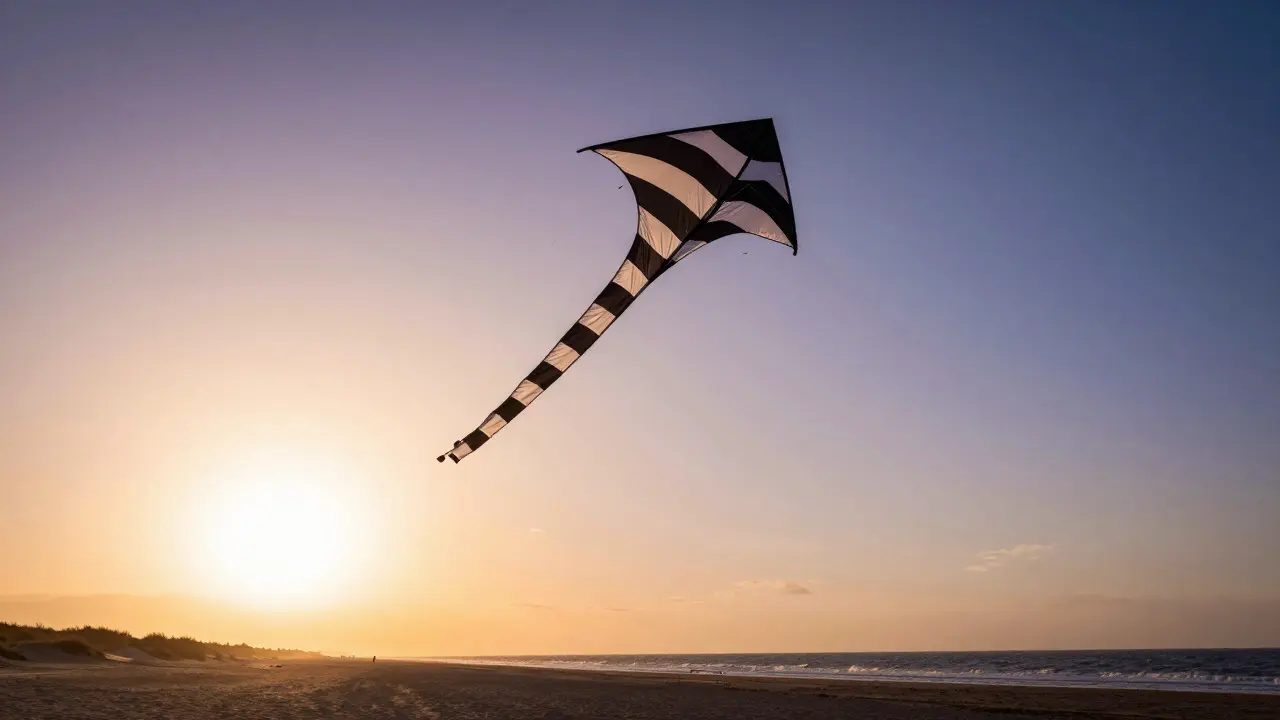
While line markers help you track the middle section of your line, tail flags are long strips of fabric attached to the tail of a kite to enhance stability and visibility serve a different purpose. They extend the visual footprint of your kite far beyond the frame itself. A standard 5-meter tail flag can be seen from hundreds of meters away, even if the kite itself is small or obscured by clouds.
Tail flags also serve a functional role in stability. By adding drag at the tail end, they prevent the kite from spinning or oscillating violently in turbulent air. This stability makes the kite easier to control, which indirectly improves safety. If your kite is wobbling unpredictably, other pilots will assume you are losing control and may move away, reducing the available space for everyone. A stable kite with a flowing tail communicates confidence and control.
When selecting a tail flag, length is the primary factor. For fields with limited vertical space, a 3-meter flag is sufficient. For open coastal areas where kites can reach 100 meters or higher, a 6-meter or 8-meter flag ensures that the top of your flight envelope remains visible. Color choice matters here too. High-contrast colors like black-and-white stripes or red-and-yellow combinations stand out against both blue skies and green grass. Avoid monochromatic flags that match the background, as they disappear quickly.
Strategic Placement: Where to Put Your Markers
Having the right markers is only half the battle; placing them correctly is the other half. Random placement provides random benefits. Strategic placement maximizes visibility where it matters most. The general rule of thumb is to place markers at regular intervals, typically every 10 to 15 meters along the line. This spacing allows you to estimate distance quickly. If you see three markers between your hand and the kite, you know you’re roughly 30 to 45 meters out.
Pay special attention to the lower third of the line. This is where tangles are most likely to occur because it’s closest to the ground and other pilots’ feet. Adding a cluster of markers in the first 20 meters helps you spot ground-level interference immediately. Additionally, place a marker near the brake line attachment point. This area experiences high stress and movement, and a visible marker here alerts you if the line has shifted or twisted.
Don’t forget the upper section. As the line approaches the kite, it becomes thinner and harder to see against the sky. A final marker 5 meters below the kite bridge serves as a clear endpoint indicator. It tells you exactly where the line ends and the kite begins, helping you judge the angle of attack more accurately.
Maintaining Visibility Gear in Real Conditions
Even the best line markers fail if they aren’t maintained. Saltwater exposure is the enemy of any kite gear. If you fly near the coast, rinse your lines and markers with fresh water after every session. Salt crystals accumulate inside silicone sleeves, causing them to crack over time. Reflective beads can lose their coating if exposed to abrasive sand without proper cleaning.
Check your markers before every flight. A quick visual inspection takes less than a minute. Look for fraying, fading, or loose fittings. Faded markers lose their contrast advantage, making them as invisible as no marker at all. Replace any marker that shows signs of wear. It’s a cheap insurance policy that saves expensive repairs later. Also, ensure that your tail flag isn’t tangled in its storage bag. A crumpled flag won’t flow properly, reducing its effectiveness. Store it loosely coiled to maintain its shape.
Weather plays a significant role in visibility. On foggy days, even high-visibility markers struggle. In such conditions, rely more on auditory cues-talking to other pilots via radio or shouting-and reduce your flying height. Wind strength also affects marker behavior. In very light winds, fabric loops may hang limp and become less noticeable. In strong winds, they flutter wildly, increasing visibility but also adding drag. Adjust your expectations based on the day’s conditions. There is no one-size-fits-all setup, only a setup that works for today’s weather.
Building a Safe Field Culture with Visibility Tools
Using line markers and flags isn’t just about personal safety; it’s about contributing to a positive community culture. When every pilot uses visible gear, the entire field becomes safer. Newcomers feel more confident because they can see what veterans are doing. Veterans appreciate the clarity because they don’t have to guess where boundaries lie. This shared language of visibility reduces anxiety and encourages more people to join the sport.
Many local clubs now recommend or require basic visibility gear for group events. This trend is spreading as the number of multi-kite gatherings grows. By adopting these tools yourself, you align with best practices and set a good example. It’s a small step that yields big returns in terms of harmony and enjoyment. So next time you pack your bag, don’t just grab the kite and bar. Grab the markers and the tail flag. Your future self, and your neighbors on the field, will thank you.
How many line markers should I put on my kite line?
Aim for one marker every 10 to 15 meters. For a standard 30-meter line, that means 2 to 3 markers. Add an extra one near the bottom 20 meters for better ground-level visibility. The goal is consistent spacing, not maximum quantity.
Do line markers slow down my kite significantly?
Minimal impact. Silicone sleeves add negligible weight and drag. Fabric loops add slightly more drag, which can be noticeable in very light winds or for competitive racing. For casual flying, the performance loss is unnoticeable and outweighed by the safety benefits.
What color is best for line markers in different environments?
Use high-contrast colors against your typical background. Neon orange or yellow works well against blue skies and green grass. Black or dark blue markers are effective against bright, overcast skies. Avoid colors that blend into the surroundings, such as white markers on a snowy field or green markers in a forest.
Are tail flags necessary if I already have line markers?
Yes, they serve different functions. Line markers show you the path of the line, while tail flags show you the position and stability of the kite itself. Together, they provide a complete picture. Relying on only one leaves gaps in your situational awareness, especially at high altitudes where the line becomes thin and hard to see.
How do I clean saltwater off my line markers?
Rinse thoroughly with fresh water immediately after flying. For silicone sleeves, remove them from the line and wash under running water. For reflective beads, use a soft cloth to wipe away salt crystals. Dry completely before storing to prevent corrosion or cracking. Regular maintenance extends the life of your gear significantly.