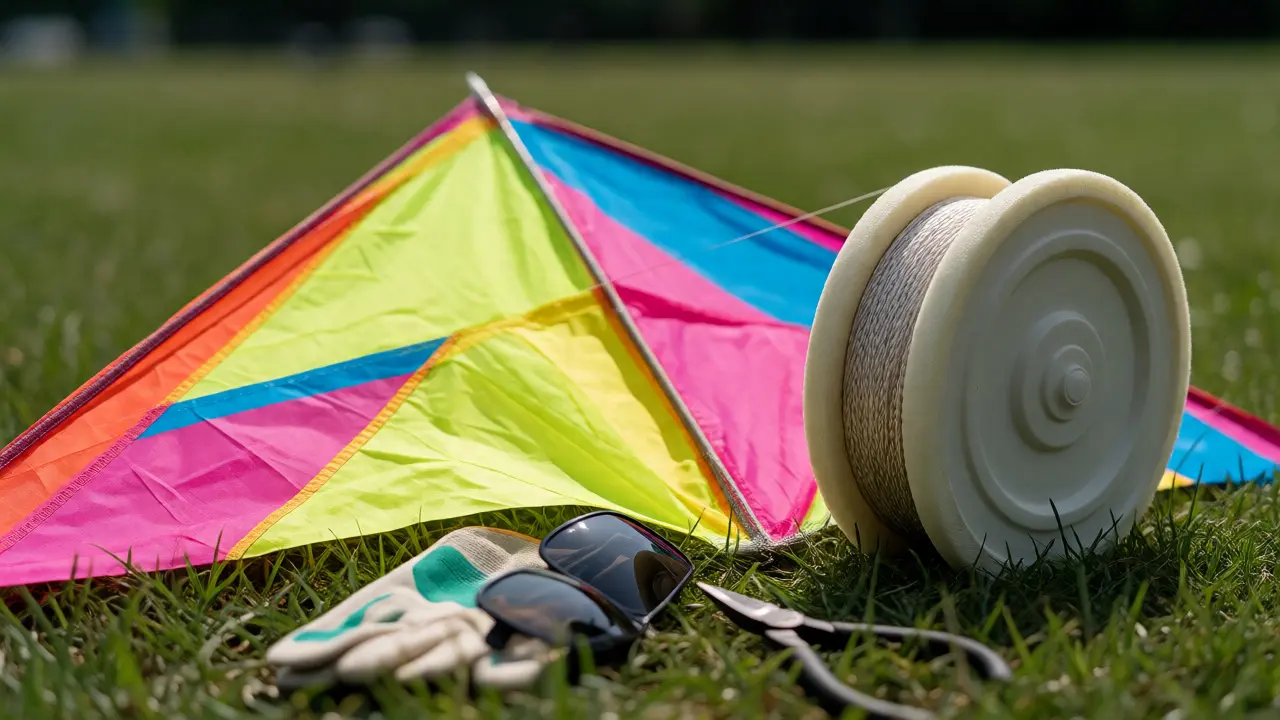
Picture this: you’re standing in a park, holding a colorful diamond-shaped toy, but it just sits on the grass like a sad piece of paper. You tug the string, run around, maybe throw it up, and watch it flop back down. It’s frustrating, right? Most people think kite flying is simple-buy a kite, go outside, have fun. But the gap between "I bought a kite" and "I am actually flying a kite" usually comes down to missing one or two critical pieces of gear.
You don’t need a pro shop’s worth of equipment to get started. In fact, overloading your bag with advanced dual-line control handles or expensive ripstop nylon kites will only confuse you when you’re just trying to understand how wind lifts fabric. The secret to successful kite flying as a beginner isn’t about having the most expensive gear; it’s about having the right basics that work together seamlessly. This guide breaks down exactly what you need in your kit so you can spend less time troubleshooting and more time looking up.
The Core Kit: Choosing Your First Kite
Before we talk about strings and spools, let’s talk about the star of the show. For your first real attempt at flying, ignore the complex box kites or delta stunt kites you see at festivals. Those require coordination and practice. Instead, look for a Diamond Kite, which is a classic single-line kite design known for its stability and ease of launch. Also referred to as a Delta Diamond when slightly modified, this shape has been the gold standard for beginners since the mid-20th century because it self-stabilizes in moderate winds.
Why does this matter? A diamond kite has a built-in bridle (the Y-shaped string attachment) that keeps the nose pointed into the wind automatically. If you buy a cheap plastic dragon from a gas station, it might fly, but it often lacks a proper tail or bridle, making it wobble violently. Look for a kite made of lightweight polyester or ripstop nylon with fiberglass spars. These materials bend without breaking, which is crucial when you inevitably crash into a tree branch during your learning phase.
Size matters here too. Don’t go too small. A kite with a wingspan under three feet will struggle to find lift unless the wind is strong and steady. Aim for a wingspan between four and six feet. This size catches enough breeze to stay aloft even on lighter days, giving you more chances to succeed while you learn the ropes.
The String System: Line, Spool, and Strength
Here is where many beginners make their biggest mistake: using the wrong line. That thin, white cotton string that came with the kite? Toss it. It stretches, it knots easily, and it snaps if you pull too hard. What you actually need is braided polyester or Dyneema line. These materials are non-stretchy, meaning when you tug the line to send a signal to the kite, the kite responds instantly rather than lagging behind.
For test length, start with 50 to 100 feet. You might be tempted to buy a 300-foot spool immediately, thinking longer is better. But managing 300 feet of line while you are still learning how to keep the kite stable is a recipe for tangled nightmares. Keep it short until you master launching and landing. Once you can consistently keep the kite in the air for ten minutes, then upgrade to a 200-foot spool.
| Material Type | Stretch Factor | Durability | Best For |
|---|---|---|---|
| Cotton String | High Stretch | Low (Snaps easily) | Toy-grade disposable kites |
| Braided Polyester | Minimal Stretch | Medium-High | Standard recreational flying |
| Dyneema/Spectra | Near Zero Stretch | Very High | Serious hobbyists & larger kites |
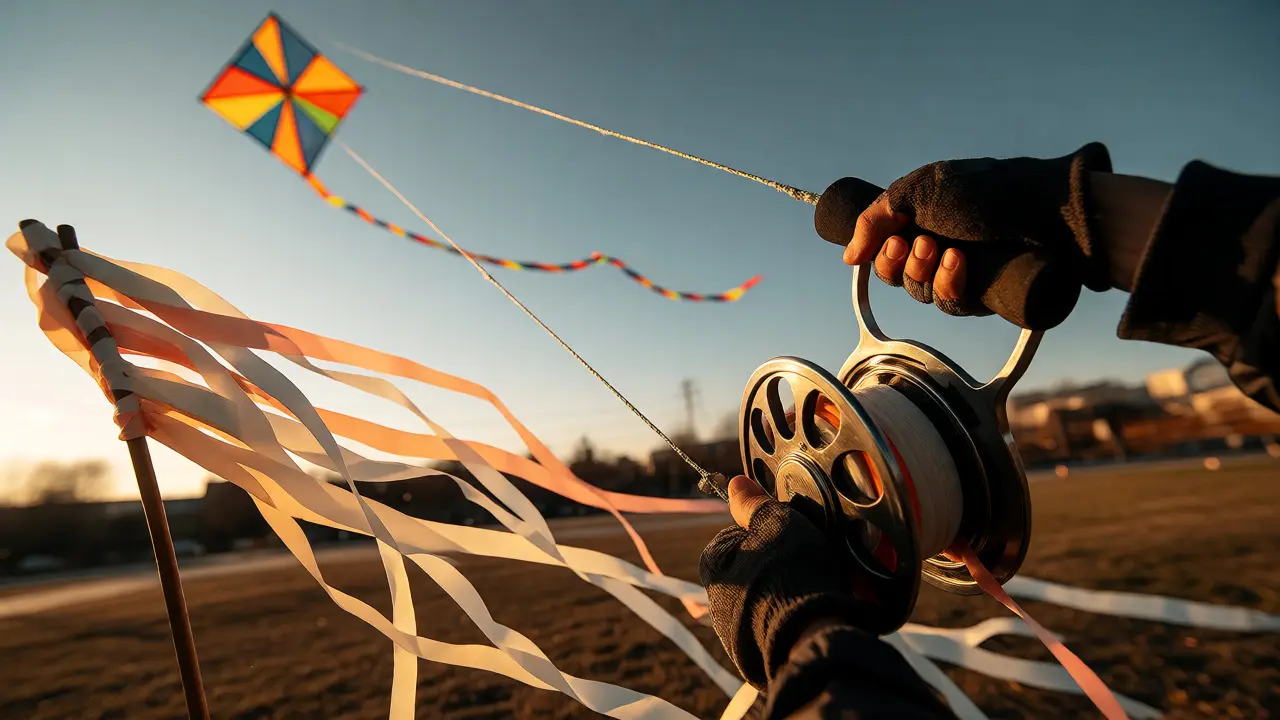
Pair your line with a comfortable handle. Avoid sharp wooden dowels that dig into your palms. Look for a foam-wrapped spool or a plastic reel with a brake mechanism. A brake is vital-it allows you to lock the line so you can walk away to fix the kite without it unspooling across the entire field. If you are flying near other people, a locked spool also prevents accidental tangles with other flyers’ lines.
Wind Reading Tools: The Invisible Supply
You can have the perfect kite and the strongest line, but if you don’t understand the wind, you won’t fly. Wind is invisible, so you need tools to visualize it. The most essential supply here isn’t something you hold; it’s knowledge of wind speed ranges. Kites generally need a wind speed between 5 and 25 mph to fly well. Below 5 mph, most beginner kites won’t generate enough lift. Above 25 mph, they become dangerous and hard to control.
How do you measure this without an anemometer? Use the Beaufort Scale heuristics. If leaves are rustling constantly and light flags extend fully, you’re likely in the 7-10 mph range-perfect for a diamond kite. If small trees sway and dust flies, you’re hitting 15-20 mph, which is great for bigger kites but might require you to shorten your line to maintain control.
To help visualize wind direction, carry a few strips of lightweight ribbon or old t-shirt scraps tied to sticks. Plant these in the ground around your flying area. Watching them flutter tells you exactly where the gusts are coming from. This is especially helpful in urban parks where buildings create turbulent, swirling wind patterns. If your ribbons are twisting wildly, move to a more open area.
Safety Gear: Protecting Yourself and Others
Kite flying seems harmless, but high-tension lines can cut skin, and falling kites can hit bystanders. Two safety items should always be in your bag. First, wear gloves. Thin gardening gloves or cycling gloves work perfectly. They protect your hands from friction burns if the line slips through your fingers during a sudden gust. Second, bring sunglasses. Not just for glare, but to protect your eyes from debris or a stray kite diving unexpectedly.
Also, consider the environment. Are you near power lines? Never fly within 500 feet of overhead wires. If your kite gets tangled there, call the utility company-do not try to retrieve it yourself. Bring a pair of sturdy scissors or wire cutters in your pocket. If your line gets hopelessly knotted around a bush or another person’s leg, cutting it is faster and safer than picking at it for twenty minutes.
Storage and Maintenance Essentials
A common complaint from new flyers is that their kite looks like a crumpled mess after five uses. This happens because they stuff the kite back into a tiny bag without folding the spars properly. Invest in a dedicated storage tube or a large ziplock bag specifically for the kite. Fold the kite along its natural creases, ensuring the fiberglass rods aren’t bent sharply.
Keep a small bottle of silicone spray or wax for your line. Over time, UV exposure dries out polyester fibers, making them brittle. A quick wipe-down once a season extends the life of your gear significantly. Also, check your bridle points regularly. If the loops where the line attaches to the kite start fraying, replace them before they snap mid-flight. Losing a kite to a broken loop is heartbreaking and entirely preventable.
Putting It All Together: Your Pre-Flight Checklist
So, what goes in the bag? Let’s summarize the absolute essentials versus the nice-to-haves. You don’t need everything listed below on day one, but knowing what each item does helps you prioritize your purchases.
- The Kite: Single-line diamond or delta, 4-6 ft wingspan, polyester/nylon fabric.
- The Line: 50-100 ft of braided polyester line, 80-100 lb test strength.
- The Handle: Foam grip or plastic reel with a locking brake.
- Wind Indicators: Ribbon streamers or a simple windsock.
- Safety: Gloves, sunglasses, and small scissors.
- Storage: Protective tube or bag to prevent spar damage.
Notice what’s missing? No harnesses, no cameras, no GPS trackers. Those come later. Right now, your job is to master the relationship between your hand, the line, and the wind. Once you can launch a kite solo in 10 mph winds and land it gently without crashing, you’ve graduated from beginner status. Then, and only then, should you consider upgrading to dual-line kites or adding action cams.
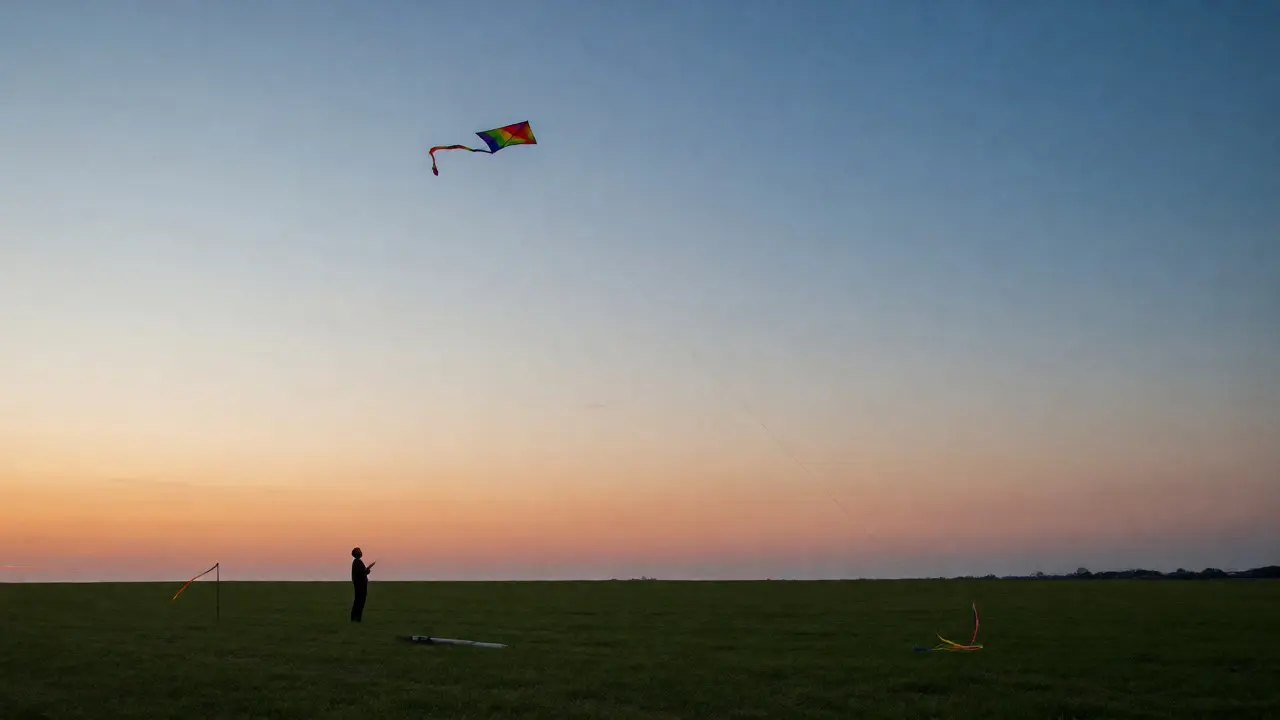
Flying a kite is surprisingly meditative. There’s a moment when the tension in the line becomes steady, the kite climbs higher, and the noise of the world fades away. Having the right supplies removes the friction between you and that moment. So grab your diamond kite, check the wind direction, and head to the nearest open field. The sky is waiting.
What wind speed is best for a beginner kite?
The sweet spot for most beginner single-line kites is between 5 and 15 mph (8-24 km/h). At 5 mph, the kite may struggle to lift off initially, requiring a helper or a long running start. Between 8 and 12 mph, conditions are ideal for stable flight. Winds above 20 mph can make small kites difficult to control and potentially dangerous due to high line tension.
Do I need a tail on my kite?
Yes, for most traditional diamond kites, a tail is essential for stability. The tail adds drag at the bottom, keeping the nose pointed into the wind and preventing the kite from spinning uncontrollably. Some modern delta kites are designed to fly without tails, but if you are buying a classic diamond shape, ensure it comes with a pre-attached tail or buy one separately. A good rule of thumb is that the tail should be roughly equal in length to the kite's height.
Can I use fishing line for kite flying?
You can, but it is not recommended for beginners. Monofilament fishing line tends to twist and curl, creating memory issues that lead to frequent tangles. Braided fishing line works better but can be very slippery and difficult to tie secure knots with if you don't know the specific techniques. Dedicated kite line is braided polyester, which offers the best balance of low stretch, knot security, and tangling resistance for casual flyers.
Where is the safest place to fly a kite?
Open fields, beaches, and large parks are ideal. Always avoid areas with overhead power lines, tall trees, or heavy pedestrian traffic. Power lines are the number one hazard for kites. Additionally, check local regulations; some cities prohibit kite flying in certain zones due to airport proximity or wildlife protection. A clear horizon line ensures consistent wind flow, whereas flying near buildings creates turbulent, unpredictable gusts.
How do I launch a kite by myself?
Stand with your back to the wind. Hold the kite by the sides, letting the tail hang down. Release the line slowly while walking backward, or toss the kite gently upward and backward into the wind. As the kite catches the breeze, let out more line gradually. If the kite dips, pull the line briefly to lift the nose. If it rises too fast, let out slack to prevent it from stalling. Practice makes perfect; expect several failed launches before you get the rhythm.