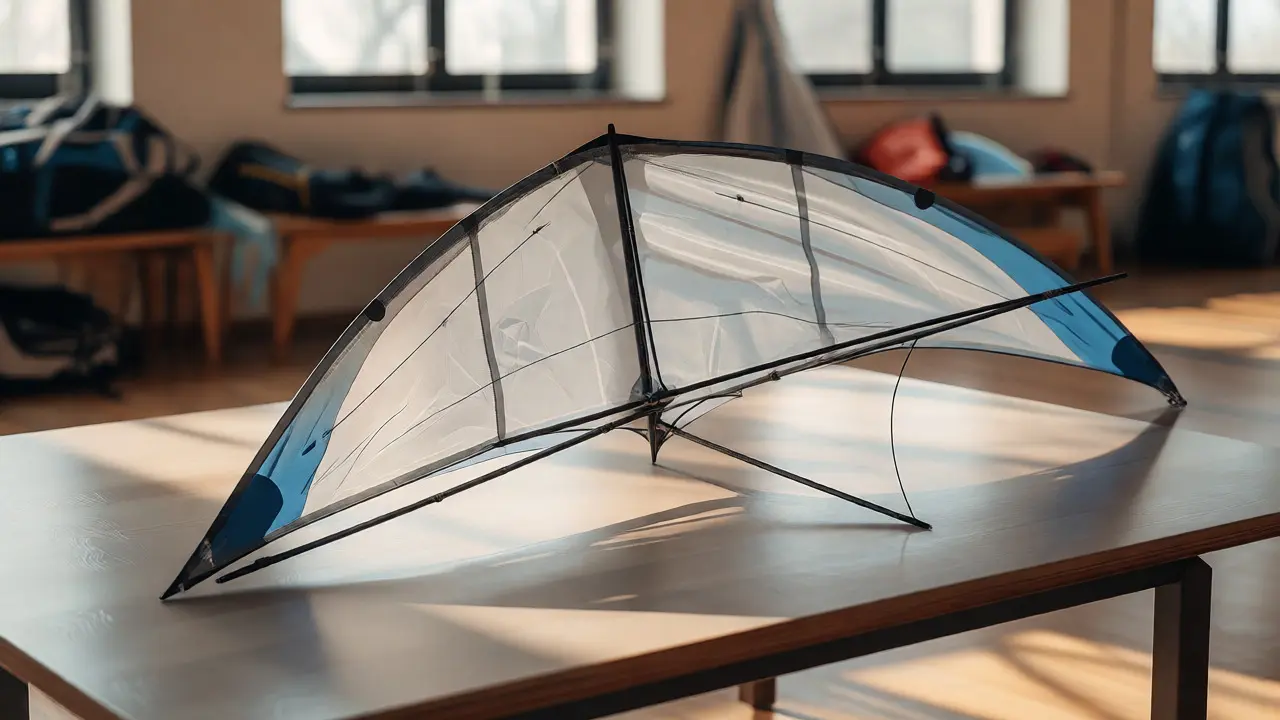
You just finished a high-intensity session at the local gym or community center. Your heart rate is up, your hands are sticky from sweat, and you’re holding what looks like a fragile skeleton wrapped in silk. This is an indoor kite, a specialized lightweight kite designed for low-wind environments using materials like ripstop nylon and carbon fiber. It’s not just a toy; it’s precision equipment. And if you toss it into the bottom of your backpack without thinking, you’re asking for trouble.
Most beginners think their kite broke because they flew it poorly. In reality, 80% of "mystery failures" happen during storage. Carbon rods snap under pressure, sails get creased until they flutter weirdly, and connectors pop out when nobody is looking. If you want your gear to last more than one season, you need a system. Not just a bag, but a routine. Here is how you keep those delicate frames intact and those sails pristine.
The Enemy Is Compression and Creases
Let’s talk about why your kite breaks. It’s rarely the wind that destroys an indoor kite; it’s gravity and bad packing. The primary material in most modern indoor kites is carbon fiber a composite material known for its high stiffness-to-weight ratio but low impact resistance. Carbon is stiff, which is great for performance, but it hates being bent sideways. When you stuff a kite into a tight tube or crush it under a jacket, you create micro-fractures. You won’t see them today, but next month, one rod will snap mid-flight.
Then there’s the sail. Most indoor kites use ripstop nylon a lightweight fabric with reinforcing threads woven in a grid pattern to prevent tears from spreading. While durable against small snags, ripstop has memory. If you fold it sharply while damp or dirty, those creases become permanent weak points. A sharp crease changes the aerodynamics. Suddenly, your symmetrical diamond kite flies crooked, not because of the wind, but because the fabric doesn’t stretch evenly anymore.
So, rule number one: never store a kite under compression. Rule number two: never store it dirty. Sweat contains salt. Salt attracts moisture. Moisture corrodes metal connectors and degrades nylon over time. If you don’t wipe down your gear after every session, you’re accelerating wear before you even pack it away.
Choosing the Right Storage Container
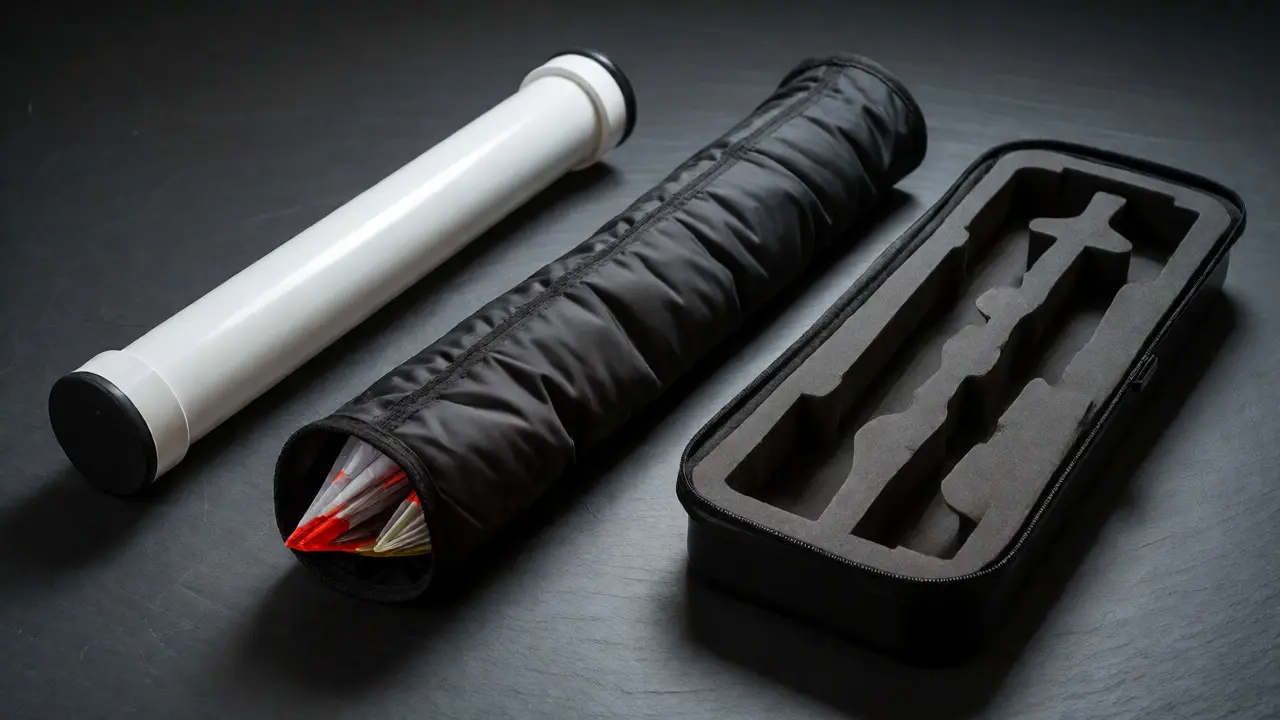
You have three main options for storing indoor kites, and each serves a different purpose depending on whether you’re traveling to a competition or keeping it at home.
| Storage Type | Best For | Protection Level | Cost Estimate | Risk Factor |
|---|---|---|---|---|
| Rigid PVC Tube | Transporting assembled or partially disassembled kites | High (Prevents crushing) | $15 - $30 | Can be bulky; ends may crack if dropped |
| Padded Nylon Sleeve | Short-term storage; multiple kites in one bag | Medium (Scratch protection) | $10 - $25 | Does not prevent bending if heavy items sit on top |
| Custom Foam Case | Long-term home storage; competitions | Very High (Shock absorption) | $40 - $100+ | Heavy; requires custom cutting for perfect fit |
For most hobbyists, a rigid PVC tube is the gold standard. You can buy these at hardware stores for cheap. Cut a piece of 3-inch diameter PVC pipe slightly longer than your longest kite spar. Cap both ends with rubber stoppers. This creates a hard shell that protects the carbon rods from getting crushed in a car trunk or a crowded locker room. If you fly multiple sizes, stack the tubes vertically rather than horizontally to save space and reduce rolling.
If you prefer soft cases, look for ones with internal dividers. Never let two kites rub against each other unprotected. Friction generates heat and static, which attracts dust. Dust gets into the weave of the sail and acts like sandpaper when the kite flexes in flight. Use thin foam sheets between folded kites if you must share a bag.
The Disassembly Routine
Stopping flying isn’t just about landing. It’s about how you take the kite apart. Many people pull rods out quickly, twisting them as they go. Don’t do this. Twisting puts lateral stress on the carbon tips, which are often the thinnest part of the spar.
- Unclip the bridle first: Detach the flying line from the kite’s attachment point. Let the tension release fully.
- Remove the spreaders: Gently slide the cross-spar out of the sleeve. Do not force it. If it’s stuck, check for dirt or a bent tip. Forcing a stuck spar usually snaps it.
- Slide the vertical spars: Pull the main spars straight out. Keep your hand near the exit point to catch the tip so it doesn’t whip around and hit something.
- Fold the sail carefully: Lay the sail flat. Fold along existing natural lines if possible. Avoid creating new sharp folds. Roll the sail loosely instead of folding it tightly if you have space in your tube.
This takes thirty seconds. Skipping it adds minutes of frustration later when you’re trying to assemble a tangled mess before your turn to fly.
Cleaning and Inspection Before Stowing
You wouldn’t put muddy shoes back in a nice box, right? Same logic applies here. Before you pack, inspect the kite. Look for frayed thread at the corners. Check the eyelets where the spars enter the sail. These are high-stress points. If you see a loose stitch, fix it now with a tiny drop of super glue or a quick hand-sew. Ignoring it means it becomes a tear next week.
Wipe down the spars with a dry cloth. If they’re sweaty, use a slightly damp cloth followed immediately by a dry one. Never leave water on carbon fiber. It doesn’t rust, but the epoxy binding the fibers can degrade if constantly wet, and more importantly, water trapped inside the spar sleeves can cause mold or mildew on the fabric.
Check your connectors. Many indoor kites use plastic or aluminum ferrules to join spar sections. Inspect these for cracks. Plastic becomes brittle over time, especially if left in hot cars. If a connector feels loose, replace it. A failed connector in flight sends your kite crashing, potentially damaging the sail and scaring off beginners watching you.
Environmental Factors: Heat and Humidity
Where you store your kite matters as much as how you pack it. I live in Portland, Oregon, where humidity is our constant companion. In winter, my garage stays cool and damp. In summer, the attic turns into an oven. Both extremes hurt kite gear.
Heat kills adhesives. Many indoor kites use glued seams or taped reinforcements. Leaving a kite in a car in July can soften these glues, causing seams to peel. Always store your kites indoors, in a climate-controlled environment. A closet in your bedroom is better than a shelf in the garage.
Humidity affects sail tension. Natural fibers like silk absorb moisture and sag. Synthetic fabrics like polyester are more stable but can still suffer from mold if stored in dark, damp places. Ensure your storage area is dry. If you notice a musty smell coming from your kite bag, air it out immediately. Mold stains are nearly impossible to remove from white ripstop nylon without bleaching, which weakens the fabric.
Avoid direct sunlight for long periods. UV radiation breaks down nylon polymers. A kite stored in a sunny window will fade and become brittle within a year. Dark storage is best. If you hang your kites on wall hooks for display, use a UV-filtering film on nearby windows or keep them behind closed doors.
Special Care for Ultralight Materials
As technology advances, kites get lighter. Some competition kites weigh less than 5 grams. At this level, standard handling rules change. These ultra-thin sails, often made from spinnaker nylon an extremely lightweight, porous fabric used for maximum speed and sensitivity, are incredibly fragile.
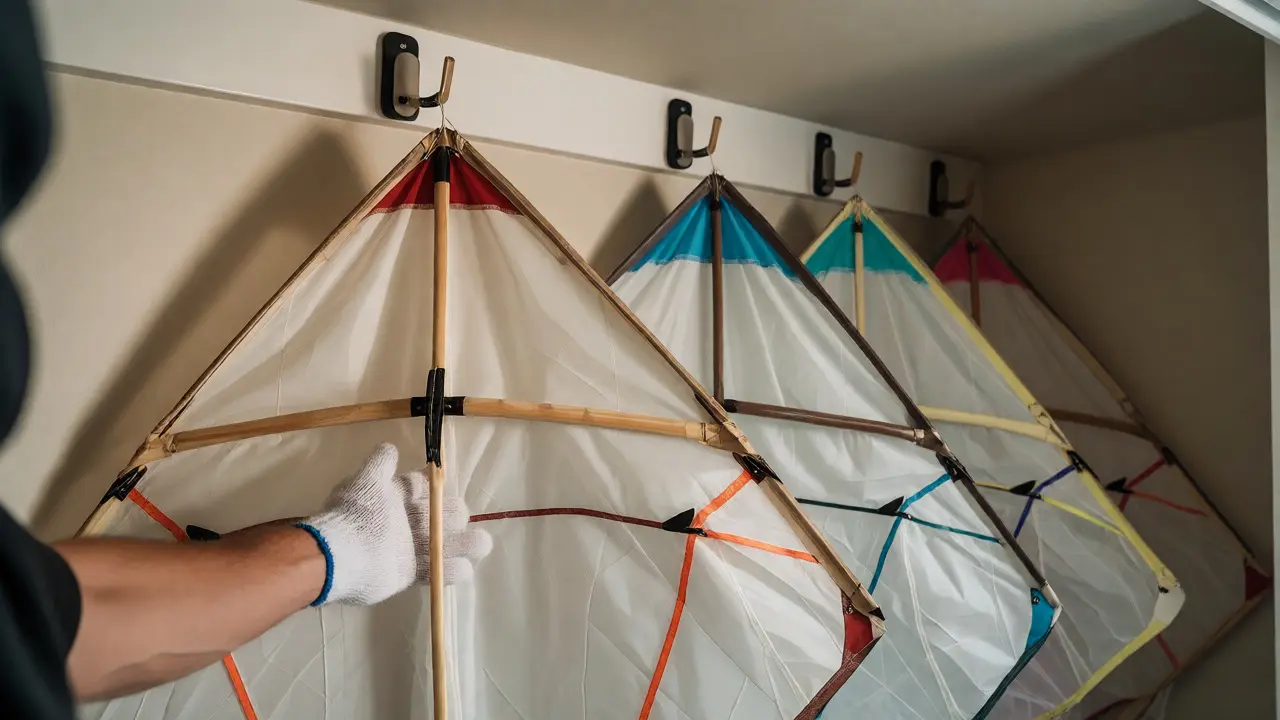
Do not touch these sails with oily fingers. Skin oils attract dirt and stain the translucent fabric. Handle them by the edges or wear cotton gloves if you’re doing detailed maintenance. When storing, ensure absolutely nothing rests on top of the sail. Even the weight of a heavy zipper tab can create a permanent impression in spinnaker cloth.
For these delicate models, consider hanging storage. Install a series of small, padded hooks in your closet. Hang the kite by its bridle loop. This keeps the sail extended and prevents creases entirely. It also allows air circulation, reducing the risk of mold. Just make sure the hooks are padded with foam tubing so they don’t snag the thin fabric.
Troubleshooting Common Storage Mistakes
Did you find a bend in your spar? Try gently heating it with a hair dryer on low setting and reshaping it. Carbon has some memory, but excessive heat damages the resin. Test the flexibility before flying again.
Is your sail wrinkled? Do not iron it directly. Place a clean cotton cloth over the sail and use a steamer on the lowest setting. Hold the steamer several inches away. The steam relaxes the fibers without melting the synthetic material. Alternatively, hang the kite in a humid bathroom while you shower. The ambient steam often releases minor wrinkles naturally.
Are your connectors missing? Buy spares. They cost pennies online. Losing one connector ruins the whole flight session. Keep a small ziplock bag of spare ferrules, tips, and thread in your kite bag. Being prepared beats improvising with duct tape, which adds weight and looks messy.
Frequently Asked Questions
Can I store my indoor kite in a regular backpack?
Yes, but only if you use a rigid protective case inside the backpack. A soft backpack offers no protection against crushing. If books or laptops press against the kite, carbon rods will snap. Always place the kite in a hard tube or padded sleeve before putting it in a general-use bag.
How often should I clean my kite sail?
Clean it after every few sessions, or whenever it looks visibly dirty. Use lukewarm water and a tiny amount of mild soap. Rinse thoroughly and air dry completely before storing. Never machine wash or tumble dry, as agitation and heat damage the fabric coating and stitching.
What happens if I store my kite in the garage?
Garages are risky due to temperature fluctuations and pests. Extreme heat in summer can warp plastic connectors and weaken adhesives. Cold winters can make carbon brittle. Additionally, mice and insects love nesting in soft fabric bags. Stick to indoor, climate-controlled spaces like closets or shelves in living areas.
Do I need to disassemble the kite every time?
If you fly frequently (multiple times a week), you can leave larger kites assembled if you have dedicated hanging space. However, for travel or long-term storage, always disassemble. Tension on the spars when packed can cause fatigue failure over time, and folded sails develop permanent creases if left compressed.
How do I prevent static cling on my sail?
Static attracts dust, which weighs down light kites. Lightly mist the sail with an anti-static spray designed for electronics or laundry. Alternatively, wipe the sail with a dryer sheet before storing. This neutralizes the charge and repels dust particles, keeping the fabric cleaner for longer.