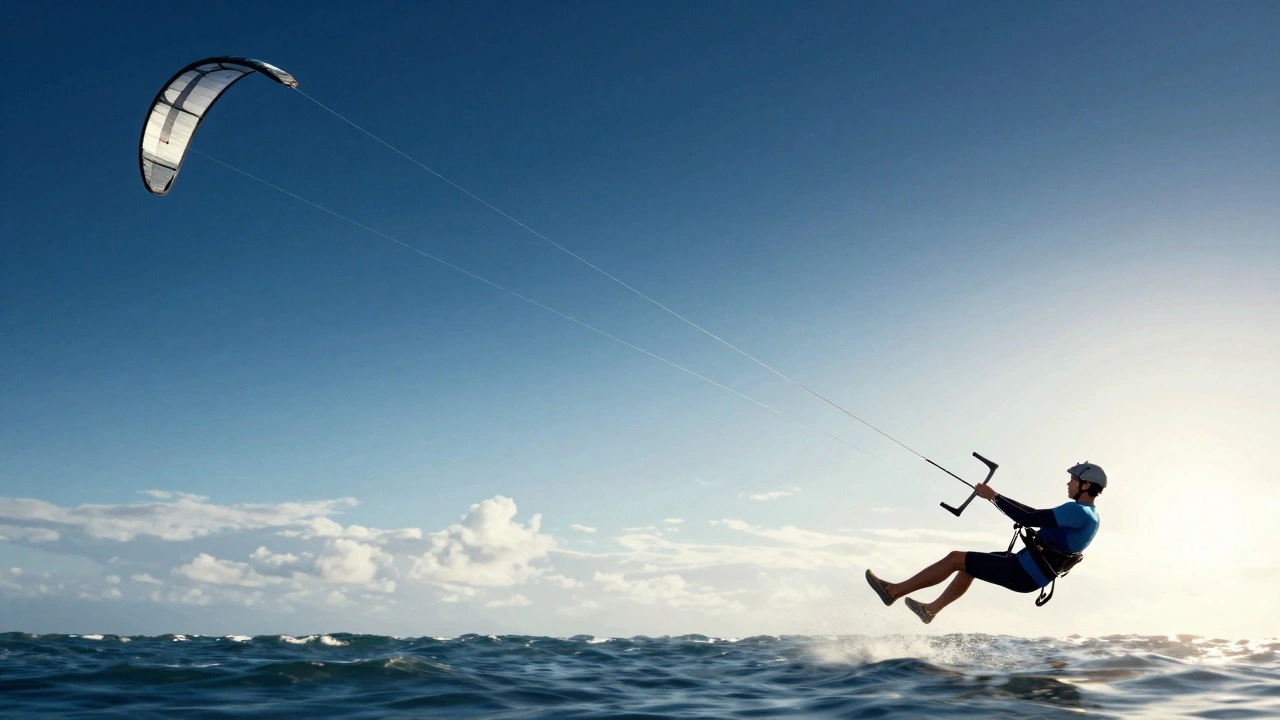
When you're out on the water with a kiteboard, your lines aren't just strings-they're the lifeline between you and the wind. Get them wrong, and you're not just losing control; you're putting yourself at risk. Most riders focus on the kite, the board, or the wind conditions, but the real magic-and safety-happens in the flying lines: the pigtails, the leaders, and the safety systems that tie it all together.
What Are Kiteboard Flying Lines?
These are the thick, braided lines that connect your kite to your control bar. They carry your input, your power, and your safety. They’re not one-size-fits-all. A typical 4-line kite uses two front lines and two back lines. The front lines control power and lift; the back lines control steering and depower. But what happens between the bar and the kite? That’s where pigtails and leaders come in.
Pigtails: The Short, Strong Link
Pigtails are the short, reinforced sections of line that attach directly to the kite’s bridles. They’re usually made of Dyneema or similar high-strength fiber, often coated for UV resistance. Most kites come with pigtails pre-installed, but if you’ve had a crash or a line snap, you’ll need to replace them. A worn pigtail can fail without warning.
Here’s the thing: pigtails are not meant to be flexible. They’re designed to be stiff and direct. If your pigtails are fraying, melted, or look shiny from UV exposure, replace them. A single broken pigtail can cause your kite to collapse mid-air or spin uncontrollably. Most manufacturers recommend checking pigtails every 20-30 sessions, especially if you ride in salty or sandy conditions. I’ve seen riders ignore this until they lost a kite in 30-knot winds-luckily, they were still attached to their safety system.
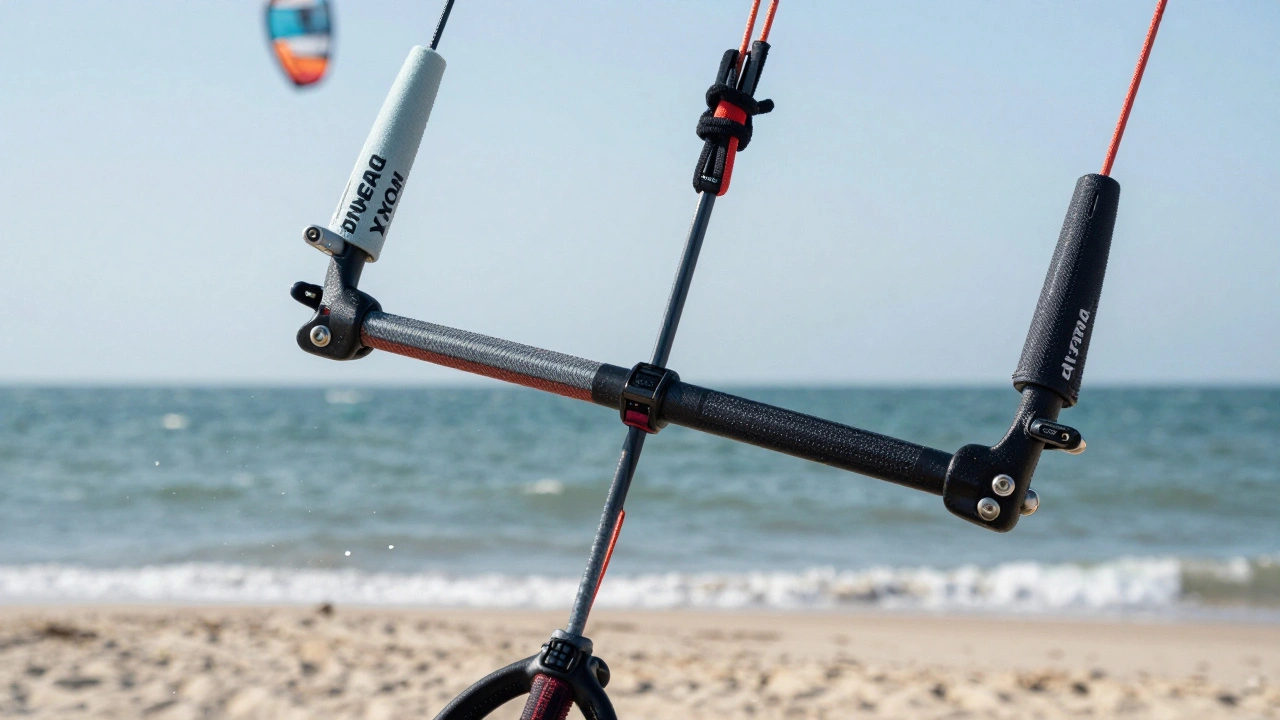
Leaders: The Bridge Between Bar and Kite
Leaders are the longer lines that run from your control bar to the pigtails. They’re usually 15 to 25 meters long, depending on your kite size and riding style. The standard length for most riders is 22 meters. Longer leaders give more depower range and smoother control, but they’re harder to manage in tight spots like shorebreak or crowded beaches.
Leaders aren’t just passive cables. They’re engineered with specific diameters and braiding patterns. A 5mm leader will handle more load than a 4mm one. If you’re using a 12m² kite in 20+ knots, go with the thicker line. Many riders upgrade their leaders after a few seasons because the original ones stretch out or get coated in salt crust. A stretched leader means delayed response-you pull, and the kite doesn’t react until half a second later. That’s enough time to wreck your board, your kite, or your ankle.
Always check for kinks, knots, or discoloration. A leader that’s turned white or feels stiff is likely UV-damaged. Don’t wait for it to snap. Replace it before the season starts. A new set of leaders costs $40-$70, but a new kite? That’s $1,000+
Safety Systems: Your Last Line of Defense
This is where things get serious. Your safety system isn’t an accessory-it’s your emergency brake. There are two main types: the chicken loop release and the quick-release (QR) system. Both work the same way: you pull, the kite loses power, and you’re free.
The chicken loop is the ring that connects your harness to the bar. When you let go, it should disconnect cleanly. But here’s the trap: if your chicken loop is stiff, dirty, or corroded, it might not release when you need it. I’ve seen riders yank it hard in panic, only to have it jam. Always lubricate it with silicone spray before the season. Don’t use oil-it attracts sand.
The QR system is the real hero. It’s usually located on the bar’s front line or on the harness. Pull it, and the entire kite detaches from the bar. Most modern kites have a 2-line or 3-line QR. The 3-line version is safer because it cuts both front and back lines, letting the kite fall neutrally. A 2-line QR only cuts the front lines, which can leave the kite still partially powered. If you’re using an older kite, upgrade the QR. It’s worth every penny.
Test your safety system every time you go out. Don’t just tug it-pull it hard, like you mean it. If the bar doesn’t release cleanly, if there’s resistance, if it takes two tries-you have a problem. Don’t ride until it’s fixed. I’ve talked to three people who lost limbs because they didn’t test their QR. They thought it worked fine last time. That’s not luck. That’s negligence.
How to Check Your Entire Line System
Here’s a simple routine you can do in 10 minutes before every session:
- Unspool all lines and lay them flat on the beach. Look for cuts, frays, or melted spots.
- Check the pigtails at the kite. Are they shiny? Are the stitches intact? If yes, replace.
- Test the leaders by pulling each one hard. Do they stretch? Do they feel spongy? Replace if they do.
- Disconnect the chicken loop and reconnect it. Does it click? Does it slide smoothly?
- Pull the QR. Does it release in one motion? Does the kite drop instantly? If not, fix it.
Do this every time. Even if you rode yesterday. Saltwater doesn’t care if you’re tired.
Common Mistakes and How to Avoid Them
- Mixing line lengths-Never use leaders from a different kite model. Even a 1-meter difference changes how your kite responds. Stick to OEM specs.
- Ignoring UV damage-Dyneema doesn’t rot, but UV turns it brittle. If your lines look chalky, they’re done.
- Using duct tape on frayed lines-It looks like a fix. It’s not. It hides the damage. Replace, don’t patch.
- Not replacing after a crash-If your kite slammed into the water hard, assume your lines took stress. Inspect everything. Don’t wait for failure.
When to Upgrade Your Line System
You don’t need to upgrade every year. But if you ride more than 50 sessions a year, or if you ride in heavy wind (20+ knots), consider upgrading to high-performance lines. Brands like Ozone, Slingshot, and Cabrinha offer reinforced leaders with Kevlar cores. These handle abuse better, last longer, and depower faster.
Also, if you’re switching from a 4-line to a 5-line kite (for better depower), you’ll need new pigtails and leaders. The 5th line changes the bridle geometry. Don’t try to adapt old lines. It won’t work.
Final Rule: Trust Your Lines, But Verify Them
Kiteboarding is about trusting the wind. But your lines? You need to earn their trust. They don’t fail because they’re old. They fail because you didn’t check them. A $50 line replacement is cheaper than a hospital bill, a broken kite, or a lost season.
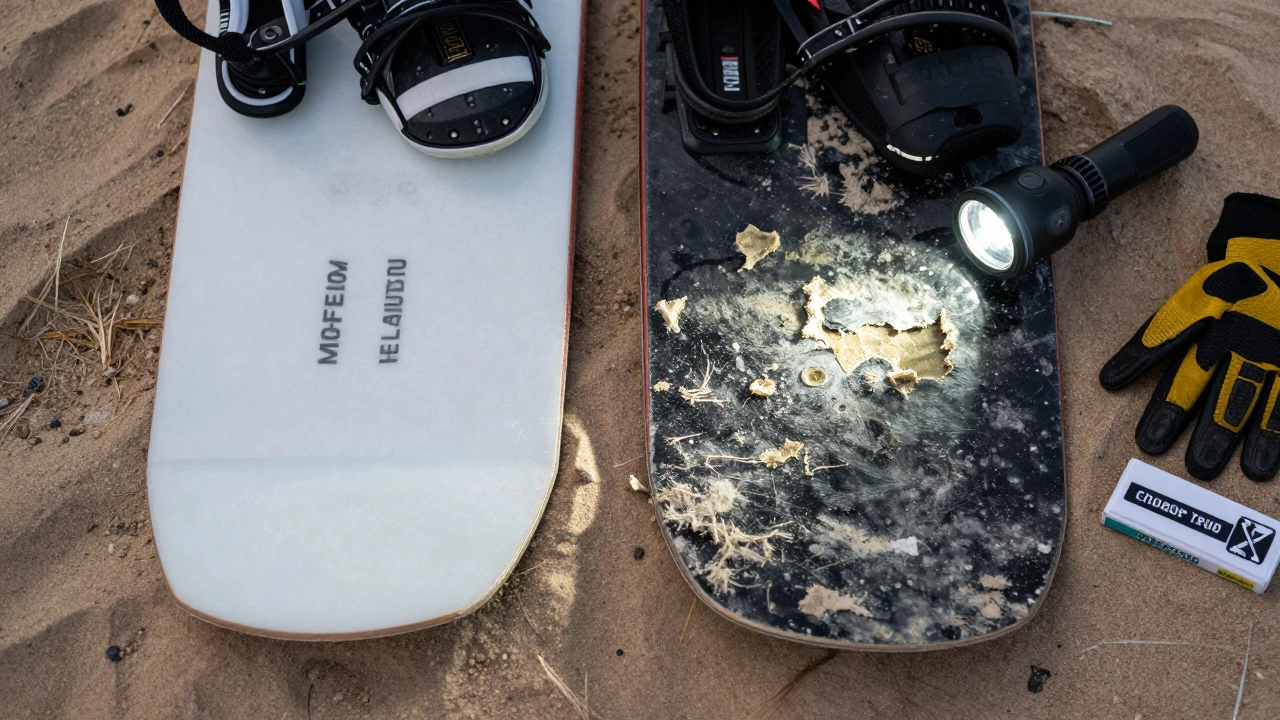
Every spring, I walk the beach with a pair of gloves and a flashlight. I check every line I own. I don’t skip it. I don’t rush it. I know what happens when you do.
How often should I replace my kiteboard pigtails?
Replace pigtails every 20-30 sessions, or sooner if you notice fraying, discoloration, or stiffness. Salt, sand, and UV exposure degrade them faster than you think. If they look shiny or feel brittle, replace them immediately.
Can I use leaders from a different kite brand?
No. Leaders are designed to match the kite’s bridle geometry and line length. Using mismatched leaders can cause uneven power distribution, poor depower, or even kite collapse. Always use the manufacturer’s recommended lines.
What’s the difference between a 2-line and 3-line safety system?
A 2-line safety system only cuts the front lines, leaving the back lines connected. This can leave the kite partially powered, risking a dangerous spin. A 3-line system cuts all three main lines, letting the kite fall neutrally. For safety, always choose a 3-line system if available.
Is it safe to repair a frayed kite line with tape?
No. Tape is a temporary fix at best and masks serious damage. A frayed line can snap without warning under load. Replace the line entirely. It’s cheaper and safer than risking a crash.
How do I know if my safety QR is working?
Pull the QR hard and fast, as if you were in an emergency. The bar should release cleanly, and the kite should lose all power immediately. If there’s resistance, delay, or the kite doesn’t drop, the system needs servicing or replacement. Test it before every session.