Key Safety Takeaways
- Establish a 'no-fly zone' of at least 50 feet around power lines and buildings.
- Use a 'buddy system' for launching and retrieving kites.
- Prioritize nylon or polyester lines over metallic or conductive materials.
- Maintain a strict adult-to-student ratio based on the age group and wind speed.
- Create a pre-flight checklist for every single student.
Setting Up Your Flight Zone
Before a single kite leaves the ground, you need to map your area. Not every open field is a safe field. The biggest danger in any school outing is Power Lines. These are often invisible from a distance or blend into the horizon. A kite landing on a transformer can cause a fatal electric shock. Your first job is to walk the perimeter and mark a 'dead zone' using bright orange cones or flags. If the wind is blowing toward the lines, move your entire operation upwind.
You also have to consider the surface. Wet grass is slippery, and unexpected holes in a field can lead to twisted ankles. Ensure the area is clear of debris like broken glass or sharp rocks that could slice through a kite line. If you are using a public park, check for 'high-traffic' zones where pedestrians or cyclists might walk directly into a low-flying line. The ideal setup is a designated 'launching strip' where students line up and launch one by one, rather than a chaotic cluster of kids all trying to get airborne at the same second.
Choosing the Right Gear for Groups
Not all kites are created equal, and for schools, stability beats style. You want Delta Kites or Parafoil Kites. Delta kites are generally stable and easy to launch, while parafoils are great because they don't have a rigid frame-if they crash, nothing snaps. Avoid complex stunt kites or large 'power kites' for beginners, as the pull can be strong enough to jerk a smaller child off their feet.
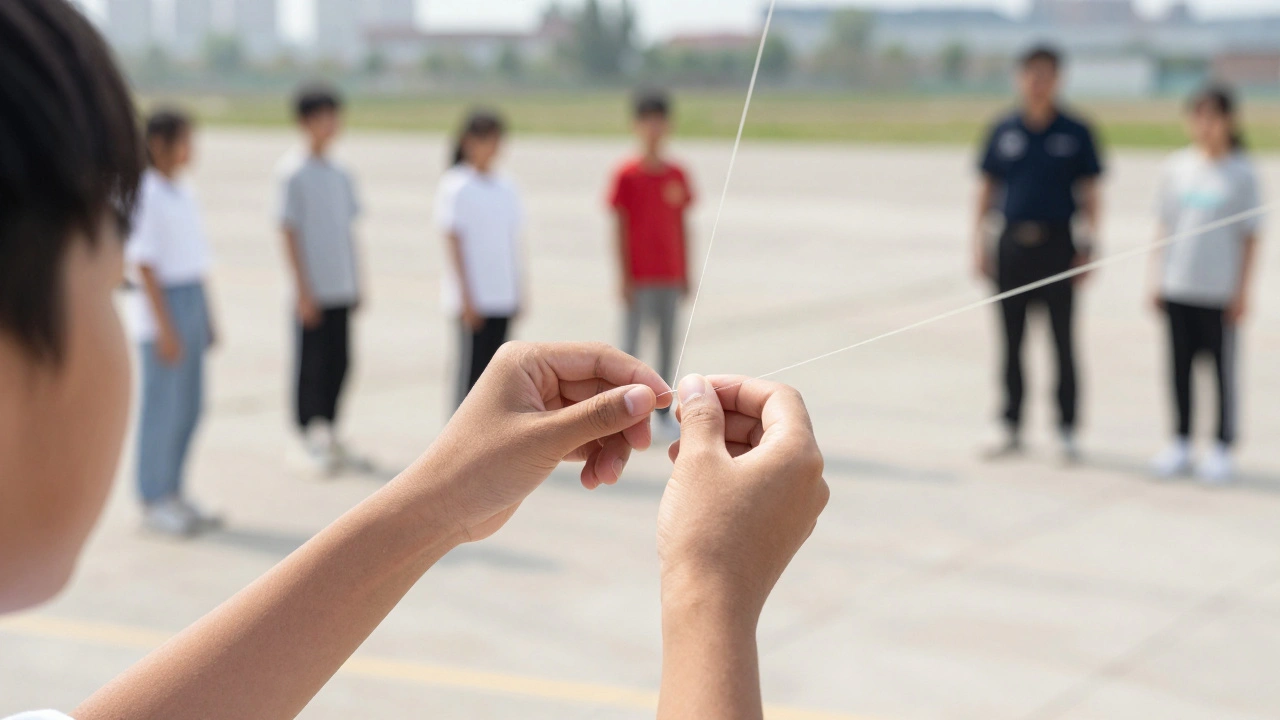
The line is where most injuries happen. Kite Line should be lightweight nylon or polyester. Never, under any circumstances, allow the use of metallic-coated strings or 'manja' (glass-coated string), which can cause severe cuts to skin or eyes. If a student is using a reel, teach them the 'slow release' method. Many kids try to run while letting out line, which is a recipe for a trip-and-fall. Instead, they should stand still and let the wind take the kite, walking backward only when necessary.
| Kite Type | Stability | Durability | Best For |
|---|---|---|---|
| Delta | High | Medium | General outdoor lessons |
| Parafoil | Medium | High | Younger kids (no frame to break) |
| Diamond | Low | Medium | Teaching basic physics/wind |
| Stunt/Dual-line | Variable | Low | Advanced students only |
Supervision Plans and Staffing
A single teacher cannot manage thirty kites. To maintain kite safety, you need a structured supervision plan. I recommend a ratio of 1 adult for every 6-8 students for elementary ages, and 1:10 for middle school. Divide your staff into specific roles so there is no confusion during the activity. One adult should be the 'Air Traffic Controller,' stationed at the center to monitor the sky for collisions or drifting kites. Another should be the 'Ground Safety Officer,' focused entirely on the students' footing and proximity to hazards.
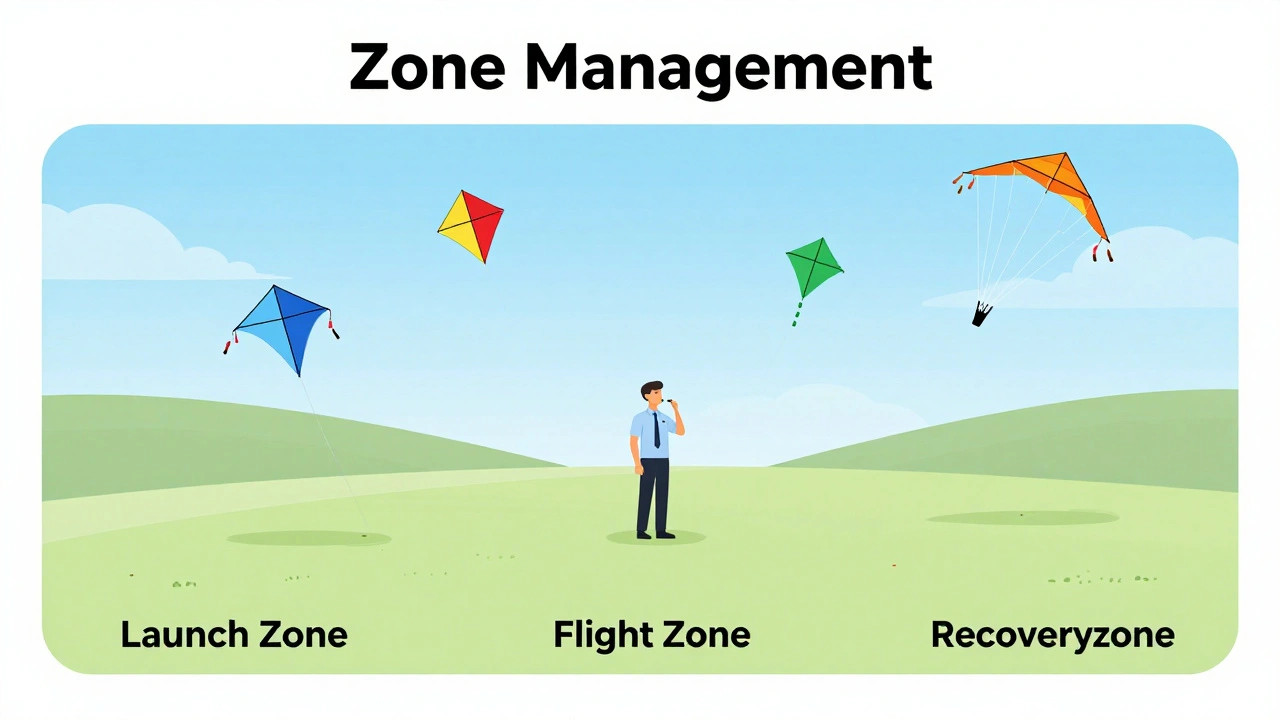
Use a 'Zone Management' approach. Divide the field into three sections: the Launch Zone, the Flight Zone, and the Recovery Zone. Students should only be in the Launch Zone when it's their turn to fly. This prevents the 'tangle effect' where kids walk into each other's lines. If a kite becomes entangled in a tree or a fence, establish a strict rule: students are never allowed to climb trees or fences to retrieve a kite. This is where the majority of school-based kite accidents happen. If it's too high to reach safely, the kite is considered 'lost' or must be retrieved by an adult with proper equipment.
Step-by-Step Group Flying Protocol
To keep things orderly, follow this sequence. It transforms a potential riot into a structured educational experience.
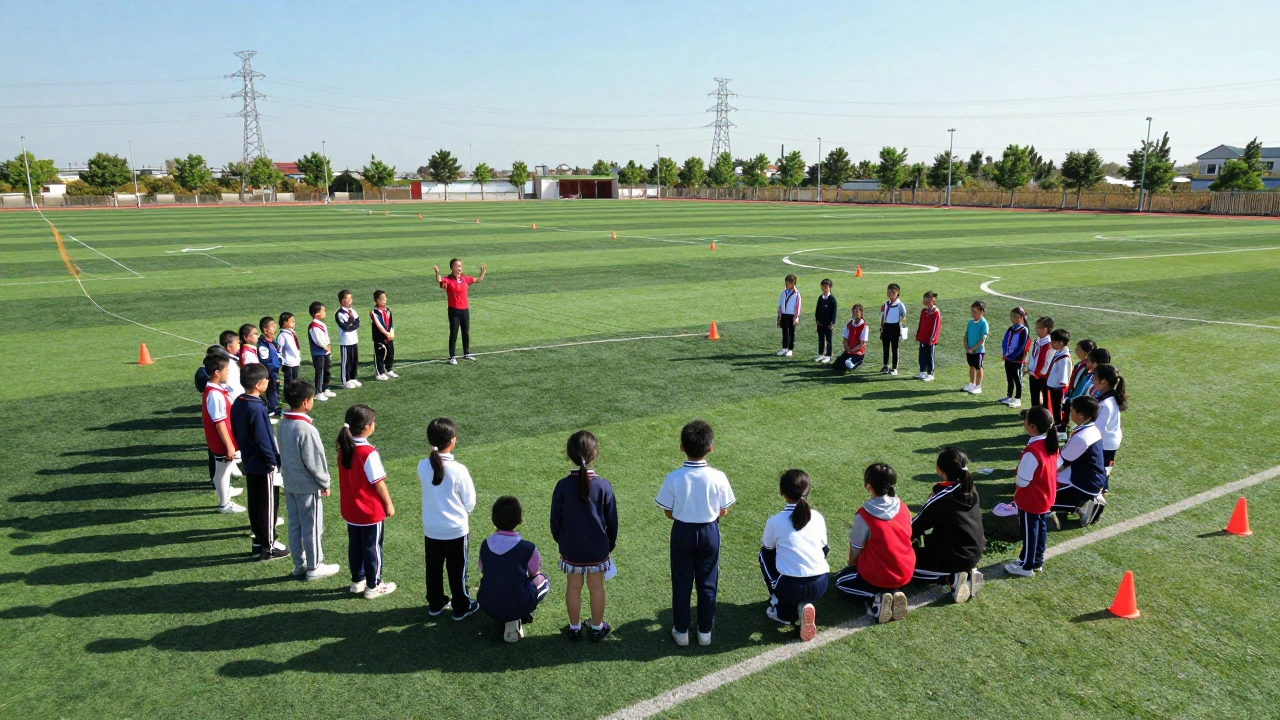
- The Safety Briefing: Before any gear is touched, gather students in a circle. Demonstrate the 'stop' signal (a loud whistle or arm wave) that means every student must immediately drop their line or hold it steady and freeze.
- The Equipment Check: Students pair up to check each other's kites. Are the bridles tied correctly? Is the line securely attached? This encourages peer accountability.
- Sequential Launching: Start from the downwind edge of the field. Launch the first student, ensure they have a stable flight, and then move to the next. This prevents kites from flying into one another during the ascent.
- Active Monitoring: While flying, students must keep their eyes on their kite and their surroundings. If they see another kite drifting toward theirs, they should gently pull their kite down to avoid a mid-air collision.
- Controlled Descent: Don't just let the wind die or cut the string. Teach students to reel in the kite slowly, feeling the tension. If the wind is too strong, they should 'spool' the line carefully to avoid friction burns on their fingers.
Handling the Unexpected
Despite your best plans, things go wrong. A sudden gust can send a kite plummeting or send a student tumbling. If a kite crashes into another, the rule should be 'Hands Off' until an adult intervenes. Trying to untangle two nylon kites while they are still in the air usually results in a giant knot that ruins both kites.
Weather changes are the most critical risk. Schools often ignore the 'warning signs' of a storm because the kids are having fun. Use a simple wind-speed threshold. If the wind exceeds 20-25 mph, it's time to bring everything down. Keep an eye on the clouds; if you see towering cumulus clouds or feel a sudden drop in temperature, wrap up the activity immediately. Lightning is a catastrophic risk when students are holding conductive lines in an open field.
What should I do if a kite gets stuck in a power line?
Immediately tell all students to move away from the area. Do not attempt to pull the kite down with the string, as the line could be energized. Do not use a stick or a ladder. Contact the local utility company to handle the removal safely.
How do I prevent string burns on students' hands?
Teach students to hold the line with a loose grip and avoid letting the string slide rapidly through their fingers. For stronger winds or larger kites, providing small cotton gloves can protect the skin from friction.
Are there specific age-appropriate kites for elementary students?
Yes. Parafoils are best for the youngest children because they have no rigid parts to break and are very safe. Delta kites are a great step up for slightly older children who can handle a basic frame.
How much space is needed per student?
A good rule of thumb is to give each student at least 15-20 feet of lateral space at the launch site. This prevents lines from crossing and gives students room to move without colliding.
What is the safest way to retrieve a kite that has crashed far away?
Use the buddy system. One student remains at the spool while another walks to the kite. This ensures that if the kite catches a gust of wind during retrieval, there is someone holding the line to prevent it from flying away or causing a trip hazard.
Next Steps for Educators
If you're new to organizing group flights, start with a small pilot group of 5-10 students to test your 'Flight Zone' and timing. Once you're comfortable with the flow, you can scale up to the whole class. Consider partnering with a local kite club; many enthusiasts are happy to visit schools and teach the physics of lift and drag while demonstrating professional safety standards. For those looking to expand the lesson, you can integrate math by having students measure the angle of the line and the length of the string to calculate the kite's actual altitude.