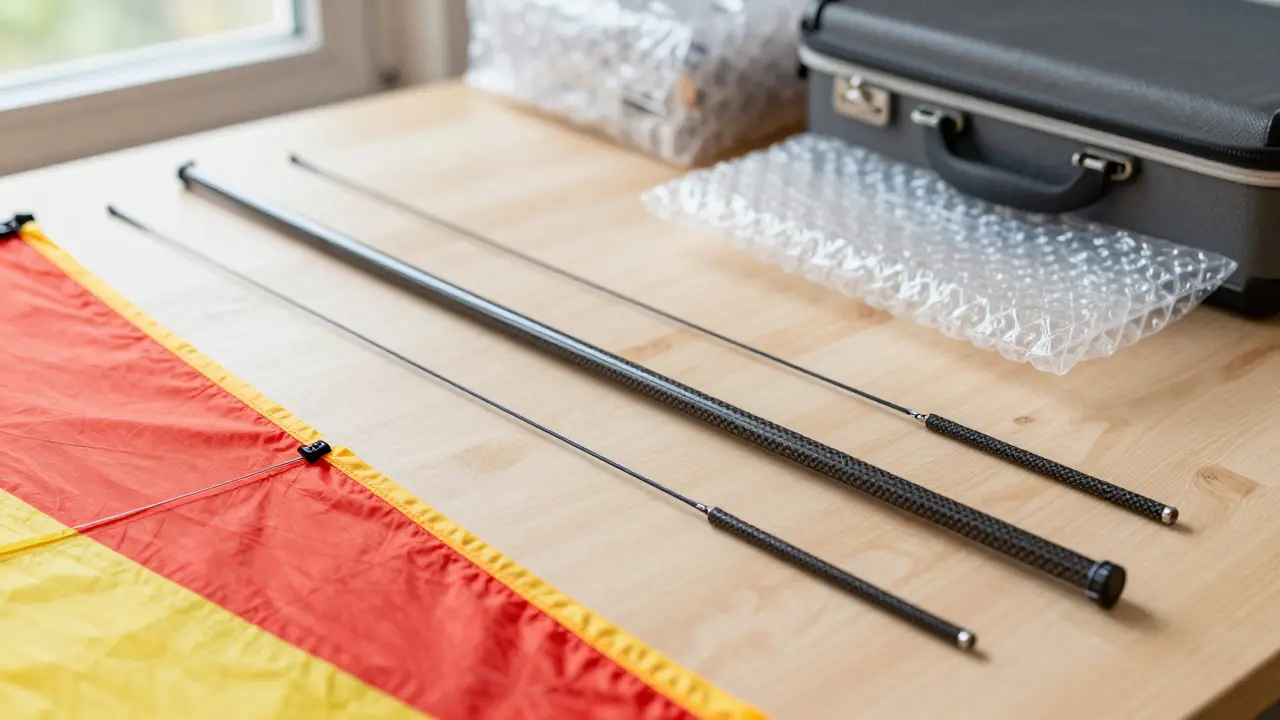
There is nothing worse than unpacking your gear after a long flight only to find a snapped spar or a crushed leading edge. Kite travel damage is the silent killer of expensive equipment, often happening in the last mile between the airport and your home. Whether you are flying a rigid model or a flexible power kite, the way you pack it determines its lifespan. This guide breaks down exactly how to use packing tubes, bags, and padding to keep your rig intact.
Why Standard Luggage Fails Kites
Most people make the mistake of treating their kite like a camera lens or a fragile vase. They wrap it in bubble wrap and toss it into a soft-sided suitcase. This approach fails because kites have specific structural weaknesses. A rigid kite relies on thin carbon fiber spars that can snap under point pressure. Meanwhile, a flexible kite suffers from creased film or damaged bridle lines if folded incorrectly. The goal isn't just to cushion the object; it's to distribute force evenly across the entire structure.
When you understand the failure points, the solution becomes clear. You need a container that maintains shape and a filling material that absorbs shock without creating hard edges. This is where specialized packaging beats generic luggage every time.
The Role of Packing Tubes
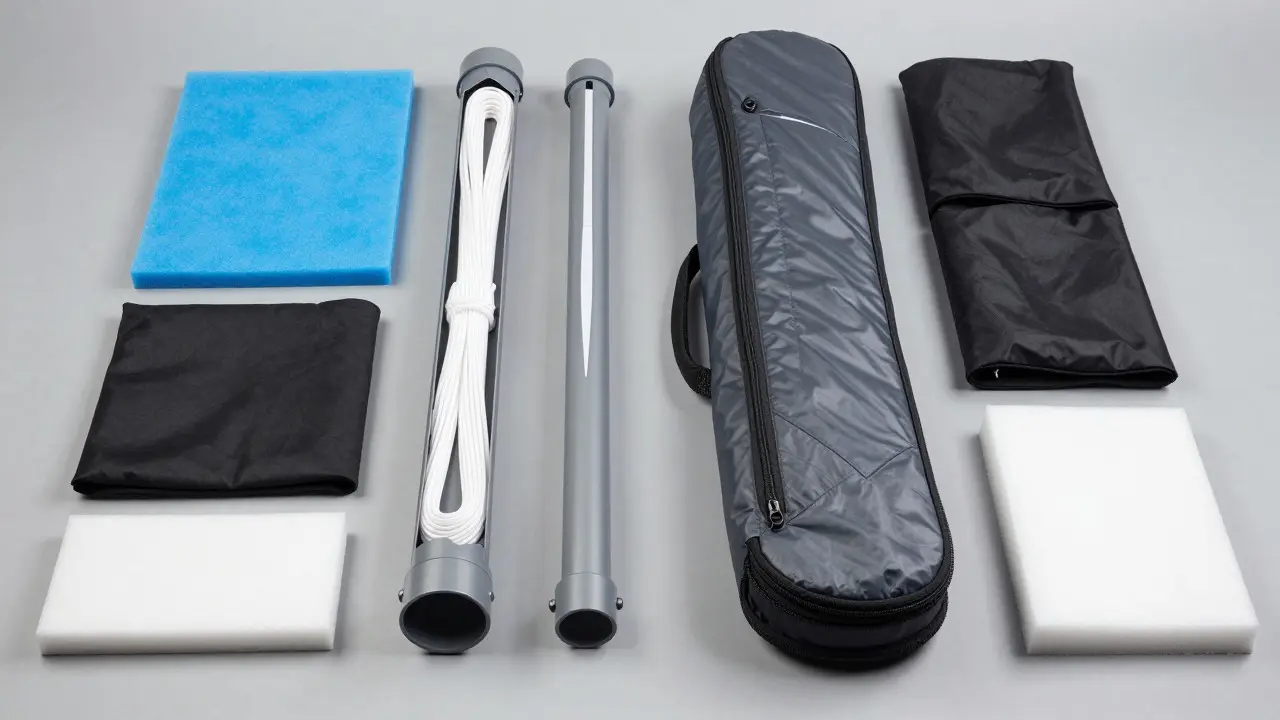
Packing tubes are the gold standard for transporting rigid components. These are typically cardboard or plastic cylinders designed to hold long, slender objects. For kite builders and pilots, they serve two main purposes: protecting spars and storing lines.
- Spar Protection: Carbon fiber spars should never be loose in a bag. Slide them into a tube slightly longer than the spar itself. If the tube is too tight, the friction can crack the epoxy coating during temperature changes. Aim for a 1-2mm gap all around.
- Line Storage: Keep your bridle lines coiled inside the same tube or a separate smaller one. This prevents tangling and protects the line ends from abrasion against other gear.
- Material Choice: Use double-wall cardboard for domestic travel. For international flights or rough handling, switch to PVC or polypropylene plastic tubes. Cardboard crushes under heavy weight; plastic does not.
A pro tip from Portland-based flyers: label the ends of your tubes with color-coded tape matching your kite’s sail colors. When you’re tired and juggling bags at the airport, this small detail saves you ten minutes of untangling.
Selecting the Right Kite Bag
If your kite doesn’t fit in a tube, you need a dedicated kite bag. Not just any duffel bag. Look for these specific features:
- Rigid Base: The bottom of the bag must be stiff. Soft bases allow the kite to sink and get crushed by other luggage stacked on top.
- Zipper Quality: Cheap zippers fail when packed tight. YKK brand zippers are worth the extra cost because they handle tension better.
- Internal Compartments: Separate pockets for hardware (spars, connectors) prevent metal parts from scratching the sail fabric.
- Water Resistance: Even if you fly in dry conditions, airport baggage handlers are not gentle. A water-resistant shell protects against rain and spills.
For larger parafoils or dual-line kites, consider a backpack-style carrier with padded straps. Shoulder straps distribute weight better than a single handle, reducing the chance of dropping the bag due to fatigue.
Padding Strategies That Actually Work
Padding is where most beginners go wrong. They stuff the bag with clothes until it’s full. This creates uneven pressure points. Instead, use strategic padding layers:
| Material | Best For | Pros | Cons |
|---|---|---|---|
| Foam Sheets | Rigid Spars | Cheap, easy to cut | Can compress over time |
| Neoprene Sleeves | Sail Surfaces | Protects against scratches | Bulkier, harder to store |
| Memory Foam | Complex Shapes | Molds to object, high protection | Expensive, slow to recover |
| Soft Clothing | Gap Filling | Free, available everywhere | Uneven, shifts during transit |
Start by wrapping the kite’s leading edge in a neoprene sleeve. This layer protects the most vulnerable part of the sail from rubbing against the bag walls. Then, fill the remaining space with foam sheets cut to fit the gaps. Avoid using sharp-edged cardboard directly against the sail; always place a soft barrier between the sail and any hard surface.
Packing Rigid vs. Flexible Kites
Your packing method depends entirely on the kite type. Here is how to handle each category:
Rigid Model Kites
These include delta wings, stunt kites, and traditional box kites. The priority is preventing spar breakage. Disassemble the frame completely. Place spars in tubes. Pack the sail flat, wrapped in a soft cloth. Put the hardware in a small zip-lock bag to avoid losing tiny screws. Do not fold the sail sharply; instead, roll it loosely around the core of the bag.
Flexible Power Kites
Parafoils and sled kites are more forgiving but still require care. Fold the kite according to the manufacturer’s instructions. Usually, this means folding in thirds or quarters. Wrap the folded kite in a large towel or neoprene sheet. Secure it with elastic bands, not zip ties, which can cut into the fabric if tightened too much. Store the bar and lines separately to avoid accidental snags.

Common Mistakes to Avoid
Even experienced flyers make errors that lead to damage. Watch out for these traps:
- Oversight of Line Ends: Line tips can poke through fabric if not capped. Always use line caps or tape the ends before packing.
- Ignoring Temperature Changes: Carbon fiber expands and contracts. If you pack a kite tightly in a cold car and then bring it into a warm house, the stress can cause micro-cracks. Let the gear acclimate before unpacking.
- Overpacking the Bag: A bag stuffed to bursting creates internal pressure. Leave 10% empty space to allow for movement and shock absorption.
- Using Old Bubble Wrap:** Bubble wrap loses its air over time. If the bubbles feel flat, replace it. Deflated wrap offers zero protection.
Repair Prevention vs. Repair Reality
No amount of packing guarantees zero damage. Sometimes, a suitcase gets dropped. That’s why understanding basic kite repair principles helps you assess damage quickly. If a spar snaps, check if the break is clean. Clean breaks can sometimes be glued with cyanoacrylate and reinforced with a splint. If the sail tears, use iron-on patches rather than liquid glue, which weakens the fabric over time. Keeping a small repair kit in your travel bag-containing patch material, super glue, and spare line-is a smart investment.
Prevention is cheaper than repair. A $20 foam sheet costs less than a $150 replacement spar. Take the extra ten minutes to pack correctly, and you’ll save yourself hours of frustration later.
Checklist for Pre-Flight Packing
Before you close the bag, run through this quick list:
- Are all spars secured in tubes?
- Is the sail wrapped in a protective layer?
- Are line ends capped or taped?
- Is the bag zipped fully to prevent snagging?
- Do you have a backup repair kit accessible?
Treat your kite like the precision instrument it is. With the right tubes, bags, and padding, it will survive the journey and perform flawlessly at your destination.
Can I put my kite in checked luggage?
Yes, but only if it is properly packed in a rigid case or heavily padded bag. Checked luggage handles are rougher than carry-ons. Use a hard-shell case for rigid kites to maximize protection.
What is the best material for kite packing tubes?
Plastic tubes made from PVC or polypropylene are best for frequent travelers. They are durable and reusable. Cardboard is fine for occasional local trips but degrades quickly.
How do I protect kite lines from tangling?
Coil the lines neatly and secure them with velcro straps or rubber bands. Store them in a separate compartment or tube away from the kite body to prevent accidental snags.
Should I disassemble my kite before traveling?
Always disassemble rigid kites to protect spars. For flexible kites, follow the manufacturer’s folding instructions. Disassembly reduces bulk and minimizes stress on joints and seams.
What if my kite gets wet during transport?
Dry the sail thoroughly in shade, not direct sun, to prevent UV damage. Check hardware for rust immediately. Most modern sails are water-resistant, but prolonged exposure can degrade adhesives.