There is a specific moment in every stunt kite session where the kite stops flying like a wild animal and starts behaving like a living creature. It hovers. It stalls. It hangs suspended in the air, defying gravity while you stand below, hands steady on the lines, feeling the tension pulse through your arms. This isn't just a cool trick; it is the foundation of advanced control.
If you want to master complex maneuvers like loops, rolls, or even launching from the ground without running, you first need to understand how to hold your position. Many pilots struggle because they treat the kite as something that must always be moving forward. But the secret to high-level piloting is learning to stop. Learning to hover and stall with stunt kites is about finding the balance point between lift and drag, power and slack.
The Physics of the Hover: Finding the Sweet Spot
To understand why a dual-line stunt kite hovers, you have to look at the wind window. Imagine a cone extending out from your body, starting directly overhead (12 o'clock) and sweeping down to the ground on both sides (6 o'clock). The kite generates lift when it moves through the air. When you pull both lines equally, you are asking the kite to fly straight into the relative wind.
In light winds, this creates a gentle hover near the top of the wind window. In stronger winds, that same input pushes the kite harder against the apparent wind, creating massive pressure. The "sweet spot" for hovering is usually around the 10 o'clock or 2 o'clock positions, depending on which side you are facing. Here, the kite’s angle of attack allows it to generate enough lift to stay aloft without needing to travel across the sky.
- Angle of Attack: The tilt of the kite relative to the wind. Too steep, and it stalls. Too flat, and it dives.
- Line Tension: Equal tension on both lines keeps the kite centered. Unequal tension causes turning.
- Apparent Wind: The combination of natural wind and the wind created by the kite's own movement.
When you achieve a perfect hover, the kite feels alive. You can feel its weight shift slightly as gusts hit it. This feedback loop is crucial. If your lines go slack, you’ve lost contact. If they are bone-hard, you’re fighting the wind. The goal is a firm, elastic resistance.
Mastering the Stall: Controlled Flight vs. Crashing
A stall happens when the airflow over the kite’s wings separates, causing a sudden loss of lift. For most aircraft, this is bad news. For a stunt pilot, a controlled stall is a powerful tool. There are two main types of stalls you will encounter: the power stall and the gravity stall.
A power stall occurs when you pull too hard on the lines in strong wind. The kite tries to climb vertically but runs out of airspeed. Instead of falling out of the sky, it should hang there, nose up, shivering slightly. To recover, you don’t let go. You gently ease off one line to bring the nose down and regain airflow. Think of it like easing off the brakes on a car rather than slamming them.
A gravity stall is different. It happens when you move the kite too quickly across the sky and then try to stop abruptly. The momentum carries the kite forward, but your lines cut its path. The kite slows down, loses lift, and drops. This is often what beginners mean when they say their kite "crashed." However, if you anticipate this drop and adjust your line tension before the lift disappears, you can catch the kite in a hover instead of letting it fall to the ground.
| Feature | Power Stall | Gravity Stall |
|---|---|---|
| Cause | Excessive line tension / High wind | Sudden deceleration / Momentum loss |
| Kite Position | Nose up, hanging high | Nose may dip, dropping lower |
| Recovery | Ease tension, tip nose down | Pull gently to regain speed |
| Risk Level | d>Low (if controlled)Medium (can lead to crashes) |
Equipment Matters: Choosing the Right Kite for Hovering
Not all stunt kites are created equal when it comes to holding a stationary position. The design of the kite plays a huge role in how easily you can hover and stall.
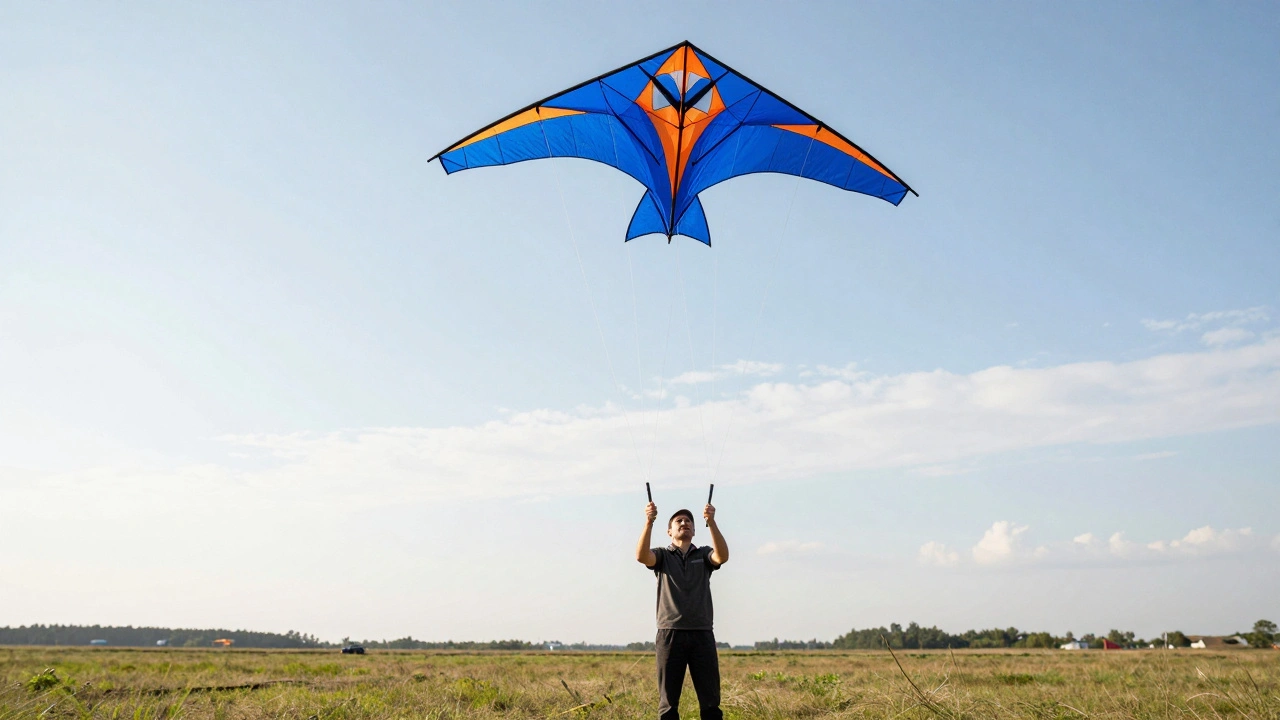
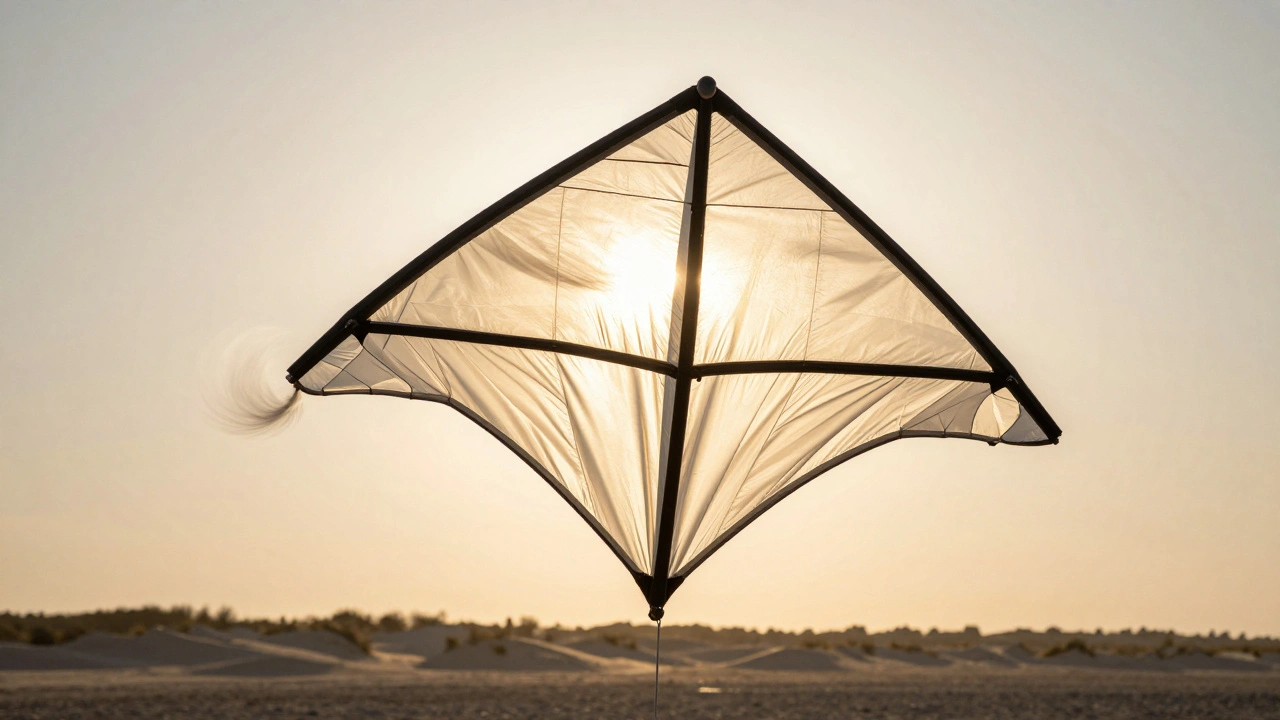
Delta kites, with their triangular shape, are generally more forgiving. They have a larger surface area and tend to be stable in turbulent air. They are excellent for learning the basics of hovering because they naturally want to sit in the wind window. However, they can be slower to respond to quick inputs.
Diamond kites are faster and more agile. They are the choice for competitive racing and tight tricks. But they require more precise control to hover. A diamond kite will dive if you hesitate for a split second. If you are looking to master stalls, start with a delta or a hybrid design that offers a bit more stability.
The size of the kite also matters. A smaller kite needs more wind to generate lift. In light breezes, a small kite might not have enough power to hover effectively-it will just drift down. A larger kite provides more surface area to catch the wind, making it easier to maintain position in lighter conditions. Always match your kite size to the wind speed. A good rule of thumb is to use a kite that feels heavy on the lines but not uncontrollable.
Step-by-Step: Practicing the Hover Drill
You cannot learn to hover by reading about it. You have to feel it. Here is a simple drill to practice maintaining a stationary position mid-air.
- Launch and Center: Launch your kite and bring it to the center of the wind window (12 o'clock). Keep both hands level and apply equal pressure.
- Find the Balance: Slowly increase tension until the kite stops moving forward. It should begin to vibrate slightly. This is the edge of the stall zone.
- Micro-Adjustments: Use small movements of your wrists, not your whole arms. If the kite starts to turn left, pull slightly on the right line. If it dips, add a tiny bit of pressure to both lines.
- Hold for Ten Seconds: Try to keep the kite in the same spot for ten seconds. Count them out loud. This builds muscle memory.
- Recover: After ten seconds, gently push both lines forward to send the kite gliding across the sky. Reset and repeat.
As you get better, try moving the hover point. Can you hover at 10 o'clock? At 2 o'clock? Each position requires a different amount of tension and angle of attack. This variation teaches you how the kite behaves in different parts of the wind window.
Troubleshooting Common Hover Problems
Even experienced pilots run into issues. Here are some common problems and how to fix them.
The kite keeps diving. This usually means you are not pulling hard enough or the wind has dropped. Check your surroundings for shadows or buildings that might be blocking the wind. If the wind is consistent, you likely need to increase your angle of attack by pulling the lines closer to your body.
The kite spins uncontrollably. This is often caused by uneven line lengths or tangled lines. Before you fly, always check that your lines are equal length and free of knots. If the spinning continues, you might be over-correcting. Stay calm and let the kite stabilize itself before making adjustments.
The lines go slack suddenly. This is a sign of a severe stall or a lull in the wind. If it’s a lull, you need to lower the kite to a position with more wind. If it’s a stall, you need to recover by tipping the nose down. Never jerk the lines back; this can snap the bridle or damage the frame.
Advanced Techniques: Using Stalls for Tricks
Once you can hover comfortably, you can start using stalls as part of bigger tricks. One popular maneuver is the "stall turn." You fly the kite across the sky, then pull sharply into a power stall. As the kite hangs, you rotate your body and switch your hand positions. Then, you release the stall to launch the kite in the opposite direction. This looks impressive and is a great way to transition between sides without losing altitude.
Another technique is the "ground launch." By stalling the kite just above the ground and then releasing the tension gradually, you can make it rise vertically without running. This is useful in tight spaces or when you want to start a routine from a standing position.
Remember, the key to these advanced moves is confidence. You have to trust that the kite will hold its position long enough for you to complete the maneuver. Practice the basic hover until it becomes second nature. Then, layer on the complexity.
What is the best wind speed for practicing hovering?
Moderate winds between 8 to 15 mph are ideal for learning to hover. Light winds (< 8 mph) make it difficult to generate enough lift to hold position, while strong winds (> 15 mph) create excessive tension, making micro-adjustments harder and increasing the risk of equipment damage.
Why does my stunt kite keep crashing when I try to stop?
This is likely a gravity stall. You are stopping the kite too abruptly, causing it to lose airspeed and lift. Instead of pulling hard to stop, ease off the lines gradually to let the kite slow down naturally while maintaining some forward motion. Then, increase tension gently to find the hover point.
Can any type of stunt kite hover?
Most dual-line stunt kites can hover, but delta kites are generally easier for beginners due to their stability and larger surface area. Diamond kites are faster and more responsive but require more precise control to maintain a stationary position without diving.
How do I recover from a power stall?
To recover from a power stall, gently ease the tension on both lines to reduce the angle of attack. Then, tip the nose of the kite down by pulling slightly on one line. This restores airflow over the wings and allows the kite to regain lift and speed.
What should I do if the wind dies while I am hovering?
If the wind drops, the kite will lose lift and start to sink. Lower the kite toward the ground where the wind is often more consistent, or prepare for a soft landing. Do not fight the lack of wind by pulling harder, as this will only cause the kite to stall completely.