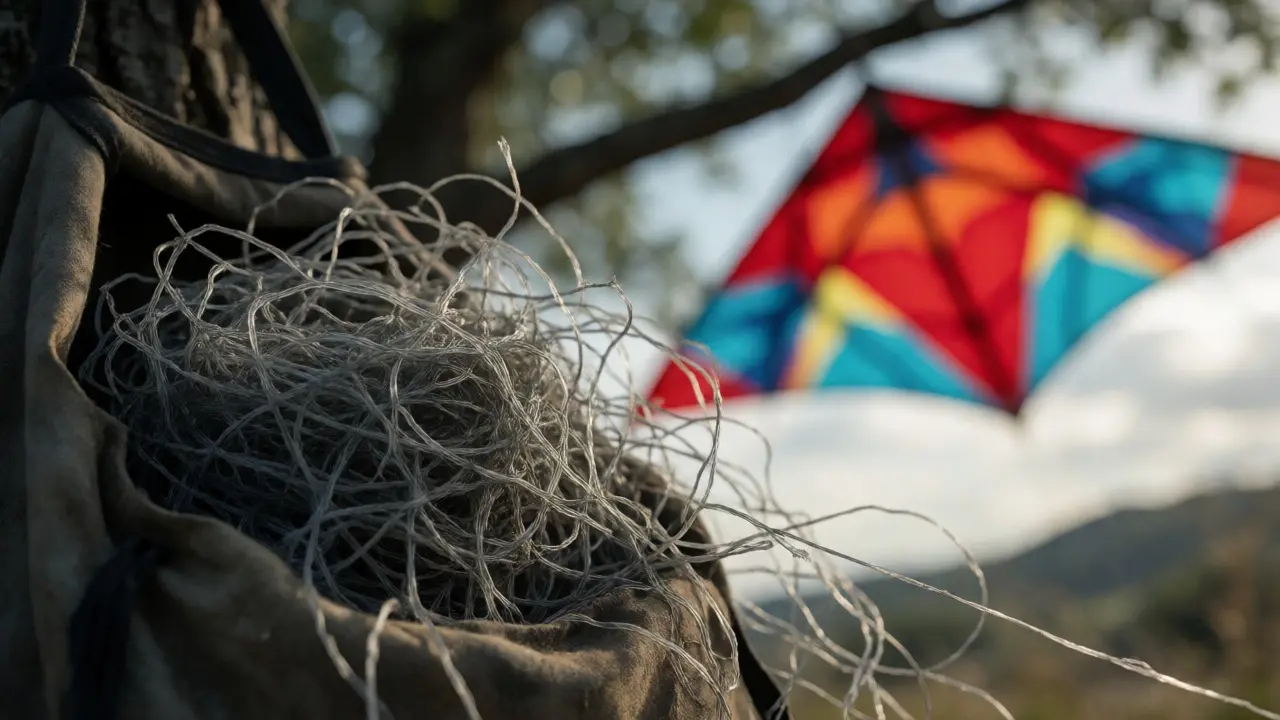
You’ve spent hours perfecting your loop. You’ve chosen the right kite line is a high-tensile cord, typically made of Dyneema or Spectra, used to control kites., and you’re ready for the wind. But then it happens: you pull out your line from the bag, and instead of a smooth coil, you get a tangled bird’s nest that takes twenty minutes to untangle. Or worse, you notice fraying near the handle because the line rubbed against rough plastic edges during transport. This isn’t just annoying; it’s dangerous. A compromised line snaps under load, sending your expensive kite into a tree-or worse, hitting someone below.
The solution isn’t buying more line every season. It’s proper storage. Kite line winders and reels are the unsung heroes of kite flying. They aren’t just spools; they are precision tools designed to maintain the integrity of your line, manage tension, and keep your setup organized. Whether you fly single-line stunt kites or multi-line power kites, how you store your line dictates how long it lasts and how well it flies.
Why Your Storage Method Matters More Than You Think
Most beginners treat their line like an extension cord-just wrap it around something and stuff it in a bag. That’s a mistake. Modern kite lines, especially those made from ultra-high-molecular-weight polyethylene (UHMWPE) fibers like Dyneema or Vectran, have specific physical properties. They are incredibly strong but can be sensitive to abrasion and tight bending radii. When you wrap line tightly around a small diameter object, you create "memory." This memory causes the line to twist and spiral when you unspool it, leading to tangles mid-flight.
Furthermore, improper storage accelerates wear. If line rubs against the sharp edge of a cheap plastic spool, it abrades. Over time, this weakens the fibers. A good winder prevents this by providing a smooth, wide surface area that distributes pressure evenly. It also keeps the line clean. Dirt and grit embedded in the line act like sandpaper against the pulleys and handles of your kite. A dedicated reel often includes a cleaning mechanism or simply keeps the line off the ground, preserving its lifespan.
Anatomy of a Quality Kite Line Winder
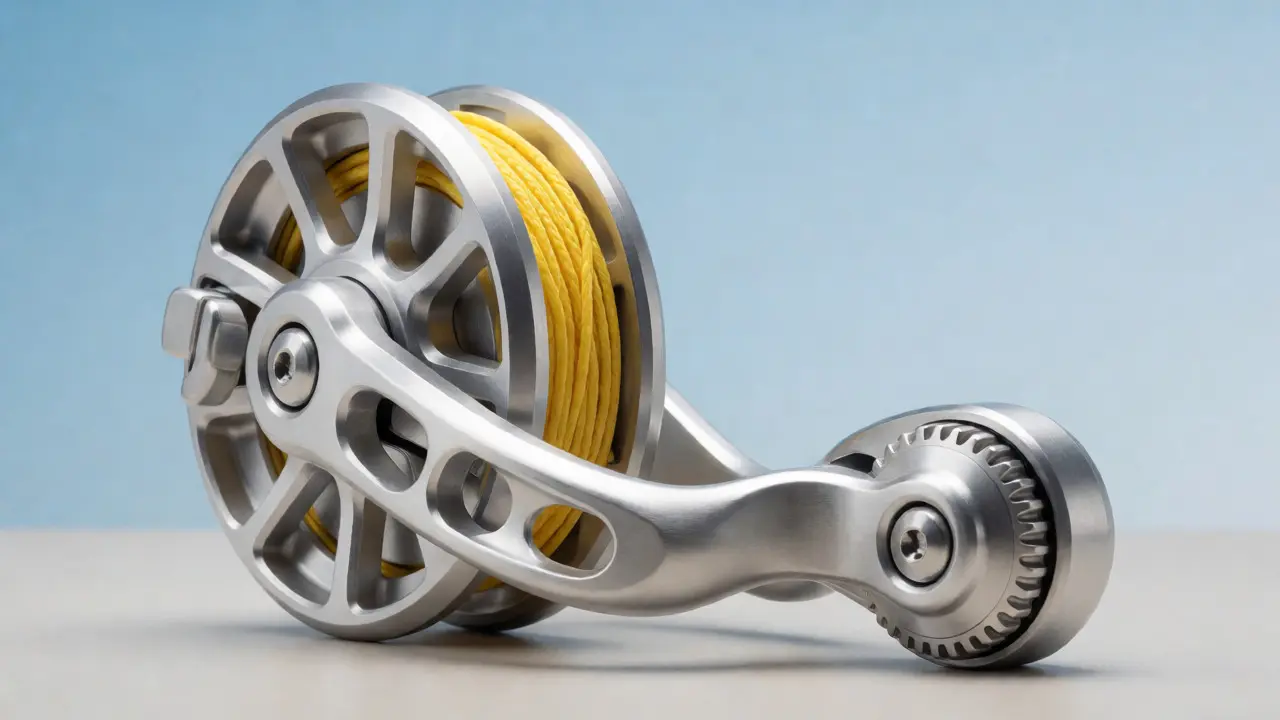
Not all winders are created equal. To choose the right one, you need to understand the components. A standard kite line winder is a handheld device with a central hub and two flanges, designed to hold line securely without tangling. consists of three main parts:
- The Hub: This is the center where the line attaches. Look for hubs with a secure locking mechanism. Some use a simple screw-on cap, while others use a quick-release clamp. The latter is superior for speed, allowing you to swap lines quickly between different kites.
- The Flanges (or Cheeks): These are the side discs that prevent the line from slipping off the ends. High-quality winders have deep channels in the flanges. Shallow flanges allow line to slip off if the tension changes suddenly. Deep channels lock the line in place.
- The Handle: You need a comfortable grip. Since you’ll be cranking this device repeatedly, ergonomic handles reduce hand fatigue. Some advanced models include a ratchet system, which allows you to wind in one direction only, preventing the line from unwinding accidentally.
Material matters too. Aluminum alloy winders are lightweight and durable, resisting corrosion even in coastal salt-air environments. Plastic winders are cheaper but can crack if dropped. Carbon fiber options exist for competitive flyers who count every gram, but they come at a premium price.
Comparing Popular Storage Solutions
Choosing between a manual winder, a mechanical reel, and a simple spool depends on your flying style and budget. Here’s how they stack up against each other in real-world scenarios.
| Feature | Manual Hand Winder | Mechanical Reel | Plastic Spool |
|---|---|---|---|
| Cost | $15 - $40 | $50 - $150+ | $5 - $10 |
| Portability | High (Pocket-sized) | Low (Bulky) | Medium |
| Tension Control | Manual (Variable) | Automatic (Consistent) | None |
| Line Protection | Good (if flanges are deep) | Excellent (enclosed) | Poor (abrasive edges) |
| Best For | Stunt kites, travel | Power kites, large setups | Beginners, temporary storage |
As the table shows, manual winders offer the best balance for most hobbyists. They are light enough to carry in a backpack yet robust enough to protect your investment. Mechanical reels are fantastic for heavy-duty applications, such as flying large delta kites or traction kites where hundreds of feet of thick line are involved. However, they are heavy and complex to repair if the internal gears strip.
How to Properly Load Your Winder
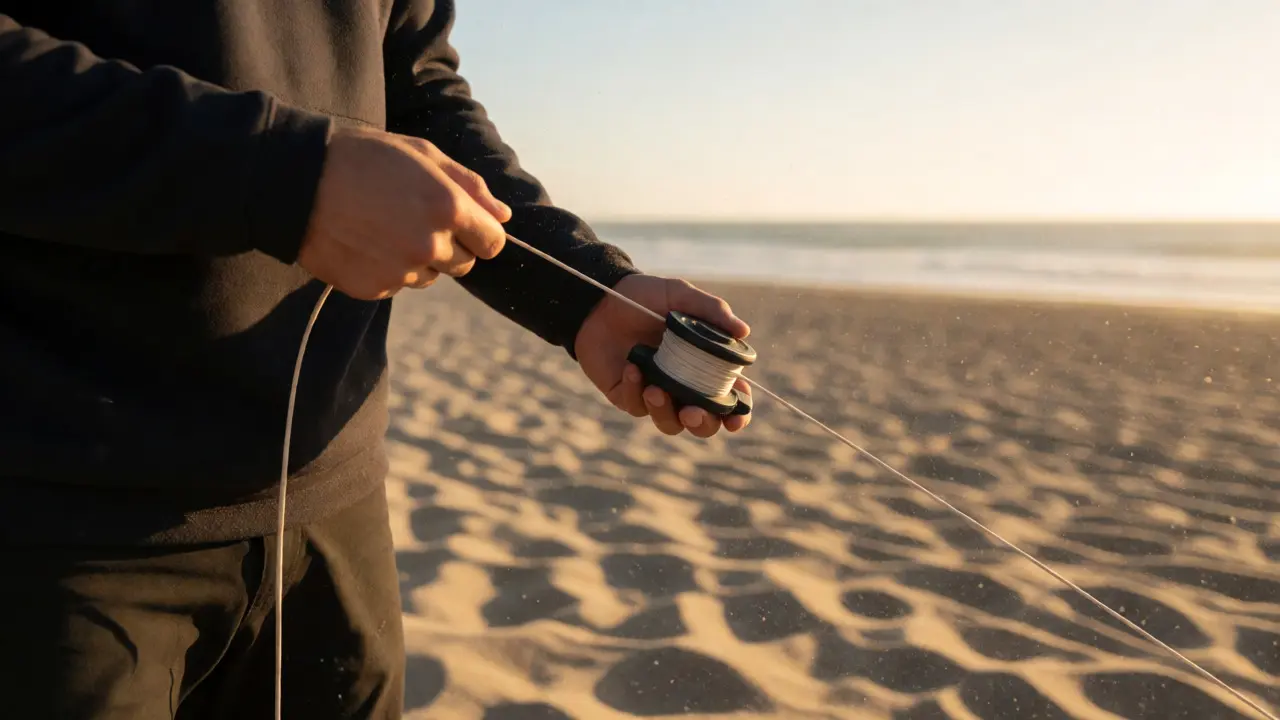
Buying the right tool is half the battle. Loading it correctly is the other half. Many people ruin their new winder by loading it poorly. Follow these steps to ensure a smooth unwind:
- Clean the Line: Before winding, run the entire length of the line through a damp cloth. Remove any dirt, grass stains, or debris. Once wound, this dirt gets trapped between layers and grinds into the fibers.
- Secure the End: Attach the looped end of your line to the hub’s anchor point. Ensure it is tight. If it slips, the whole coil will loosen during flight.
- Apply Consistent Tension: As you crank the handle, pull back gently on the line. You want the coils to sit snugly next to each other, not overlapping randomly. Loose winding leads to loops falling off the flange. Too tight can stretch the line and cause memory issues.
- Wind Evenly: Move the line guide (if your winder has one) or manually shift the line across the width of the hub. Do not pile all the line in the center. An uneven load makes the winder wobble and puts stress on the bearings.
- Lock It Down: Once finished, engage the locking mechanism immediately. Do not let go until the brake is on.
A common pitfall is ignoring the "lay" of the line. Braided lines have a natural twist. If you wind against this twist, you introduce torque that fights you during flight. Always wind in the direction that naturally releases the line. Test this by letting a few feet hang free; if it twists open, reverse your winding direction.
Maintenance: Keeping Your Gear Fly-Ready
Your winder needs care, too. Sand and dust accumulate in the moving parts. After a day at the beach, wipe down your aluminum winder with a dry cloth. Check the pivot points. If the handle feels gritty, disassemble it (most quality winders have removable screws) and clean the bearings with compressed air or a soft brush. Avoid oiling the bearings unless specified by the manufacturer, as oil attracts more dirt.
Inspect the flanges regularly. If you see nicks or burrs where the line passes over, file them down with fine-grit sandpaper. A tiny burr can cut through a thin Dyneema line in seconds under high load. Replace any cracked plastic parts immediately. Don’t try to tape them up; a broken flange means lost line and potentially a lost kite.
Storage location matters. Keep your winders in a cool, dry place away from direct sunlight. UV radiation degrades many plastics and some synthetic fibers over time. If you live in a humid climate, consider storing your winders in a breathable mesh bag rather than a sealed plastic case to prevent mold growth on any fabric components.
DIY vs. Store-Bought: Is Custom Worth It?
Some enthusiasts 3D print their own winders or modify existing ones. This can be rewarding, but proceed with caution. Standard PLA plastic becomes brittle in heat and sun. If you 3D print a winder, use PETG or ASA materials, which resist UV and impact better. Also, ensure the tolerances are tight. A loose fit between the hub and the axle creates play, which translates to vibration and noise during operation.
Store-bought winders from reputable brands usually undergo testing for load capacity. They know exactly how much force the hub can withstand before failing. With DIY projects, you’re guessing. Unless you are experienced with engineering principles, sticking to proven commercial designs is safer for your expensive line.
Frequently Asked Questions
Can I use any type of string for kite flying?
No. Cotton twine stretches significantly and loses strength when wet, making it unreliable for controlled flying. Nylon is stronger but still has considerable stretch. For serious flying, use low-stretch synthetic fibers like Dyneema, Spectra, or polyester braided lines specifically rated for kite loads.
How do I fix a twisted kite line?
If your line develops severe twists, lay it out straight on the ground. Run a gloved hand along the length to release tension knots. If the twist persists due to line memory, re-wind it carefully onto a winder, applying slight counter-torque as you go. In extreme cases, soaking the line in warm water (not hot) can help relax the fibers before drying and rewinding.
What size winder should I buy?
Match the winder capacity to your longest line requirement. A general rule is to choose a winder that holds 20% more line than you typically fly. This extra space allows for easier winding and prevents overfilling, which can cause line slippage. For example, if you fly 100-foot lines, get a winder rated for 120-150 feet.
Do I need a winder for single-line kites?
While not strictly necessary for casual backyard flying, a winder protects your line from tangling and abrasion. For children’s kites with short lines, a simple spool may suffice. However, for anything over 50 feet, a proper winder saves significant time and extends the life of your gear.
How often should I replace my kite line?
There is no fixed timeline. Inspect your line after every session. Replace it if you see fuzzing, discoloration, or soft spots. Under normal recreational use, a high-quality braided line might last several seasons. Frequent flyers or those using kites in abrasive environments (like deserts) may need to replace lines annually.