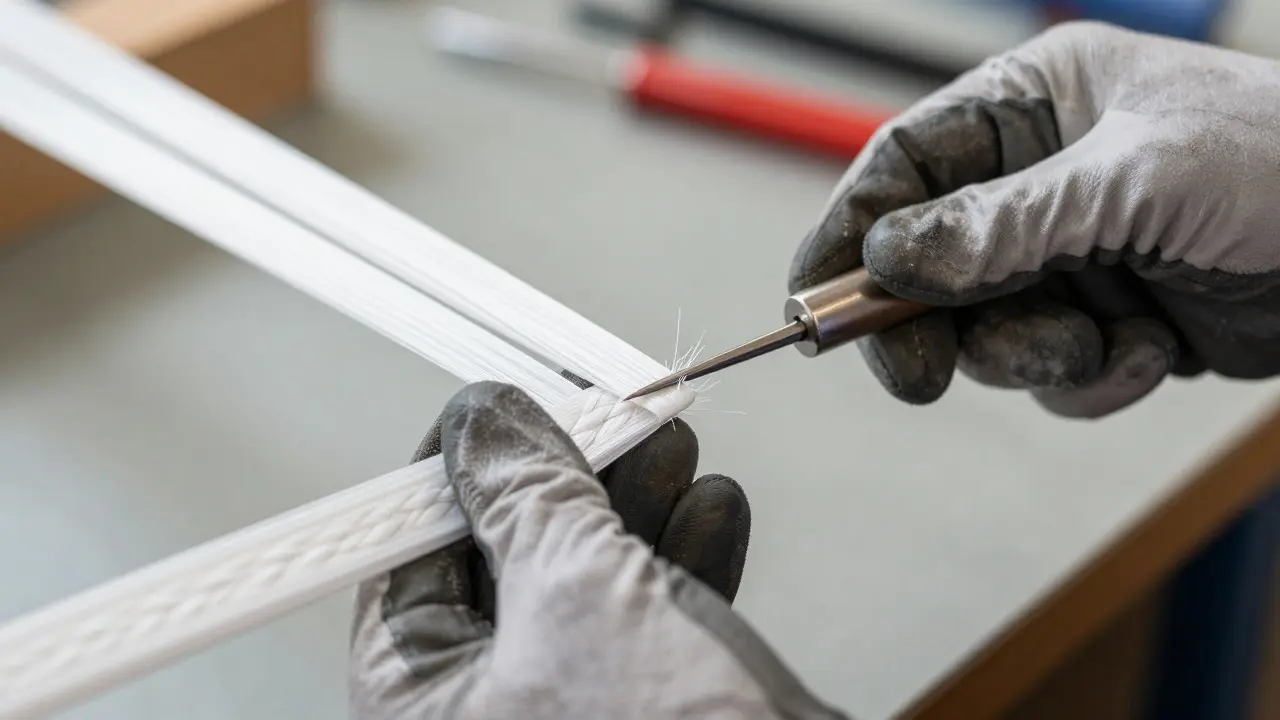
Nothing kills the thrill of a perfect wind day faster than a snapped kite line. If you fly power kites or large traction kites, you know that the connection between your line sections is often the weakest point in the entire system. Most beginners rely on simple knots like the figure-eight bend, which can slip under heavy load. That’s where kite line splicing comes in. It’s not just a fancy trick; it’s the standard for creating permanent, high-strength connections that maintain nearly 100% of the line’s original breaking strength.
In this guide, we’ll break down exactly how to create these splices, why they matter for your safety, and how to avoid the common mistakes that lead to failure. Whether you’re using Dyneema skinned lines or older polyester setups, the principles remain the same: precision, patience, and proper tooling.
Why Splicing Beats Knots Every Time
Before we grab the tools, let’s look at the physics. A standard knot reduces a rope’s strength by 30% to 50%. For a 6mm Dyneema line rated at 4,000 pounds, that means you’re effectively flying with a line that breaks at half its potential. Worse, knots can tighten further when wet or under cyclic loading, leading to sudden failures.
A splice works differently. Instead of bending the fibers around each other, you weave them back into the main body of the line. This distributes the load across a longer section of the material, preserving almost all of the line’s integrity. The result is a smooth, low-drag connection that won’t jam in your control bar handles or depower mechanisms.
| Method | Strength Retention | Bulk Factor | Best Use Case |
|---|---|---|---|
| Double Braid Splice | 95-100% | Low (smooth) | Permanent joins, loop ends |
| Figure-Eight Bend | 60-70% | High (bulky) | Temporary repairs only |
| Aluminum Crimps | 80-90% | Medium | Quick swaps, non-skinned lines |
Gathering Your Tools: What You Actually Need
You don’t need a professional rigging shop to do this well. However, skipping on quality tools will cost you time and potentially your kite. Here is the essential kit:
- Line Awl or Marlinespike: A sharp, tapered tool used to open up the sheath of the line. Plastic ones work for thin lines, but metal is better for anything over 3mm.
- Fusee or Heat Gun: Used to melt the plastic sheath slightly so it closes tightly around the core. A dedicated fusee is safer than a lighter, which can singe the fibers unevenly.
- Scissors or Line Cutter: Sharp blades are critical. Dull scissors crush the fibers instead of cutting them clean.
- Pencil or Marker: To mark your measurements accurately.
- Protective Gloves: Dyneema cuts skin like glass. Trust me, you want gloves on.
If you are working with skinned lines (like those from LEI or Ozone), be aware that the outer layer is usually nylon or polyester, while the core is high-modulus Dyneema. The splice happens in the core, but the sheath must be managed carefully to prevent it from slipping off during the process.
Step-by-Step: The Double Braid Splice
The double braid splice is the gold standard for joining two sections of line. It creates a loop at the end of one line and threads the other through it, then locks both together. Here is how to execute it cleanly.
- Prepare the Ends: Strip the sheath off approximately 12 inches from the end of the first line. Keep the second line intact for now. Mark the strip point clearly.
- Create the Eye: Take the stripped core of the first line and fold it back on itself to form a loop. Secure this temporarily with a zip tie or a small piece of tape near the base of the loop. This prevents the strands from unraveling while you work.
- Thread the Second Line: Pass the end of the second line through the eye you just created. Pull it through until the ends meet.
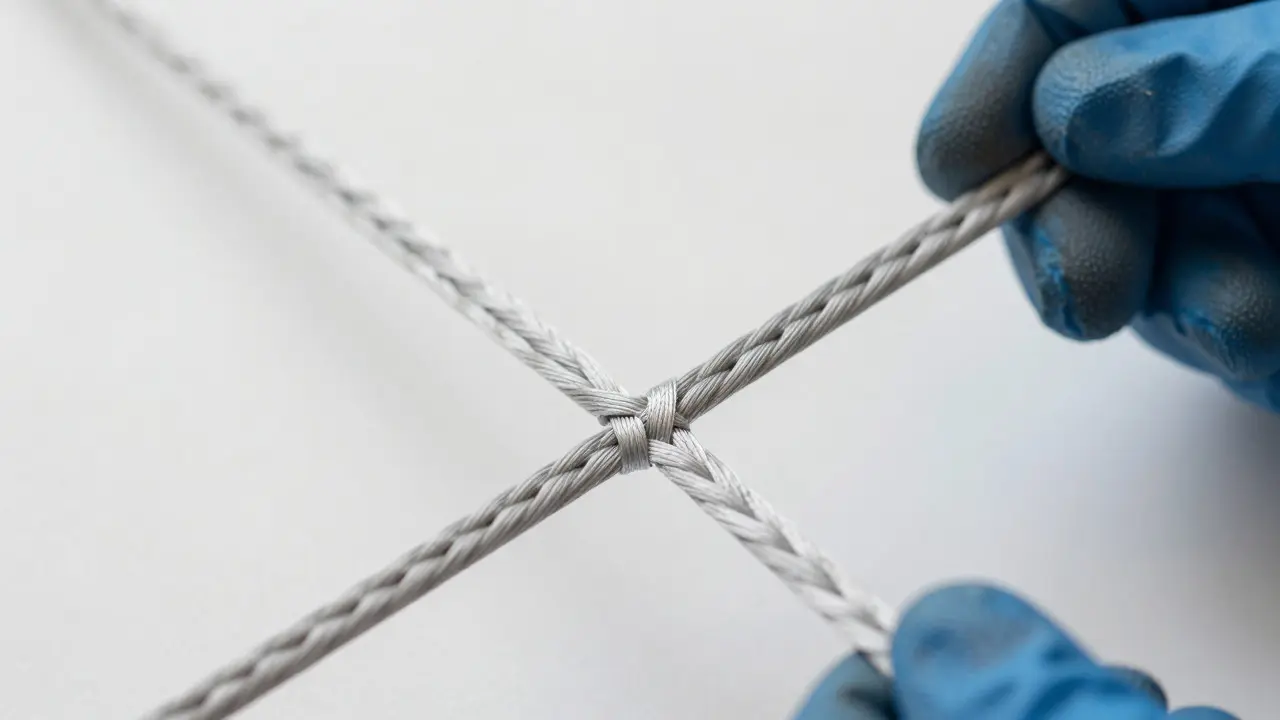
- Begin the Splice: Starting about 6 inches from the end of the second line, begin weaving its core strands into the core of the first line. Follow the existing braid pattern. Typically, you go "over one, under two" or follow the natural twist of the line. Consistency is key here.
- Continue Weaving: Work your way down the line for about 6 to 8 inches. As you weave, keep the tension even. If one side gets too tight, the splice will be lumpy and prone to catching.
- Cut and Trim: Once the weave is complete, cut off the excess tails flush against the line surface. Don’t leave long tails; they will tangle and catch on things.
- Melt and Seal: This is the most critical step. Use your fusee to gently heat the sheath over the splice area. The goal is to shrink the sheath tightly around the woven core. Move the heat source continuously to avoid burning a hole. The sheath should look glossy and tight, with no gaps visible.
After sealing, pull hard on both ends. There should be no give. If the splice slips, you likely didn’t weave enough turns or the sheath isn’t gripping the core properly. In that case, re-open the sheath and redo the weave.
Common Mistakes That Ruin Splices
Even experienced flyers mess up splices occasionally. Here are the three biggest pitfalls I see in local flying groups.
1. Ignoring the Sheath
Many people focus entirely on the core weave and forget that the sheath holds everything together. If the sheath doesn’t shrink tight, water can seep in, causing the internal fibers to swell and weaken. Always check the seal after melting. Run your thumb along the length; if you feel any ridges or looseness, apply more heat.
2. Uneven Tension
If you pull harder on one strand than another while weaving, you create stress points. These spots act like cracks in concrete-they start small and spread under load. Keep the tension consistent by holding the line with both hands and letting the weight of the line help you gauge the pull.
3. Using the Wrong Line Type
Not all lines are created equal. Some cheaper lines have inconsistent braiding patterns, making them impossible to splice correctly. If you find yourself fighting the weave, check your line quality. High-quality lines from reputable brands like LEI, Ozone, or PowerKiteShop have uniform twists that make splicing predictable and easy.
Safety Checks Before You Fly
A splice might look perfect, but does it perform? Before heading out to the beach or field, run a quick inspection routine.
- Visual Check: Look for frayed sheath or exposed core fibers. Any sign of wear means the splice is compromised.
- Tactile Check: Run your hand along the splice. It should feel smooth, like the rest of the line. Lumps indicate poor weaving.
- Load Test: Hang a known weight (like a bag of groceries) from the splice for 10 minutes. If it stretches or shifts, don’t fly with it.
- UV Inspection: UV light degrades plastic sheaths over time. If your lines are more than two years old, inspect them closely. Discolored or brittle sheath is a red flag.
Remember, a failed splice doesn’t just mean losing your kite. It can mean a free-flying projectile hitting someone nearby. Always fly in designated areas and keep a safe distance from spectators.
Maintenance Tips for Longevity
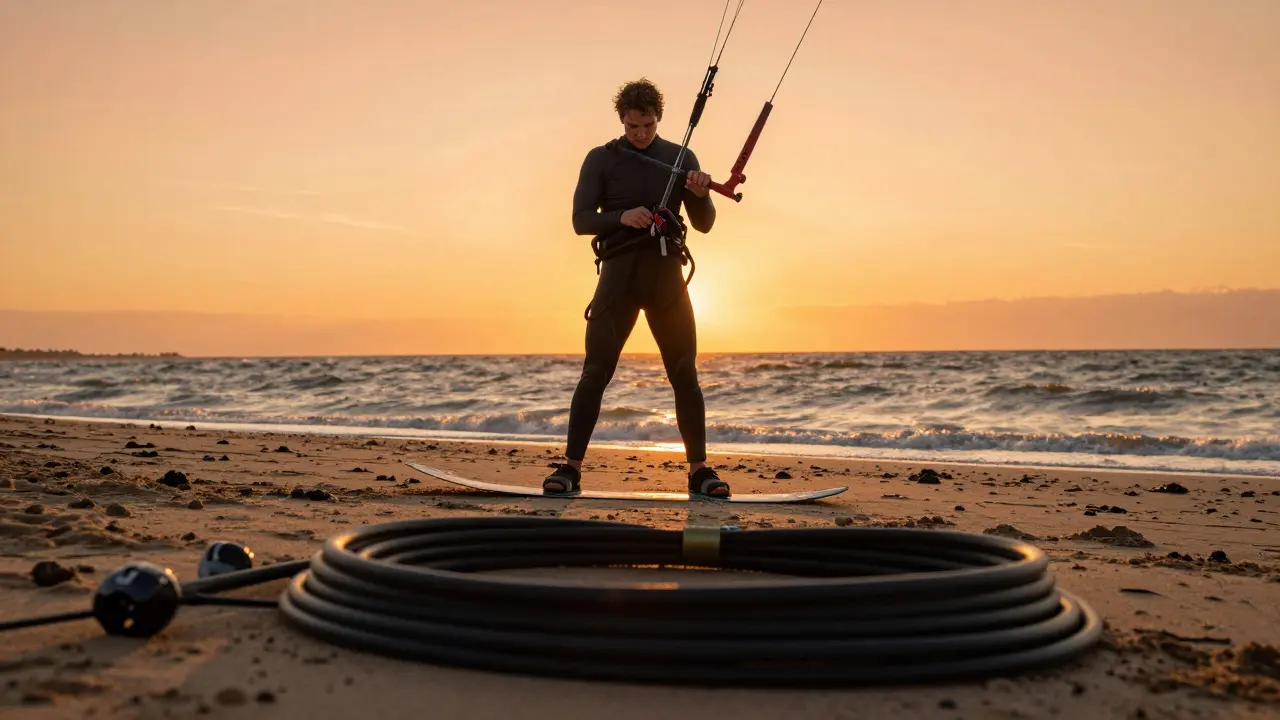
Your spliced lines will last for years if you treat them right. After every flight, rinse the lines with fresh water to remove salt and sand. Sand is abrasive and can grind down the sheath over time. Dry the lines completely before storing them. Moisture trapped inside the sheath can lead to mold or fiber degradation.
Store your lines loosely coiled, not tightly wound. Tight coils create memory in the line, making it harder to manage and potentially weakening the splice points over time. If you store them for a long period, hang them vertically to prevent any kinks from forming.
When to Replace vs. Repair
There is a fine line between fixing a minor issue and replacing a compromised line. Here is a simple rule of thumb:
- Replace immediately if: The core is exposed for more than 1 inch, the sheath is cracked, or the splice has slipped once.
- Repair if: The sheath is slightly abraded but the core is intact, or there is a small nick in the sheath that hasn’t reached the core.
- Monitor if: The line shows signs of UV fading but feels strong. Inspect monthly.
When in doubt, replace. A new set of lines costs less than a trip to the ER or a lawsuit from a hit-and-run kite accident.
Frequently Asked Questions
Can you splice different types of kite lines together?
Generally, no. Mixing materials like Dyneema and polyester leads to unequal stretching and friction issues. Stick to the same brand and diameter for the best results. If you must mix, ensure the diameters match exactly and test the splice thoroughly.
How long does a kite line splice last?
A properly executed splice can last the lifetime of the line, which is typically 2-3 seasons of regular use. However, UV exposure and abrasion are the main enemies. Regular inspections will tell you when to re-splice or replace.
What is the best tool for opening kite line sheath?
A metal marlinespike or a specialized line awl is best. Avoid using knives directly on the core, as you risk slicing the fibers. A plastic awl works for very thin lines (under 2mm) but may struggle with thicker industrial-grade lines.
Do I need to wax my spliced lines?
No, and actually, you should avoid it. Wax adds bulk and can interfere with the sheath’s ability to grip the core. Modern synthetic lines don’t need lubrication. Just keep them clean and dry.
Is splicing harder than tying knots?
Yes, initially. Splicing requires more steps and precision. However, once you get the rhythm, it becomes faster than untangling a bad knot. Plus, the end result is far superior in terms of strength and smoothness.