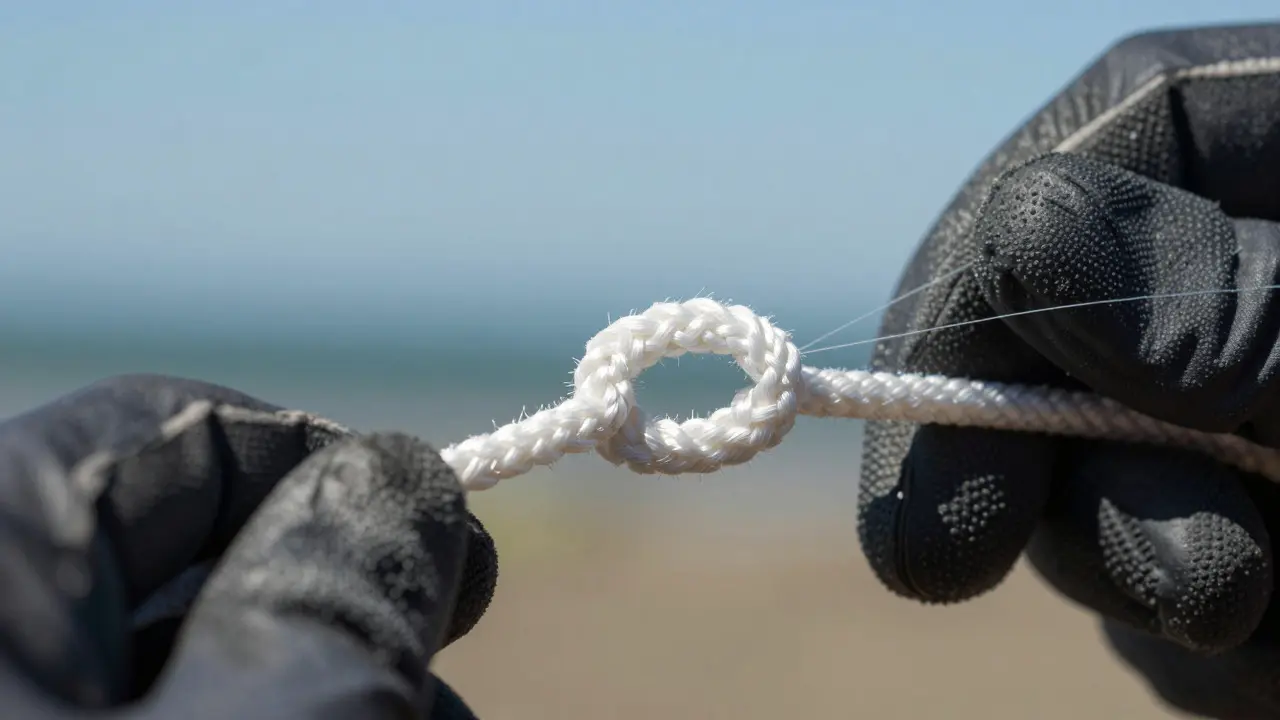
Nothing ruins a perfect day of kite flying faster than a snapped line. You are high in the air, the wind is steady, and suddenly your kite line is the critical tether connecting you to the sky, typically made of Dyneema or Spectra fibers gives way. It’s not just annoying; it’s dangerous. A loose line can tangle with other flyers, hit bystanders, or wrap around trees and power lines. The root cause? In most cases, it isn’t the material failing-it’s the knot.
Knots are the weak link in any rigging system. When you tie a standard loop into high-modulus synthetic rope, you create stress points that significantly reduce the line's breaking strength. Understanding strength loss in these connections is the difference between a safe flight and a chaotic cleanup operation. This guide breaks down why knots weaken lines, which ones hold up best, and how to tie them correctly to keep your gear intact.
Why Knots Weaken Kite Lines
To understand the problem, you have to look at the physics of the material. Most modern sport kites use Dyneema a high-strength polyethylene fiber known for its low weight and high tensile strength or similar UHMWPE (Ultra-High-Molecular-Weight Polyethylene) fibers. These materials are incredibly strong when straight, but they behave poorly under bending stress. When you form a knot, you bend the fibers sharply. This bending creates internal friction and micro-abrasions that compromise the structural integrity of the line.
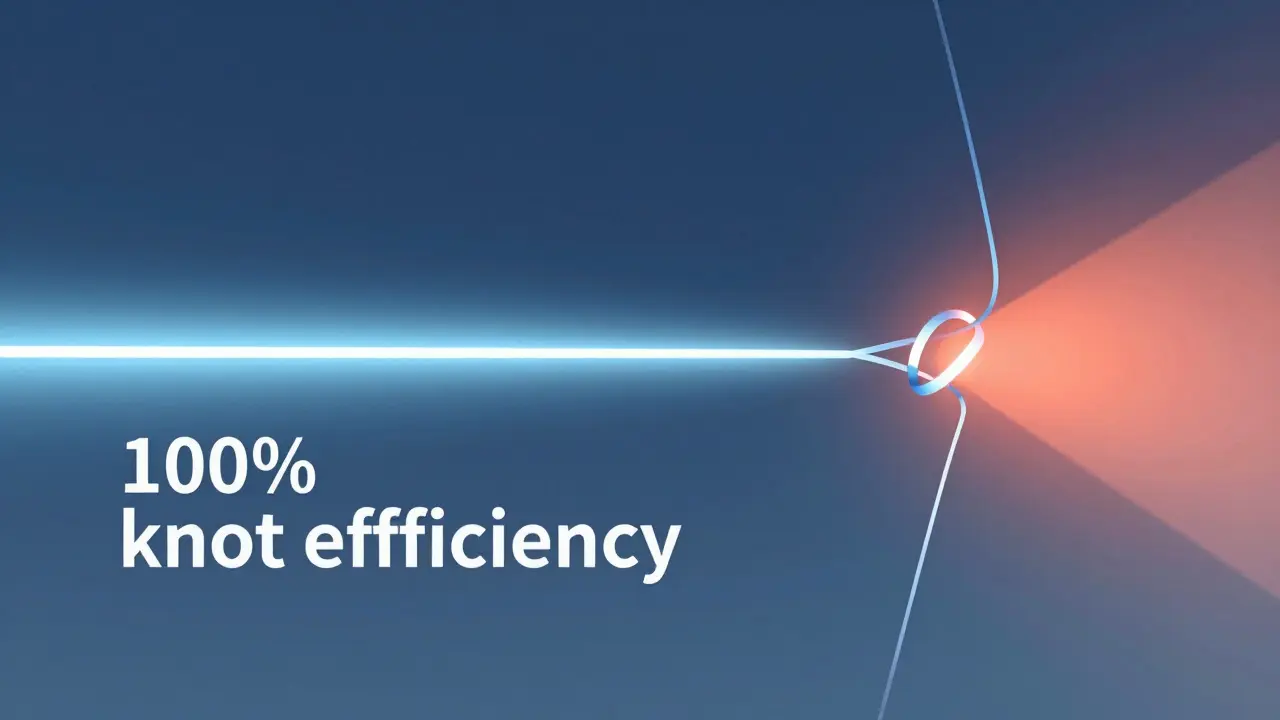
The result is a phenomenon called "knot efficiency." A perfect line has 100% strength. A knot reduces this percentage. For example, if your line has a breaking strength of 300 pounds, and you tie a knot with 60% efficiency, your effective breaking strength drops to 180 pounds. That’s a massive drop. If you fly near your maximum load-say, during a gusty storm-you might think you’re safe because the line is rated for 300 lbs, but your knot fails at 180 lbs before the line itself does.
There are two main factors that accelerate this weakening:
- Bend Radius: The tighter the bend in the knot, the higher the stress on the outer fibers. Large loops are better than tight coils.
- Friction Heat: When a line slips slightly under heavy load, friction generates heat. Synthetic fibers melt or degrade at lower temperatures than natural fibers, causing sudden failure.
Best Knots for Kite Lines: The Top Contenders
Not all knots are created equal. Some are designed for climbing, some for fishing, and some specifically for high-tension aerial sports. Here are the three most reliable options for kite flying, ranked by their balance of strength, security, and ease of use.
1. The Double Fisherman’s Knot
This is the gold standard for joining two ends of a line, such as when splicing a new section onto an old one or creating a permanent loop. It consists of two single fisherman’s knots tied back-to-back. Because the strands run parallel rather than crossing over each other tightly, it maintains high strength. It also resists slipping under constant tension, which is crucial for kite lines that are always pulled.
2. The Power Lark Bowline
If you need a temporary loop that is easy to untie after the flight, the Power Lark Bowline is your best bet. It combines the security of a lark’s head with the slip resistance of a bowline. It offers excellent strength retention (often above 75%) and doesn’t jam like a simple bowline might after being loaded heavily. It’s ideal for attaching your bridle to the control bar or handle.
3. The Zeppelin Hitch
For quick adjustments or temporary stops, the Zeppelin Hitch is compact and strong. However, it is less secure than the first two for permanent attachments. Use it only when you expect to untie it frequently and don’t want to risk it coming undone mid-flight due to vibration or wind gusts.
| Knot Name | Strength Retention | Slip Resistance | Ease of Untying | Best Use Case |
|---|---|---|---|---|
| Double Fisherman’s | High (~80%) | Excellent | Difficult | Splicing lines, permanent joins |
| Power Lark Bowline | Very High (~85%) | Good | Moderate | Bridle attachments, temporary loops |
| Zeppelin Hitch | Medium (~70%) | Fair | Easy | Quick stops, adjustable stops |
| Simple Bowline | Low (~60%) | Poor | Easy | Avoid for high-load kite lines |
Step-by-Step: Tying a Secure Loop
Knowing which knot to use is half the battle. Executing it correctly is the other half. A sloppy knot performs worse than no knot at all. Here is how to tie a Power Lark Bowline a hybrid knot combining a lark's head and a bowline for secure, unjamming loops on your kite line.
- Create the Initial Loop: Hold the line in your left hand. Make a small loop with the working end over the standing part. Do not tighten it yet.
- Form the Lark’s Head Base: Take the working end and pass it through the loop from behind, then bring it up through the front. This creates a basic lark’s head structure.
- Add the Bowline Twist: Before tightening, twist the loop so the opening faces away from you. Pass the working end around the standing part and back through the initial loop.
- Tighten Carefully: Pull both the standing part and the working end simultaneously. Ensure the loop is symmetrical. A skewed loop concentrates stress on one side, reducing strength further.
- Check the Bend Radius: Look at the knot. Are the bends sharp? If so, loosen it slightly and re-tighten to ensure the line flows smoothly without kinks.
Pro Tip: Always wet the knot lightly with water before tightening. This reduces friction, allows the fibers to settle into the optimal shape, and prevents heat buildup during the final pull.
Common Mistakes That Cause Line Failure
Even with the right knot, bad habits can lead to disaster. Watch out for these frequent errors:
- Using the Wrong Material: Never mix different types of line (e.g., nylon and Dyneema) in the same knot unless using a specific splice. Different diameters and friction coefficients cause uneven stress distribution.
- Neglecting the Tag End: Leaving a long tag end (the short piece sticking out) can flap in the wind, creating drag and potential tangling. Trim it close to the knot, but leave enough to prevent slippage (usually 1-2 inches).
- Ignoring UV Degradation: Sunlight breaks down polymer chains over time. Even a perfectly tied knot will fail if the line itself is brittle from years of exposure. Replace lines every 2-3 seasons of regular use.
- Overloading the System: Flying too big a kite for the current wind conditions puts excessive strain on the knots. Check your local wind speed and match your kite size accordingly.
Alternatives to Traditional Knots
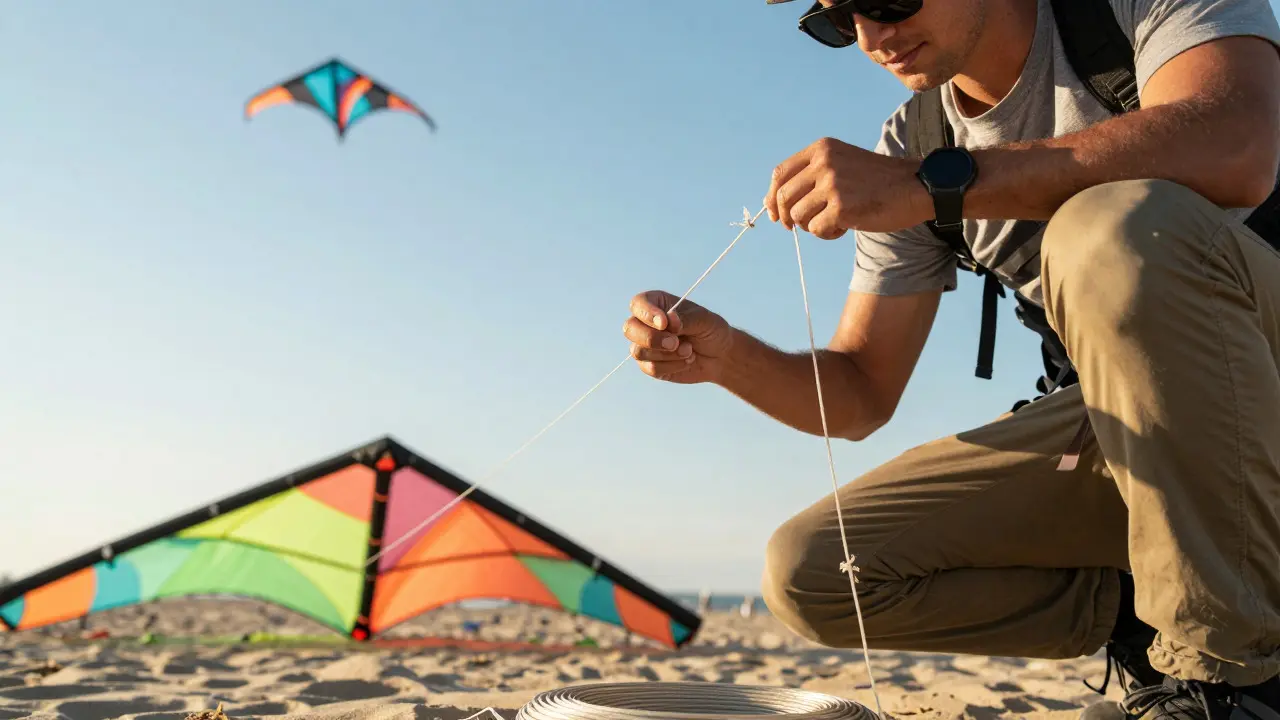
If you want to eliminate knot weakness entirely, consider these alternatives:
Heat Shrink Splices: Instead of tying a knot, you can strip the outer sheath of the line, braid the inner core back together, and cover it with heat shrink tubing. This creates a continuous line with no weak point. It requires practice but offers 95%+ strength retention.
Pre-Spun Connectors: Many kite manufacturers sell pre-spun connectors or swivels. These are metal or composite parts that clamp onto the line. They are expensive and add weight, but they are foolproof for beginners who struggle with complex knots.
Snap Swivels: For quick attachment to handles, snap swivels allow you to connect and disconnect without tying knots. They are convenient but add rotational drag, which can be problematic in turbulent winds.
Maintenance and Inspection Routine
Your knots are only as good as your inspection routine. Before every flight, perform a quick check:
- Visual Scan: Look for fraying, discoloration, or flattening of the line near the knot. Flattened sections indicate past overloading.
- Tactile Check: Run your fingers along the line. Feel for rough spots or stiffness. Healthy Dyneema feels smooth and supple.
- Load Test: Give the line a firm tug. Listen for creaking sounds, which indicate internal fiber damage.
- Cleanliness: Remove sand, dirt, or grass clippings trapped in the knot. Debris acts as an abrasive, accelerating wear.
Store your lines coiled loosely in a cool, dry place. Avoid hanging them in direct sunlight or leaving them in a hot car, as heat accelerates polymer degradation.
What is the strongest knot for kite lines?
The Power Lark Bowline is generally considered the strongest practical knot for temporary loops, retaining about 85% of the line's strength. For permanent splices, the Double Fisherman’s Knot is superior due to its parallel strand alignment and high slip resistance.
How often should I replace my kite line?
Replace your kite line every 2 to 3 seasons of regular use. UV exposure, abrasion, and chemical degradation weaken the fibers even if the line looks fine. If you fly in sandy environments or near saltwater, inspect more frequently and consider annual replacement.
Can I use fishing knots for kite lines?
Some fishing knots work well, like the Palomar knot, but many are designed for thinner monofilament lines. For thick Dyneema kite lines, stick to purpose-built knots like the Double Fisherman’s or Power Lark Bowline, which handle larger diameters and higher loads better.
Does wetting the knot really help?
Yes. Wetting the line reduces friction between the fibers as you tighten the knot. This allows the knot to seat properly without generating excessive heat, which can melt synthetic fibers. It also helps the knot maintain its shape under load.
What happens if a kite line snaps in the air?
The kite becomes uncontrolled and may drift downwind. If the line is still attached to the handle, it can whip around dangerously. Always wear gloves and keep clear of the line’s path. If the line detaches completely, track the kite’s descent to avoid collisions with people or property.