Ever watched a dual-line stunt kite perform precise loops and dives in the sky and thought, "I could build that"? You absolutely can. But there is a catch. Most beginners fail not because they lack creativity, but because they misunderstand the physics of the frame. A stunt kite isn't just a piece of plastic with strings; it's an airfoil engineered for speed and control. If your frame is too heavy, it won't lift. If it's too flexible, it will snap or fly like a drunk bird. Let’s break down exactly what you need to get right.
Why Your Frame Material Matters More Than the Sail
Here is the hard truth: the sail (the fabric part) matters, but the skeleton determines how the kite flies. For years, people used bamboo or fiberglass rods. They work, sure. But if you want sharp turns and quick acceleration, you need carbon fiber spars lightweight, high-stiffness tubes made from woven carbon fibers. Carbon fiber offers a strength-to-weight ratio that wood simply cannot match. It allows the kite to hold its shape against strong winds without bending excessively.
When shopping for materials, look for spars labeled by their diameter and wall thickness. Common sizes for home-built stunt kites range from 3mm to 6mm in diameter. Thinner spars are lighter but more fragile; thicker ones are durable but add drag. A good starting point for a standard 8-foot wingspan kite is a 4mm to 5mm carbon tube. Don’t cheap out on this. Cheap fiberglass rods often splinter or have inconsistent stiffness, which ruins the balance of your flight.
The Anatomy of a Dual-Line Stunt Kite Frame
Before you cut anything, understand what you are building. A typical delta kite a triangular-shaped kite known for stability and ease of use frame consists of three main structural components:
- The Leading Edge Spar: This runs along the top front edge of the kite. It is usually the thickest and stiffest part of the frame because it bears the most wind pressure.
- The Cross Spars (Battens): These run horizontally across the wings. They give the kite its width and maintain the aerodynamic curve. In many designs, these are segmented and connected by sleeves.
- The Vertical Spar: This runs down the center spine, connecting the nose to the tail. It provides longitudinal rigidity.
Some advanced designs use a "flexible bridle" system where the cross spars bend slightly under load, allowing the kite to adjust its angle of attack automatically. As a beginner, stick to rigid frames first. They are easier to tune and less forgiving of errors, which means when you mess up, you’ll know why.
Essential Tools and Hardware for Assembly
You don’t need a machine shop, but you do need precision. Here is your shopping list for hardware:
| Component | Specification | Purpose |
|---|---|---|
| Spar Connectors | Aluminum or Delrin Sleeves | Joining two spar segments securely without adding bulk. |
| Tips | Fiberglass or Plastic Caps | Protecting spar ends and attaching sail corners. |
| Bridle Line | Dyneema or Spectra (100lb test) | Transferring pilot input to the kite; must be non-stretchy. |
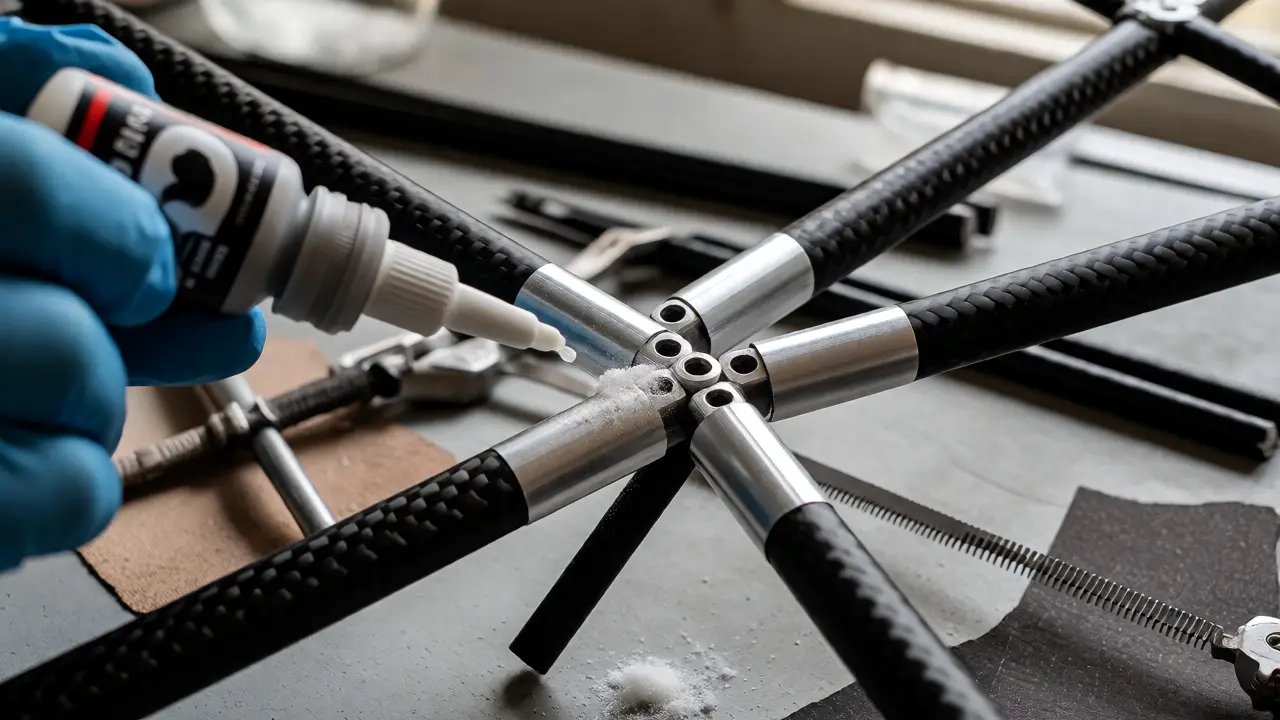
| Adhesive | CA Glue (Cyanoacrylate) + Baking Soda | Reinforcing joints instantly; stronger than epoxy for small fixes. |
Notice I mentioned Dyneema a brand of ultra-high-molecular-weight polyethylene fiber for the bridle. Do not use nylon fishing line. Nylon stretches. When you pull one handle, the kite should react immediately. If the line stretches, your inputs lag, and the kite feels sluggish. Dyneema has near-zero stretch, giving you direct control over every maneuver.
Step-by-Step Frame Construction Techniques
Building the frame is all about symmetry. If your left wing is 1mm longer than your right, the kite will circle endlessly instead of flying straight. Follow this process to avoid headaches:
- Cut the Spars: Use a fine-toothed hacksaw or a rotary tool with a cutting disc. Cut slowly to prevent fraying the carbon fibers. Sand the cut ends lightly so they slide into connectors easily.
- Assemble the Skeleton: Insert the cross spars into the leading edge spar using the connectors. Then, attach the vertical spar. Use clamps to hold pieces together while you check alignment.
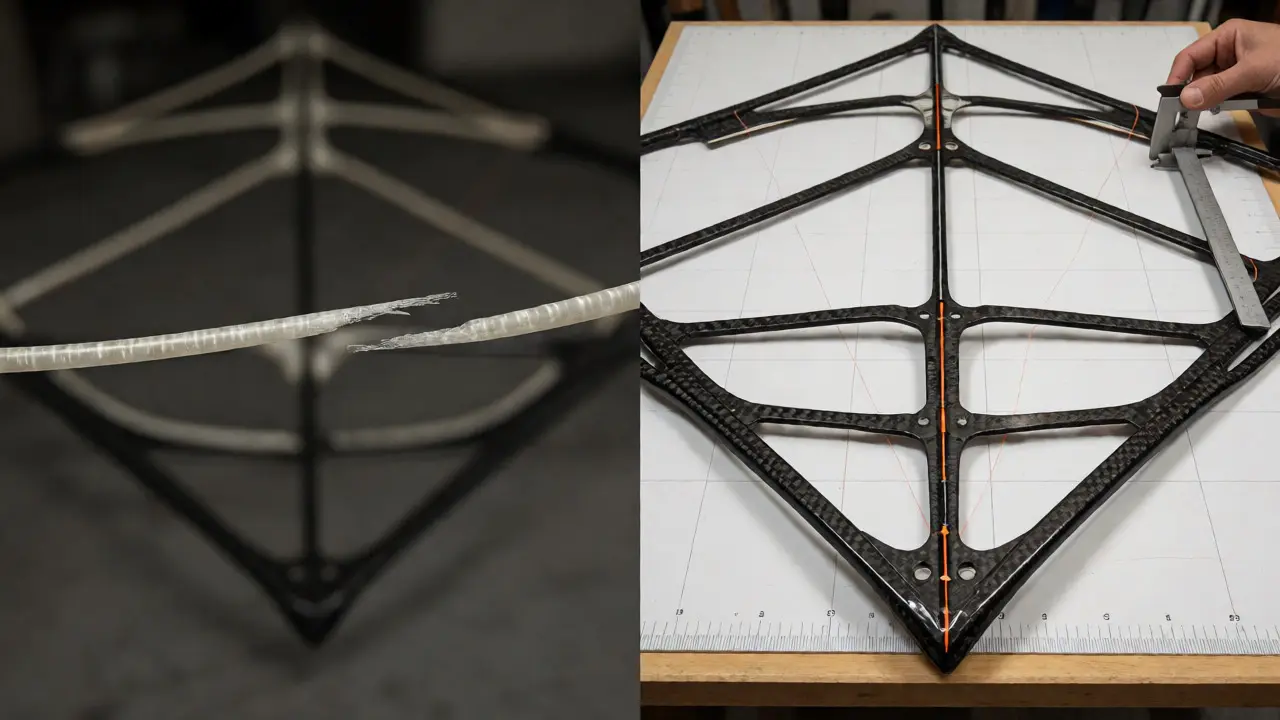
- Check Symmetry: Lay the assembled frame on a flat table. Measure the distance from the nose to each wingtip. They must be identical. Also, measure the height of the vertical spar at both sides. If it’s uneven, adjust now before gluing.
- Glue the Joints: Apply a tiny amount of CA glue to the connection points. Be careful-CA glue bonds skin instantly. Wear gloves! For extra strength, dust baking soda over the wet glue. The reaction creates a rock-hard bond in seconds.
- Install Tips: Slide the protective tips onto the ends of the spars. Secure them with a drop of glue or friction fit, depending on the design.
A common mistake here is using too much glue. Excess glue adds weight and can make joints brittle. Less is more. You want the joint to hold, not to become a solid block of plastic.
Tuning the Bridle for Better Flight
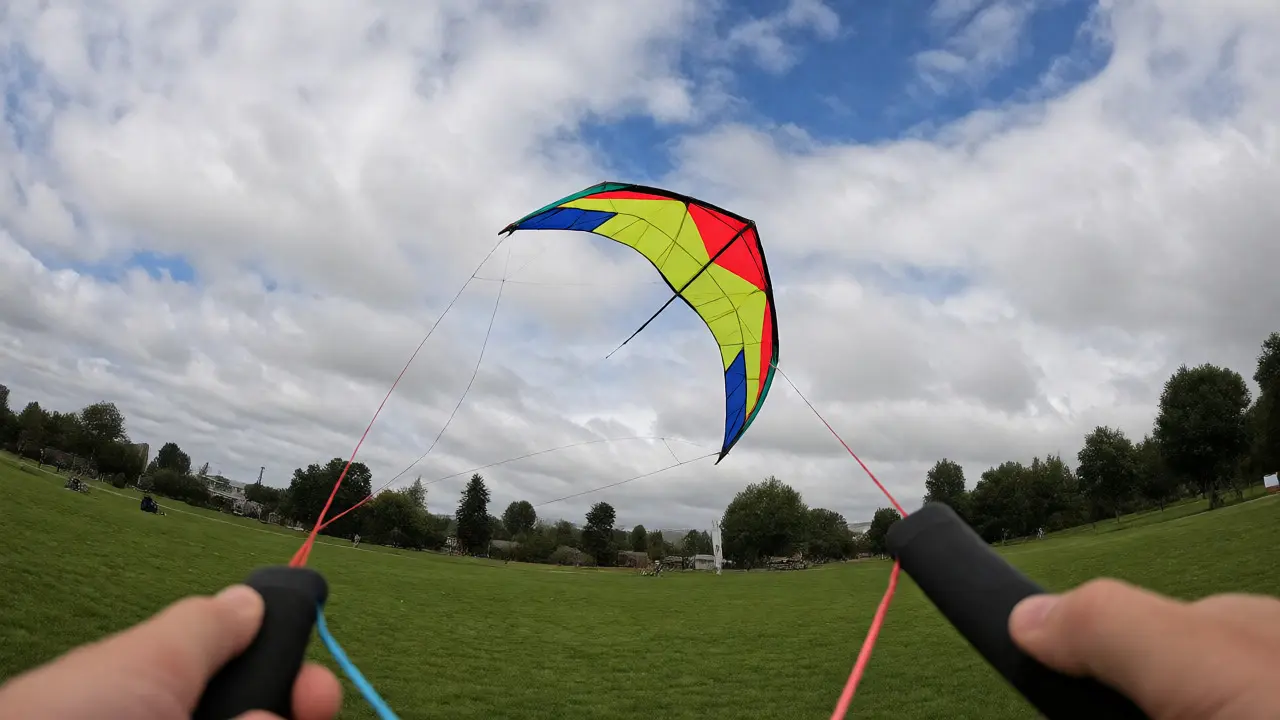
Once your frame is built and the sail is attached (usually with Velcro or clips), you have to set the bridle the arrangement of lines connecting the kite to the handles. This is where magic happens. The bridle determines the angle of attack-the angle at which the kite meets the wind.
If the kite nosedives, the angle is too steep. Move the attachment point forward (toward the nose). If the kite backs off or stalls, the angle is too shallow. Move the attachment back. Start with the manufacturer’s recommended position if you are copying a plan, then tweak it. Make small adjustments, no more than 1/4 inch at a time. Keep a notebook. Write down what worked. After ten flights, you’ll have a custom tuning guide specific to your local wind conditions.
In Portland, where we deal with variable coastal winds, having a tunable bridle is crucial. One day it’s 5 mph, the next it’s 20 mph gusts. A fixed bridle fails in extremes. An adjustable one lets you adapt.
Common Pitfalls and How to Fix Them
Even experienced builders hit snags. Here are the top three issues and quick fixes:
- The Kite Spins in Circles: Almost always a symmetry issue. Check if one wing tip is heavier or if one spar is bent. Swap the wings if possible to see if the problem moves. If it does, the wing is defective.
- The Kite Won’t Launch: Likely too heavy or the bridle is too tight. Try loosening the bridle slightly to increase the angle of attack. Also, ensure your sail isn’t sagging. A loose sail creates drag.
- Spars Snap During Flight: You’re flying in wind stronger than the kite was designed for. Or, you used low-quality spars. Upgrade to higher-modulus carbon fiber if you plan to fly in gusty conditions regularly.
Remember, building a stunt kite is iterative. Your first attempt might not win competitions, but it will teach you more than any book. The joy comes from tweaking, testing, and seeing that piece of carbon dance in the sky because you put it together.
Can I use fiberglass rods instead of carbon fiber?
Yes, you can, especially for larger, slower-flying stunt kites. Fiberglass is cheaper and more flexible, which can be forgiving in light winds. However, it is heavier and less responsive than carbon fiber. For high-performance tricks and quick acceleration, carbon fiber is superior. If you are on a tight budget, start with fiberglass, but expect to upgrade later.
What type of sail material is best for DIY kites?
Ripstop nylon is the industry standard for good reason. It is lightweight, strong, and resistant to tearing. Polyester is another option, offering better UV resistance but being slightly heavier. Avoid cheap plastic bags or paper unless you are experimenting. For a durable stunt kite, invest in 1.9oz or 2.2oz ripstop nylon. It holds tension well and doesn't stretch significantly.
How do I fix a broken carbon spar?
If the break is clean, you can repair it by inserting a smaller inner sleeve (like a thin metal rod or another piece of carbon) into both broken ends and gluing it with epoxy or CA glue. Wrap the area with thread and glue for added reinforcement. If the spar is crushed or splintered badly, replacement is safer and more reliable. Repairs add weight and change flexibility, affecting flight performance.
Do I need special tools to cut carbon fiber?
A fine-toothed hacksaw works fine for occasional cuts. For cleaner cuts and less fraying, a Dremel tool with a cutoff wheel is ideal. Always wear a mask when cutting carbon fiber, as the dust is harmful to inhale. Work outdoors or in a well-ventilated area. Sandpaper can smooth rough edges after cutting.
What wind speed is best for flying a homemade stunt kite?
Most standard DIY stunt kites perform best between 8 and 15 mph. Below 8 mph, you may struggle to generate enough lift for tricks. Above 15 mph, the kite becomes difficult to control and risks damage. Always check the wind forecast before flying. If you build a larger kite (10ft+ wingspan), it can handle lower winds. Smaller, high-aspect-ratio kites need stronger breezes.