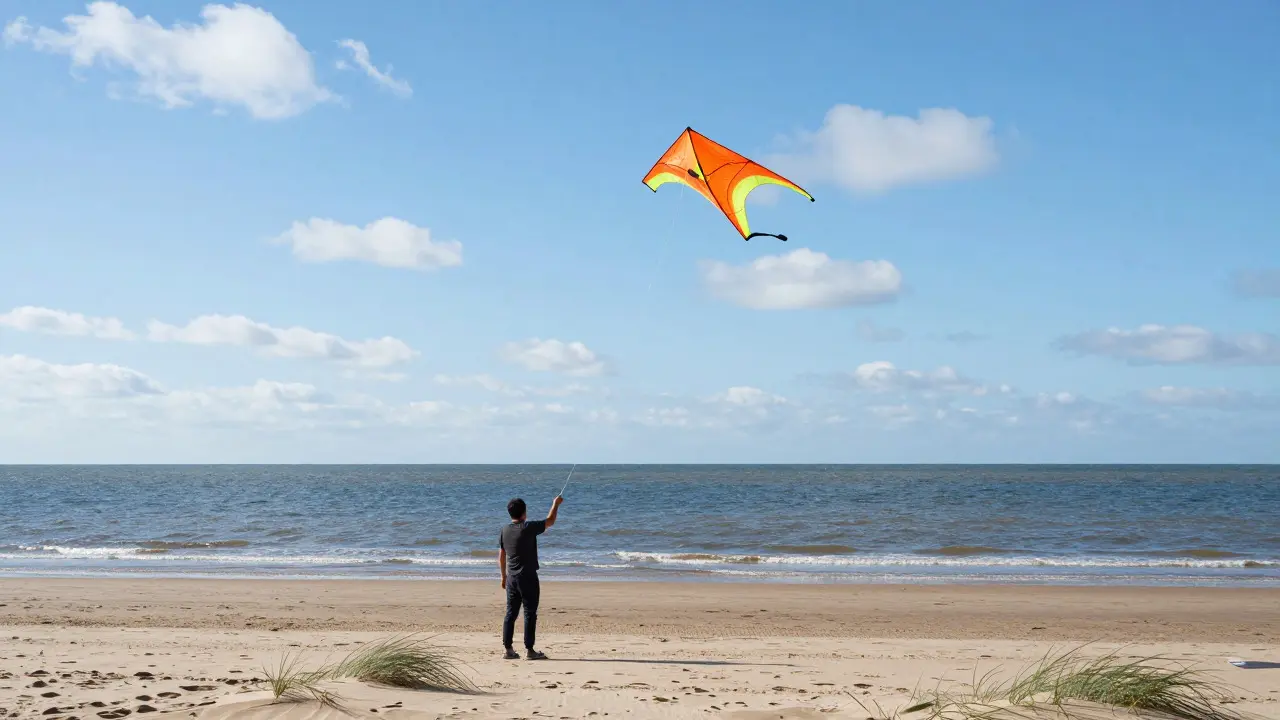
Ever stood on a beach with a kite in your hands, only to watch it crash into the sand or spiral out of control? You are not alone. Most first-time flyers struggle because they focus on the kite itself rather than the wind. Kite control is less about strength and more about reading invisible forces. If you want to fly without frustration, you need specific drills that build muscle memory before you even think about tricks.
This guide breaks down simple, effective exercises that turn a chaotic launch into a smooth experience. We will cover how to read the wind, manage line tension, and execute safe turns. By the end, you will have a clear path from novice to confident flyer.
Understanding the Wind Window
Before touching the lines, you must understand the "wind window." This is an imaginary half-circle in front of you where the kite can fly safely. The center of this circle is where the wind hits you directly. The edges are where the kite has less power and more stability. When you start, keep your kite near the top center of this window. Moving it toward the sides gives you control; moving it too close to the ground or behind you causes crashes.
The wind speed matters just as much as direction. For standard sport kites, a steady breeze between 8 and 15 mph is ideal. Below 8 mph, the kite may stall and drop. Above 15 mph, the pull becomes strong enough to snap your wrists if you aren't careful. Check the weather forecast specifically for gusts, not just average speed. Gusts are what cause most beginner accidents.
| Wind Speed (mph) | Kite Behavior | Recommended Action |
|---|---|---|
| Below 8 | Stalls, loses altitude, drops | Wait for stronger wind or use a larger kite |
| 8 - 15 | Stable lift, manageable pull | Perfect for learning basic controls |
| 15 - 20 | Strong pull, fast movement | Only for experienced flyers with proper gear |
| Above 20 | Dangerous, high risk of injury | Do not fly unless using dedicated depower systems |
Drill One: The T-Shape Launch
Your first drill is about launching safely. Many beginners throw the kite up and hope for the best. Instead, use the T-shape method. Hold the kite at chest height with both hands. Keep the kite perpendicular to the wind, forming a 'T' shape relative to your body. Slowly release the lines while tilting the kite slightly into the wind. Do not run. Just let the wind catch the leading edge. Once the kite lifts three to five feet off the ground, stop releasing lines. Let it stabilize. This teaches you that launch power comes from angle, not force.
Drill Two: Line Tension Management
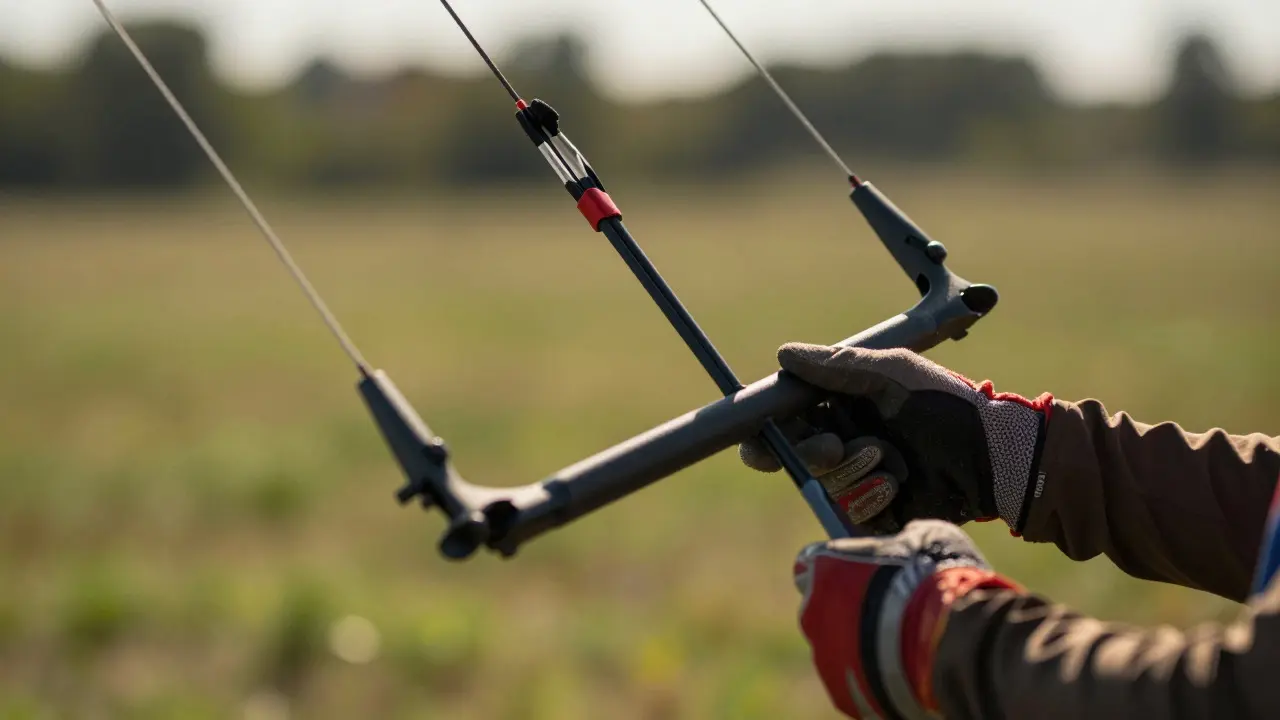
Once the kite is up, your job is to manage tension. Hold the lines loosely in your palms, not clenched in fists. If you grip tight, you lose sensitivity to the wind. Practice the "give and take" motion. Pull gently to make the kite move forward, then relax your arms to let it glide back. Focus on keeping the lines taut but never rigid. If the lines go slack, the kite stalls. If they are too tight, you strain your shoulders. Aim for a constant, gentle vibration in your hands. That vibration tells you exactly how much power the kite has.
Drill Three: Controlled Turns
Turning is where most people lose control. To turn left, do not just pull the left line hard. Instead, increase tension on the left line slightly while relaxing the right line. This creates a pivot. Start with small arcs, no wider than 30 degrees. Gradually widen the arc as you get comfortable. The key is symmetry. Your movements should be smooth and circular, not jerky. If the kite starts to dive during a turn, you are pulling too hard or turning too fast. Back off the tension immediately.
Safety Gear and Setup
You cannot practice safely without the right gear. First, wear gloves. Kite lines are often made of Dyneema or similar synthetic materials that cut skin easily when wet or under tension. Second, ensure your bar or handles are secure. Check every connection point before you step onto the water or grass. Third, always fly away from obstacles. Trees, power lines, and crowds are your enemies. Find an open field or a wide beach. Finally, know how to kill the kite. On most dual-line kites, crossing the lines or pulling them straight down sends the kite into a stall. Practice this "kill switch" until it is automatic.
Common Mistakes to Avoid
Even with drills, mistakes happen. Here are the top three errors new flyers make:
- Fighting the Wind: Trying to hold the kite against a gust instead of letting it ride out. Always yield to sudden power spikes by giving line.
- Ignoring Direction Changes: Wind shifts can happen in seconds. Watch the grass or ripples on water to detect changes before they affect your kite.
- Overlooking Fatigue: Flying is physically demanding. After 20 minutes, your grip weakens. Take breaks to prevent accidental releases.
Progressing to Advanced Moves
Once you can maintain a stable flight pattern for ten minutes without crashing, you are ready for more. Try figure-eights. This requires alternating tension smoothly between lines. Then attempt loops, which involve rapid changes in direction. But remember, every advanced trick is built on the basics we covered. If your figure-eight looks shaky, go back to line tension management. Mastery is not about doing the hardest thing; it is about doing the simple things perfectly every time.
Frequently Asked Questions
What is the best type of kite for beginners?
A delta-shaped dual-line kite is ideal. It is stable, forgiving, and easy to steer. Avoid single-line box kites if you want to learn real control skills, as they offer less steering capability.
How long does it take to master basic kite control?
Most people can handle a kite confidently after 3 to 5 sessions of one hour each. Consistency is more important than duration. Short, frequent practice builds better muscle memory than rare, long sessions.
Can I practice kite control without wind?
Not really. You need wind to generate lift. However, you can practice holding the bar and managing line tension indoors or in a sheltered area to get used to the weight and feel of the equipment.
What should I do if my kite gets tangled in trees?
Stay calm. Do not pull hard, as this can break the lines. Walk toward the tree slowly, keeping the lines taut to prevent further tangling. Use a pole or stick to untangle branches if necessary. Prevention is key: always check for overhead hazards before launching.
Are kite lines dangerous?
Yes, they can be. Under tension, they act like razor blades. Always wear gloves, avoid running with lines unattended, and keep children and pets away from the flying zone. Never let go of the bar unless you are intentionally landing the kite.