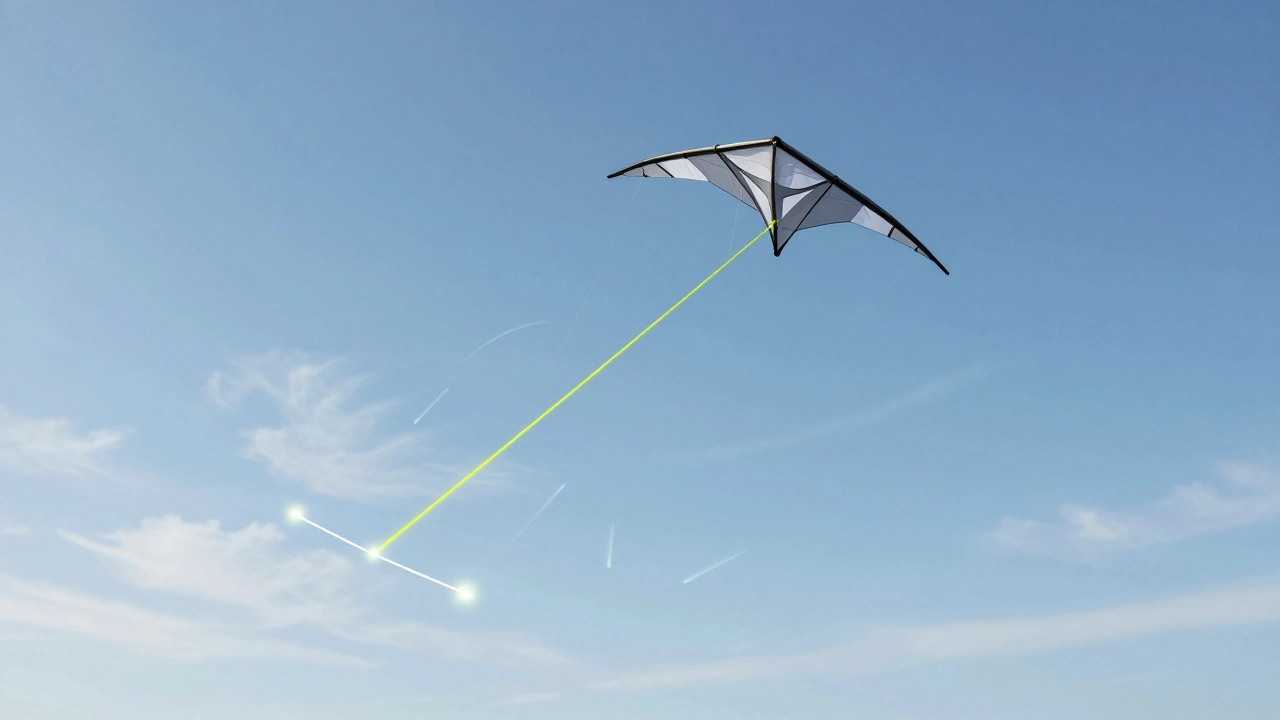
There is nothing more frustrating than launching your kite into a perfect breeze only to have it stall or loop uncontrollably because the bridle is off. You check the wind, you check your skills, but the real culprit is often that small piece of string connecting the frame to the control lines. Whether you are flying a traditional diamond kite or a high-performance dual-line stunt kite, kite bridle adjustment is the single most critical factor in maintaining stable flight.
A bridle does not just hold the kite together; it sets the angle of attack. Think of it as the nose of an airplane. If the nose is too high, the kite stalls. If it is too low, it dives. Getting this right means the difference between a smooth afternoon of flying and packing up early due to frustration. This guide will walk you through diagnosing bridle issues, adjusting existing setups, and replacing worn components so you can get back in the air with confidence.
Understanding How Bridles Work
To fix a problem, you first need to understand what is happening. The bridle acts as a pivot point for the kite. It transfers the pull from the control lines to the kite’s structure while allowing the kite to tilt and turn. In most modern kites, especially dual-line stunt kites, the bridle consists of a main line running from the leading edge (the front) to the trailing edge (the back), with attachment points for your steering lines.
The geometry here is precise. The distance between the leading edge attachment and the trailing edge attachment determines the kite's center of pressure. If this balance shifts, the aerodynamic forces change. For example, moving the leading edge attachment further back makes the kite more aggressive and faster but harder to control. Moving it forward makes the kite slower and more stable but less responsive. Understanding this trade-off helps you decide whether you need a simple tweak or a complete replacement.
Why does my kite feel unstable?
Instability usually comes from an incorrect angle of attack. If the bridle is set too tight on the leading edge, the kite may stall. If it is too loose, the kite may dive. Check if the bridle length matches the manufacturer's specifications for your specific wind conditions.
Diagnosing Common Bridle Issues
Before you start cutting strings or tying new knots, identify the symptom. Most bridle problems fall into three categories: stalling, diving, or uneven turning. Stalling happens when the kite loses lift and drops suddenly. This often occurs when the bridle is too long at the leading edge, causing the nose to pitch up too high into the wind. Diving is the opposite-the kite wants to shoot toward the ground. This suggests the leading edge attachment is too far back, creating excessive speed without enough lift.
Uneven turning is another telltale sign. If your kite turns sharply to one side even when you are holding the handles straight, the bridle might be twisted or the attachment points are not symmetrical. This is common after a crash where one side of the bridle stretched more than the other. Inspect the bridle for signs of wear, such as fraying at the knots or discoloration from UV exposure. Nylon and Dyneema lines degrade over time, losing their strength and elasticity. If you see significant wear, adjustment won't help-you need a replacement.
Tools and Materials for Repair
You do not need expensive tools to maintain your kite, but having the right materials makes the job easier and safer. Here is what you should keep in your repair kit:
- Dyneema or Spectra line: High-strength, low-stretch synthetic fiber ideal for bridles due to its durability and resistance to water absorption.
- Nylon braided line: A softer alternative that is easier to tie but stretches more under load, suitable for lighter wind kites.
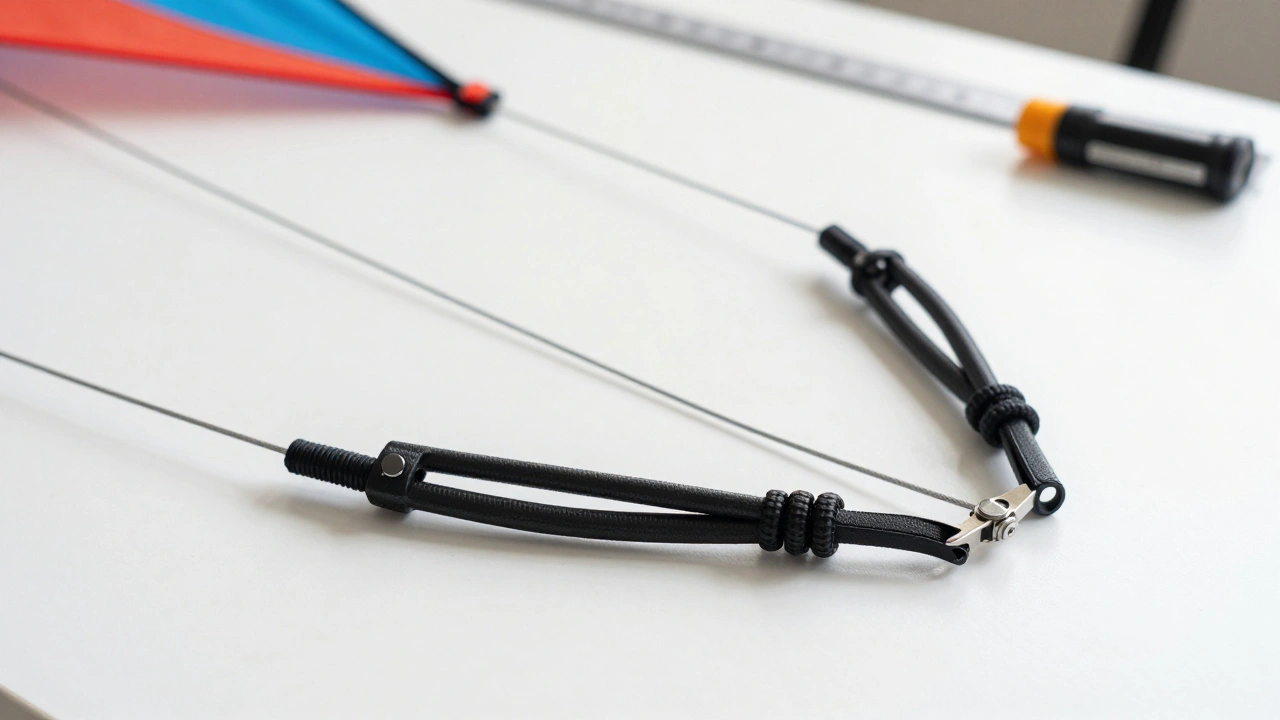
- Knotless knots or barrel rings: Metal or plastic loops that provide secure attachment points without bulky knots that can catch the wind.
- Lighter or heat source: Used to melt the ends of synthetic lines to prevent fraying after cutting.
- Ruler or measuring tape: Essential for ensuring symmetrical adjustments and accurate measurements.
Choosing the right line material matters. Dyneema is incredibly strong and has minimal stretch, which gives you precise control. However, it can be slippery and hard to knot securely. Nylon is more forgiving and easier to work with but stretches over time, which can alter your bridle settings. For high-performance kites, stick with Dyneema. For casual flying or beginner kites, nylon is often sufficient.
Step-by-Step Bridle Adjustment
If your bridle is intact but the flight is off, try adjusting it before replacing anything. Most adjustable bridles use a sliding knot or a series of pre-tied loops. Here is how to make fine-tuned changes:
- Lay the kite flat: Place the kite on a clean, flat surface. Ensure the frame is not bent and the sail is relaxed.
- Identify the reference point: Find the factory-marked adjustment points. Many kites have colored threads or printed marks indicating the standard setting.
- Make small increments: Adjust the bridle by no more than 1/4 inch at a time. Large changes can drastically alter performance and make it hard to find the sweet spot.
- Check symmetry: Measure the distance from the leading edge attachment to each steering line attachment. They should be equal within 1/8 inch.
- Test fly: Take the kite out in light, steady wind. Observe how it behaves. If it stalls, move the leading edge attachment forward. If it dives, move it backward.
Remember that wind conditions affect perception. A bridle that feels perfect in 5 mph winds might seem sluggish in 15 mph winds. Always test in conditions similar to how you plan to fly. If you are still struggling, consider using a bridle adjuster tool, which allows you to lock the position temporarily while testing.
Replacing a Worn or Broken Bridle
Sometimes adjustment isn't enough. If the bridle is frayed, stretched beyond recovery, or missing entirely, you need to replace it. This process requires careful measurement and knotting. Start by removing the old bridle completely. Cut away any damaged sections and clean the attachment points on the kite frame.
Cut your new line to the correct length. Use the old bridle as a template if possible, measuring its total length and the positions of the attachment points. Tie secure knots at each end. For Dyneema, use a double fisherman's knot or a barrel splice for maximum strength. For nylon, a simple overhand knot reinforced with glue works well. Heat-seal the ends to prevent unraveling.
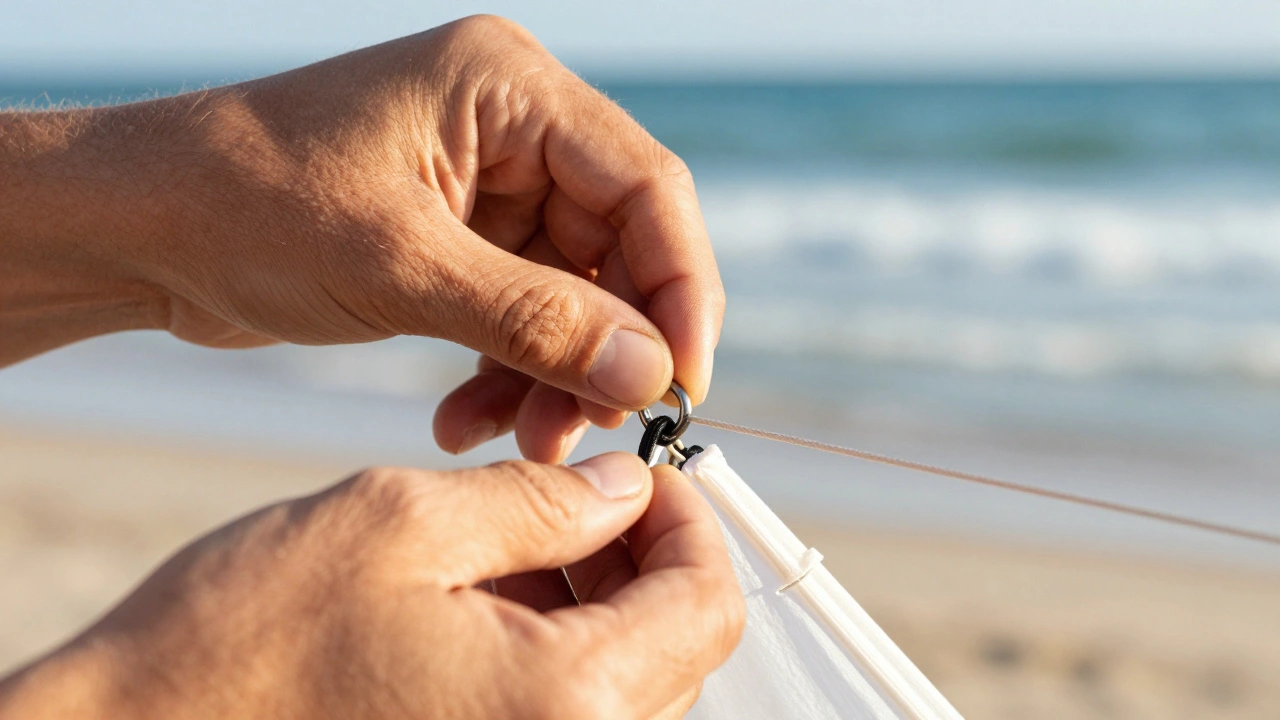
Attach the new bridle to the kite frame. Ensure the knots sit flush against the frame to avoid catching the wind. Double-check all measurements before taking the kite out. If you are unsure about the exact specifications, consult the manufacturer's manual or online forums for your specific model. Many enthusiasts share detailed diagrams and tips for popular kite models.
| Material | Strength | Stretch | Durability | Best For |
|---|---|---|---|---|
| Dyneema | Very High | Minimal | Excellent | Performance kites, heavy winds |
| Nylon | Moderate | High | Good | Beginner kites, light winds |
| Polyester | High | Low | Very Good | All-around use, balanced performance |
Troubleshooting Flight Problems
Even with a perfectly adjusted bridle, you might encounter issues. Here are some common scenarios and how to address them:
Kite oscillates or wobbles: This could be due to an asymmetrical bridle or a warped frame. Check that both sides of the bridle are identical in length and tension. Inspect the frame for bends or twists. If the frame is damaged, repair or replace it before adjusting the bridle further.
Kite refuses to turn: If the kite resists turning in one direction, the bridle might be twisted or the attachment point on that side is too tight. Loosen the tension slightly on the problematic side and re-test. Also, ensure your control lines are not tangled or crossed.
Kite crashes immediately after launch: This is often a result of improper launch technique combined with a bridle set for higher winds. Try lowering the leading edge attachment to reduce the angle of attack. Practice launching in calmer conditions to build muscle memory.
Can I use fishing line for a kite bridle?
While fishing line is strong, it is not recommended for kite bridles. It lacks the flexibility needed for proper knotting and can become brittle over time due to UV exposure. Dedicated kite lines like Dyneema or nylon are designed to withstand the specific stresses of flight.
How often should I inspect my kite bridle?
Inspect your bridle before every flight session. Look for signs of fraying, discoloration, or stretching. After each season of use, consider replacing the bridle proactively, especially if you fly in sandy or salty environments where abrasion is higher.
What is the best knot for securing a bridle?
The double fisherman's knot is widely regarded as the best for joining two pieces of line securely. For attaching to the kite frame, a simple overhand knot reinforced with a drop of cyanoacrylate glue provides a compact and strong connection.
Does bridle length change with wind speed?
Yes, many advanced kites feature adjustable bridles. In lighter winds, a shorter bridle (higher angle of attack) helps generate more lift. In stronger winds, a longer bridle (lower angle of attack) prevents stalling and reduces stress on the frame.
How do I know if my bridle is stretched?
A stretched bridle will feel loose and lack crispness during maneuvers. Compare the current length to the original specifications. If the bridle has elongated significantly, it will need replacement to restore proper control and stability.
Maintaining Your Kite for Longevity
Regular maintenance extends the life of your kite and ensures consistent performance. After each flight, rinse the kite with fresh water if you flew near the ocean or in dusty conditions. Salt and sand accelerate wear on both the fabric and the bridle. Store your kite in a cool, dry place away from direct sunlight. UV radiation degrades synthetic fibers over time, weakening the bridle and control lines.
Keep your repair kit accessible. Having spare lines, knots, and tools on hand means you can fix minor issues on the spot rather than waiting until you get home. This proactive approach saves time and keeps you flying more often. Remember, a well-maintained kite is not just about safety-it is about enjoying the pure pleasure of flight without technical distractions.