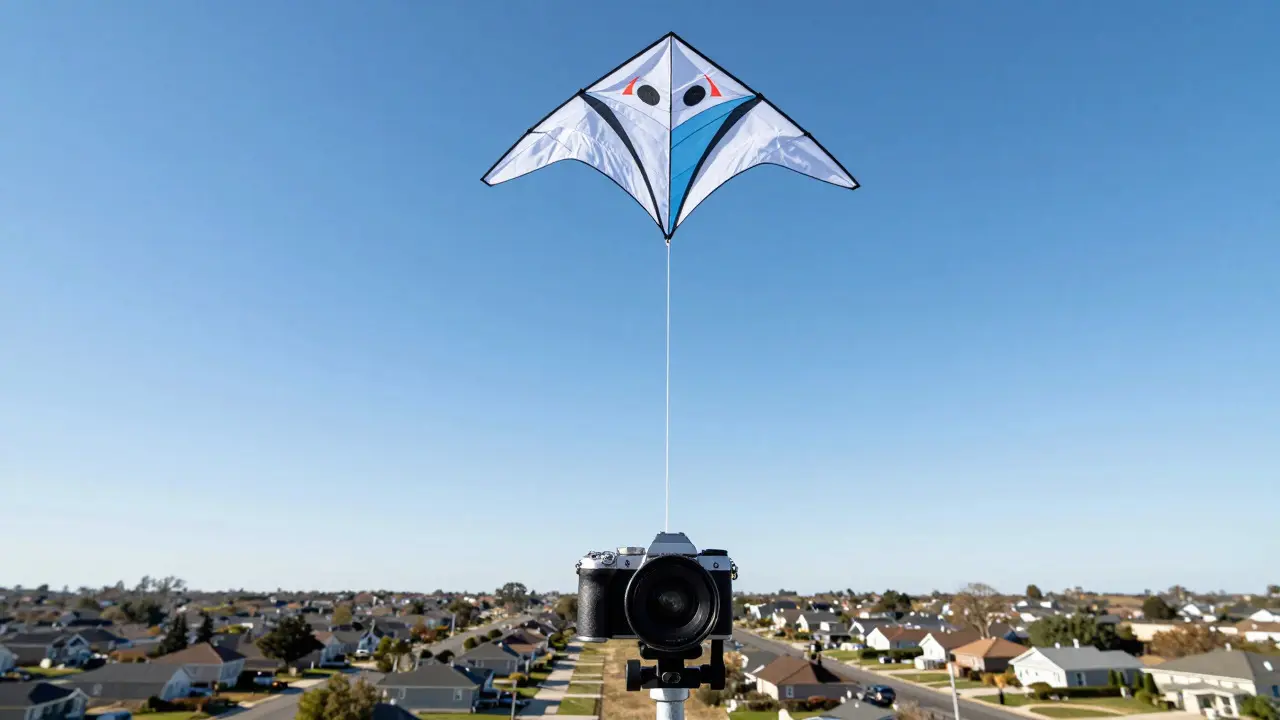
There is a specific moment in Kite Aerial Photography is a niche form of photography where cameras are attached to kites to capture unique high-angle perspectives that drones often struggle with due to battery limits or wind conditions. You launch the rig, the camera stabilizes, and suddenly you are looking down at your neighborhood from a height that feels almost illegal. But here is the problem most beginners face: they bring the wrong glass. They grab their standard kit lens, fly up, and end up with flat, uninteresting images because they didn't understand how focal length interacts with altitude.
The choice between wide, prime, and zoom lenses isn't just about what fits in your bag. It dictates the entire visual language of your shots. A wide lens captures the context of the landscape, showing how a house sits within its street. A prime lens offers sharpness and light-gathering ability but forces you to commit to a single perspective. A zoom gives you flexibility on the ground before you launch, but it adds weight that can affect your kite's flight stability. Let's break down exactly which lens serves which purpose so you stop guessing and start creating intentional aerial art.
Why Focal Length Changes Everything at Altitude
To understand why lens selection matters, you have to look at the geometry of the shot. When you are on the ground, a 50mm lens looks normal. When you are 300 feet in the air, that same 50mm lens creates a compressed view that makes distant objects appear closer together than they actually are. This is called perspective compression. It flattens the scene, removing the sense of depth that makes photos feel three-dimensional.
Conversely, if you use a super-wide lens like a 14mm from that same height, you capture an enormous area. The edges of the frame might stretch out, distorting straight lines into curves. This distortion can be a creative tool or a nightmare, depending on your subject. If you are shooting a geometric city grid, you want minimal distortion. If you are capturing a chaotic forest canopy, that curve might add drama.
- Wide Angle (14-24mm): Captures vast landscapes, emphasizes scale, includes foreground elements even from high up.
- Standard Prime (35-50mm): Offers natural perspective, good for isolating specific subjects without too much context.
- Telephoto (70-200mm): Compresses layers, great for detailed top-down patterns, isolates small details from far away.
The Case for Wide-Angle Lenses in KAP
If you only buy one lens for Kite Aerial Photography, make it a wide-angle. Why? Because the magic of KAP is the context. We don't fly kites just to see what a roof looks like; we fly them to show how that roof relates to the trees, the street, and the sky around it. A wide lens allows you to tell that story.
Consider a 16mm f/2.8 lens. On a full-frame sensor, this gives you a field of view that covers roughly 100 degrees. From 200 feet up, you can capture an entire city block including the surrounding sidewalks and parked cars. This helps the viewer orient themselves. Without that context, an aerial shot can feel disorienting. With it, the image becomes a map of sorts, inviting the eye to explore the relationships between objects.
However, wide lenses have a catch. They require precise leveling. If your camera mount is tilted even by two degrees, the horizon will slope dramatically in the final image. Since you cannot easily adjust the camera once the kite is airborne, your mounting hardware must be rock solid. A wide lens also suffers more from vignetting and corner softness if you choose a cheaper model. For KAP, image quality at the corners matters because you rarely crop these shots significantly.
| Lens Type | Focal Range | Best Use Case | Weight Impact | Depth of Field |
|---|---|---|---|---|
| Ultra-Wide | 14-16mm | Vast landscapes, urban grids | Low (150-200g) | Very Deep (everything in focus) |
| Standard Wide | 24-35mm | Street scenes, property boundaries | Moderate (250-300g) | Deep (most of scene in focus) |
| Prime Standard | 50mm | Isolated subjects, architectural details | Low (180-220g) | Moderate (background blur possible) |
| Zoom Telephoto | 70-200mm | Top-down patterns, distant details | High (900-1100g) | Shallow (can isolate layers) |
Prime Lenses: Sharpness and Stability
Prime lenses, such as a 35mm or 50mm, offer something zooms often lack: optical simplicity. With fewer moving parts, primes tend to be sharper across the entire frame, including the corners. In KAP, where you are relying on a fixed position in the air, that extra sharpness translates directly to better detail retention when you zoom in on your computer screen later.
Another advantage of primes is size and weight. A 50mm f/1.8 lens weighs less than half of a 24-70mm zoom. In kite flying, every gram counts. A heavier camera setup requires a larger kite or stronger winds to lift. By choosing a lightweight prime, you can use smaller, more maneuverable kites that are easier to control in gusty conditions. This makes for a safer and more enjoyable flying experience.
The downside? You lose flexibility. If you launch with a 50mm and realize you need a wider view, you are stuck. You have to land, swap lenses, and relaunch. This is why many experienced KAP shooters carry two bodies: one with a wide prime and one with a telephoto prime. This dual-body setup eliminates the need to change lenses mid-flight and ensures you never miss a shot due to gear limitations.
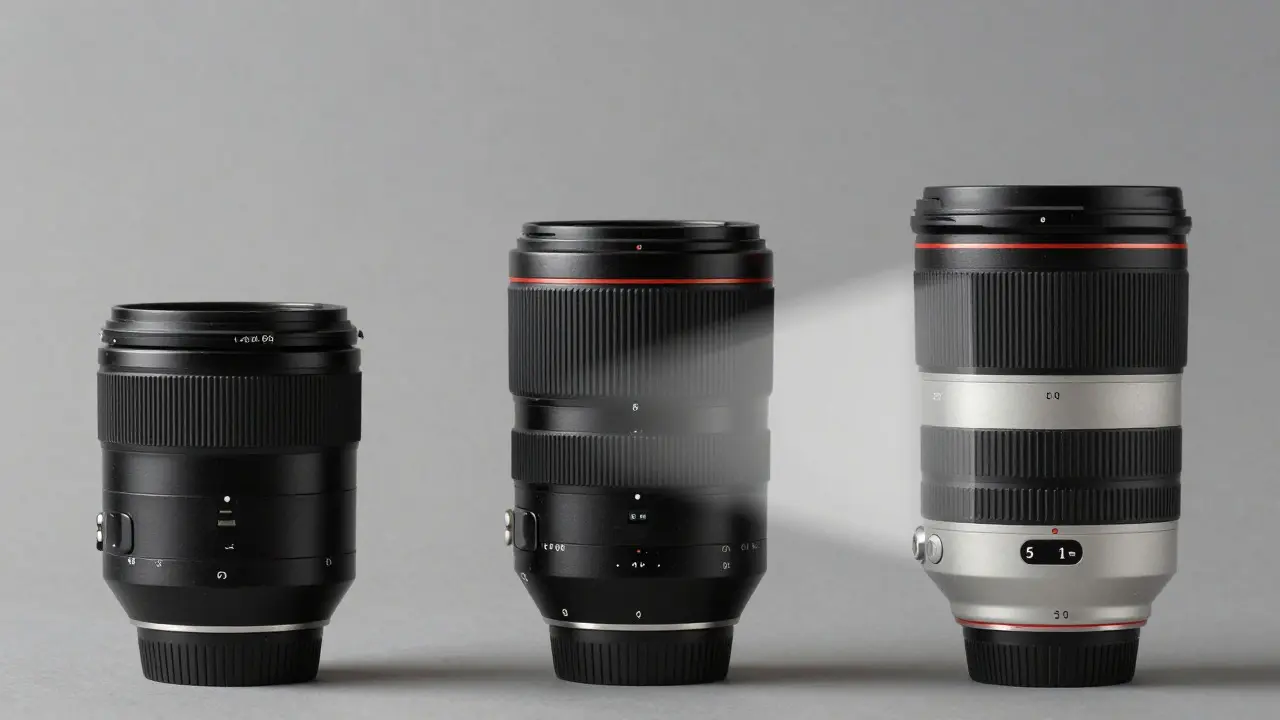
Zoom Lenses: Flexibility vs. Weight
Zoom lenses are the compromise option. A 24-70mm f/2.8 is the workhorse of professional photography, and it has its place in KAP. It allows you to switch from a wide establishing shot to a tighter detail shot without landing the kite. This is incredibly useful when you are testing new locations and haven't yet figured out what the best vantage point is.
However, the weight penalty is real. A typical 24-70mm lens weighs around 900 grams. Add the camera body, batteries, and the mounting plate, and you are looking at a payload of over 2 kilograms. This requires a robust diamond or parafoil kite capable of handling significant drag. If you are flying in light winds, a heavy zoom setup might not lift at all, leaving you stranded on the ground while others are shooting.
For beginners, I usually recommend starting with a kit zoom (like an 18-55mm) just to get comfortable with the mechanics of launching and retrieving. Once you understand the dynamics, upgrade to a dedicated wide-angle prime or a lightweight fast zoom. The jump in image quality and the reduction in weight will be noticeable immediately.
Matching Lenses to Your Subject Matter
Your subject should dictate your lens choice, not the other way around. Ask yourself what story you want to tell.
- Urban Planning and Architecture: Use a rectilinear wide-angle lens (24mm or 35mm). These lenses keep straight lines straight, which is crucial for buildings. Avoid ultra-wides (14mm) unless you want dramatic distortion.
- Nature and Landscapes: Go wider. A 16mm or even 14mm lens captures the expanse of forests, lakes, and coastlines. The curvature of the earth becomes visible, adding a sense of scale.
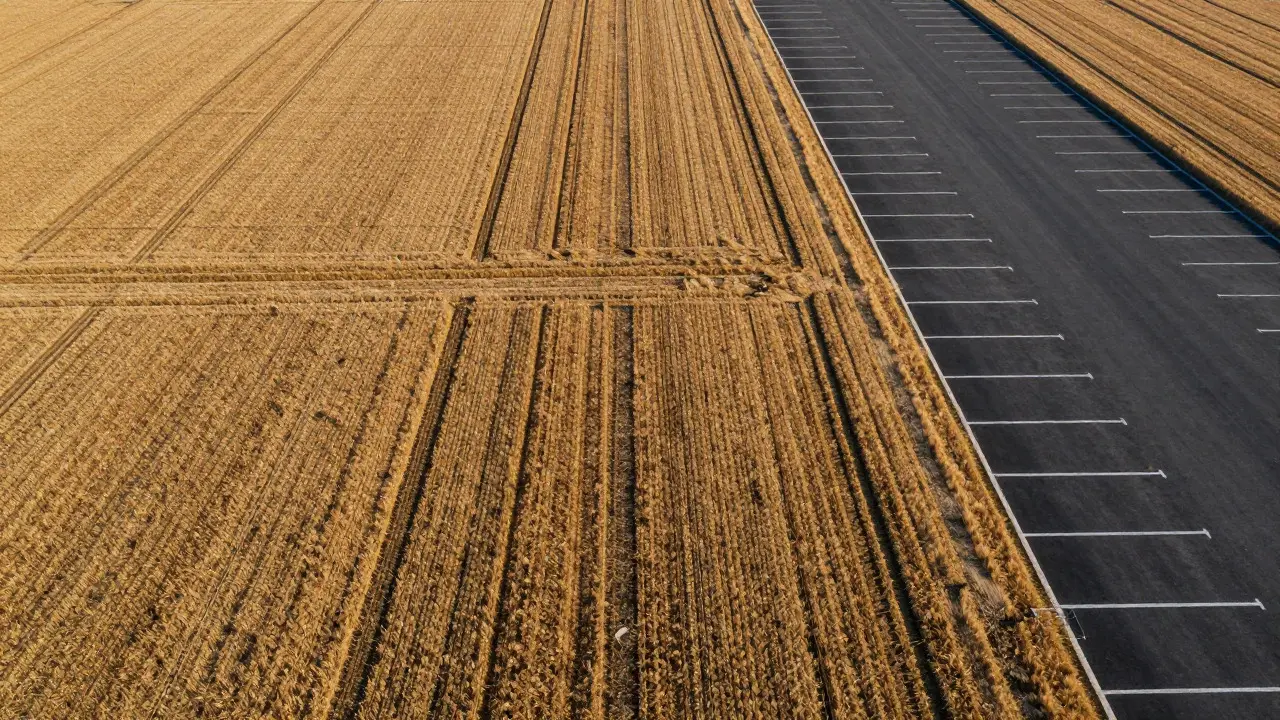
- Patterns and Textures: Use a telephoto (70-200mm). Looking straight down at a wheat field or a parking lot, a longer lens compresses the texture, making the patterns pop. It removes the distracting background context, focusing purely on the abstract design.
- Portraits from Above: Rarely done, but if you are shooting people from a low altitude (under 50 feet), a 50mm or 85mm prime prevents facial distortion. Wide angles exaggerate noses and foreheads when used close-up.
Practical Tips for Mounting and Stabilization
No matter which lens you choose, your mounting system is critical. The camera needs to stay level relative to the horizon, not the kite. Most KAP mounts allow for tilt adjustment, but they do not correct for roll. If your kite tilts left, your camera tilts left. To combat this, practice your launch technique until the kite flies stable. Use a bubble level on the mounting plate before every launch to ensure the camera is physically square to the kite line.
Also, consider vibration. Kites flutter in the wind. This micro-vibration can cause motion blur in long exposures. If you are using a telephoto lens, this effect is magnified. Keep your shutter speed above 1/500th of a second if possible. Modern mirrorless cameras handle high ISO well, so bump up the sensitivity rather than slowing down the shutter. A blurry 10-megapixel photo is worse than a grainy but sharp 10-megapixel photo.
Budget Considerations and Used Gear
You do not need the latest flagship lenses to succeed in KAP. The used market is flooded with excellent older glass. A vintage 50mm f/1.4 lens might cost $100 and provide stunning center sharpness. While autofocus might be slow or absent, manual focus is easy to manage in KAP because your distance to the subject is relatively consistent during a flight session. Pre-focus your camera at infinity or use live view to zoom in and check focus before launch.
Invest in a good tripod head adapter for your camera. Many KAP mounts use a standard Arca-Swiss clamp interface. Buying a camera with a built-in Arca-Swiss base plate saves you from buying additional adapters and reduces the stack of metal between the camera and the mount, improving stability.
Frequently Asked Questions
What is the best focal length for kite aerial photography?
There is no single best focal length, but 24mm to 35mm is the most versatile range for general aerial scenes. It provides enough context to show the environment while keeping the main subject prominent. For pure landscape expansion, go wider (14-16mm). For detail isolation, go longer (70mm+).
Can I use a smartphone for KAP?
Yes, smartphones are excellent for entry-level KAP. They are lightweight, reducing the load on the kite. However, they typically have fixed wide-angle lenses (around 24mm equivalent). This limits your ability to isolate details or compress perspective. For serious work, a dedicated mirrorless camera with interchangeable lenses is superior.
How does lens weight affect kite performance?
Lens weight directly impacts the required kite size and wind strength. A 200g lens allows for smaller kites that fly in lighter winds. A 1kg lens requires larger, heavier-duty kites and stronger winds. Always calculate your total payload (camera + lens + batteries + mount) and match it to your kite's lifting capacity, aiming for a safety margin of at least 20%.
Do I need image stabilization for KAP?
In-lens or in-body image stabilization (IBIS) is helpful but not mandatory. IBIS can help counteract minor hand shake during setup, but once the camera is locked onto the kite, the primary source of blur is wind-induced flutter. High shutter speeds are more effective than stabilization for freezing this type of motion. However, IBIS is beneficial if you plan to take some ground-based photos during the same trip.
Which is better for KAP: Mirrorless or DSLR?
Mirrorless cameras are generally preferred for modern KAP because they are lighter and more compact. This reduced weight allows for smaller kites and better portability. Additionally, mirrorless systems often have faster autofocus and better video capabilities, which can be useful if you want to capture short clips alongside stills. DSLRs are still viable but are becoming outdated due to their bulkier designs.