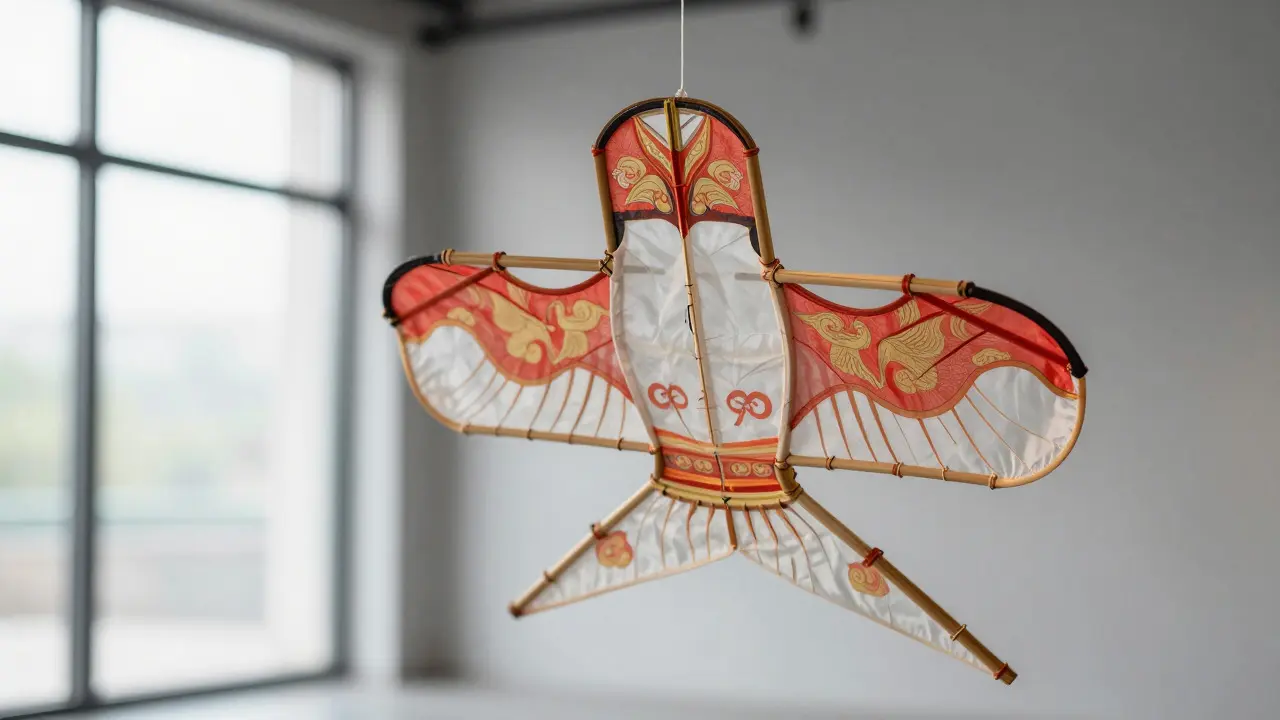
Most people think of kites as things you fly in the park on a windy Saturday. But when that same kite hangs in a gallery or a living room, it transforms into a sculptural object that demands careful handling. Installing art kites is a specialized process involving structural support, environmental control, and precise lighting to preserve delicate materials like silk, bamboo, and tissue paper. If you’ve ever tried to hang a large diamond kite on a standard nail only to watch it sag or tear, you know the difference between casual storage and professional display. This guide breaks down exactly how to get it right, whether you’re curating a small home collection or preparing a piece for a local exhibition.
Understanding the Structural Needs of Kite Art
A kite isn’t just a flat picture; it’s a tension-based structure. The frame (usually bamboo, carbon fiber, or wood) holds the sail (silk, nylon, or paper) under constant stress. When you install one indoors, you aren’t just hanging an object; you are managing that tension. If the mount pulls too hard from one corner, the frame warps. If it’s too loose, the sail sags and wrinkles, which can lead to permanent creasing in fragile papers.
The first step is assessing the weight and size. A small traditional Chinese dragon might weigh less than half a pound, but a modern geometric delta kite could easily hit five pounds. For anything over two feet wide, you need more than adhesive hooks. You need a rigid backing system. Many conservators recommend using a lightweight aluminum frame behind the kite, attached with UV-stable thread, to distribute the weight evenly across the top edge. This prevents the “banana effect” where the bottom of the kite droops significantly.
Choosing the Right Mounting Hardware
The hardware you choose depends entirely on the surface and the value of the piece. Here is a breakdown of common mounting methods and their pros and cons:
- Wire Systems: Best for smaller, lighter kites. Use stainless steel wire (18-gauge or heavier) anchored into wall studs. Avoid copper wire, which tarnishes and weakens over time. Attach the wire to the kite’s frame using soft loops, not direct knots, to allow for slight movement without stressing the joints.
- Rod and Sleeve Mounts: Ideal for vertical kites like darts or diamonds. A horizontal metal rod passes through grommets or reinforced holes in the top and bottom of the frame. This keeps the kite perfectly straight and allows for easy removal for cleaning.
- Custom Brackets: For oversized or irregular shapes, custom-fabricated brackets from a local metalworker are often the safest bet. They can be designed to hold the kite at a specific angle, showcasing its three-dimensional depth rather than flattening it against the wall.
A critical mistake many collectors make is drilling directly into the bamboo or wood frame. Always reinforce the attachment point with a small patch of fabric or leather before screwing or lacing. This spreads the load and prevents the material from splitting under gravity’s pull.
Lighting Strategies for Indoor Displays
Lighting is arguably more important than the mount itself. Too much light fades colors; too little makes the texture disappear. The goal is to highlight the weave of the fabric and the grain of the wood without causing thermal damage.
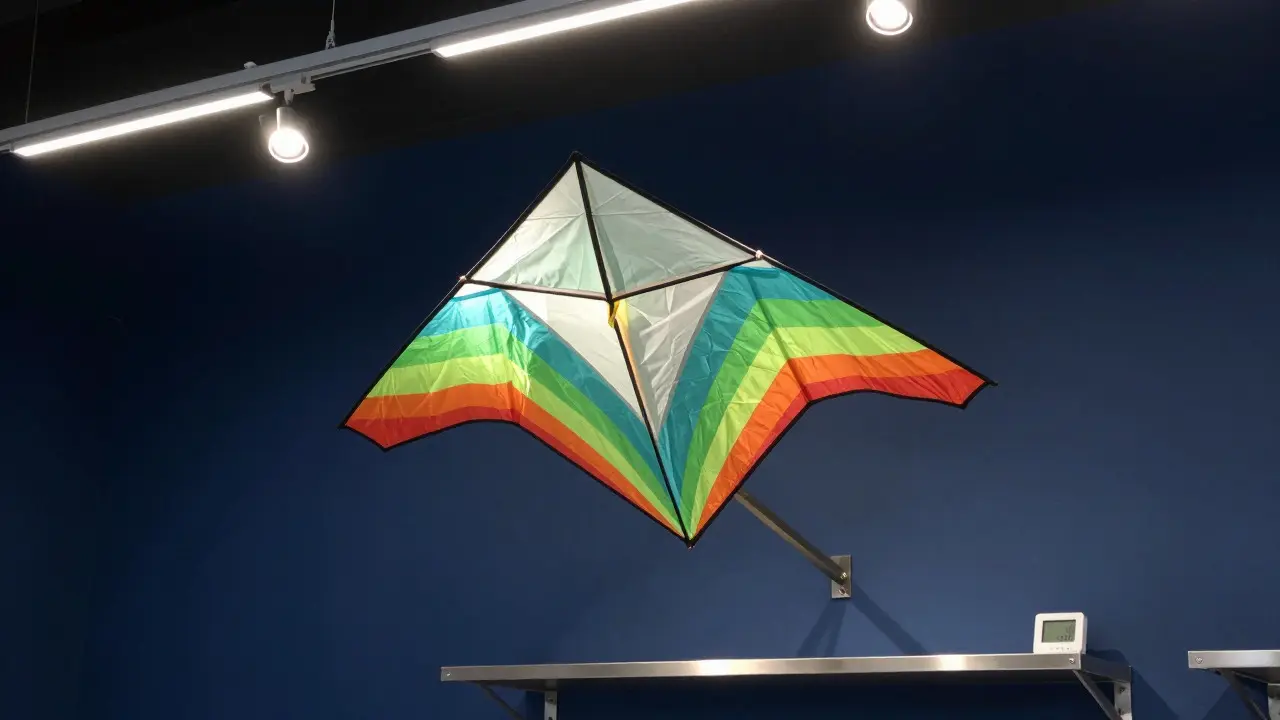
Use LED track lighting with a color temperature between 3000K (warm white) and 4000K (neutral white). Avoid pure daylight bulbs (5000K+) as they tend to wash out warm tones in silk and wood. Position the lights at a 30-degree angle from the front of the kite. This creates subtle shadows that emphasize the depth of the frame and the texture of the sail. Direct overhead lighting should be avoided unless diffused, as it can create hot spots that dry out organic materials unevenly.
If you are displaying multiple kites, consider staggered lighting heights. A lower spotlight on a tall vertical kite draws the eye upward, while a softer, wider beam on a horizontal delta kite provides context. Dimmers are essential here; you want the ability to adjust intensity based on the time of day and ambient light from windows.
Environmental Control: Humidity and Dust
Kites are vulnerable to the same enemies as any fine art: humidity fluctuations and dust. In a city like Portland, Oregon, where indoor humidity can swing wildly between the rainy winter months and the dry summers, this is a constant battle. High humidity causes mold growth on paper sails and swelling in wooden frames. Low humidity leads to brittleness and cracking.
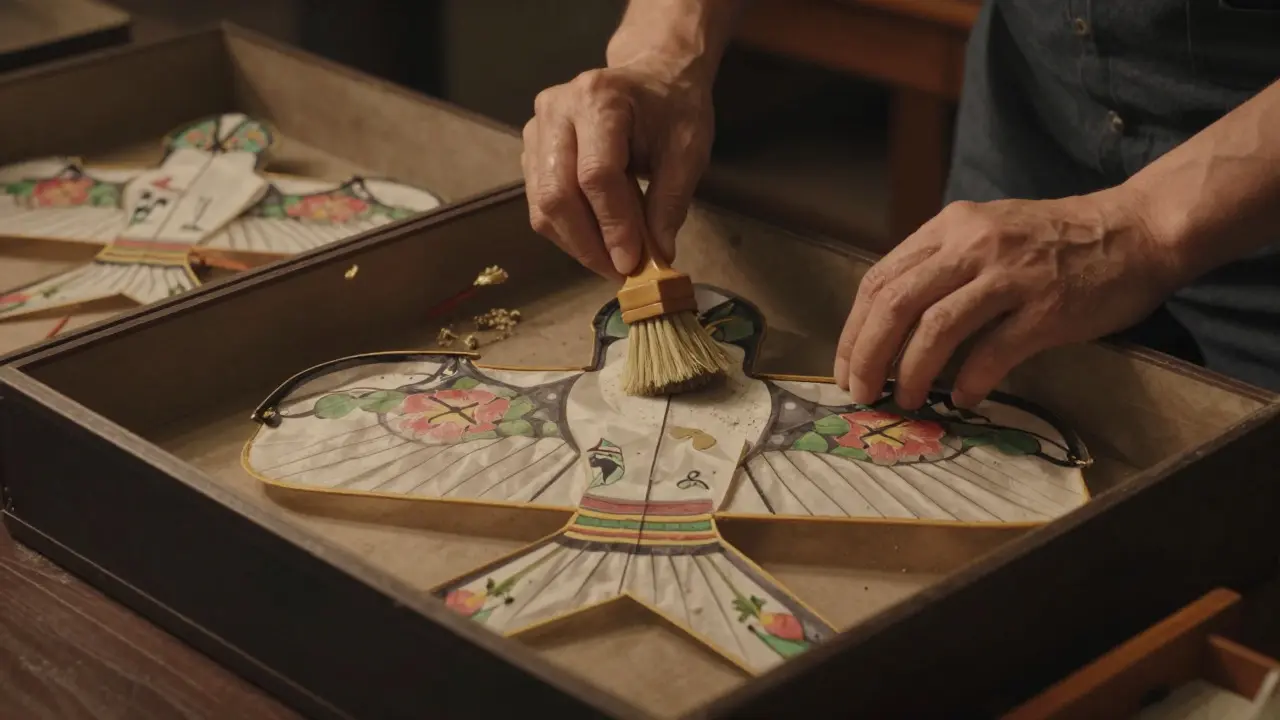
Keep relative humidity between 45% and 55%. A simple digital hygrometer costs less than $20 and should be placed near the display area. If your home lacks climate control, consider placing a silica gel packet in a sealed container near (but not touching) the kite, or use a small dehumidifier in the room during peak humidity seasons. Dust is equally damaging because it abrades surfaces. Instead of wiping a dirty kite with a cloth, use a soft, natural-bristle brush to gently sweep debris off the surface. Never use compressed air, as the force can blow dust into the weave or pop delicate threads.
| Method | Best For | Pros | Cons |
|---|---|---|---|
| Stainless Steel Wire | Small, lightweight kites (<2 lbs) | Inexpensive, flexible, easy to install | Can sag over time, requires stud anchoring |
| Rod and Sleeve | Vertical kites (diamonds, darts) | Keeps shape rigid, easy removal | Requires reinforced grommets, limited to vertical orientation |
| Custom Metal Bracket | Oversized or complex shapes | Maximum stability, showcases 3D depth | High cost, requires professional fabrication |
| Freestanding Stand | Fragile or antique pieces | No wall damage, easy rotation | Takes up floor space, unstable in high-traffic areas |
Common Pitfalls to Avoid
Even experienced curators make mistakes. One frequent error is using plastic zip ties to secure the kite to a wire. Plastic oxidizes and becomes brittle within a few years, snapping without warning and dropping the kite. Always use cotton or linen thread tied in a square knot, or use brass jump rings if you prefer a mechanical look. Another pitfall is ignoring the background. A stark white wall can make dark kites look heavy and oppressive. Consider painting the wall a muted gray or deep blue to provide contrast that lets the kite’s colors pop. Alternatively, use a textured wallpaper or a wood paneling backdrop to add visual interest without competing with the artwork.
Maintenance and Rotation Schedule
Indoor displays aren’t “set it and forget it.” Establish a maintenance routine. Every six months, inspect the mounting points for signs of stress. Check the thread for fraying and the screws for loosening. Clean the kite gently as described above. Most importantly, rotate your collection. Even with perfect lighting, prolonged exposure causes fading. Swap kites every three to six months, giving each piece a rest period in a dark, cool storage box. This extends the life of the pigments and preserves the integrity of the materials for decades to come.
What is the best way to clean a dusty art kite?
Use a soft, natural-bristle brush to gently sweep dust from the surface. Avoid cloths that can snag threads and never use compressed air, which can force dirt deeper into the weave or break delicate structures.
Can I hang a kite directly on a drywall anchor?
Only for very small, lightweight kites. For anything larger than two feet or heavier than one pound, anchor into a wall stud or use a heavy-duty toggle bolt rated for at least twice the weight of the kite to prevent sagging.
How do I prevent color fading in silk kites?
Limit direct sunlight exposure completely. Use UV-filtering window films if the kite is near a window. Keep LED lighting intensity moderate and rotate the kite out of display every three to six months to let the pigments recover.
What humidity level is ideal for storing kites?
Maintain a relative humidity between 45% and 55%. Fluctuations outside this range can cause mold on paper sails or cracking in wooden frames. Monitor with a digital hygrometer and use dehumidifiers or humidifiers as needed.
Should I flatten my kites when displaying them?
No. Most kites have inherent curvature that adds to their aesthetic appeal. Flattening them against a wall can distort the frame and weaken the structure. Use mounts that allow the kite to retain its natural shape, such as angled brackets or spaced wires.