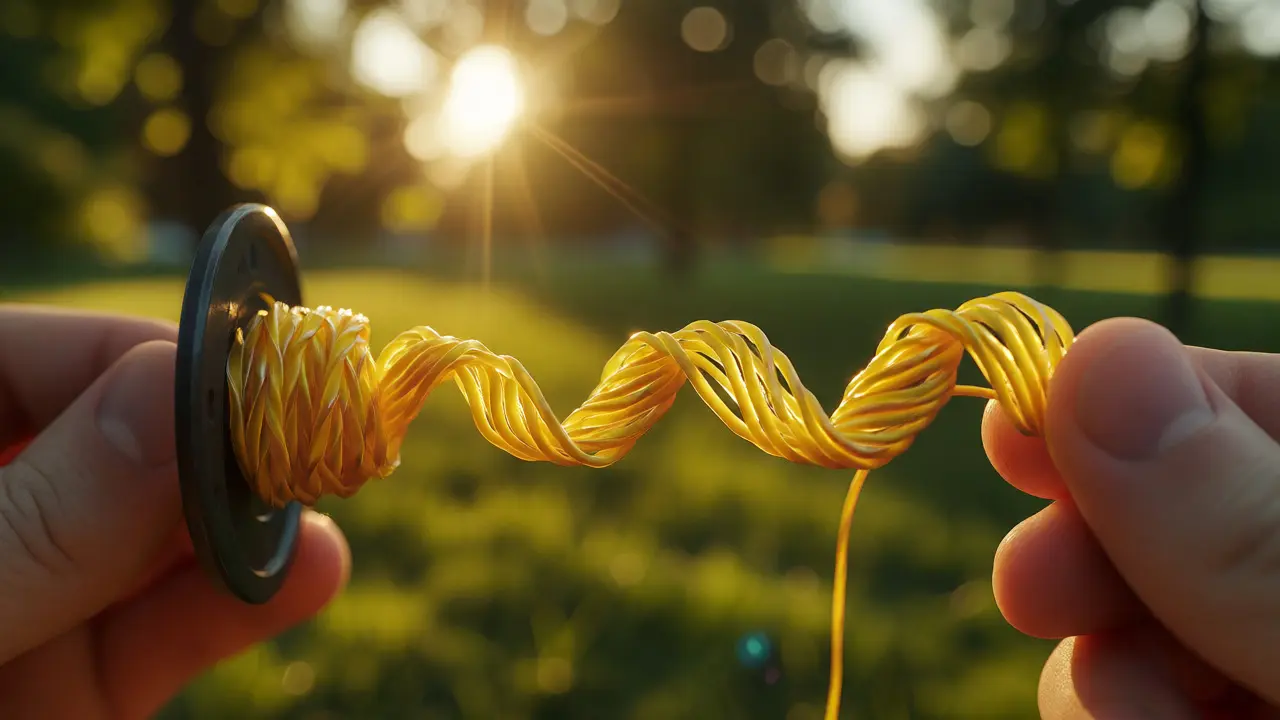
You know that sinking feeling. You're at the park, the wind is perfect, and you launch your kite. But instead of soaring gracefully, it starts spinning like a top or dipping erratically. You check the bridle, adjust the tail, and still, something feels wrong. Then you look closer at the line coming off your spool. It’s not just slack; it’s twisted into tight, angry spirals. This isn't bad luck-it's physics. Every time you retrieve a kite by hand, you introduce torque. If you don't fix it, you risk tangles, knots, and eventually, snapping your line mid-flight.
Fixing this doesn't require an engineering degree. It requires understanding three things: why lines twist, how to use hardware like kite line swivels to counteract rotation, and when to simply re-rig your setup. Whether you fly a single-line delta or a complex quad-line stunt kite, keeping your lines untwisted is the difference between frustration and flow.
Why Your Kite Line Twists in the First Place
Before we fix it, let's stop breaking it. Most people assume wind causes twisting. It doesn't. The wind pushes the kite; it doesn't spin the line. The culprit is almost always human retrieval technique. When you pull the line in by hand, you are essentially winding a rope onto a spool. If you hold the spool steady while pulling, each loop adds a half-twist. Do this fifty times, and you have twenty-five full twists baked into your line.
Another common cause is the kite itself. If your kite has a slight asymmetry-maybe one wing is heavier due to water absorption or a manufacturing defect-it will rotate around its vertical axis during flight. This rotation transfers directly to the line. Over time, this builds up tension. If you ignore it, the line stores potential energy until it violently unravels, creating a bird's nest on the ground.
- Retrieval Error: Pulling line without rotating the spool creates torsion.
- Kite Imbalance: Asymmetric weight distribution causes rotational drift.
- Line Memory: Cheap polyester lines hold twists longer than Dyneema or Spectra.
The Magic of the Kite Line Swivel
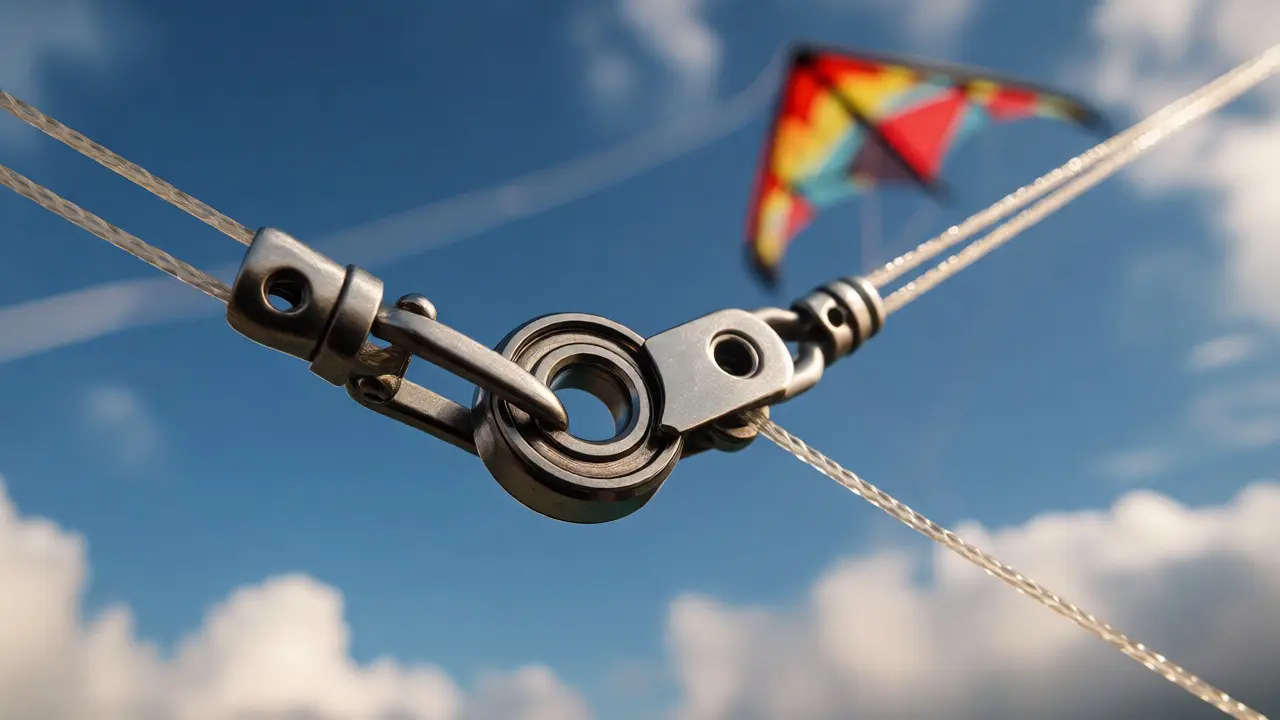
If you want a quick fix, buy a swivel. A kite line swivel is a small mechanical device with two loops connected by a rotating bearing. Its job is simple: allow one side to rotate freely while the other stays fixed. This breaks the chain of torque transfer from the kite to your hands.
There are two main types you'll encounter. The first is the barrel swivel, often used in fishing but adapted for kites. It’s cheap and effective but can snag if the line is thick. The second is the ball-bearing swivel, which spins much more smoothly under load. For serious flyers, especially those using dual-line or quad-line setups, ball bearings are worth the extra few dollars. They reduce friction significantly, allowing the line to unwind naturally as the kite flies.
Where do you put it? Never in the middle of your line. The best spot is at the connection point between your main line and the leader (the short piece attached to the kite). Or, if you don't use a leader, attach it directly to the kite's attachment point. This ensures that any rotation generated by the kite happens at the swivel, not down the length of your expensive line.
| Hardware Type | Best Use Case | Pros | Cons |
|---|---|---|---|
| Barrel Swivel | Single-line kites, light winds | Inexpensive, easy to find | Can jam under high tension |
| Ball-Bearing Swivel | Dual/Quad-line stunts, strong winds | Smooth rotation, durable | More expensive, heavier |
| Figure-Eight Knot | Emergency field repair | No tools needed, free | Temporary, weakens line |
| Re-Rigged Bridle | Chronic twisting issues | Permanent solution, balanced | Requires adjustment time |
The Figure-Eight Method: A Field Expeditent
Sometimes you're out at the beach, miles from a store, and your line is hopelessly twisted. You need a fix now. Enter the figure-eight knot a temporary hitch that allows the line to spin out its own twist. This isn't a permanent rigging method, but it works wonders in a pinch.
Here’s how to do it: Take your line off the spool. Tie a loose figure-eight knot about six inches above where the twist starts. Hold the end of the line firmly. Let the kite fly. Because the knot acts as a pivot point, the tension will cause the section below the knot to spin. Watch closely. Once the visible twisting stops, carefully untie the knot. You’ve just released the stored energy.
This method relies on the kite's natural tendency to seek equilibrium. By isolating the twisted section, you force the line to self-correct. Just remember: this weakens the line slightly at the knot site. Don't leave it there for long-term storage. Cut it out later if you plan to keep flying that specific segment.
Proper Retrieval Techniques to Prevent Twist
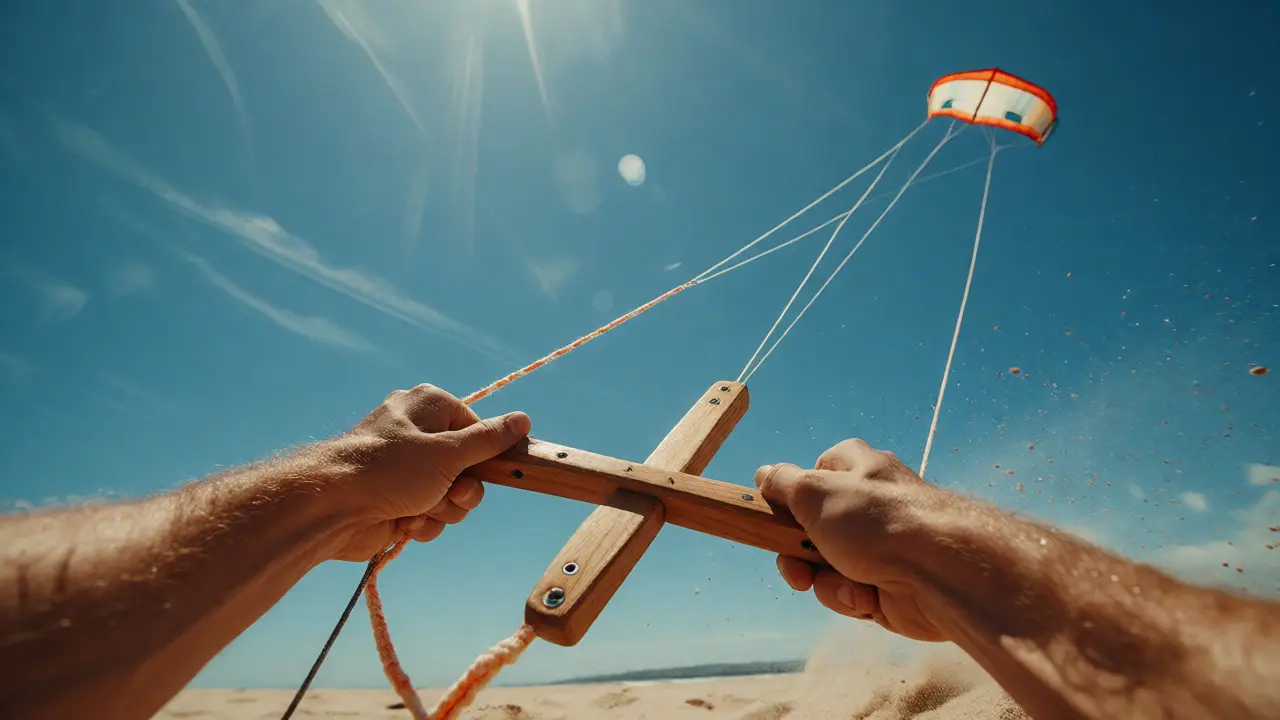
The best way to avoid untwisting is to never create the problem. Changing how you retrieve your kite saves hours of maintenance. Stop grabbing the line with your bare hands and yanking. Instead, use a winder or a simple stick.
If you must use your hands, try the "windshield wiper" method. Keep your arms extended wide. As you pull the line in, move your hands in a wide arc rather than straight back. This distributes the twist across multiple loops rather than stacking them all in one place. Better yet, use a line winder a handheld tool designed to collect line evenly. These cost less than ten dollars and make retrieval faster and cleaner.
When using a winder, ensure you are winding perpendicular to the line's path. If you angle the winder, you introduce cross-winds that create lateral twists. Also, never wind wet line tightly. Polyester absorbs water, expands, and then shrinks as it dries. If you wind it tight while wet, it will shrink and lock in twists. Always dry your line before storing it on the spool.
Re-Rigging: When Hardware Isn't Enough
If you've added a swivel and changed your retrieval habits, but your kite still twists, the problem might be structural. This is called re-rigging adjusting the kite's bridle points to correct balance. Many stock kites come with suboptimal bridles. Manufacturers aim for general performance, not perfection for every wind condition.
Look at your kite's attachment points. On a dual-line kite, these are usually at the leading edge. If the left wing generates more lift than the right, the kite will yaw, twisting the line. To fix this, you can adjust the bridle lengths. Shortening the line on the side that lifts too much reduces its angle of attack, balancing the lift.
For single-line kites, check the tail. A heavy or uneven tail can cause drag on one side. Sometimes, simply adding a small weight to the opposite side of the tail balances the aerodynamic forces. Test changes incrementally. Move the bridle slider by millimeters, not inches. Small adjustments yield big results in stability.
Maintenance and Storage Tips
Your line's lifespan depends heavily on care. UV rays degrade nylon and polyester over time. If you see fuzzy fibers or discoloration, replace the line. Twisted lines also abrade against themselves, accelerating wear.
- Inspect Regularly: Run your fingers along the line after every session. Feel for nicks or stiff spots.
- Store Loosely: Don't pack line tightly in a bag. Coil it loosely in a figure-eight pattern to relieve stress.
- Clean Salt Water: If you fly near the ocean, rinse your line with fresh water. Salt crystals act like sandpaper inside the fibers.
Consider switching materials if you fly frequently. Dyneema a high-strength synthetic fiber known for low stretch and durability resists twisting better than traditional Dacron. It's lighter and stronger, though more expensive. For casual flyers, standard polyester is fine if maintained well. For enthusiasts, Dyneema pays for itself in reduced hassle.
Troubleshooting Common Scenarios
Not all twists are created equal. Here is how to diagnose specific symptoms:
Symptom: Kite spins clockwise consistently.
Likely Cause: Right-side bridle is too long or right wing is damaged.
Fix: Shorten right bridle slightly or inspect wing structure.
Symptom: Line forms tight coils near the handle.
Likely Cause: Improper winding technique.
Fix: Switch to a winder or change hand-retrieval motion.
Symptom: Sudden loss of control followed by tangling.
Likely Cause: Hidden twist release.
Fix: Stop flying immediately. Walk the line out fully to release remaining torque before relaunching.
Do I really need a swivel for my kite?
For single-line kites flown occasionally, no. However, if you fly dual-line or quad-line kites, or if you notice persistent twisting despite good retrieval habits, a swivel is highly recommended. It prevents torque buildup and extends the life of your line.
Can I fix a twisted line without cutting it?
Yes. Use the figure-eight knot method described above. Tie a loose knot, fly the kite to let the tension spin out the twist, then untie the knot. This releases the stored energy without damaging the line permanently.
What material is best for kite lines?
Polyester (Dacron) is affordable and durable for beginners. Dyneema or Spectra is superior for performance because it has minimal stretch and higher strength-to-weight ratio. Nylon stretches too much for precise control and is generally avoided for stunt kites.
Why does my kite twist only in strong winds?
Strong winds amplify minor imbalances. If your kite has a slight asymmetry, gentle breezes might mask it, but high wind loads exaggerate the rotational force. Check your bridle settings and consider adding a swivel to handle the increased torque.
How often should I replace my kite line?
Inspect it visually and tactilely after every few sessions. Replace it if you see fraying, significant fading, or if it feels rough. There is no set timeline, but safety comes first. A snapped line in strong wind can damage your kite or hurt bystanders.