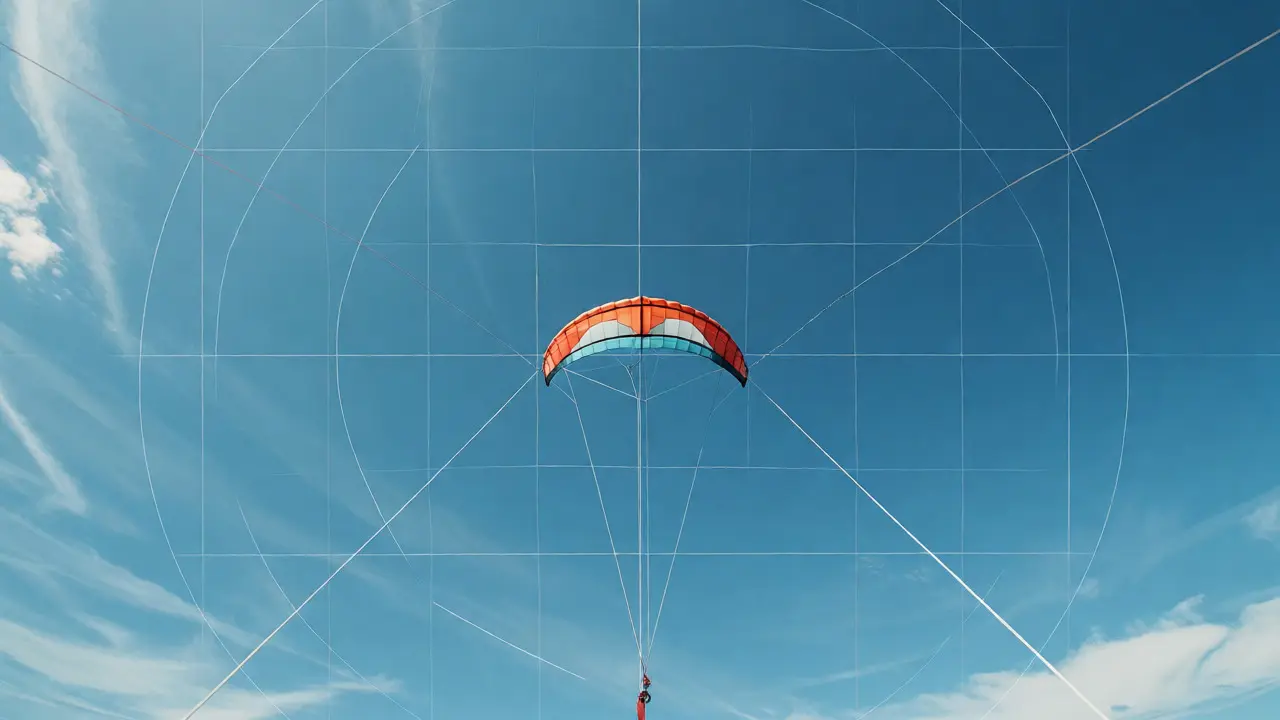
You’ve nailed the basics. Your dual-line stunt kite hovers steady in a crosswind, and you can pull off a basic figure-eight without breaking a sweat. But when you step onto the competition field, the judges aren’t looking for wobbly loops or approximate shapes. They want geometry. Specifically, they want perfect squares and mathematically precise circles. If your lines are pulling tight but your shapes look like potatoes, you’re missing the core mechanic of competitive precision flying.
Most beginners think precision is about muscle memory alone. It’s not. It’s about understanding how line tension translates to spatial coordinates. A square isn’t just four turns; it’s four identical vectors held at exact right angles. A circle isn’t just a sweep; it’s a constant radius maintained against variable wind pressure. This guide breaks down exactly how to drill these two fundamental shapes until they become second nature, turning your flight from "pretty good" into "judge-ready."
Why Judges Obsess Over Geometry
In sport kite competitions governed by bodies like the Kite Trade Association International (KTAI), scoring is brutal on imperfection. A circle that drifts three feet off-center loses points. A square with rounded corners looks sloppy. Why? Because geometric purity demonstrates control over the environment.
When you fly a perfect shape, you prove you can compensate for wind gusts, thermal updrafts, and line drag in real-time. A jagged edge on your square tells the judge you hesitated or over-corrected. A flattened side on your circle says you lost tension. Precision isn’t about making the kite do what you want; it’s about making the kite obey physics so strictly that external variables disappear from the visual record.
The Anatomy of a Perfect Square
A competition-grade square consists of four straight legs and four sharp 90-degree corners. Most flyers fail because they treat the corner as a turn rather than a transition. Here is the breakdown of the mechanics:
- The Entry: Fly a straight leg into the corner zone. Do not slow down. Speed maintains line tension, which keeps the kite responsive.
- The Pivot: At the exact moment you reach the imaginary corner point, execute a crisp, symmetrical input. Both hands move simultaneously. One pulls, one pushes, or both push depending on the direction.
- The Exit: Immediately after the pivot, resume the straight leg. Do not let the kite drift outward during the turn.
The biggest mistake here is "corner creep." You start the turn too early, resulting in a rounded corner. Or you start too late, creating a hook. To fix this, pick a reference point on the ground-a patch of grass, a shoe, a marker-and align the kite’s nose with it before initiating the turn. Muscle memory builds faster when you have a fixed visual anchor.
Drawing Flawless Circles
Circles are harder than squares because they require continuous adjustment. In a square, you have distinct start and end points for each segment. In a circle, the input changes every millisecond based on wind resistance. The key concept here is tension maintenance.
If you go slack, the kite falls. If you pull too hard, the kite dives or stalls. A perfect circle requires a constant arc of motion where your hands mirror the kite’s position relative to the center point. Imagine drawing a circle on a whiteboard. You don’t stop to think about the next degree; you flow. Same with the kite.
| Visual Error | Likely Cause | Correction Technique |
|---|---|---|
| Egg Shape (Top Wide, Bottom Narrow) | Over-pulling at the top due to stronger wind aloft. | Reduce hand movement amplitude at the apex; rely more on body positioning. |
| Squashed Bottom | Loss of speed/tension near the horizon. | Maintain forward momentum; do not let the kite dip below the power band. |
| Drifting Center | Body rotation misalignment. | Keep shoulders square to the wind; use footwork to reposition, not arm strength. |
Footwork: The Hidden Engine of Precision
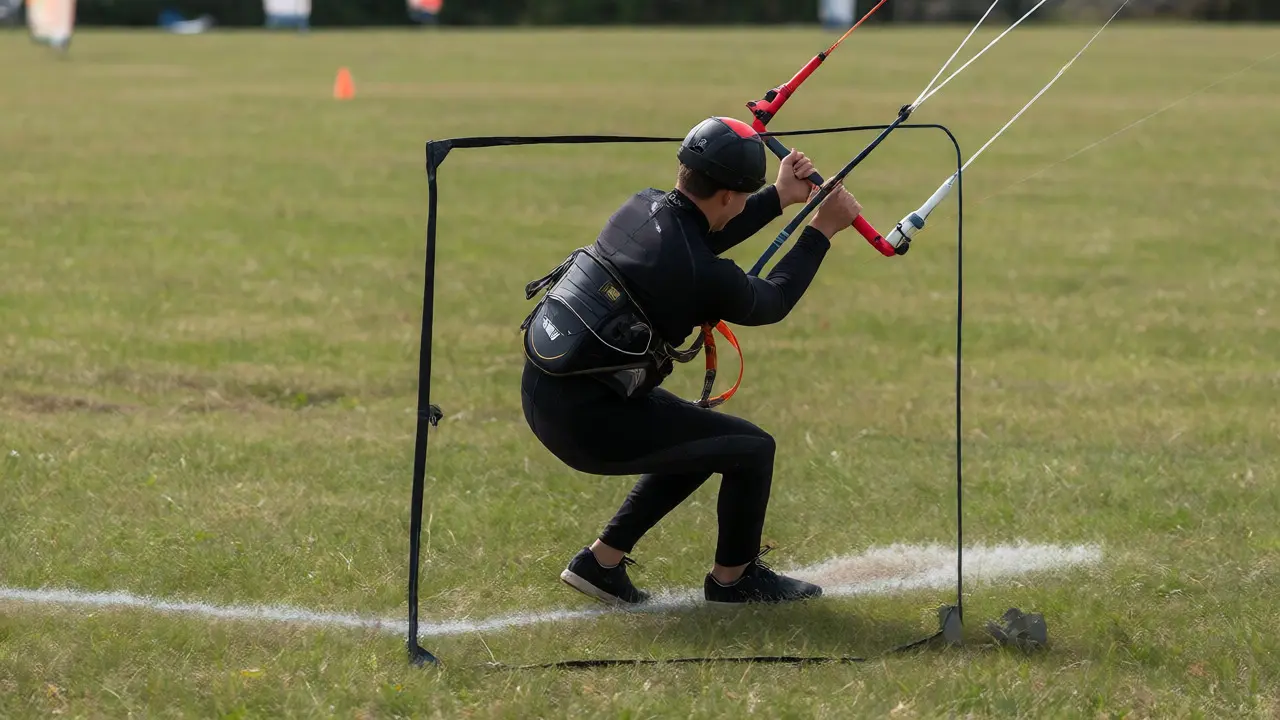
Your arms steer the kite, but your feet determine its location. Beginners plant their feet and twist their waists. This creates torque inconsistencies. Competitive flyers use dynamic footwork. When flying a large circle, you should be rotating your entire body around the center point. For a square, you step into the corners.
Try this drill: Mark a five-foot square on the ground with chalk. Stand inside it. Fly a small square pattern above your head. Every time you hit a corner, take one step toward that corner. This forces your body to follow the kite’s geometry. It prevents the common error of standing still while your arms flail wildly to keep up with the kite’s position.
Wind Reading and Compensation
No day is perfectly calm. Wind gradients change from the ground to the kite’s altitude. A gust at 50 feet might hit your kite while the air at your face is still. If you react to the gust with full force, you’ll overshoot your target.
Learn to read the "softness" of the air. Watch other kites or flags. If the wind is choppy, widen your stance and soften your grip. Tense muscles transmit every jolt directly to the lines. Loose, relaxed muscles absorb shock. In high-wind conditions, smaller movements yield larger results. Adjust your sensitivity accordingly.
Drill Routine for Consistency
You cannot practice precision sporadically. You need repetition under fatigue. Here is a 30-minute routine used by intermediate competitors:
- Warm-up (5 mins): Hover the kite dead center. Focus on micro-adjustments. Keep the nose pointed exactly at the sun (or a fixed cloud).
- Small Squares (10 mins): Fly squares no larger than 10 feet across. Focus purely on 90-degree corners. Count them out loud. Stop if you miss a count.
- Large Circles (10 mins): Expand to 20-foot diameter circles. Focus on smooth transitions. Record yourself on video to check for egg-shaping.
- Combined Flow (5 mins): Transition seamlessly from a square into a circle and back. This tests your ability to switch between discrete inputs (corners) and continuous inputs (arcs).
Equipment Check: Lines and Handles
Your gear affects your geometry. Uneven line lengths cause the kite to pull left or right constantly, forcing you to correct mid-shape. Before every session, measure your lines. Even a half-inch discrepancy matters in precision classes. Use a line stretcher or simply hang the kite from a branch and adjust the knots until it hangs perfectly level.
Also, check your handles. Are they centered? If your grips are uneven, your natural resting position will bias your steering. Some competitors wrap tape on specific fingers to create a tactile reference point for neutral hand position.
Troubleshooting Common Stalls
If your kite stalls during a square corner, you likely pulled too hard on the inside line without enough outside support. Think of it as a seesaw. If you lift one side too fast, the other side slams down. Balance is key. During a stall recovery, relax both hands instantly, let the kite drop slightly to regain speed, then gently re-engage. Panic pulling makes it worse.
For circles, if the kite collapses inward, you’re likely leaning into the turn too much. Step back. Let the kite fly away from you slightly to build tension, then curve it back. Distance equals stability.
What size kite is best for learning precision squares?
A medium-sized dual-line stunt kite (typically 7-9 feet wingspan) is ideal. Small kites react too quickly for beginners to manage fine adjustments, while very large kites are sluggish and difficult to maneuver in light winds. Look for a kite labeled "sport" or "stunt" rather than "trainer," as trainers often lack the responsiveness needed for sharp corners.
How do I know if my lines are uneven?
Hang the kite from a tree branch or hold it up by the bridle attachments. If the kite tilts to one side, the lines are uneven. Alternatively, hover the kite dead center in a calm spot. If it consistently drifts left or right despite neutral hand position, one line is likely shorter or stretched differently. Re-tie the knots to equalize length.
Do I need special gloves for precision flying?
Not necessarily. Many competitors prefer bare hands or fingerless gloves for maximum tactile feedback. However, if you experience blisters or poor grip in sweaty conditions, thin athletic gloves with silicone palms can help maintain consistent handle control without sacrificing feel. Avoid bulky winter gloves, as they dampen subtle movements.
How far should I stand from the kite when practicing?
Stand approximately 40-60 feet from the kite for standard practice. This distance provides enough leverage for precise control while keeping the kite within a manageable visual field. Standing too close reduces reaction time; standing too far exaggerates small errors, making them harder to correct smoothly.
Can I practice precision patterns indoors?
Yes, using a single-line indoor trainer kite helps isolate body mechanics, but it doesn't replicate dual-line tension dynamics. For true precision training, you need the opposing forces of two lines. Indoor venues with high ceilings and no HVAC drafts are suitable for dual-line practice if space allows a 10-15 foot flight path.