Quick Stability Guide
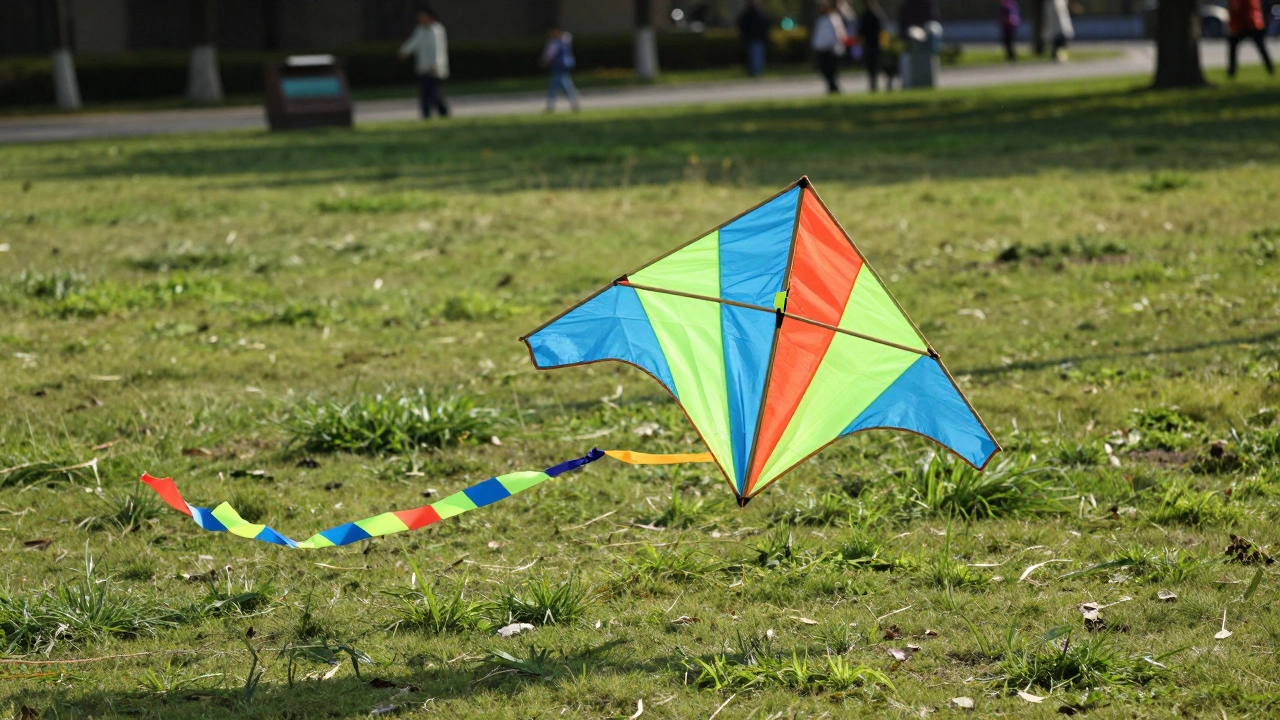
- Tails: Best for lightweight kites to prevent spinning and add visual flair.
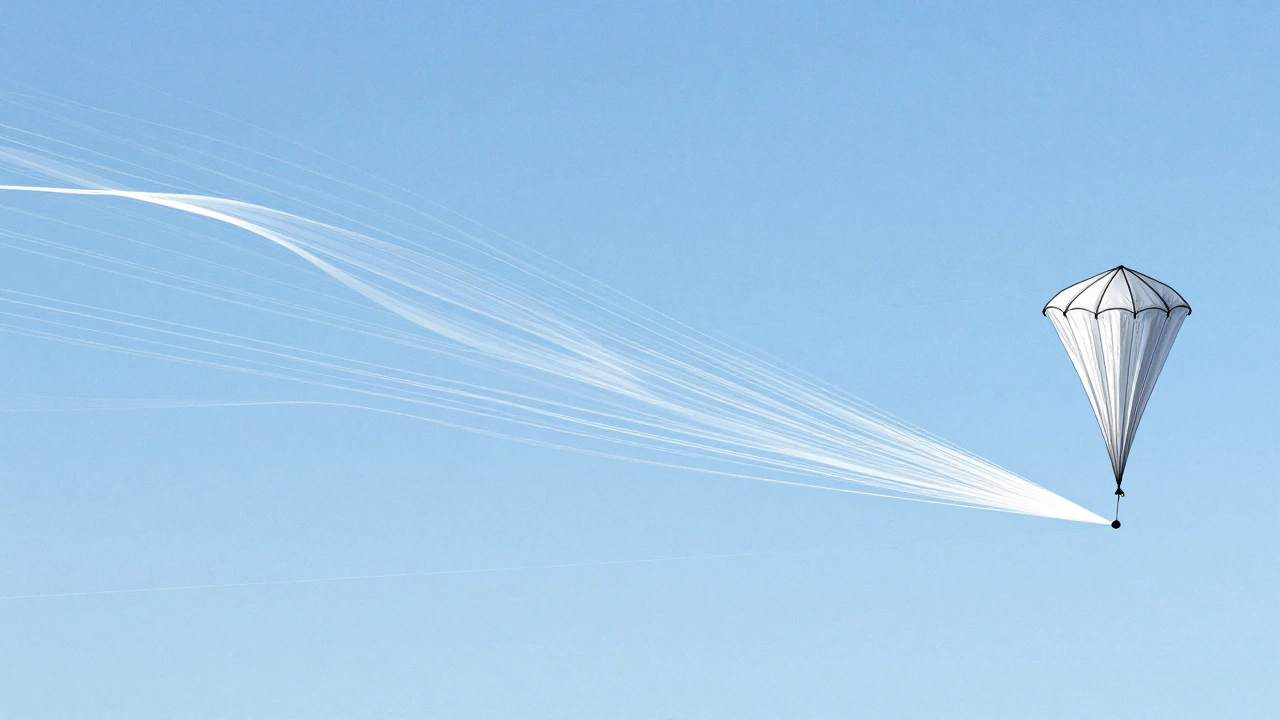
- Drogues: High-drag attachments used for heavy-wind stability and high-angle flight.
- Placement: Always attach to the lowest point of the kite to maintain the center of gravity.
- Material: Use lightweight ribbons for tails and porous fabrics for drogues.
The Physics of the Tail
Before you start sewing, it helps to understand why a piece of string or ribbon actually works. In the world of aerodynamics, Kite Stability is the ability of a kite to maintain a steady angle of attack relative to the wind without oscillating or spiraling . When a kite starts to tip, it creates an imbalance. A tail adds a specific kind of "skin friction" and weight to the rear. As the kite pivots, the tail is dragged through the air, creating a pulling force that tugs the nose back into the wind.
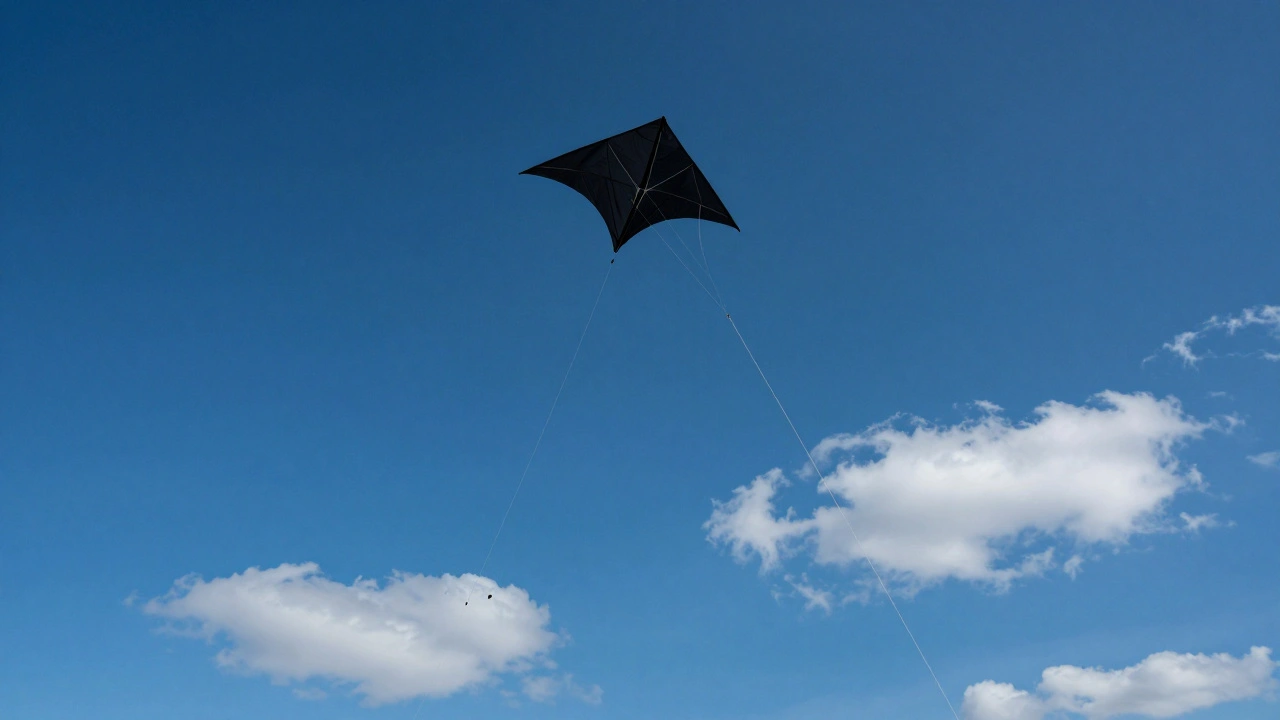
Think of it as a pendulum. If your kite is too "twitchy," it means the center of pressure is too far forward. By adding a tail, you're effectively moving the center of gravity backward. This creates a stabilizing effect that keeps the kite from looping. If you've ever seen a simple diamond kite without a tail, you know it spends more time spinning than flying. The tail is the only thing keeping that geometry viable in a breeze.
Choosing the Right Material for Tails
Not all ribbons are created equal. If you use a heavy piece of cotton fabric on a lightweight Tissue Paper Kite, the weight of the tail will actually pull the kite down rather than stabilizing it. You want the highest ratio of drag to weight possible.
For small, light kites, stick to lightweight plastic ribbons or thin strips of polyester. These materials don't absorb moisture from the air, which is crucial because a damp tail becomes heavy and can cause the kite to nose-dive. For larger, more robust builds using Ripstop Nylon-a high-tenacity nylon fabric with a reinforced grid weave-you can afford to use heavier materials like braided cotton or wider fabric strips. The goal is to create enough air resistance to dampen the kite's movement without adding so much mass that the kite can't lift.
| Kite Material | Recommended Tail | Effect on Flight | Ideal Wind Speed |
|---|---|---|---|
| Tissue Paper | Thin Plastic Strips | Light dampening | 2-7 mph |
| Lightweight Poly | Polyester Ribbon | Medium stability | 5-12 mph |
| Ripstop Nylon | Cotton Braid / Wide Fabric | Strong stabilization | 10-20 mph |
When to Use a Drogue Instead of a Tail
A drogue is different from a tail. While a tail is a long, thin line that creates friction along its length, a Drogue is a small, parachute-like cone or flat piece of fabric attached to the end of a short line . If a tail is a rudder, a drogue is a parachute. It creates a massive amount of concentrated drag at a single point.
You need a drogue when you're dealing with high winds or kites with very high lift. In these scenarios, a traditional ribbon tail just flutters; it doesn't have enough "bite" to stop the kite from oscillating. A drogue grabs the air. It forces the rear of the kite to stay put, allowing the kite to fly at a much steeper angle without stalling. This is particularly useful for Sled Kites or large delta shapes that tend to over-rotate in gusts.
The trade-off is that a drogue increases the total load on your Kite Line. Because the drogue is pulling back so hard, you'll feel more tension in the string. If the wind is already screaming, a drogue might actually pull your kite out of the sky by creating too much drag. Balance is everything here.
Step-by-Step: Attaching Your Stability Gear
Adding these elements is simple, but where you attach them determines whether your kite soars or spirals. Follow these steps to get it right:
- Find the Lowest Point: Identify the exact bottom center of your kite. For a diamond kite, this is the tip of the vertical spar. Attaching a tail to the side will cause the kite to lean and eventually spin.
- Reinforce the Attachment Point: Do not just tie a knot in the fabric. The tension from a drogue or a long tail can rip a hole right through the sail. Use a small piece of scrap fabric or a plastic washer as a reinforcement patch, then sew or glue the attachment loop through that patch.
- Calibrate the Length: Start with a tail that is roughly 3 to 5 times the length of the kite. If the kite is 2 feet tall, start with a 6-10 foot tail.
- The "Fly and Trim" Method: Launch your kite. If it's still spinning, add length to the tail in 2-foot increments. If the kite struggles to rise and feels "heavy," you've added too much; trim the tail back.
- Drogue Integration: If you're using a drogue, attach it to a short lead line (about 1-2 feet) and then connect that lead line to the kite's base. This prevents the drogue from interfering with the sail's airflow.
Common Performance Pitfalls
One of the biggest mistakes beginners make is assuming a longer tail always equals more stability. In reality, there is a point of diminishing returns. If the tail is too long or too heavy, it creates a downward force that overcomes the lift generated by the sail. You'll see the kite struggle to climb, and it might even start to oscillate in a slow, heavy wave pattern.
Another issue is "tail tangling." If you use very thin, light ribbons on a kite that has a lot of movement, the tail can wrap around the spars or the main line during a dive. To avoid this, ensure your tail is attached securely and consider using a slightly stiffer material at the first 6 inches of the tail to keep it projecting away from the kite body.
Finally, consider the wind environment. In a steady, laminar flow (like at a beach), you can get away with shorter tails. In turbulent air (like a city park with trees and buildings), the wind changes direction constantly. In these conditions, a slightly heavier or longer tail acts as a shock absorber, smoothing out the erratic movements caused by the turbulent air.
Advanced Tweaks for Power Users
Once you've mastered the basic tail, you can experiment with "segmented stability." This involves using a tail that varies in width-starting wide at the kite and narrowing toward the end. This creates a gradient of drag that can help stabilize the kite more naturally.
You can also try a dual-tail setup. Instead of one central tail, add two shorter tails to the lower corners of the kite. This is an excellent trick for Box Kites or wide-wing designs. It provides lateral stability, preventing the kite from tilting side-to-side, which a single central tail cannot do effectively.
For those building professional-grade DIY kits, integrating a Bridle System alongside a drogue allows you to adjust the angle of attack on the fly. By shifting the tow point on the bridle, you can change how much the drogue pulls on the rear, essentially "tuning" your kite for the specific wind speed of the day.
Why is my kite spinning even with a long tail?
If a long tail isn't stopping the spin, your kite is likely unbalanced. Check if the left and right sides of the kite are identical in weight. A tail provides stability, but it cannot fix a kite that is physically heavier on one side. You may also need to check your bridle attachment point; if it's too far back, the kite will naturally want to loop regardless of the tail length.
Can I use a drogue on a very small kite?
It's generally not recommended. Drogues create significant drag. On a small kite, this drag often exceeds the lift the kite can produce, effectively pulling the kite out of the sky. Stick to lightweight ribbons or thin strings for smaller builds.
What is the best way to attach a tail so it doesn't rip the fabric?
The best method is to use a reinforcement patch. Glue or sew a small square of heavy-duty fabric (like nylon or canvas) over the spot where the tail will be attached. Then, poke a small hole through the patch and the sail, thread your string through, and tie it off on the inside. This distributes the tension across the patch rather than a single point in the sail.
Does the color of the tail affect flight performance?
Color has no impact on the physics of flight. However, the material the color comes from does. For example, a heavy dyed cotton ribbon will behave differently than a light neon plastic ribbon. Focus on the weight and texture of the material rather than the color.
How do I know if I've added too much drag?
You've added too much drag if the kite requires an unrealistic amount of wind to stay aloft, or if it refuses to climb higher despite strong winds. If the kite feels like it's being pulled backward rather than upward, trim a few feet off your tail or switch from a drogue back to a standard ribbon.
Troubleshooting Your Flight
If you're still having trouble, try these quick fixes based on your scenario:
- Kite spirals consistently to one side: Check for symmetry. If the frame is straight, try adding a small weight (like a coin) to the opposite side of the spin before adding more tail.
- Kite "porpoises" (goes up and down): This is often a sign that the tail is too heavy or the drogue is too large. Reduce the drag at the rear.
- Kite won't catch the wind: Ensure the tail isn't so long that it's pulling the nose too far up. A tail that's too long can actually force the kite into a stall.
- Swooping movements: If the kite is stable but does large, slow arcs, try a thinner material for the tail to reduce skin friction.