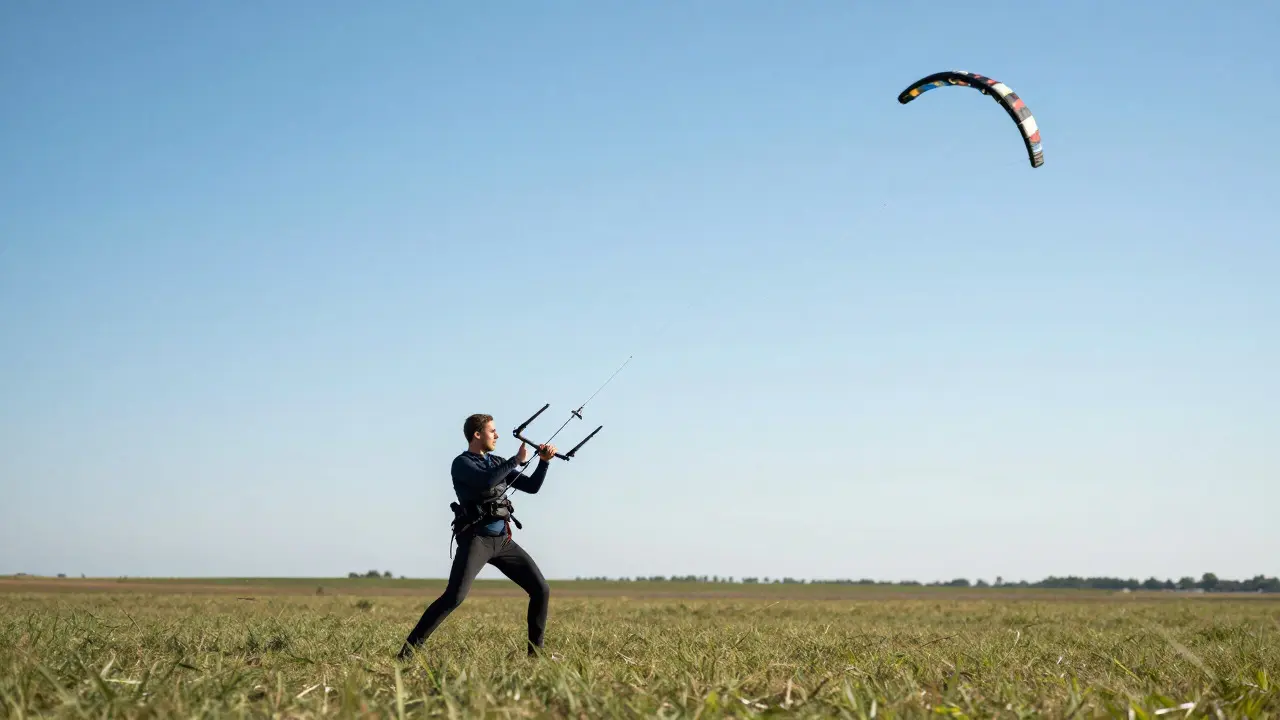
There is a specific moment in every stunt kite session where the air feels different. You are standing still, but your dual-line stunt kite is gliding smoothly across the sky without drifting up or down. That horizontal drift is the side slide, and it is the foundational skill that separates casual flyers from those who can perform complex aerial maneuvers. If you have ever tried to move your kite left or right and ended up with it either diving into the ground or climbing out of reach, you are fighting the geometry of the wind window. Understanding how to manipulate this invisible box of air allows you to control your kite’s position with precision, setting the stage for loops, corkscrews, and other advanced tricks.
The Physics of the Wind Window
To master lateral movement, you first need to visualize the space you are working in. The wind window is not just a metaphor; it is a physical volume defined by your stance, your arm span, and the length of your lines. When you stand with your feet shoulder-width apart and hold your handles at hip level, you create a rectangular area of active airflow above you. The top edge of this window is determined by the maximum line extension, while the bottom edge is where the kite would hit the ground if you pulled straight back. The width is dictated by how far you can extend your arms sideways before losing balance or tension.
Inside this window, the kite behaves like a sailboat on water. It wants to fly perpendicular to the wind direction, which means it naturally tries to stay centered. To move it laterally, you must change the angle of attack relative to the wind. This is where most beginners get stuck. They try to pull the handle horizontally, which usually results in a loss of lift. Instead, you need to use diagonal inputs. By pulling one handle slightly forward and the other slightly back, you create a torque that rotates the kite’s nose into the wind, allowing it to glide sideways. This subtle rotation is the key to smooth, controlled lateral movement.
Setting Up Your Stance and Lines
Your body is part of the control system. A rigid, stiff-armed posture will transmit every vibration from the lines directly to your wrists, making fine adjustments difficult. Stand with your knees slightly bent and your weight centered over the balls of your feet. This athletic stance allows you to absorb shocks when the wind gusts and provides a stable base for precise hand movements. Keep your elbows relaxed, not locked. Your hands should be at waist height, roughly 18 inches apart. This distance ensures that your lines are not crossing excessively, which can cause tangles and reduce control authority.
Check your line tension before you start flying. Loose lines make the kite feel sluggish and unresponsive, while overly tight lines can snap under load. For a standard 30-meter (100-foot) set of Dyneema lines, you should feel a gentle resistance when you pull against the handles. If the lines are slack, adjust your stance closer to the kite. If they are vibrating violently, step back. The goal is a consistent tension that allows you to feel the kite’s attitude changes through your fingertips. This tactile feedback is crucial for executing clean side slides without looking at the kite constantly.
Executing the Basic Side Slide
Start with a steady breeze between 10 and 15 miles per hour. In lighter winds, the kite may stall during lateral moves, while stronger winds can overpower your ability to correct the path. Position the kite in the center of your wind window, about two-thirds of the way up. To initiate a slide to the right, gently pull your left handle forward and your right handle back. Do not yank; think of it as a smooth steering input. As you apply this differential force, the kite’s nose will yaw slightly into the wind. Once the nose is angled, release the forward pressure on the left handle and maintain slight backward pressure on the right. The kite will now glide horizontally to the right.
The trick to keeping the altitude constant is balancing the lift. If the kite starts to climb, ease off the rearward pull. If it drops, add a touch more backward pressure. You are essentially trading vertical lift for horizontal speed. Practice this motion slowly, moving the kite just a few feet across the window. Focus on the feeling of the lines rather than watching the kite. After ten minutes, you should be able to slide the kite from one side of the window to the other without significant changes in height. This consistency is what allows you to chain multiple moves together later.

Common Mistakes and How to Fix Them
Even experienced flyers struggle with side slides when conditions change. The most common error is over-correction. When the kite drifts too far to one side, the instinct is to yank the opposite handle hard. This causes the kite to oscillate wildly, often resulting in a crash or a tangle. Instead, use small, incremental adjustments. Think of steering a car on ice; sharp turns lead to skids, while gentle corrections maintain traction. Another frequent issue is ignoring the wind shift. If the wind direction changes even slightly, your reference frame shifts. You may think you are sliding straight, but the kite is actually cutting across the new wind vector. Stay aware of the flags or grass around you to gauge the true wind direction.
Line management is another critical factor. If your lines are twisted, the kite will resist lateral movement and may spin unexpectedly. Before starting a session, ensure your lines are untwisted by holding them vertically and letting gravity straighten them. During flight, keep an eye on the line twists. If you notice a buildup, pause and let the kite hang for a moment to relax the tension. These small details prevent frustration and allow you to focus on the technique rather than troubleshooting equipment issues mid-air.
Progressing to Advanced Maneuvers
Once you can execute a clean side slide, you can begin combining it with other movements. A simple loop, for example, requires a transition from lateral movement to vertical climb. Start with a side slide toward the edge of the window. As you approach the limit, increase the backward pressure on both handles simultaneously. This converts your horizontal momentum into upward lift, causing the kite to arc over the top. Timing is everything here. Pull too early, and the kite will stall; pull too late, and it will exit the window. With practice, you can link multiple side slides and loops into a continuous sequence, creating a fluid dance with the wind.
You can also experiment with different kite shapes to see how they affect lateral stability. Delta-shaped kites tend to be more stable and easier to control for beginners, while parafoil kites offer faster response times but require more precise inputs. Choose a kite that matches your skill level and local wind conditions. A heavier kite might be better for strong winds, providing more inertia and smoother slides, while a lighter kite excels in breezy conditions, offering quicker reactions. Experimenting with different setups helps you understand how kite design influences performance, allowing you to tailor your gear to your style.
| Kite Type | Stability | Response Speed | Best For |
|---|---|---|---|
| Delta Frame | High | Moderate | Beginners, strong winds |
| Parafoil | Low | High | Advanced tricks, light winds |
| Hybrid | Medium | Medium-High | All-round performance |
Safety and Environmental Considerations
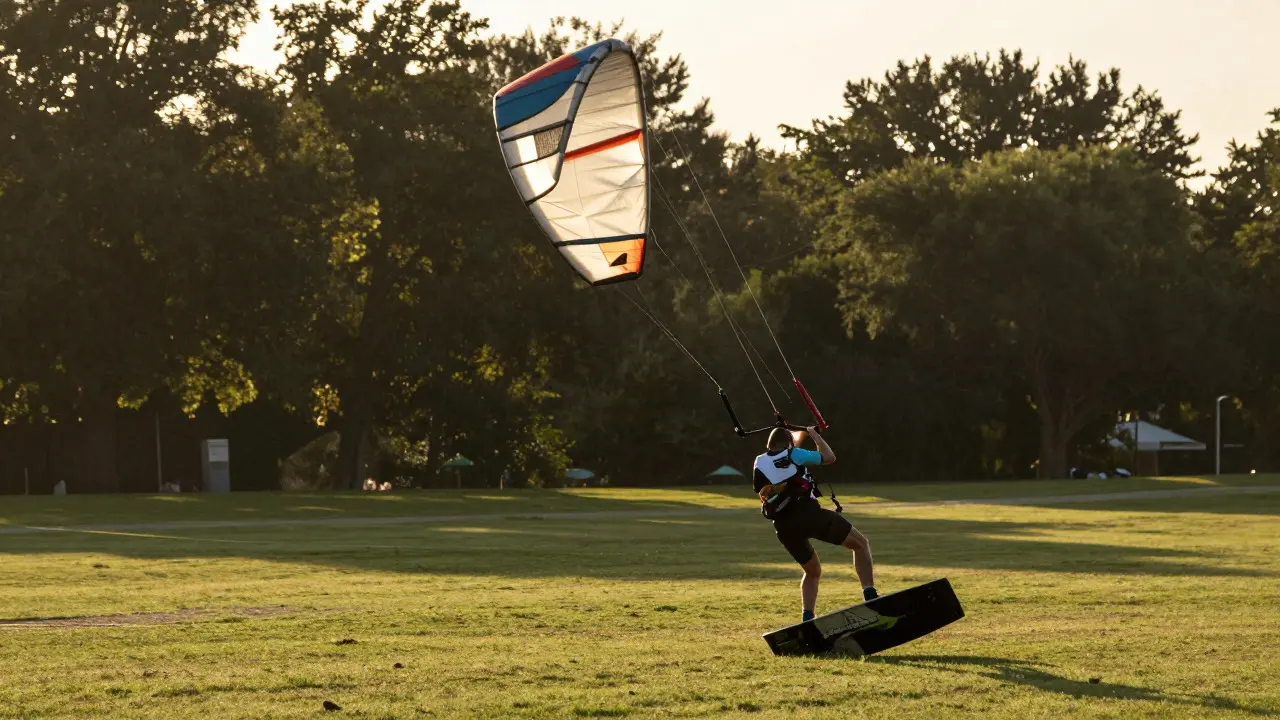
Flying near trees, power lines, or crowds increases the risk of accidents. Always check your airspace before launching. In Portland, Oregon, many parks have designated kite areas, but you should still verify local regulations. Keep at least 50 feet of clearance from obstacles. Use a whistle or voice commands to alert nearby people, especially children who may run into your lines. Wear gloves to protect your hands from line friction burns, which can occur quickly during intense sessions. Hydrate regularly, as flying can be surprisingly physically demanding due to the constant muscle engagement in your arms and core.
Frequently Asked Questions
What is the ideal wind speed for practicing side slides?
A steady breeze between 10 and 15 miles per hour is generally best for learning lateral movement. Lighter winds may cause stalling, while stronger winds make correction difficult.
How long does it take to master the side slide technique?
Most beginners achieve consistent lateral control within 5 to 10 hours of practice. Regular short sessions are more effective than occasional long ones.
Can I use single-line kites for side slides?
No, side slides require dual-line control to manage differential tension. Single-line kites lack the independent control needed for precise lateral maneuvering.
What should I do if my kite crashes during a slide?
Stay calm and check for line tangles. Inspect the kite for damage before relaunching. Crashes are a normal part of the learning process and provide valuable feedback on your technique.
Do I need special equipment to start stunt kiting?
You need a dual-line stunt kite, appropriate lines, and comfortable footwear. Optional gear includes gloves, a safety vest, and a spare set of lines for emergencies.